Admin Console Overview
SwaggerHub On-Premise 2.x uses Replicated KOTS to manage the installation, upgrades, and licensing. KOTS provides a web-based Admin Console that runs alongside the SwaggerHub application and can be used to configure and manage it.
 |
Supported browsers
How to access the Admin Console
Kubernetes cluster
On a machine with kubectl access to the cluster, run:
kubectl kots admin-console -n swaggerhub
This makes the Admin Console available at http://localhost:8800 on the kubectl machine. The Admin Console remains accessible as long as the command is running. Pressing Ctrl+C will stop the Admin Console.
Note: If the kubectl machine is a headless server (such as a jumpbox to which you connect via SSH), you then need to set up an SSH tunnel from your desktop to the kubectl machine so you can access the Admin Console locally. To do this, open another terminal window on your desktop and run:
ssh user@JUMPBOX -L 8800:localhost:8800
This will open a connection to the jumpbox and forward any connection to port 8800 on the local machine to port 8800 on the jumpbox. This way, you can access the Admin Console on your desktop as http://localhost:8800.
VM (embedded cluster)
Connect to the Admin Console at:
http(s)://VM_DNS_or_IP:8800
Password
 |
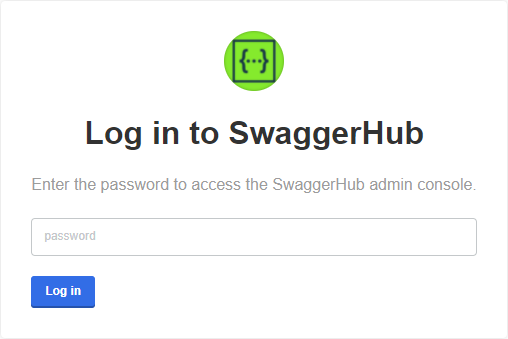
To log in to the Admin Console, use the password that you specified during the SwaggerHub installation. If you forgot the password, you can reset it.
Note: The Admin Console password is different from the SwaggerHub admin user password. The latter is used to log in to the SwaggerHub application as the admin user (if internal authentication is used) and also in some swaggerhub-operator commands.
Admin Console tabs
The Admin Console has the following tabs:
Application
Cluster Management (not used)
Snapshots
Application
Dashboard
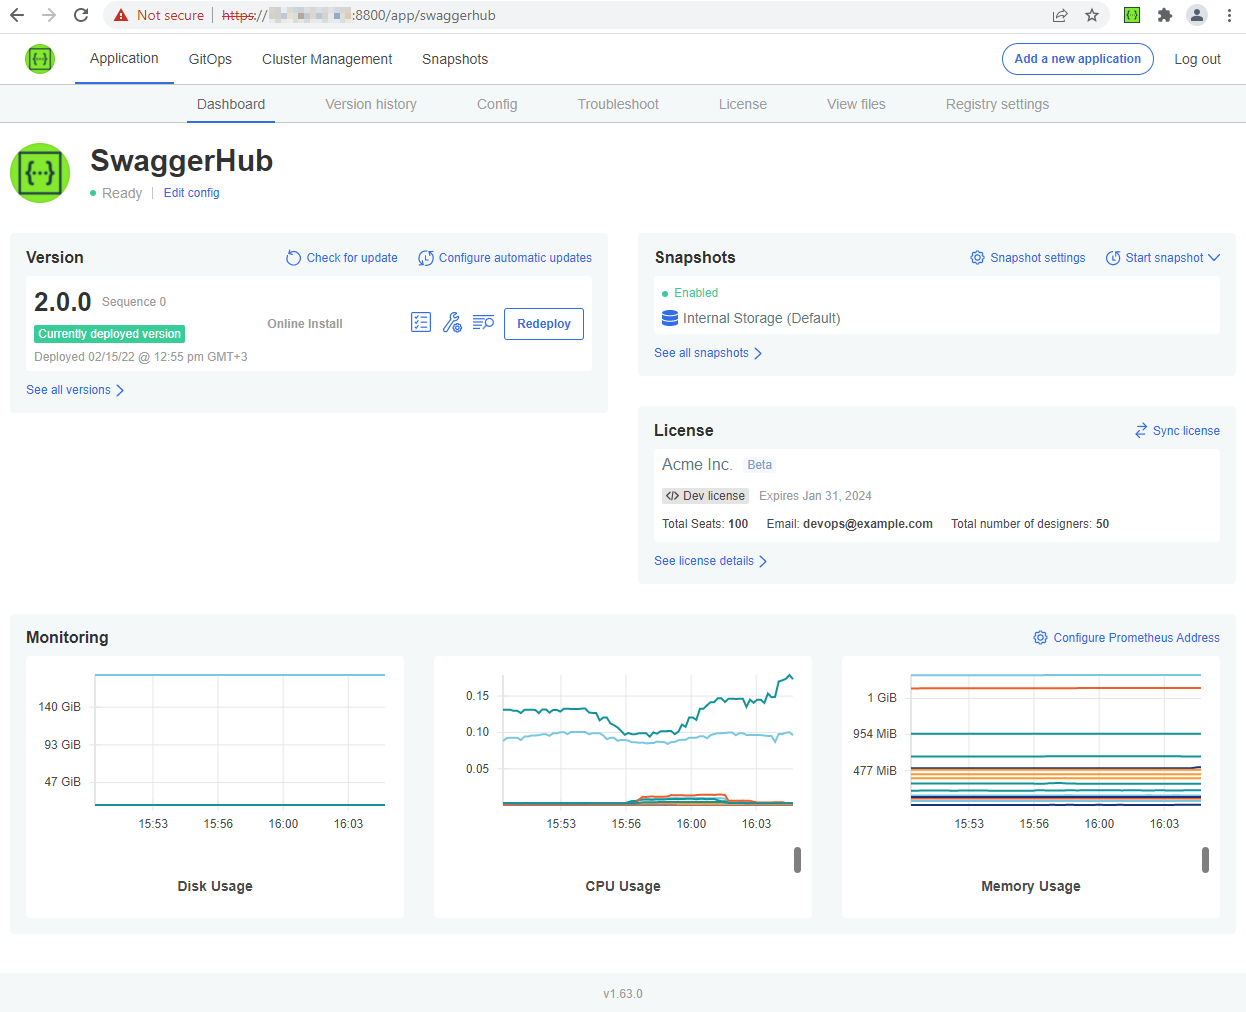
The dashboard shows your SwaggerHub deployment status.
If you are using your own Prometheus instance to collect SwaggerHub metrics, you can configure the dashboard to display graphs showing relevant information.
Version history
This tab displays your current SwaggerHub version and the update history along with the date and time of each update. The history includes the following types of changes:
Type | Description |
|---|---|
Online Install | Initial installation, online mode. |
Airgap Install | Initial installation, airgapped mode. |
Config Change | SwaggerHub settings on the Config tab have been changed. |
Upstream Update | A new release of SwaggerHub On-Premise is available. |
Airgap Update | SwaggerHub update installed in airgapped mode. |
License Change | License update (for example, prolongation or added seats). |
If automatic update checks are enabled, new release notifications will appear on the Version history tab. You can also check for updates manually by clicking the Check for updates link.
In airgapped instances, you can use the Upload a new version button to upload airgap bundles containing SwaggerHub application upgrades.
Config
This tab contains SwaggerHub configuration settings. For details, see:
Troubleshoot
Use this tab to create and download support bundles containing the logs and diagnostic data.
License
This tab shows your SwaggerHub license information, including the total number of seats and the number of Designer seats. Here, you can also fetch license updates (such as additional seats or prolongations) from our licensing server. In airgapped installations, you can upload a new license manually.
Tip
You can use the license-usage command to get license information from the command line.
View files
This tab shows SwaggerHub internal configuration files.
Important
Do not edit these files unless instructed to do so by SmartBear Support.
Registry settings
If your SwaggerHub On-Premise installation is airgapped (offline), this is where you can change the container registry path or credentials used to store SwaggerHub and KOTS Docker images.
This tab also appears in online installations if the license allows airgapped installation.
Cluster Management
This page is currently not used by SwaggerHub On-Premise.
Snapshots
Snapshots are used to back up and restore your SwaggerHub installation. On this tab, you can configure the storage location and schedule for snapshots, or create snapshots manually.
Snapshots are powered by Velero, an open-source tool for backing up and restoring Kubernetes clusters. VM (embedded cluster) installations come with Velero pre-installed. If you deployed SwaggerHub to an existing Kubernetes cluster, you can install Velero manually to make use of the snapshot management features in the Admin Console.
Important
Snapshots do not include external databases. You must back them up separately.
Activate Changes
It's not enough to save your configuration changes on the Admin Console. You must also deploy them to have your changes take effect.
