VM (Embedded Cluster) - Online Installation
Caution
Changes to the Bitnami catalog were announced recently and will take effect on August 28, 2025. Due to these changes, some SwaggerHub On-Prem users may need to take action. Find out if you are affected and learn about the remediation patch.
This guide explains how to install SwaggerHub On-Premise 2.x on a virtual machine that can access the internet.
Prerequisites
This guide assumes you already have a VM that meets the system requirements, along with other resources required for SwaggerHub installation. See Requirements for VM installation .
We recommend that you create a VM snapshot before installing SwaggerHub. In this case, you will be able to reset the VM to its original state if the installation becomes corrupt.
Video Demonstration
This video walks through the installation process.
Install the Admin Console
Run the following command on the VM to install the KOTS Admin Console. The Admin Console will later be used to install and administer SwaggerHub On-Premise.
curl -sSL https://k8s.kurl.sh/swaggerhub | sudo bash
Or if you want to capture the installation log to a file:
curl -sSL https://k8s.kurl.sh/swaggerhub | sudo bash 2>&1 | tee install.log
Note
The log will contain some generated passwords, which you may want to edit out later. Search for "password" to find them.
The installation will take a few minutes, depending on your internet connection.
After the installation is complete, note down the password generated for the Admin Console. This password will not be shown again (but you will be able to change or reset it later).
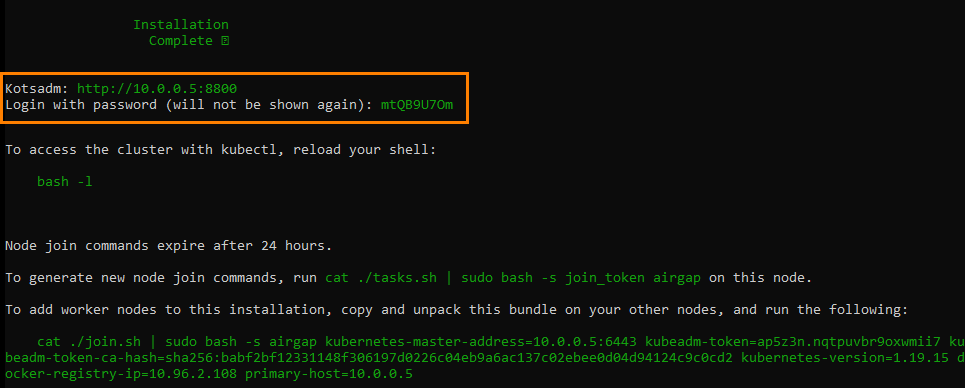 |
Notes:
The Admin Console IP address displayed in the installation output (shown in the image above) may not be actually accessible. Use the VM’s public IP address to access the Admin Console and the SwaggerHub application.
Even though the installation output mentions node join commands, SwaggerHub On-Premise VM installations do not currently support adding extra nodes.
To configure kubectl reload your shell:
bash -l
By default, kubectl is configured only for the user that ran the installation. If you wish to give another user access, then SSH in as that user and run:
mkdir -p $HOME/.kube
sudo cp -i /etc/kubernetes/admin.conf $HOME/.kube/config
sudo chown $(id -u):$(id -g) $HOME/.kube/config
Next, browse to http://<VM Public IP>:8800 to complete the setup using the Admin Console web interface.
Configure HTTPS for the Admin Console (Optional)
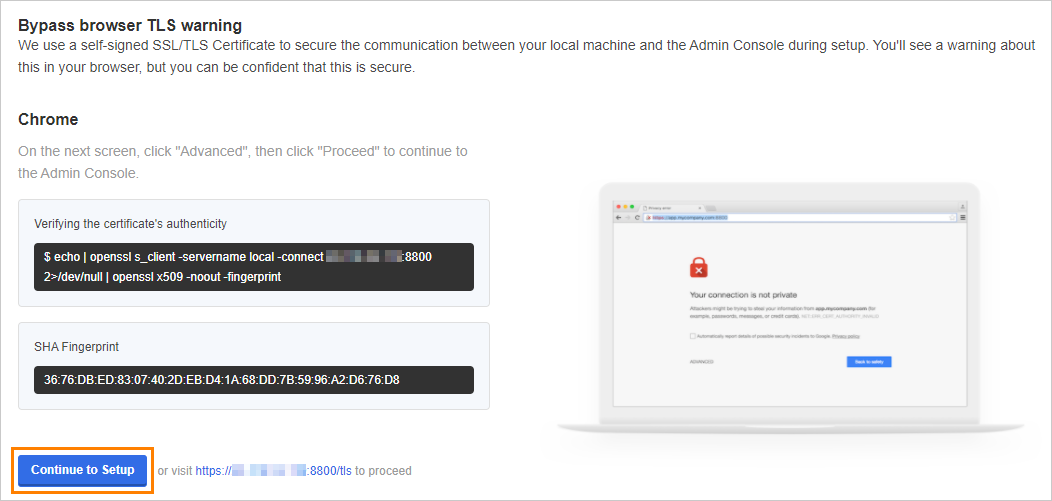
By default, the Admin Console at http://<VM>:8800 uses a self-signed certificate, which will cause a browser warning to appear every time you access the Console. The initial page informs you about this. Click Continue to Setup.
 |
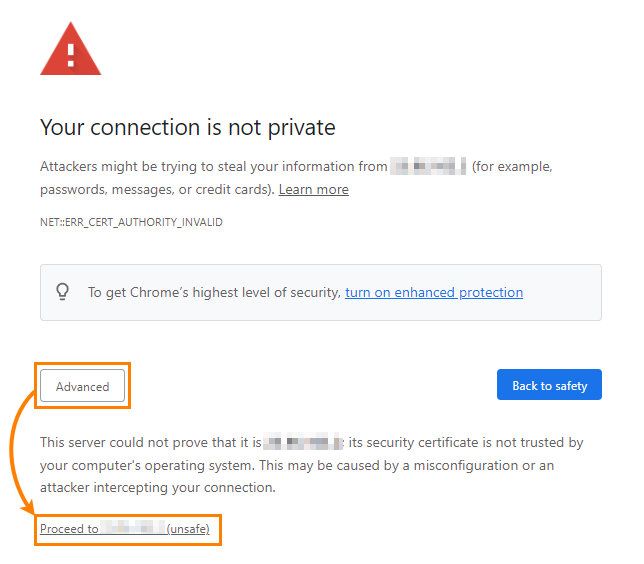
Ignore the browser warning that appears.
 |
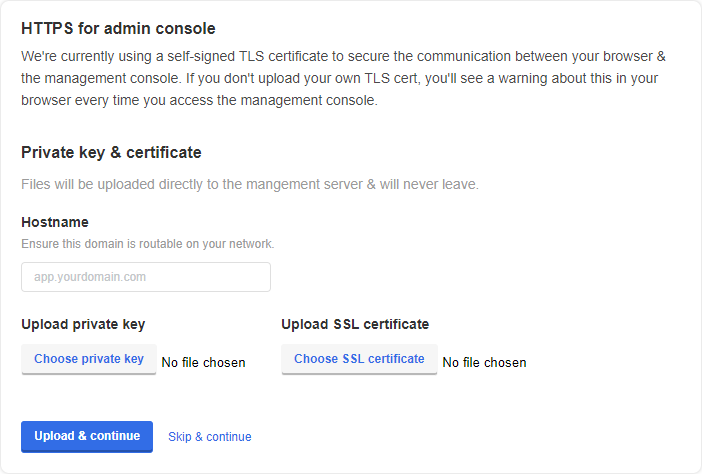
On the next screen, you can upload your own SSL certificate to secure access to the Admin Console.
If you want to continue with the default (self-signed) certificate, click Skip & continue. You will be able to add a certificate later.
 |
Note
The SSL certificate configured here is used only by the Admin Console and not by the main SwaggerHub application. The SSL termination support for the SwaggerHub application will be added in a future release.
Install and configure SwaggerHub
Upload the license
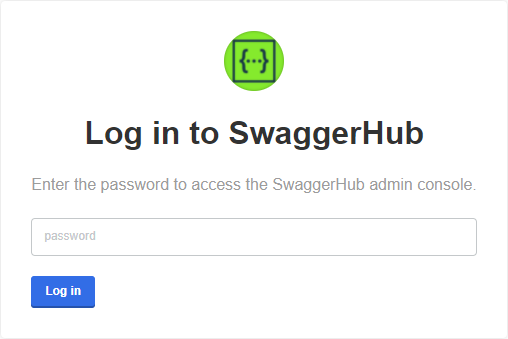
Proceed to log in to the Admin Console using the password that was previously generated for you.
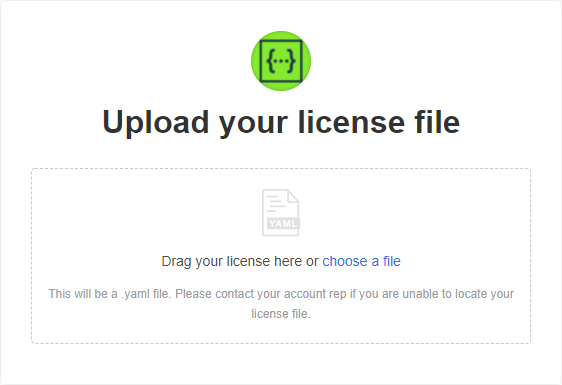
On the next screen, you will be asked to upload your SwaggerHub license file (.yaml):
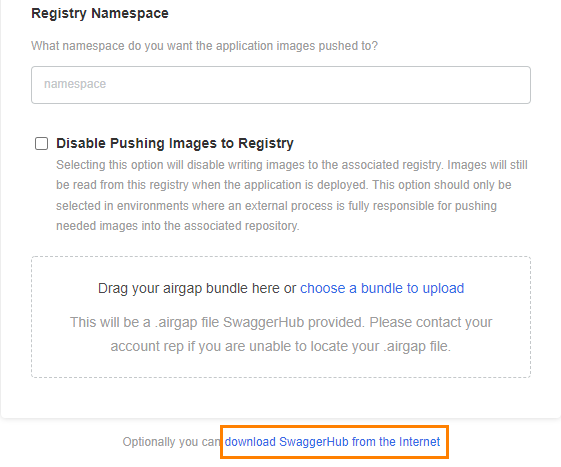
If your SwaggerHub license supports airgapped (offline) installations, you will see an option to proceed with the airgapped setup. Since you are installing SwaggerHub in online mode, click Download the application from the internet.
Configure SwaggerHub
On the next page, you can specify the configuration settings for SwaggerHub. The required settings for VM installations are:
DNS name for SwaggerHub - Specify a public or internal domain name that will be used to access SwaggerHub on your network. For example, swaggerhub.mycompany.com.
This domain name must already be registered in your DNS service. You will need to point it to the VM’s IP address.
Database settings - Choose between internal or external databases. If using external databases, you need to specify the database connection strings.
Important
It will not be possible to switch from internal to external databases or vice versa after the initial configuration.
SMTP settings - Specify an SMTP server for outgoing email.
Other settings are optional and depend on your environment and the desired integrations. Most settings can also be changed later. See SwaggerHub Configuration for a description of the available settings.
Click Continue at the bottom of the page to proceed.
Preflight checks
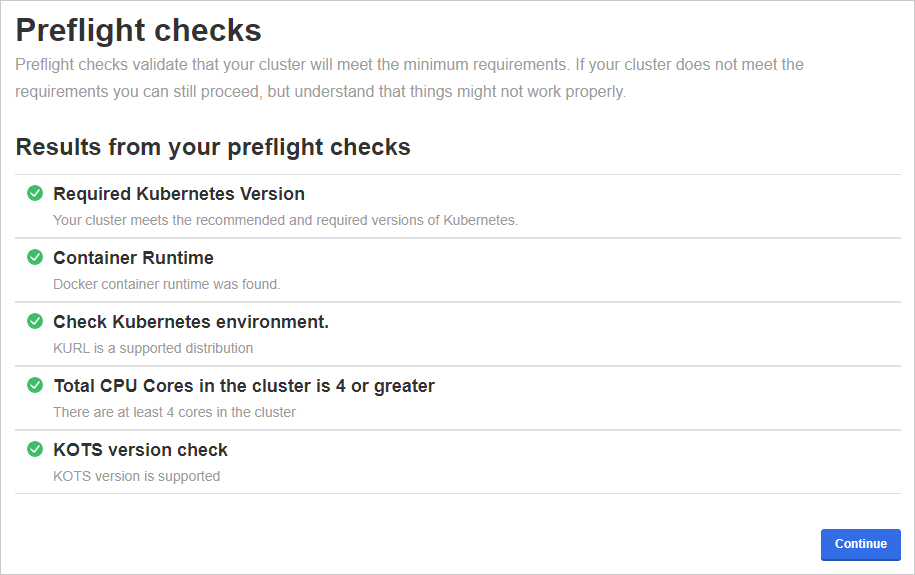
The next step checks your VM to ensure it meets the minimum requirements.
If all preflight checks are green, click Continue.
If one or more checks fail, do not proceed with the installation and contact Support.
 |
Status checks
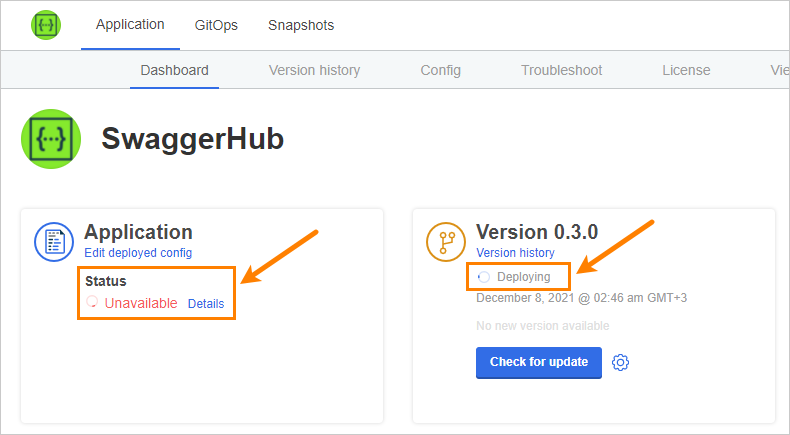
While the installer allocates resources and deploys workloads, the application status on the dashboard will be Unavailable. If it stays in this state for more than 10 minutes, generate a support bundle and send it to the Support team.
 |
Tip: To monitor the deployment progress, you can run
kubectl get pods
a few times until all pods are Running or Completed:
NAME                                       READY   STATUS      RESTARTS   AGE
kotsadm-85d89dbc7-lwvq2                    1/1     Running     0          32m
kotsadm-minio-0                            1/1     Running     6          13d
kotsadm-postgres-0                         1/1     Running     5          13d
spec-converter-api-584cc46657-hbfmd        1/1     Running     0          9m55s
swagger-generator-v3-6fc55cb57d-brwg6      1/1     Running     0          9m55s
swaggerhub-accounts-api-8bb87565b-xthkv    1/1     Running     0          9m55s
swaggerhub-api-service-546b56b94b-6jxch    1/1     Running     0          9m55s
swaggerhub-configs-api-794847bd79-jnlhl    1/1     Running     0          9m55s
swaggerhub-custom-rules-5ccfd45599-d5bxc   1/1     Running     0          9m55s
swaggerhub-frontend-69b7c55595-n7vsj       1/1     Running     0          9m55s
swaggerhub-notifications-bbd5f8794-ggz99   1/1     Running     0          9m55s
swaggerhub-operator-758c997747-hnjt7       1/1     Running     0          9m55s
swaggerhub-pre-install-r9c2f               0/1     Completed   0          13d
swaggerhub-pre-upgrade-cg664               0/1     Completed   0          10m
swaggerhub-products-api-6dd446b654-7w7wn   1/1     Running     0          9m55s
swaggerhub-registry-api-886997fd7-8q8c7    1/1     Running     0          9m54s
swaggerhub-virtserver-79fdf54f98-wpmt8     1/1     Running     0          9m54s
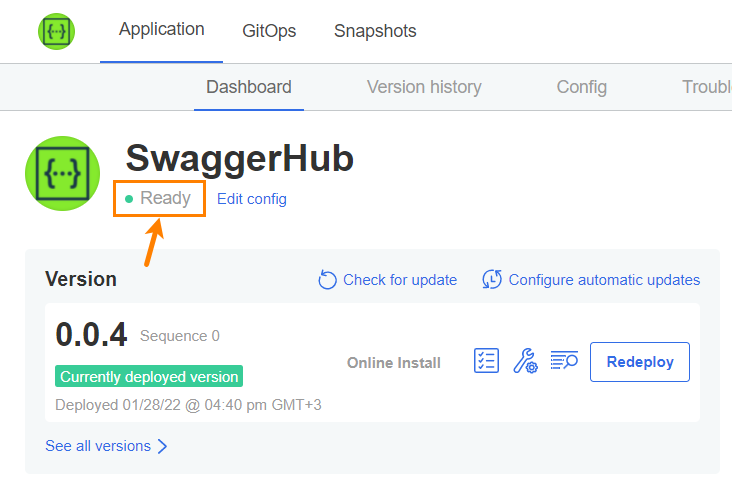
Once the application has become ready, the status indicators on the Dashboard become green.
 |
Create admin user and default organization
Reload your shell:
bash -l
Run the following command to create an admin user and a default organization in SwaggerHub. Note the space in -- cmd.
Example:
kubectl exec -it deploy/swaggerhub-operator -- cmd create-admin-user admin -p p@55w0rd [email protected] myorg
The admin username must be between 3 to 20 characters and can only contain characters
A..Z a..z 0..9 - _ .The admin password must be at least 7 characters long with at least 1 lowercase letter and 1 number. If the password contains characters that have a special meaning in Bash (such as
! $ &and others), enclose the password in single quotes (like-p '$passw0rd') or escape the special characters.
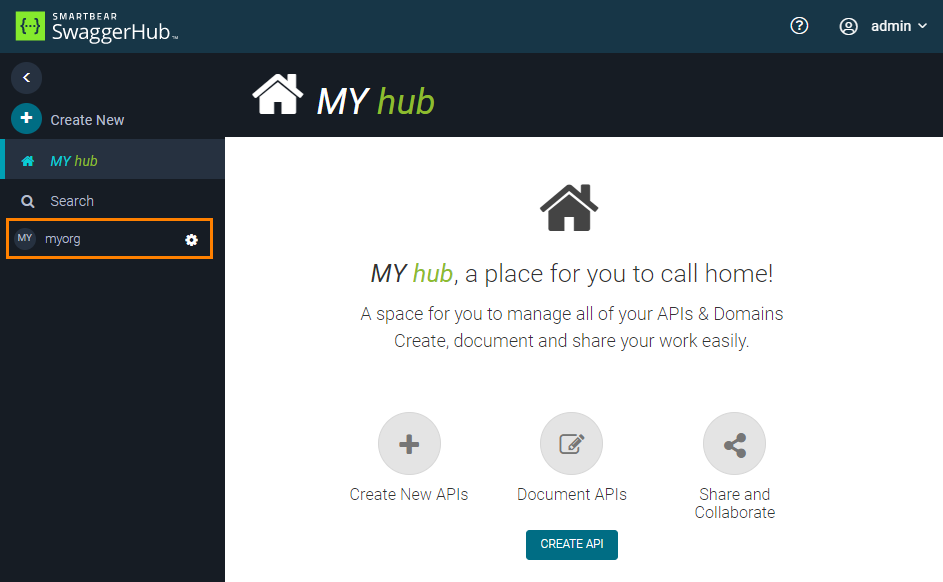
Once done, open the SwaggerHub web application at http://VM_DNS_OR_IP and log in using the admin username and password. You should see the created organization in the sidebar:
 |
What’s next
Now that SwaggerHub is up and running, you can:
Add users to your organization in SwaggerHub and set their roles – either manually or using the User Management API.
Configure single sign-on using SAML, LDAP, or GitHub.