Migrate SwaggerHub On-Premise to Ubuntu 20
Note
This guide is for customers who are in the process of upgrading from v. 1.26 and earlier versions to 1.29.2.
Fresh installations of v. 1.29.x, 1.28, or 1.27 do not need migration as they are already using Ubuntu 20.
Earlier versions of SwaggerHub On-Premise (up to 1.26) were delivered with the Ubuntu 16 operating system. Newer versions use Ubuntu 20. Because of this, the upgrade path to the latest version requires migrating the instance to Ubuntu 20.
Ubuntu 20 migration is done at the last stage of the upgrade process, that is:
Version up to 1.26 (Ubuntu 16)
         ↓
Version 1.29.2 (Ubuntu 16)
         ↓
Ubuntu 20 migration
         ↓
Version 1.29.2 (Ubuntu 20)
Important
Migration to Ubuntu 20 is mandatory. Ubuntu 16-based instances of SwaggerHub On-Premise are not eligible for technical support.
Before the migration
This guide assumes you have already upgraded the SwaggerHub application on your instance to v. 1.29.2. If you have not done so yet, follow these instructions:
1.18 and earlier versions — contact Support for assistance with the upgrade.
Important
License: As part of the Ubuntu 20 migration, you will need to activate your SwaggerHub On-Premise license again. You should have the license file in a prior email from SmartBear or saved locally. If you do not have the license file, contact Support.
Notify your users of the planned maintenance time.
Create a full VM snapshot of your SwaggerHub On-Premise instance. If you encounter issues during the migration, you can restore the working state of your instance from this snapshot.
Key points
Migration to Ubuntu 20 consists of the following steps:
Back up your instance data and configuration using the built-in backup functionality.
Important: Shut down the old instance to ensure no new data is created during the upgrade.
Launch a new 1.29.2 instance.
Activate the license on the new instance and configure this instance.
Restore the data and configuration from the backup.
Update the related infrastructure (such as the DNS name target and security groups).
Verify the new instance is working as expected.
The rest of this guide explains these steps in more detail.
1. Back up the data and download the backup
In the Admin Center, go to the System page.
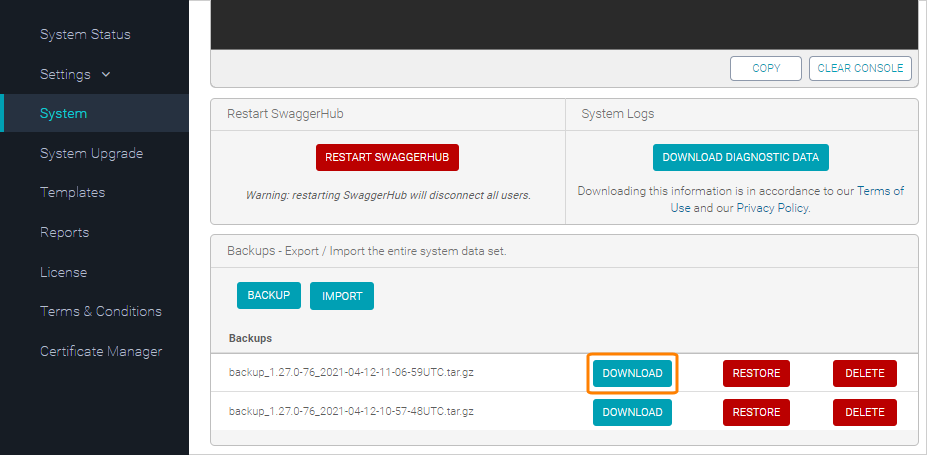
Click Backup.
After the backup is created, download it.

Important
The backup does not include NTP settings and SSH users. Make a note of your NTP settings and SSH user list on the Settings page of the Admin Center, so you can restore them manually later.
2. Shut down the instance
After you have downloaded the backup, shut down or stop your SwaggerHub On-Premise instance. This ensures that no new data (such as API definitions, comments, or users) is created in SwaggerHub during the migration, and that the backup has all the latest data.
3. Launch a new 1.29.2 instance
Next, launch a new instance of SwaggerHub On-Premise 1.29.2 with Ubuntu 20. See the instructions for your platform:
The new instance must have the same hardware specifications (CPU, memory, disk size) as the old instance.
Make sure your security groups or firewall rules allow inbound access to the new instance on ports 80, 8080, 443 (HTTPS), 22 (SSH), and any other ports you need. Port 8080 is temporarily needed for migration and can be removed afterwards.
Note down the IP address of the new instance.
4. License and configure the new instance
Navigate to http://<NEW_IP_ADDRESS>/ui/index.html and follow the prompts to activate your existing license on the new instance. For details, see:
After that, you will be prompted for the initial configuration values:
You can specify arbitrary values at this point - these configuration values do not have to match the ones used in your old instance. You can choose to provide the same values, but this is not required. The entire initial configuration is temporary and will later be overwritten with the settings from the backup.
5. Restore all data from the backup
Access the Admin Center on port 8080 of the new instance using the admin credentials you specified on the previous step (during the initial configuration):
http://NEW_IP_ADDRESS:8080/ui
Important
Use port 8080 instead of the default port 80.
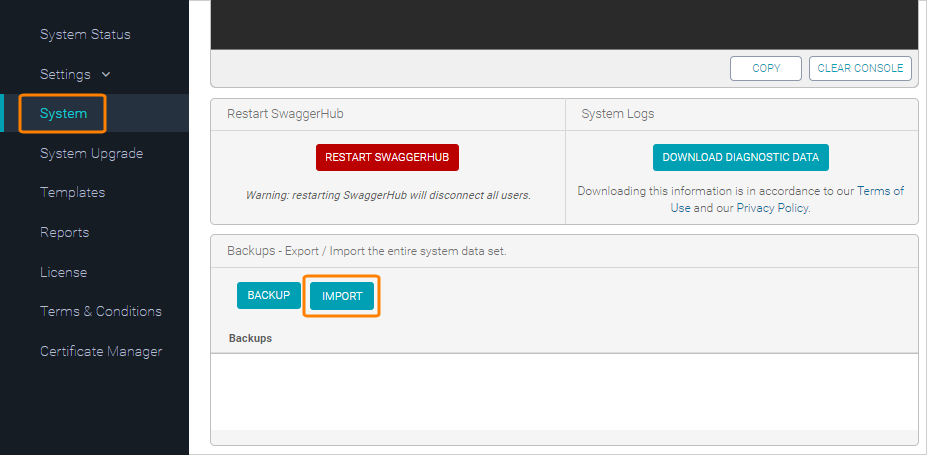
On the System page, click Import and upload the backup (the .tar.gz file) of your old instance:

This backup will appear in the backups list.
Click Restore next to the imported backup and confirm the restore operation.
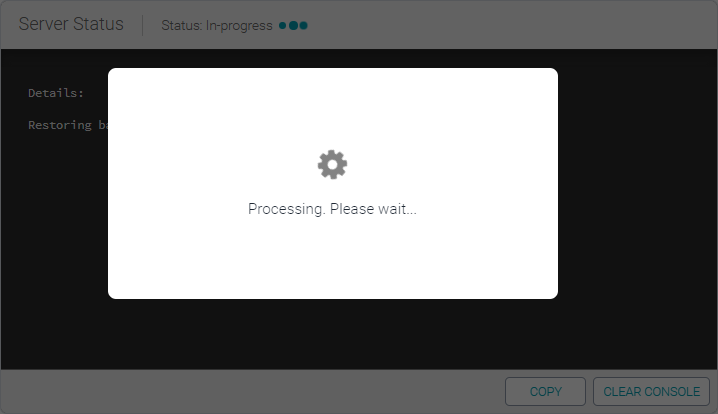
You will see the "Processing. Please wait..." popup. It stays visible for the entire duration of the restore. The restore may take a few minutes to complete, depending on the amount of data.
Do not close browser or navigate away while the restore is in progress.

Wait until this popup disappears.
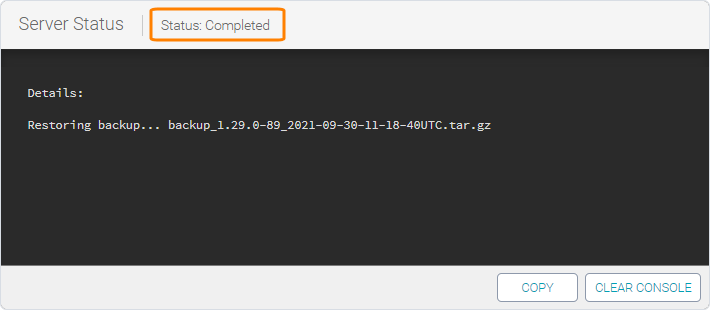
After the restore is complete, the Server Status changes to Completed:

Refresh the page.
Log in to the Admin Center again, but this time using your old admin credentials to verify they have been restored from the backup.
If needed, re-add the NTP servers and SSH users on the Settings page of the Admin Center. For details, see:
7. Post-migration checks
Verify that single sign-on works (if you use it).
Log in to the main SwaggerHub application and verify that all data – organizations, teams and users, APIs and domains – is present.
