Online Installation Into Existing Kubernetes Cluster
Caution
Changes to the Bitnami catalog were announced recently and will take effect on August 28, 2025. Due to these changes, some SwaggerHub On-Prem users may need to take action. Find out if you are affected and learn about the remediation patch.
This guide contains the steps to install SwaggerHub On-Premise to an existing Kubernetes cluster. When complete, the SwaggerHub application will be deployed in the chosen namespace in the cluster.
Prerequisites
This guide assumes a Kubernetes cluster has been prepared as specified in the Minimum Requirements.
All commands assume a jumpbox with connectivity to the cluster, and kubectl installed.
Special Considerations on Using SwaggerHub with AWS Elastic Kubernetes Service (EKS)
Here, you will find outlines of special considerations for using SwaggerHub with AWS Elastic Kubernetes Service (EKS).
How AWS EKS and the ALB Ingress Controller affect SwaggerHub Portal
When using EKS, the Application Load Balancer (ALB) Ingress controller automatically creates an ALB for the SwaggerHub Ingress. However, this ALB typically uses a single host with no subdomains. This means subdomains like *.portal.<SWAGGERHUB_DOMAIN> (used by SwaggerHub Portal) wouldn't be publicly reachable by default.
Note
Update your Ingress controller configuration before upgrading SwaggerHub. For more information, go to Upgrading a 2.x installation and Online Installation Into Existing OpenShift Cluster.
Making SwaggerHub Portal reachable with Route 53
To make your SwaggerHub Portal accessible, you can leverage custom domains in AWS Route 53. These custom domains act as aliases for the ALB, allowing the ALB to route requests based on the Host header in the request.
There are two main approaches to achieve this: using an external DNS automation tool or manual configuration.
Using external-dns for automatic record creation
This approach involves using an external DNS tool called external-dns to automate the creation of the necessary DNS records in Route 53.
Pre-installation and Upgrading
Before installing or upgrading SwaggerHub, you must set up external-dns to manage your Route 53 hosted zones and watch for Ingress resources in your cluster. This requires:
Configuring
external-dnsto have permissionns to manage your Route 53 hosted zones.
Setting it up to specifically watch for Ingress resources.
For detailed instructions, refer to the external-dns documentation https://github.com/kubernetes-sigs/external-dns/blob/master/docs/tutorials/aws-load-balancer-controller.md
Installation
During Swaggerhub installation, you'll need to configure it to work with the external-dns setup:
In the Ingress Settings, under Ingress Custom annotations, add the following annotation:
alb.ingress.kubernetes.io/listen-ports: '[{"HTTP": 80}]'
alb.ingress.kubernetes.io/scheme: internet-facing
alb.ingress.kubernetes.io/target-type: ip
In the Basic settings, choose a subdomain within your Route 53 hosted zone as the DNS name for SwaggerHub.
With this configuration, when Swaggerhub installs its Ingress resource specifying your custom domain as the host, the ALB Ingress controller will create the ALB for exposure and routing. Additionally,
external-dnswill automatically create the corresponding DNS records in Route 53 pointing to the created ALB.
Manual DNS record creation
This approach involves manually creating the necessary DNS records in Route 53 after installing SwaggerHub.
Installation
During SwaggerHub installation, in the Basic settings, choose a subdomain within your Route 53 hosted zone as the DNS name for SwaggerHub.
Post-installation and Upgrading
Identify the hostname assigned to your Swaggerhub ALB:
kubectl get ingress -n <SWAGGERHUB_NAMESPACE> swaggerhub-ingress -o "jsonpath={.status.loadBalancer.ingress[0].hostname}"In your Route 53 hosted zone, create the following Alias records pointing to the identified ALB hostname:
<SWAGGERHUB_DOMAIN>portal.<SWAGGERHUB_DOMAIN>api.portal.<SWAGGERHUB_DOMAIN>*.portal.<SWAGGERHUB_DOMAIN>(This is a wildcard record)
Choosing the right approach
Using external-dns automates the DNS record management, simplifying the process. However, if you prefer manual configuration, the steps above guide you through creating the necessary records after installation.
Prepare the jumpbox
Connect to the jumpbox using SSH as an administrative user.
Make sure
kubectlis set up to contact the cluster. A quick test would list the nodes, expecting to see several listed like this:$ kubectl get node NAME STATUS ROLES AGE VERSION ip-10-100-1-2.ec2.internal Ready <none> 33d v1.21.2-13+d2965f0db10712 ip-10-100-1-3.ec2.internal Ready <none> 33d v1.21.2-13+d2965f0db10712 ip-10-100-1-4.ec2.internal Ready <none> 33d v1.21.2-13+d2965f0db10712
Make sure
kubectlhas permissions to perform the installation. Run the following command - the answer should be yes:$ kubectl auth can-i create clusterrole -A yes
Install KOTS to kubectl
SwaggerHub 2.x uses KOTS to manage the installation, licensing, and updates. KOTS is a plugin for kubectl. SwaggerHub requires KOTS 1.103.0 or later.
First, check if KOTS is already installed:
kubectl kots version
If you see Replicated KOTS 1.x.x and the version is:
1.103.0 or later --> skip to the next section;
earlier than 1.103.0 --> updrade KOTS to the latest version.
If you see the “unknown command” error, proceed to install KOTS.
Launch the installation
Choose a new namespace for SwaggerHub On-Premise that does not conflict with any existing in your cluster. In this guide, we will use swaggerhub.
The following will begin the installation process. It will:
Deploy an administration server to the cluster.
Ask for a new password for the administration service. Provide a new password, record it, and keep it safe.
When the server is ready, it will create a port forward to be accessible from the install VM.
To install, run this command:
kubectl kots install swaggerhub --namespace swaggerhub
You will then be prompted to enter a password for the administration console:
* Deploying Admin Console
  * Creating namespace [x]
  * Waiting for datastore to be ready [x]
Enter a new password to be used for the Admin Console: ********
* Waiting for Admin Console to be ready [x]

* Press Ctrl+C to exit
* Go to http://localhost:8800 to access the Admin Console
At this point, the base installation is finished. You can press Ctrl + C anytime to end the port forwarding session to the Admin Console.
At any time in the future, you can resume port forwarding to the Admin Console with this command and finish the session with Ctrl + C.
kubectl kots admin-console --namespace swaggerhub
• Press Ctrl+C to exit
• Go to http://localhost:8800 to access the Admin Console
Note
If SSH is routing to this console, for example a jumpbox situation, port forwarding will be needed to access the admin console from a local desktop. The example below will show how to tunnel from the administrator’s desktop to the jumpbox VM using SSH, which will then open port 8800 to reach the administrator console.
General example to tunnel from the administrator’s desktop:
ssh -i id_rsa -L 8800:localhost:8800 user@jump_box
Upload the license
Browse to http://localhost:8800 and log in to the Admin Console using the administrator password that you set during deployment.
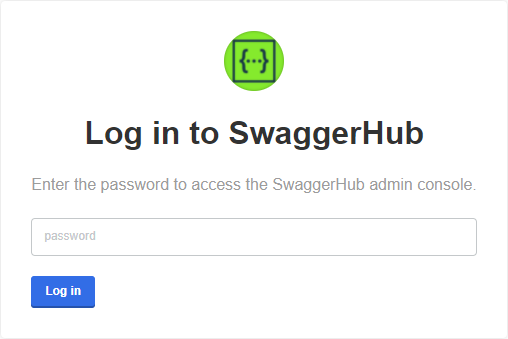
On the next screen, you will be asked to upload your SwaggerHub license file (.yaml):
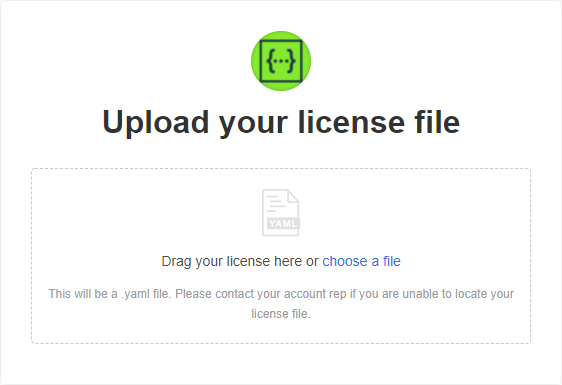
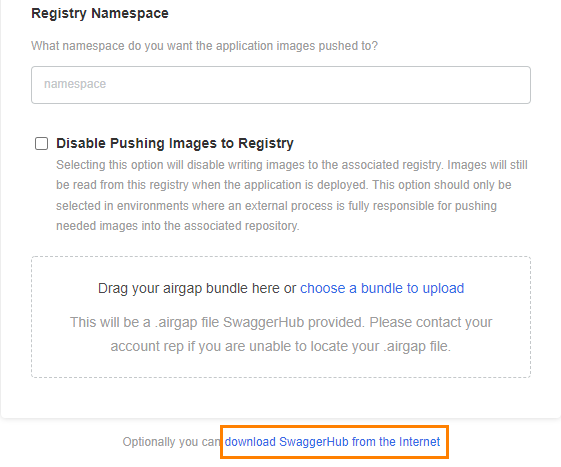
If your SwaggerHub license supports airgapped (offline) installations, you will see an option to proceed with the airgapped setup. Since you are installing SwaggerHub in online mode, click Download SwaggerHub from the Internet.
Configure SwaggerHub
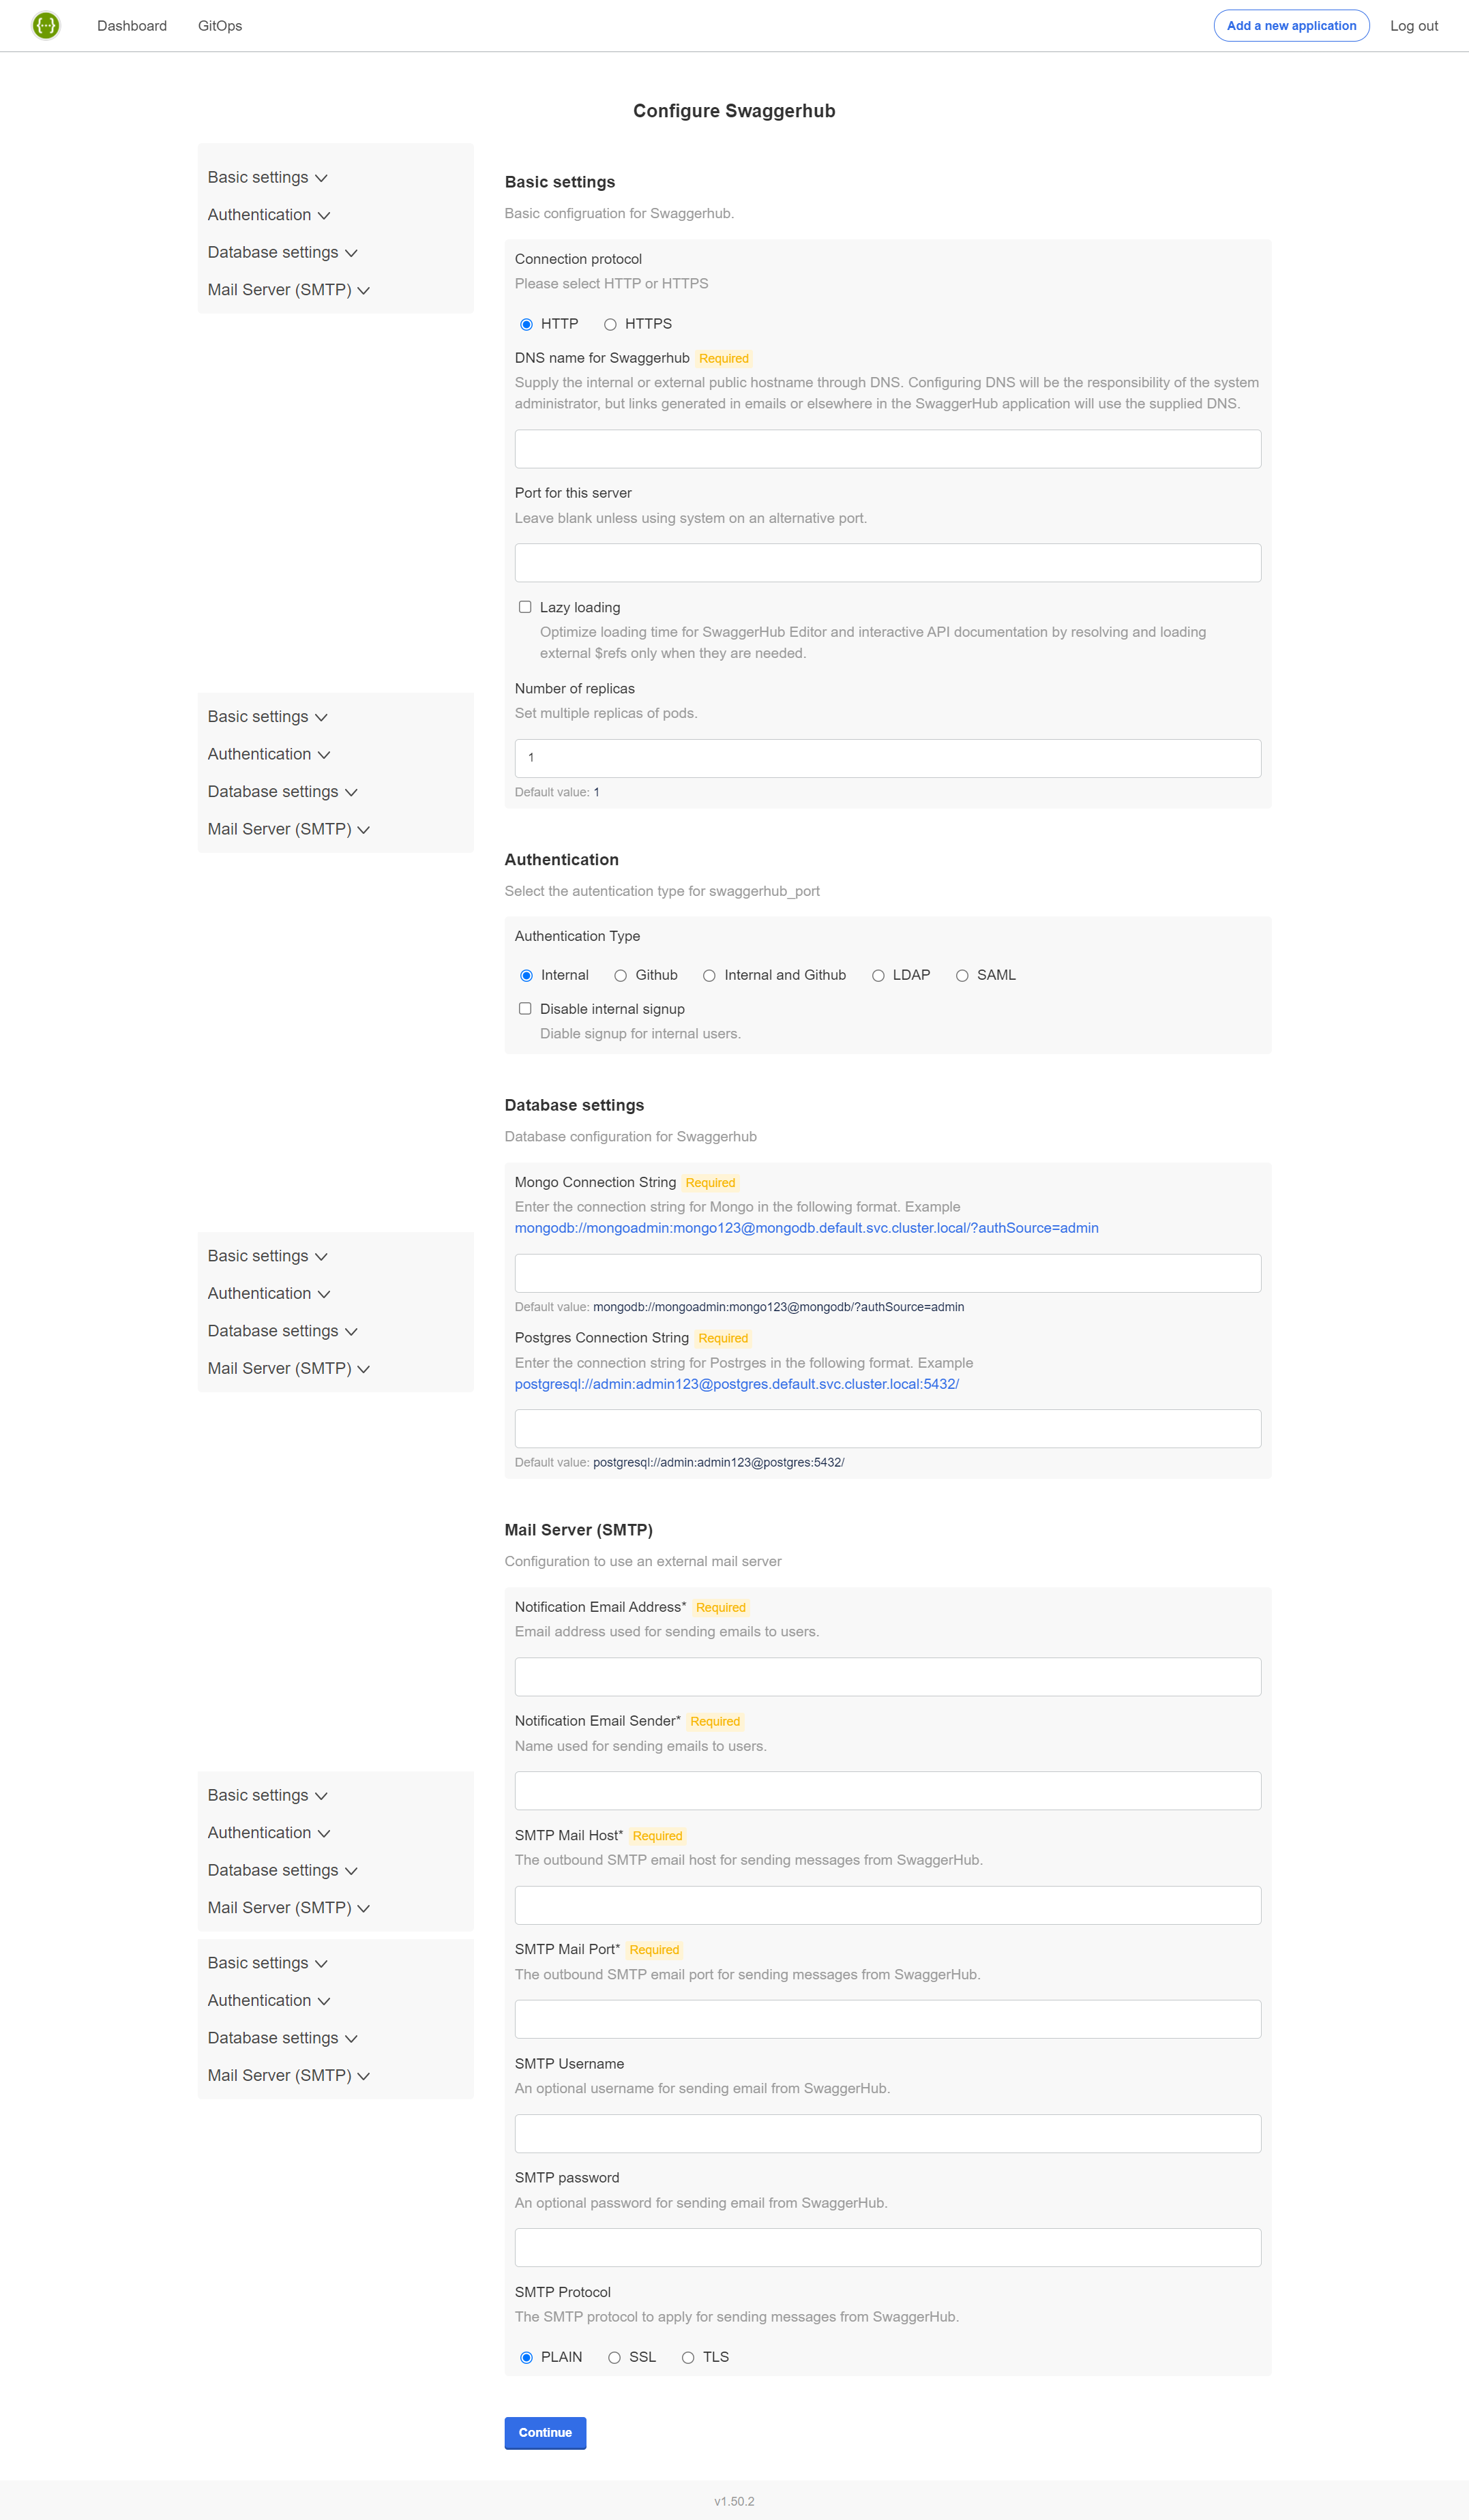
On the next page, you can specify the configuration settings for SwaggerHub. The required settings are:
DNS name for SwaggerHub - Specify a public or internal domain name that will be used to access SwaggerHub on your network. For example, swaggerhub.mycompany.com.
This domain name must already be registered in your DNS service. You will need to point it to the ingress controller.
Database settings - Choose between internal or external databases. If using external databases, you need to specify the database connection strings.
Important
It will not possible to switch from internal to external databases or vice versa after the initial configuration.
SMTP settings - Specify an SMTP server for outgoing email.
Other settings are optional and depend on your environment and the desired integrations. Most settings can also be changed later. See SwaggerHub Configuration for a description of the available settings.
 |
Preflight checks
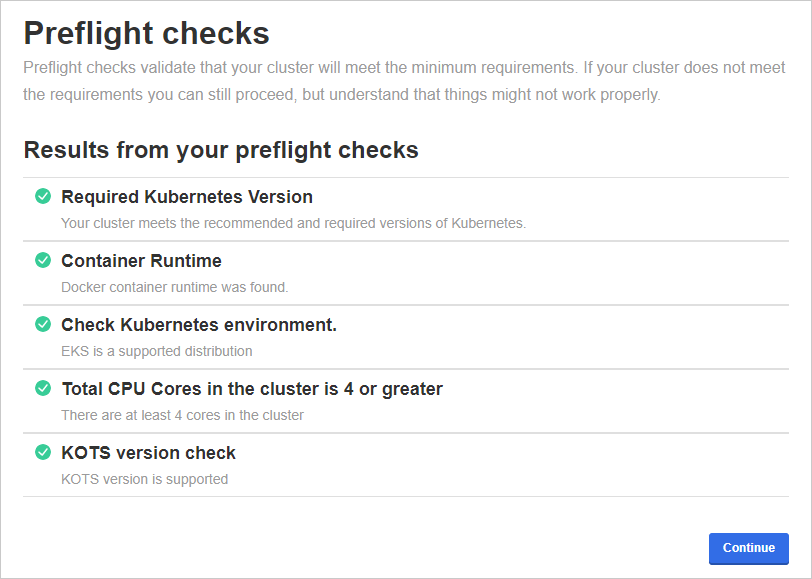
The next step checks your Kubernetes cluster to ensure it meets the minimum requirements.
If all preflight checks are green, click Continue.
If one or more checks fail, do not proceed with the installation and contact Support.
 |
Status checks
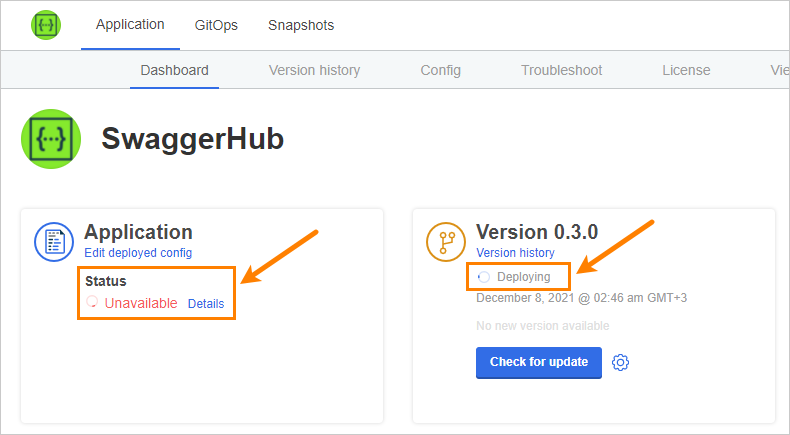
While the installer allocates resources and deploys workloads, the application status on the dashboard will be Unavailable. If it stays in this state for more than 10 minutes, generate a support bundle and send it to the Support team.
 |
Tip: To monitor the deployment progress, you can run
kubectl get pods -n swaggerhub
a few times until all pods are Running or Completed:
NAME                                       READY   STATUS      RESTARTS   AGE
kotsadm-85d89dbc7-lwvq2                    1/1     Running     0          32m
kotsadm-minio-0                            1/1     Running     6          13d
kotsadm-postgres-0                         1/1     Running     5          13d
spec-converter-api-584cc46657-hbfmd        1/1     Running     0          9m55s
swagger-generator-v3-6fc55cb57d-brwg6      1/1     Running     0          9m55s
swaggerhub-accounts-api-8bb87565b-xthkv    1/1     Running     0          9m55s
swaggerhub-api-service-546b56b94b-6jxch    1/1     Running     0          9m55s
swaggerhub-configs-api-794847bd79-jnlhl    1/1     Running     0          9m55s
swaggerhub-custom-rules-5ccfd45599-d5bxc   1/1     Running     0          9m55s
swaggerhub-frontend-69b7c55595-n7vsj       1/1     Running     0          9m55s
swaggerhub-notifications-bbd5f8794-ggz99   1/1     Running     0          9m55s
swaggerhub-operator-758c997747-hnjt7       1/1     Running     0          9m55s
swaggerhub-pre-install-r9c2f               0/1     Completed   0          13d
swaggerhub-pre-upgrade-cg664               0/1     Completed   0          10m
swaggerhub-products-api-6dd446b654-7w7wn   1/1     Running     0          9m55s
swaggerhub-registry-api-886997fd7-8q8c7    1/1     Running     0          9m54s
swaggerhub-virtserver-79fdf54f98-wpmt8     1/1     Running     0          9m54s
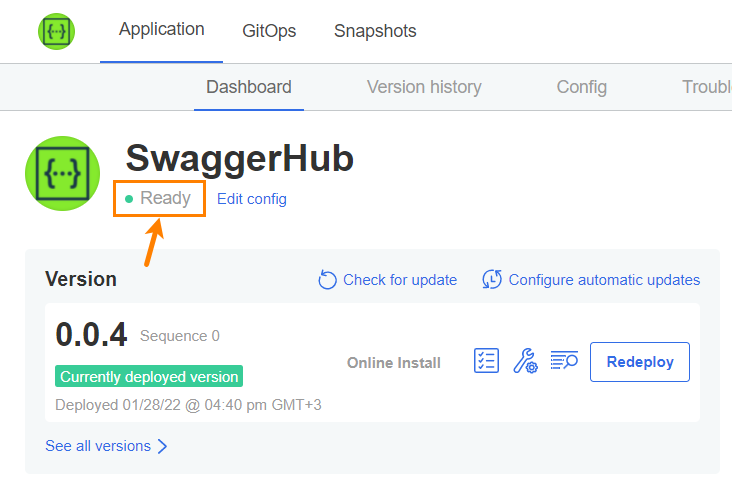
Once the application has become ready, the status indicators on the Dashboard become green.
 |
Create admin user and default organization
Run the following command to create an admin user and a default organization in SwaggerHub. Note the space in -- cmd.
Example:
kubectl exec -it deploy/swaggerhub-operator -n swaggerhub -- cmd create-admin-user admin -p p@55w0rd [email protected] myorg
The admin username must be between 3 to 20 characters and can only contain characters
A..Z a..z 0..9 - _ .The admin password must be at least 7 characters long with at least 1 lowercase letter and 1 number. If the password contains characters that have a special meaning in Bash (such as
! $ &and others), enclose the password in single quotes (like-p '$passw0rd') or escape the special characters.
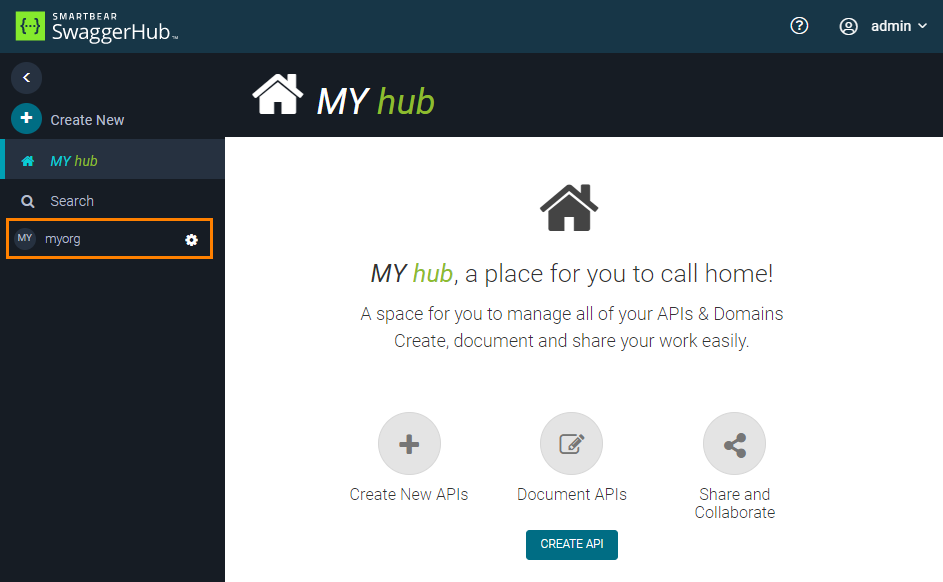
Once done, open the SwaggerHub web application at http://DNS_NAME and log in using the admin username and password. You should see the created organization in the sidebar:
 |
What’s next
Now that SwaggerHub is up and running, you can:
Add users to your organization in SwaggerHub and set their roles – either manually or using the User Management API.
Configure single sign-on using SAML, LDAP, or GitHub.
