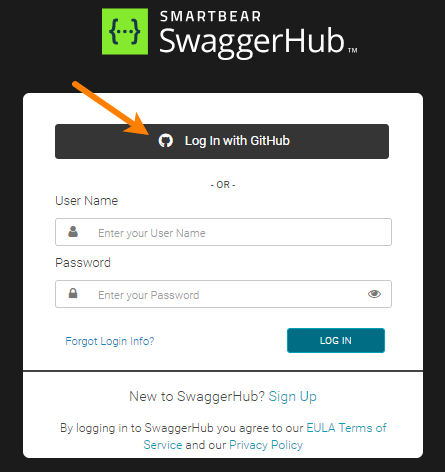
Configure GitHub Integration
Note: This information applies to SwaggerHub On-Premise.
GitHub integration enables the following features in SwaggerHub On-Premise:
GitHub Sync integration,
user sign-in and login via GitHub.
SwaggerHub On-Premise supports both GitHub.com and GitHub Enterprise Server.
Prerequisites
To set up GitHub integration, you must be an organization owner in GitHub and an admin in SwaggerHub.
Considerations
If your SwaggerHub On-Premise instance is accessible from the public Internet and uses GitHub.com as the authentication method, anyone who has a GitHub.com account – including people outside your company – will potentially be able to log in to SwaggerHub.
This is not a concern when hosting SwaggerHub On-Premise behind a firewall or when using GitHub Enterprise Server.
In GitHub
First, you need a GitHub client ID and a client secret. To get them, follow these steps to register SwaggerHub as an OAuth application on GitHub:
Log in to GitHub as an owner of your GitHub organization.
Click your profile photo and select Settings from the menu.
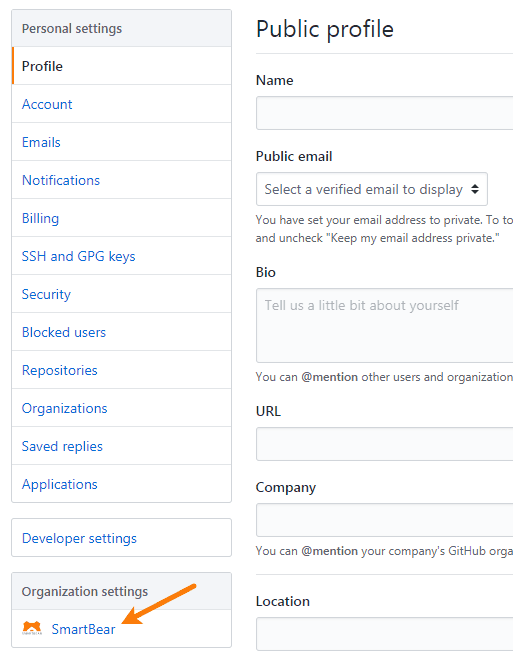
In the sidebar, under Organization settings, click your organization.
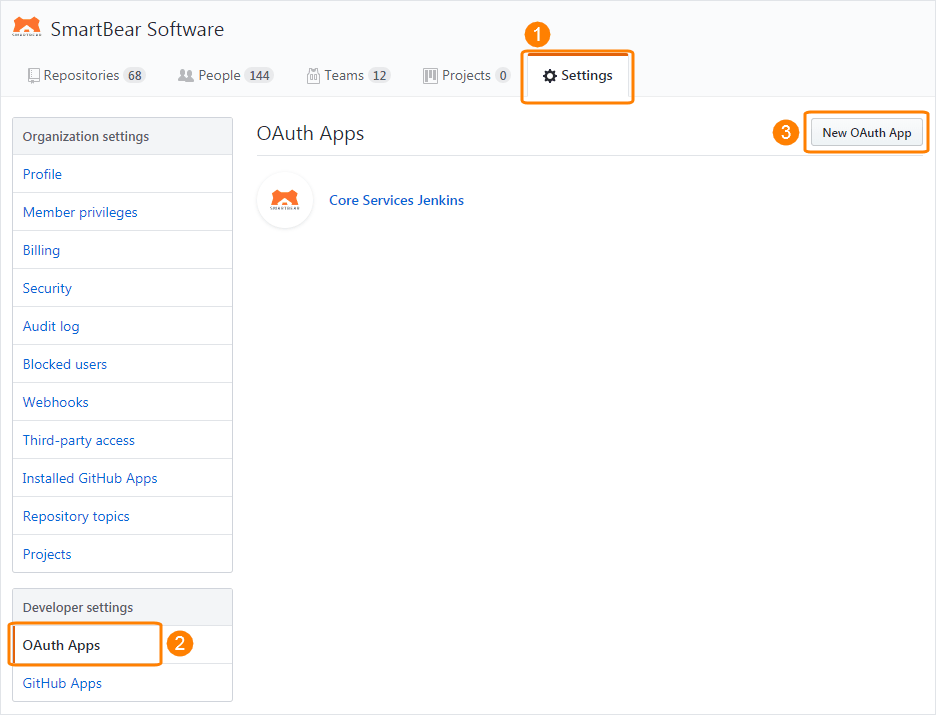
In the sidebar, click OAuth Apps (if you use GitHub.com) or OAuth applications (if you use GitHub Enterprise Server).
Create a new OAuth application.
Enter the following:
Application name –SwaggerHub
Homepage URL –
http(s)://{SWAGGERHUB}Authorization callback URL –
http(s)://{SWAGGERHUB}/apiproxy
Replace
{SWAGGERHUB}with the domain name or IP address of your SwaggerHub On-Premise instance. Use https:// if SSL access is enabled, otherwise, use http://.Click Register application.
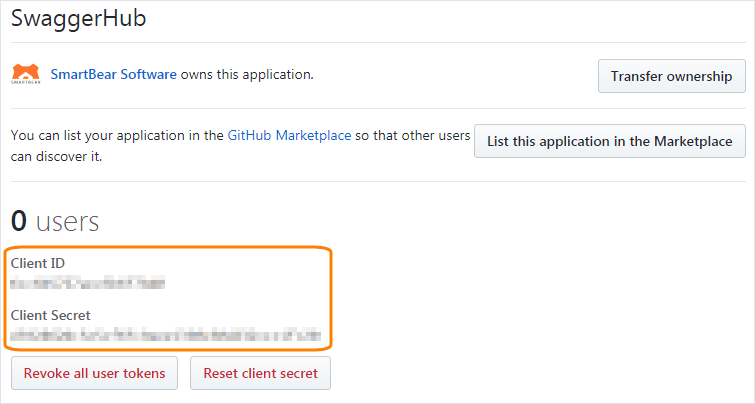
Copy the generated Client ID and Client Secret.
In SwaggerHub On-Premise
Open the Admin Center.
Select Settings > Integrations on the left.
Configure the settings as described below.
GitHub.com
You need to specify only the client ID and secret. The other options are pre-filled, but we provide the values below for reference:
Authentication Type – To enable user authentication via GitHub, use of the following authentication types:
Internal_and_GitHub (default) – both built-in authentication and GitHub authentication can be used.
GitHub – authentication via GitHub only. Built-in authentication is disabled.
Note
GitHub authentication is incompatible with SAML and LDAP single sign-on.
GitHub UI location –
https://github.comGitHub API URL –
https://api.github.comGitHub Client ID and GitHub Client Secret – Paste the client ID and client secret that you generated earlier.
GitHub Authorization Endpoint –
https://github.com/login/oauth/authorizeGitHub Token Endpoint –
https://github.com/login/oauth/access_token
GitHub Enterprise Server
Authentication Type – To enable user authentication via GitHub, use of the following authentication types:
Internal_and_GitHub (default) – both built-in authentication and GitHub authentication can be used.
GitHub – authentication via GitHub only. Built-in authentication is disabled.
Note
GitHub authentication is incompatible with SAML and LDAP single sign-on.
GitHub UI location – Your GitHub server URL, for example,
https://ghe.MyCompany.comorhttp://10.10.10.10:8080.GitHub API URL –
http(s)://{GITHUB-SERVER}/api/v3GitHub Client ID and GitHub Client Secret – Paste the client ID and client secret that you generated earlier.
GitHub Authorization Endpoint –
http(s)://{GITHUB-SERVER}/login/oauth/authorizeGitHub Token Endpoint –
http(s)://{GITHUB-SERVER}/login/oauth/access_token
Replace
{GITHUB-SERVER}above with your GitHub server domain or IP address.Click Save Changes and Restart.
In v. 1.19.1 or earlier, click Save Changes, then switch to the System page and click Restart SwaggerHub.
Wait a few minutes for the system to restart completely.
Using GitHub Integration
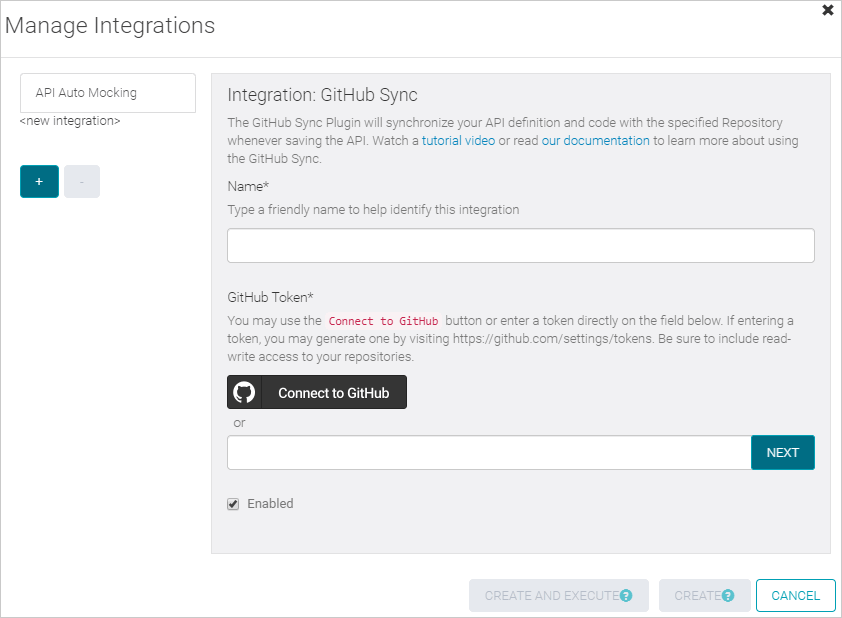
GitHub Sync integration will now work with the GitHub server you chose – GitHub.com or GitHub Enterprise Server.
 |
Additionally, if you use GitHub authentication, users will be able to create SwaggerHub accounts using GitHub and to link their existing accounts to GitHub.
