Custom Branding for API Documentation
For new users, branding is provided by SwaggerHub Portal.
To access the SwaggerHub Portal, enter in the left menu and then click .
Note: Docs Branding on SwaggerHub is available for legacy plans users only.
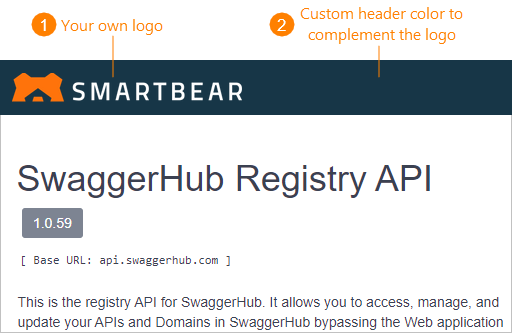
Organizations can add custom branding to their API documentation on SwaggerHub. The branding options include a custom logo and header color that will be displayed in consumer-facing documentation for APIs and domains.

Plans
Docs Branding is available only to organizations on the Enterprise plan.
Logo requirements
PNG or JPG
Less than 2 MB
For the best results, use:
A PNG image with a transparent background
An image up to 230×55 px in size (larger images will be downscaled proportionally to fit this size)
Apply branding
The organization owner can configure the branding options on the Docs Branding page of the organization settings:
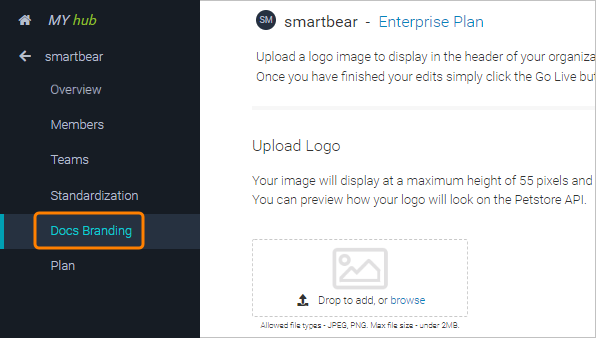
Go to My Hub and click next to your organization name in the sidebar.
Select Docs Branding in the sidebar on the left.

Specify the branding options:
Upload Logo – Drag your image and drop it to the upload area, or click the upload area to select the image manually. Make sure the logo image meets the requirements.
Tip
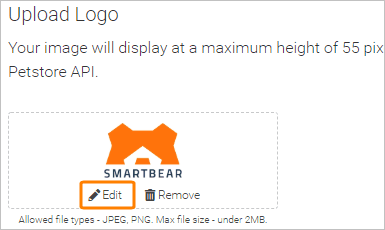
To crop or resize the logo, click Edit and use the image editor (see below).
Alternative Text – text for the
altattribute of the logo’s<img>tag in the HTML code. For example, YourCompanyName.Header Style – the documentation header color as a hexadecimal HTML color code,
#xxxxxx. You can use the Google color picker to find hexadecimal color values.
Click Save Draft. At this point, the branding settings have been saved, but they have not been applied yet.
Click Preview to see how your branding will look like in a sample API.
Finally, click Go Live to apply your custom branding.

The documentation pages for your organization’s APIs and domains will now appear with your custom logo.
Crop or resize the logo
You can crop and resize the uploaded logo as needed. To do that, click Edit under the logo and use the logo editor tool.

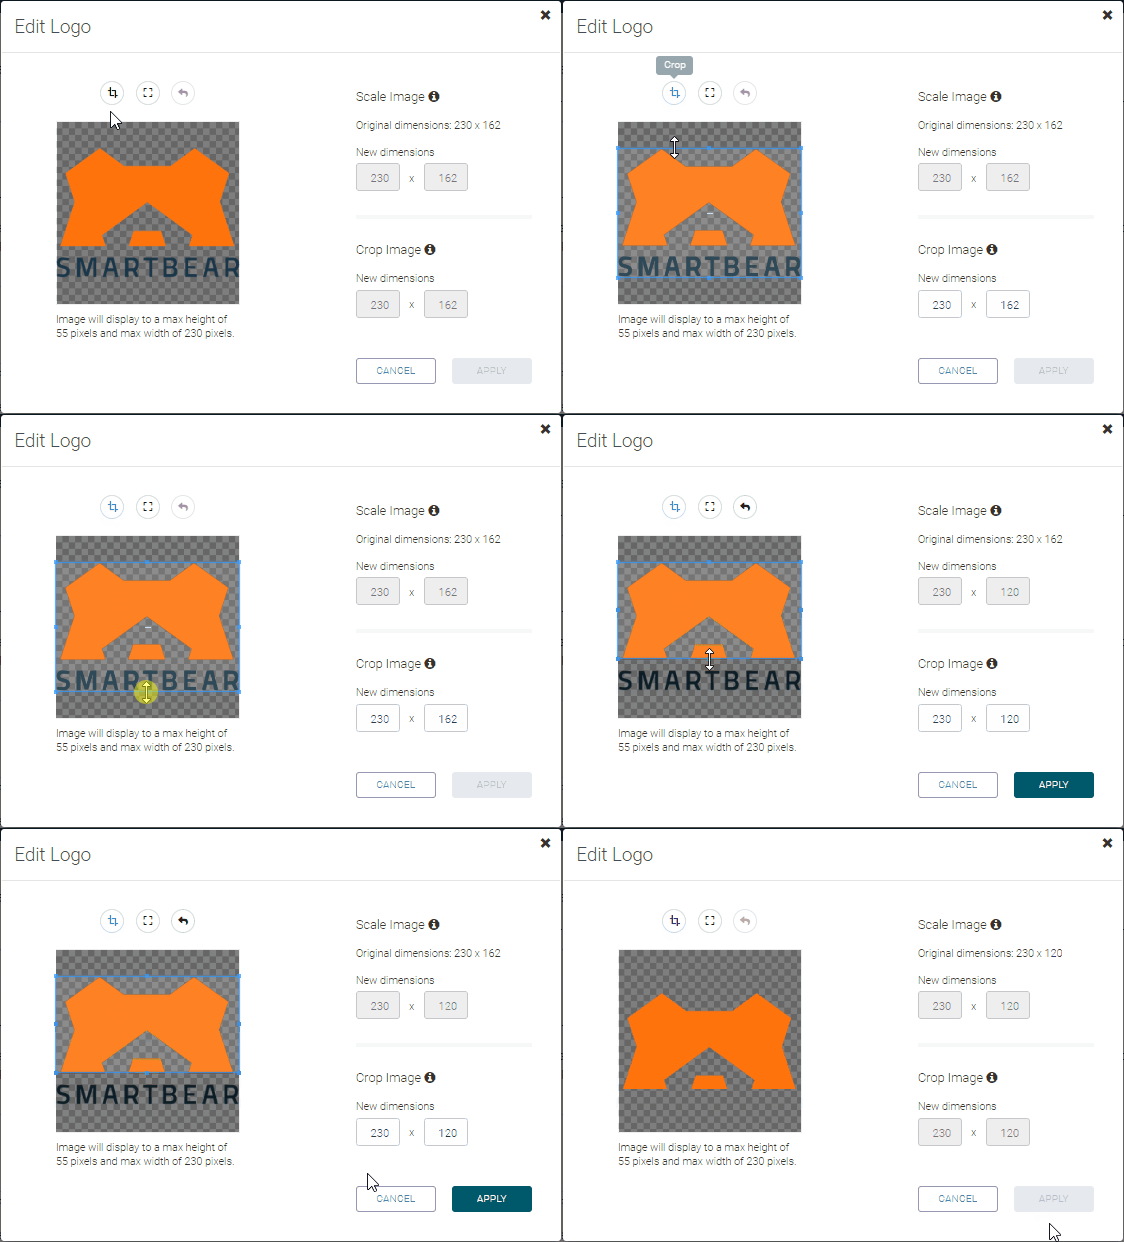
To crop the logo, click Crop, then draw the edges of the crop area, or enter New dimensions manually. You can also click and drag the crop area to a different position. Once ready, click Apply.

To resize the logo, click  Scale, then drag the corners to resize the logo, or enter New dimensions manually. Once ready, click Apply. Note: The maximum logo size is 230×50 px.
The Undo button lets you undo the last action.
Once you are happy with the new logo size, close the logo editor, then click Save Draft and Go Live.
Replace the logo
Open the Docs Branding page of the organization settings.
Drag-and-drop the new logo to the logo area, or click the logo to select a new file manually.
Click Save Draft, then Go Live.
Restore the default style
To restore the default SwaggerHub logo and header color in API documentation:
Open the Docs Branding page of the organization settings.
Remove the logo by clicking Remove.
Delete the Alternative Text and Header Style values.
Click Save Draft, then Go Live.
FAQ
Where are the uploaded logos stored?
SwaggerHub SaaS stores the logos in an Amazon S3 bucket.
SwaggerHub On-Premise stores the logos locally on the SwaggerHub VM.