JTDS Driver
The JTDS driver provides connections for MSSQL databases.
To install the JDBC driver:
Download the JTDS.zip archive.
For other drivers, see the list of supported drivers.
Extract the ZIP file.
Copy the
jtds-x.x.x.jarfile to thebin/extfolder of your ReadyAPI installation.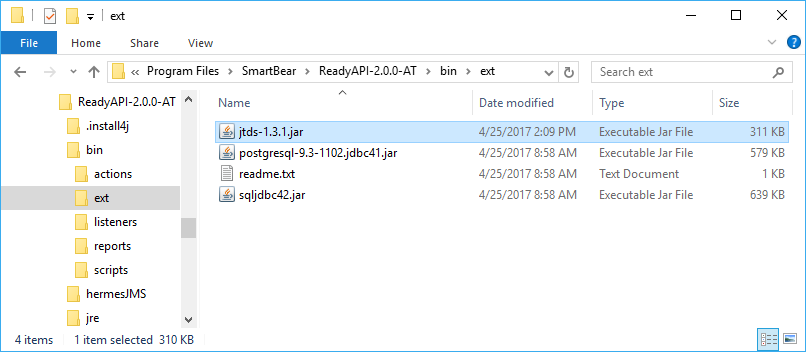
Note
You need to restart ReadyAPI upon installing a
.jarfile.
Connection String Template
To authenticate correctly, you need to add a connection string. You can do this in the ReadyAPI Preferences menu.
Click
 Preferences on the toolbar.
Open the JDBC Drivers settings.
Click
 .
.Enter a descriptive name for the driver.
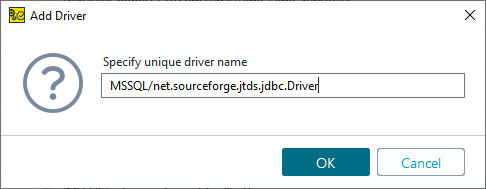
You can use the following name for now:
MSSQL/net.sourceforge.jtds.jdbc.Driver.A new connection will appear at the end of the list.
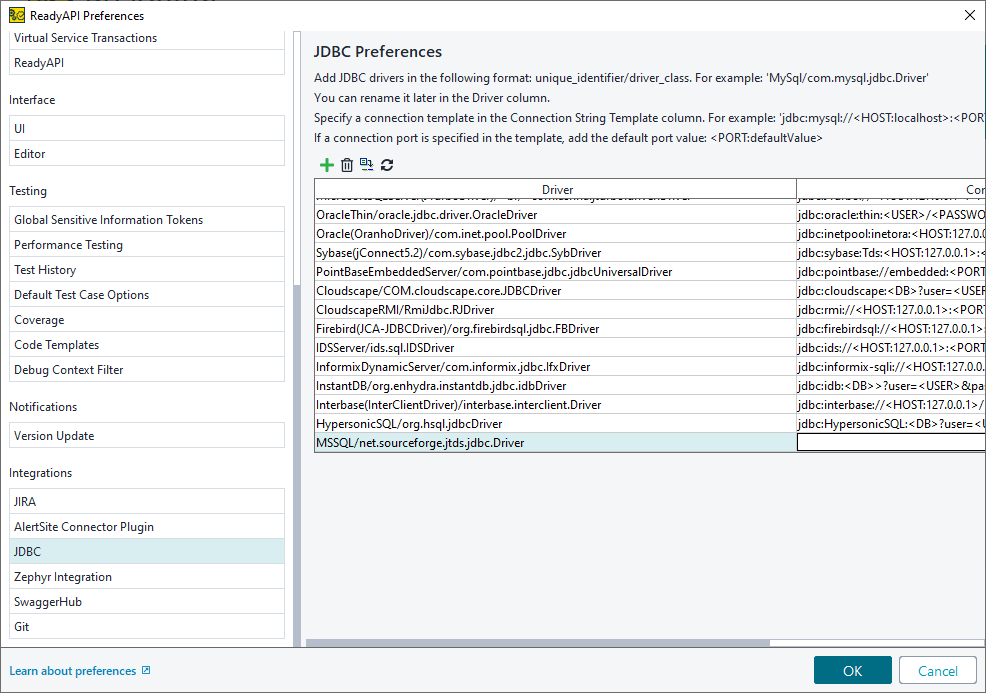
Add a connection string template. It should look like this:
jdbc:jtds:sqlserver://<HOST:127.0.0.1>:<PORT:1433>/<DB>;domain=
<yourdomain>;trusted_connection=yes
Replace
<yourdomain>with your domain name. ThePORTshould be the fixed port you have set up on the server.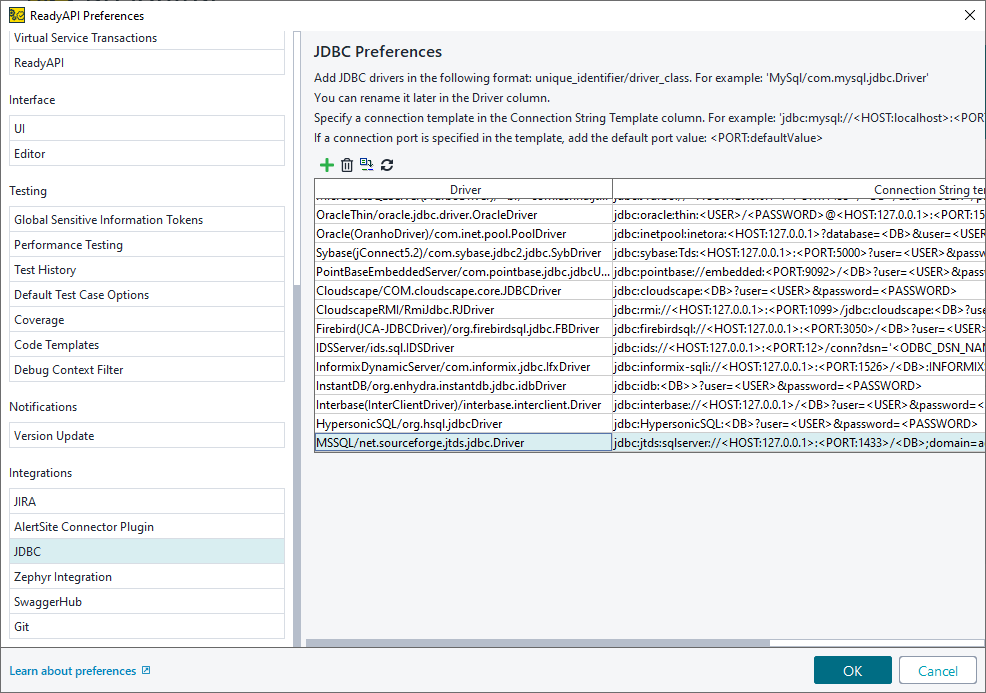
Configuring Windows Authorization
To use Windows (NTLM) authorization with JTDS:
Open the extracted JTDS archive.
Open the directory that is appropriate for your operating system:
x86orx64.Open the
SSOdirectory.Copy the
ntlmauth.dllfile and place it thebinfolder of your ReadyAPI installation.
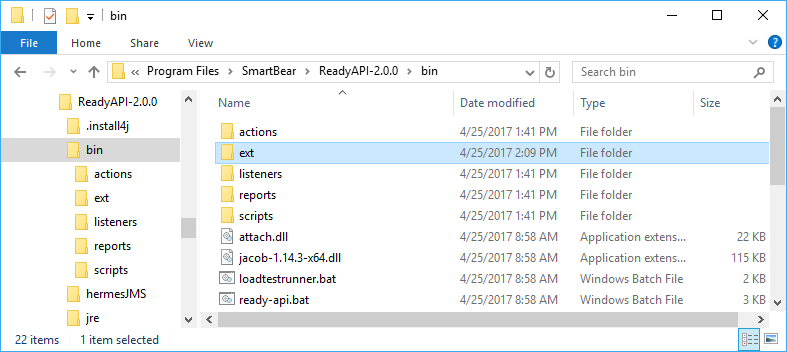 |
Note
If ReadyAPI is running, you need to restart it.