5. Run the Test
Now, you have a test case with a data source, a test step that uses this source, and a data source loop executed during the test run.
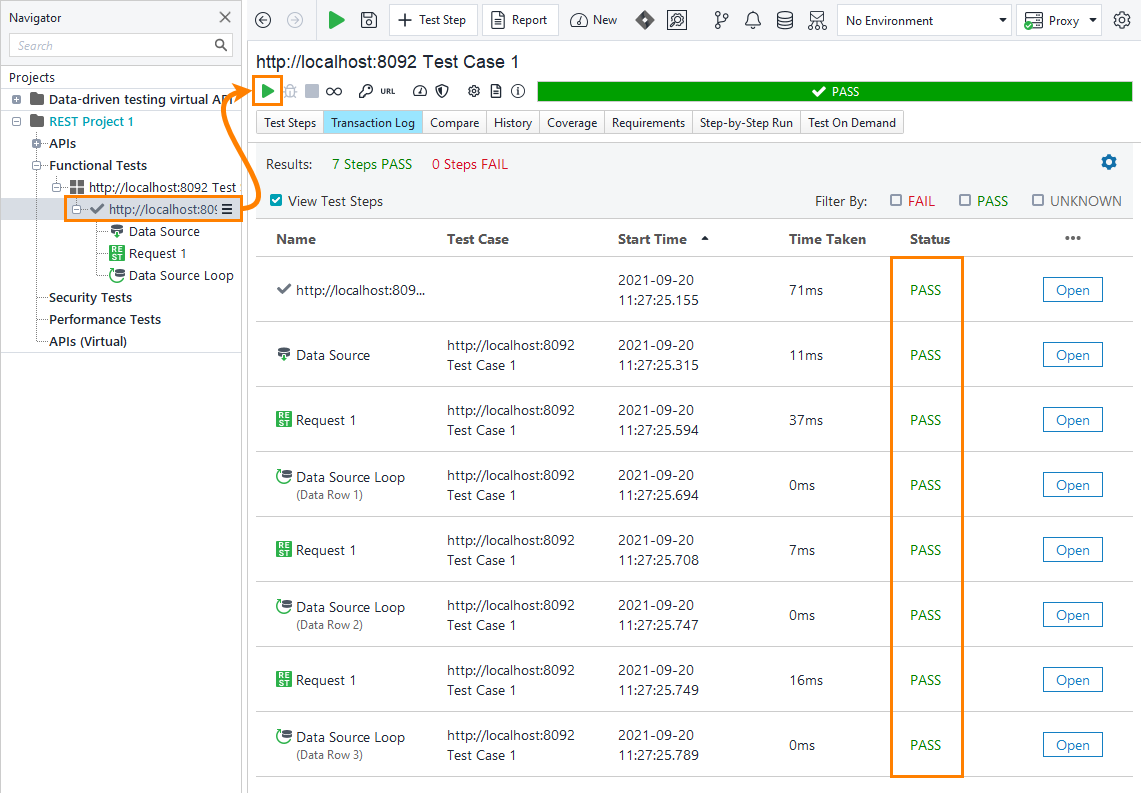
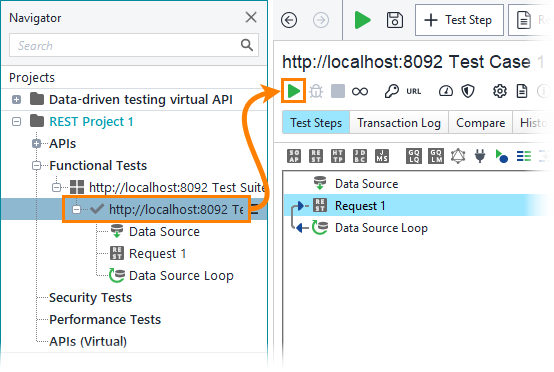
Your test case is ready. Click  on the test case toolbar to run the test.
To see the details of the test run, take a look at the Transaction Log. To open the log, click Transaction Log on the test case toolbar.
 |
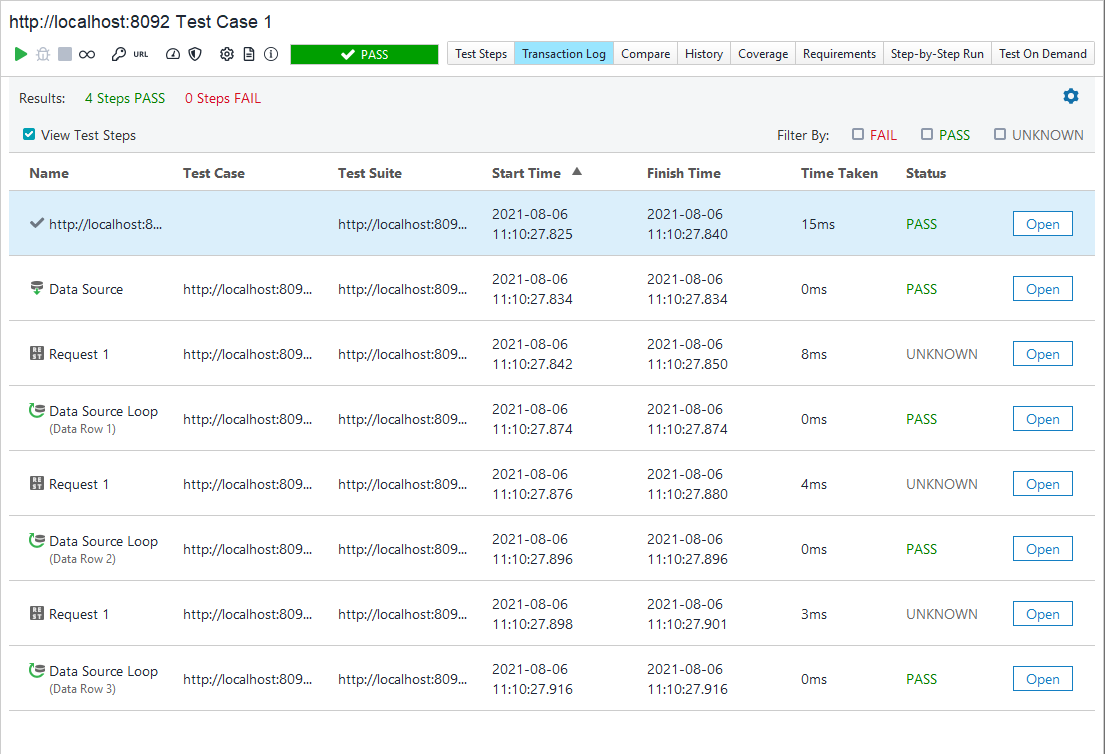
The Transaction Log shows the following test run details:
 |
Important
You did not use any assertions to validate requests, so the assertion status for the request is UNKNOWN. You can see it in the Status column. The data source and the data source loop are always Passed, since it is impossible to assert them.
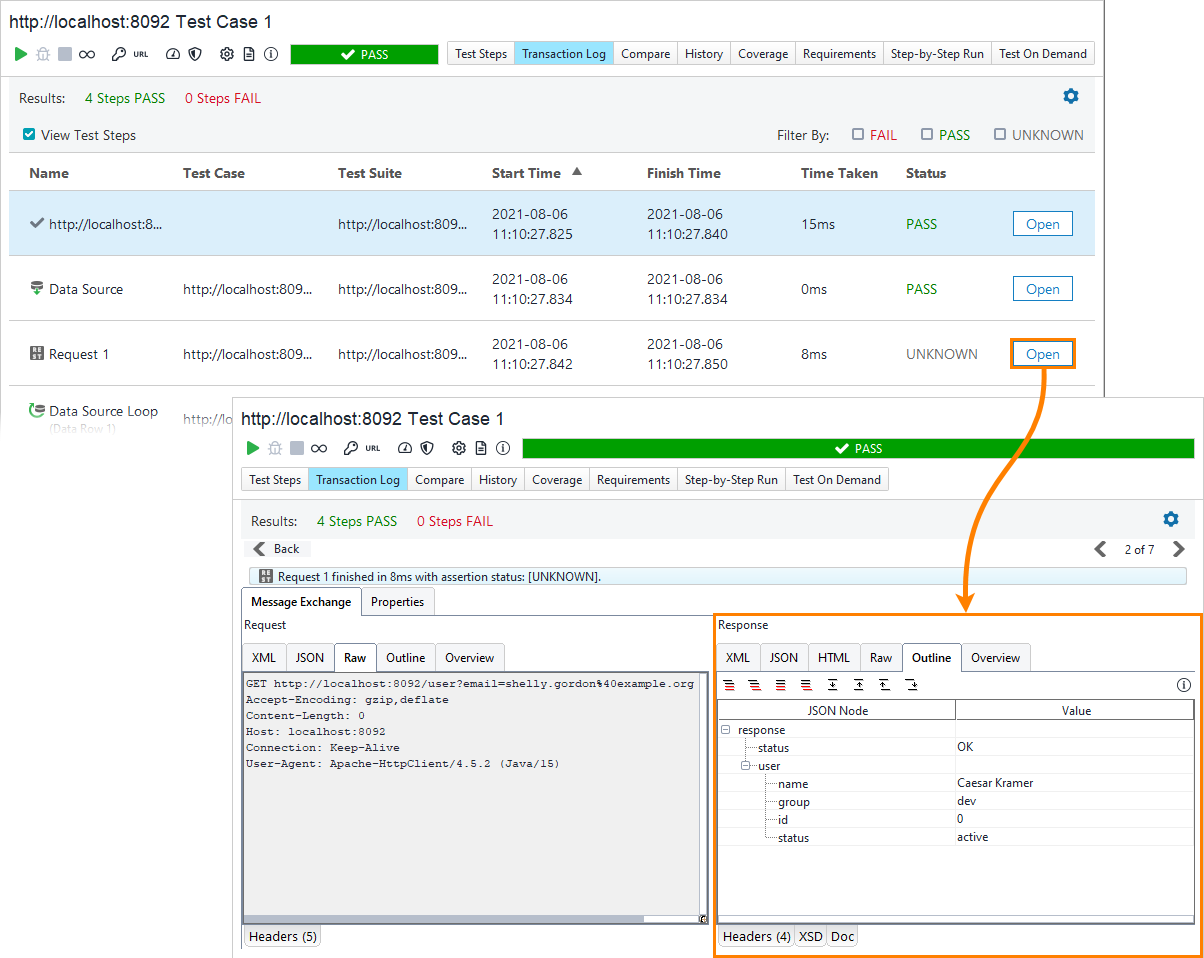
To check the response for a particular request made during the run, click Open in the respective row:
 |
Add an assertion
Let’s add an assertion to verify the server response.
Open the Request 1 test step and click Smart Assertion:
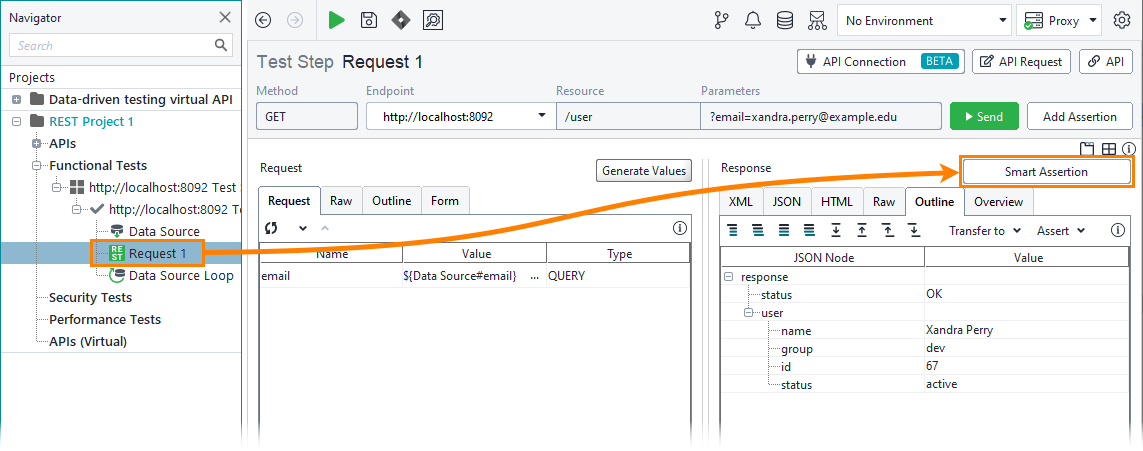
ReadyAPI shows the Smart Assertion dialog.
Select the
namerow and click the ellipsis button in the Valid Value cell: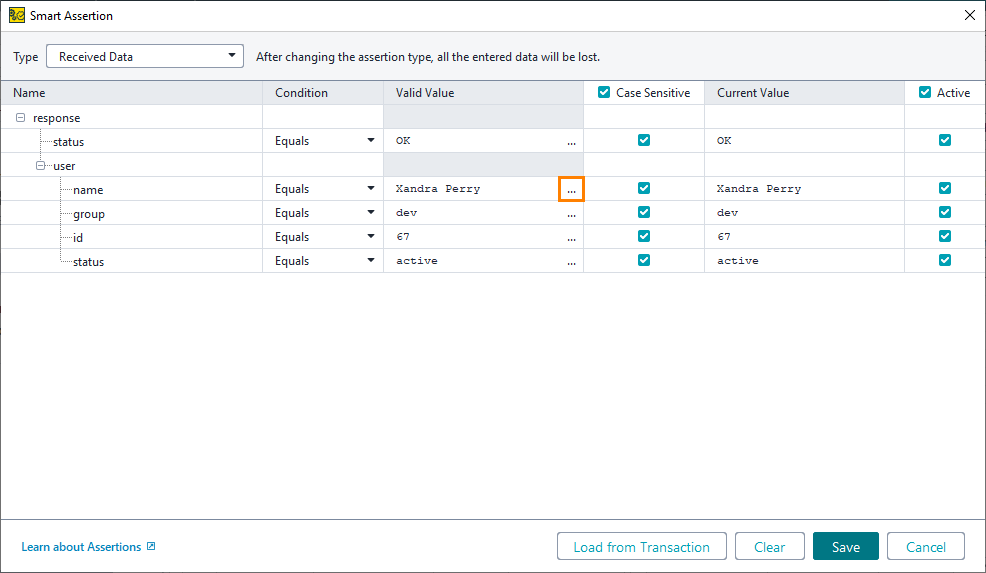
In the Get Data dialog, select the test suite, test case, the Data Source test step and the
Expected nameproperty.
Click Add.
Click Save to create an assertion.
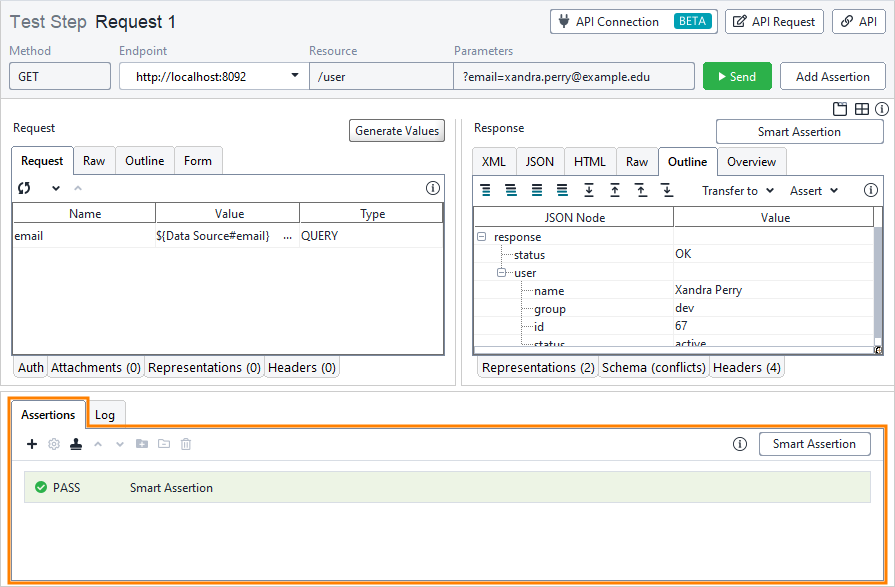
You can find the added assertion in the Assertion panel:
Open the test case and click
 again. After the test run finishes, examine the assertion statuses in the Transaction Log.