Run the Created Load Test
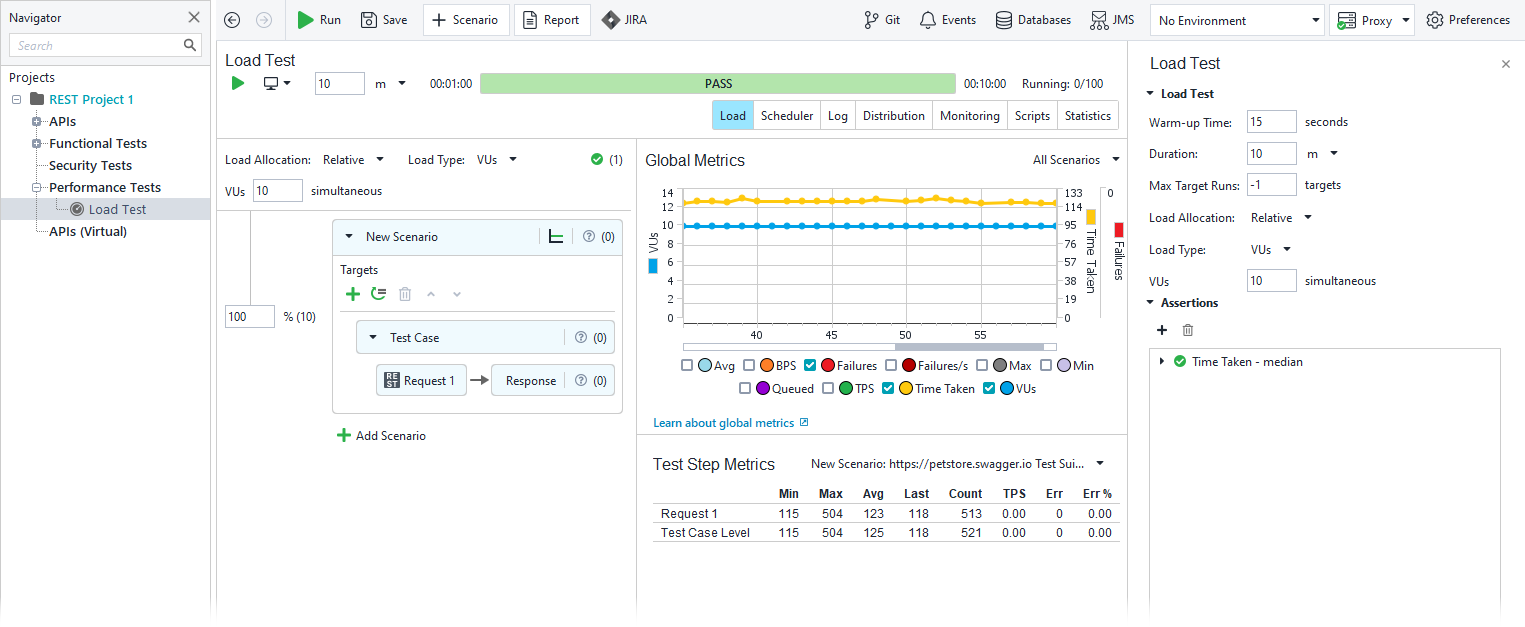
By default, a newly created load test uses the template configuration you selected.
 |
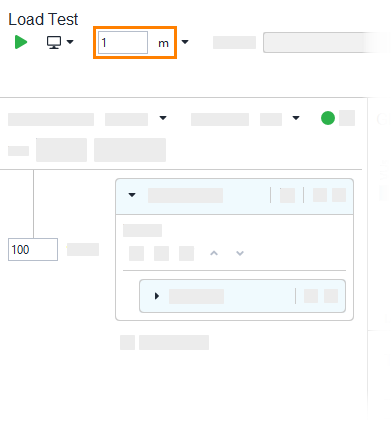
To change the test duration, enter 1 in the load time field:
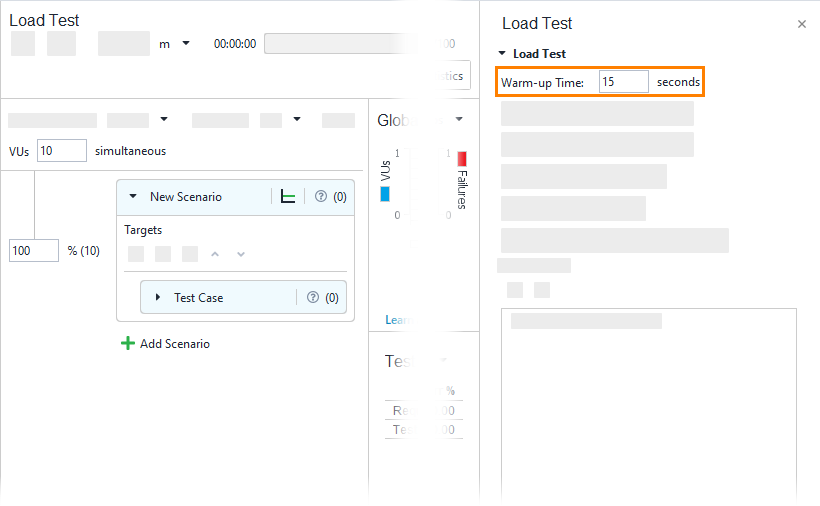
The results of the first seconds do not properly reflect how the server responds to requests since it takes some time to start the required processes. To avoid recording these results, we will specify the test warm-up time.
Click somewhere within the Scenarios panel to open the Load Test editor. In the Warm-up Time field, enter 5 seconds.
A project containing Load Agents will be saved and passed to the configured Load Agents before running.
Click
 to run the test.
Note
Whenever you save a project, the corresponding project files get updated. If and when you connect to Git, Git will detect that change and ask you to commit and push it.
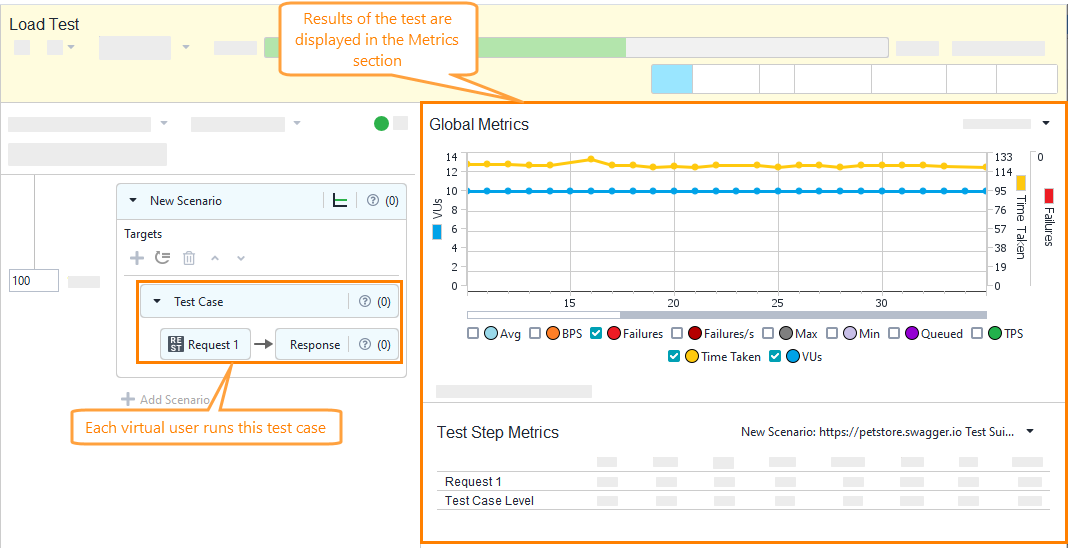
The test run goes without user interaction. ReadyAPI simulates test steps of the underlying functional test case (you can see its name in the Targets section in the Editor). It sends requests to the target web service and gets responses. After starting the test, you see the test results. ReadyAPI displays the results both during the test run and when the test run is over.
 |
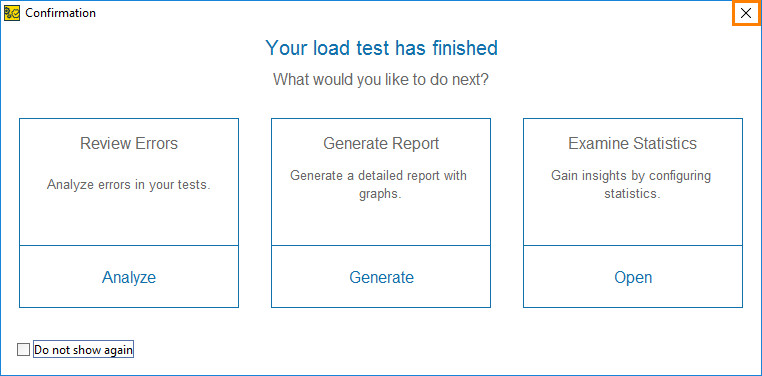
When the test run is over, ReadyAPI displays the Confirmation dialog suggesting that you check errors, create a report, or examine statistics. In this tutorial, we will do it manually, so close the dialog.
 |