Customizing Templates Tutorial
ReadyAPI supports a high degree of report customization. You can create as many reports and subreport templates as you need. These reports can contain data from internal data sets and from any external source (for example, a database).
In this tutorial, you will learn how to use various template customization options available in ReadyAPI.
To learn how to customize your reports, create a simple custom report at the project level. To do that, first, you need to add a new project level report:
From the main menu, select Project > Reporting.
In the Reporting window, click
 to add a new report template.
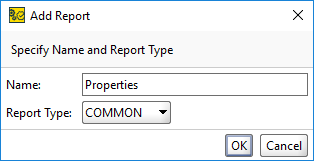
In the subsequent Add Report dialog, enter a report name –
Propertiesand select a report type –COMMON. Click OK.Note
reports are available at all levels.
In the subsequent Choose Subreports dialog, select the PropertiesReport (TestProperties) subreport. Click OK.

The new template is now in the editor. Click OK to close the Reporting window.
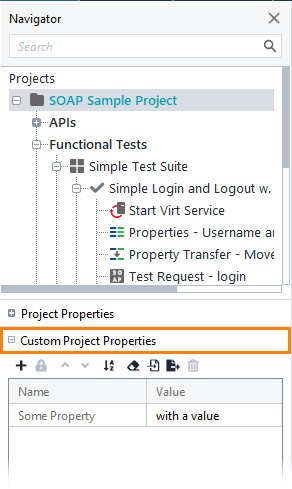
In the Navigator panel, click the project name (SOAP Sample Project) and open the Custom Project Properties panel at the bottom.
Click
 to add a custom property and enter a property name –
 My Propertyand a value –Property Value.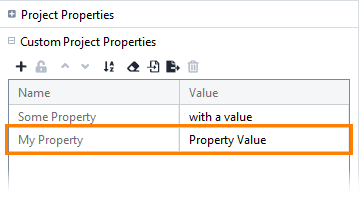
Click
 on the project editor toolbar to create a report.
In the subsequent Create Report dialog, select the Properties type. Click OK.
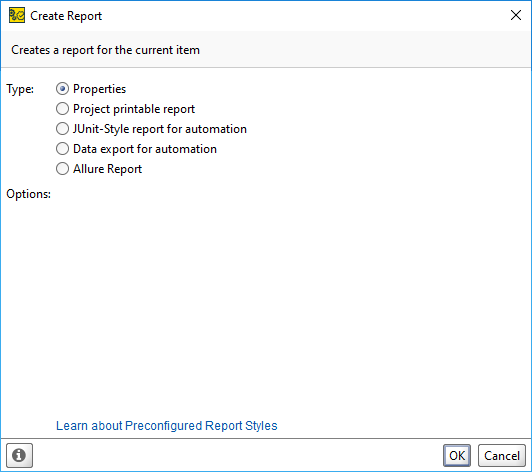
ReadyAPI will create a report and display it:
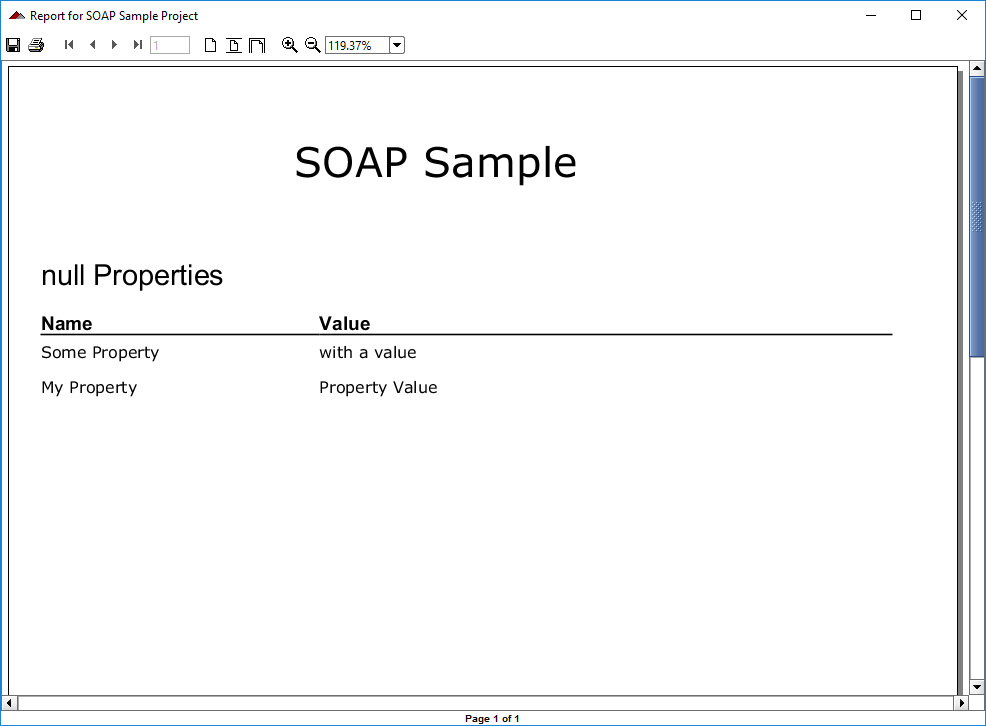
The
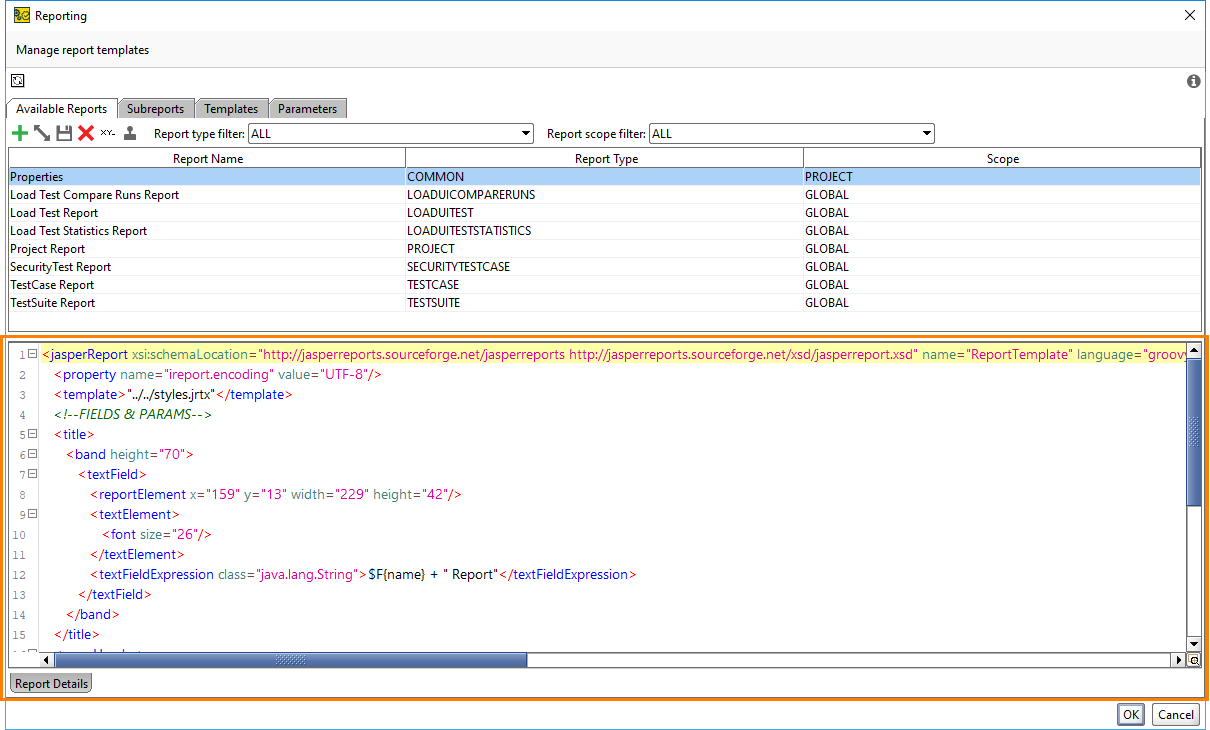
null Propertiesstring is invalid. Select Project > Reporting from the top menu and switch to the Subreports tab to fix this.Find the PropertiesReport report in the table. To do this quickly, filter the reports by their type and scope:
Select COMMON from the Report type filter drop-down list.
Select GLOBAL from the Report scope filter drop-down list.
Click the report in the table.
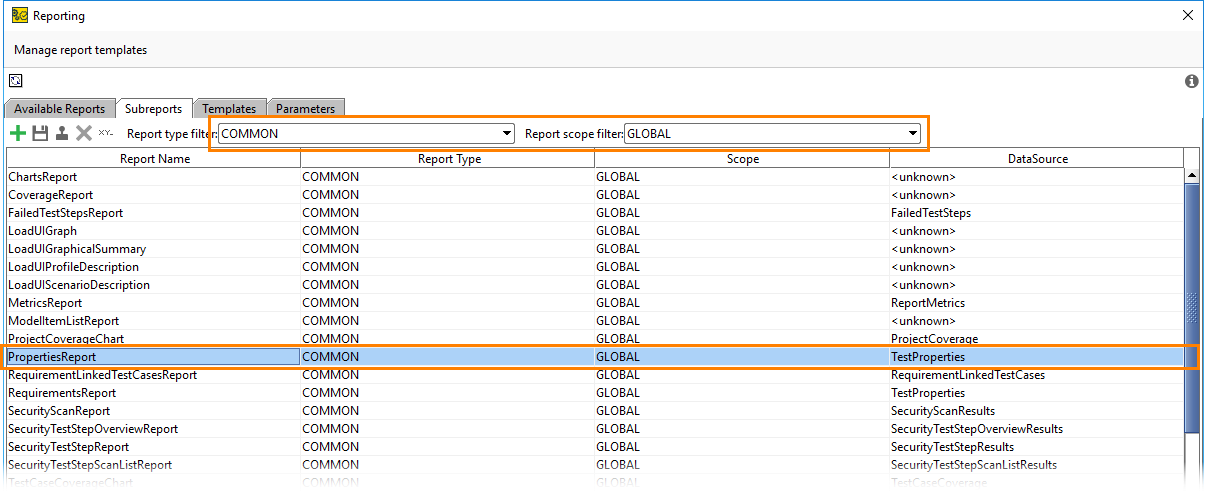
In the editor under the table, find the code line that defines the contents of the invalid string.
<textFieldExpression class="java.lang.String">$P{Type} + " Properties"</textFieldExpression>
ReadyAPI passes
Typeas a parameter to the report. For now, add a hard-coded value. Switch to the Available Reports tab and select the Properties report template in the table. Insert the following text into thesubreportelement, which is a child element of thebandelement, and then click OK: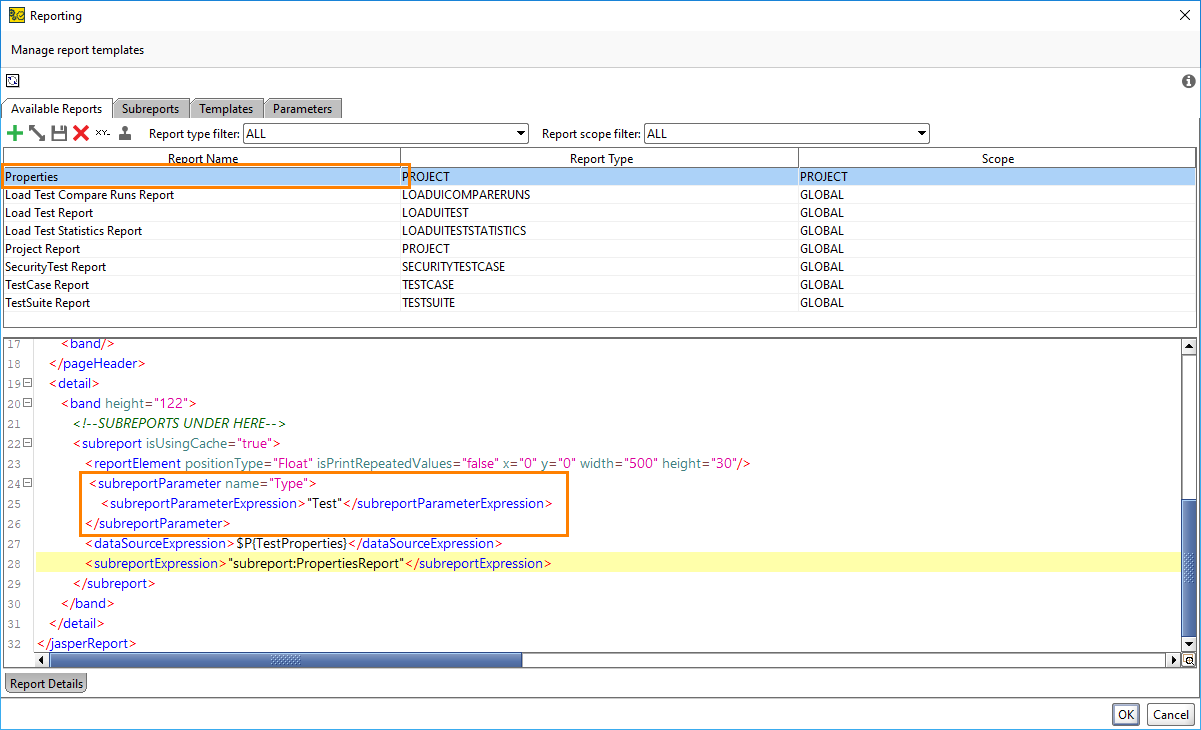
Create a report again. Click
 and make sure the Properties type is selected in the Create Report dialog, click OK. Here is what it should look like:
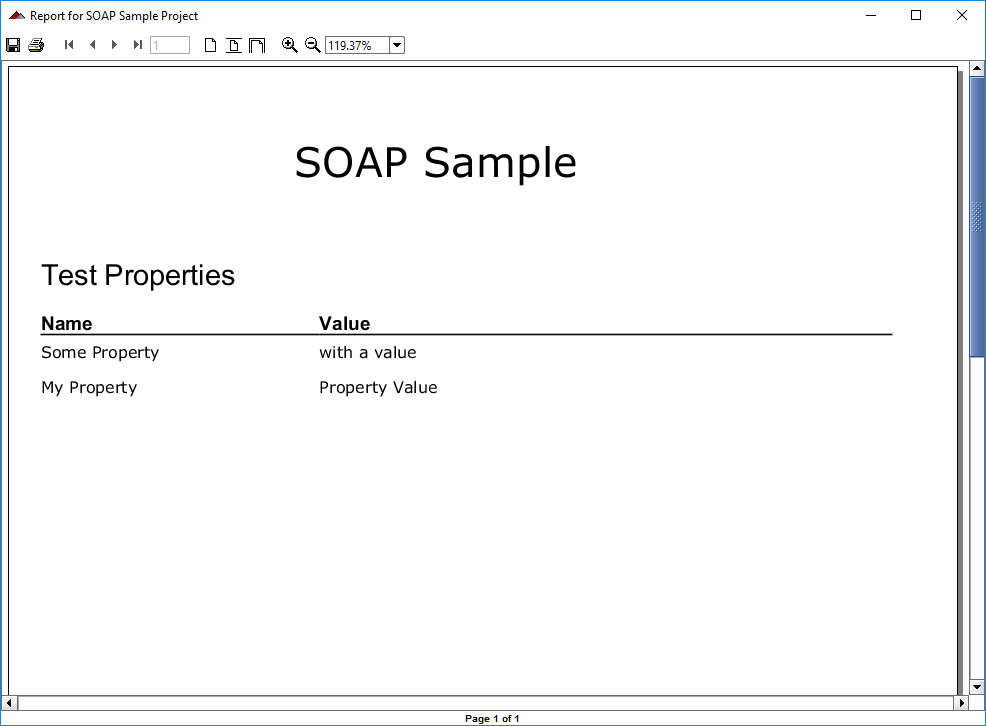
Add a parameter that will define the report title.
Select Project > Reporting from the main menu, switch to the Available Reports tab, and select the Properties report template in the table.
In the editor, under the table, replace
<textFieldExpression class="java.lang.String">$F{name} + " Report"</textFieldExpression>with
<textFieldExpression class="java.lang.String">$P{ReportTitle}</textFieldExpression>
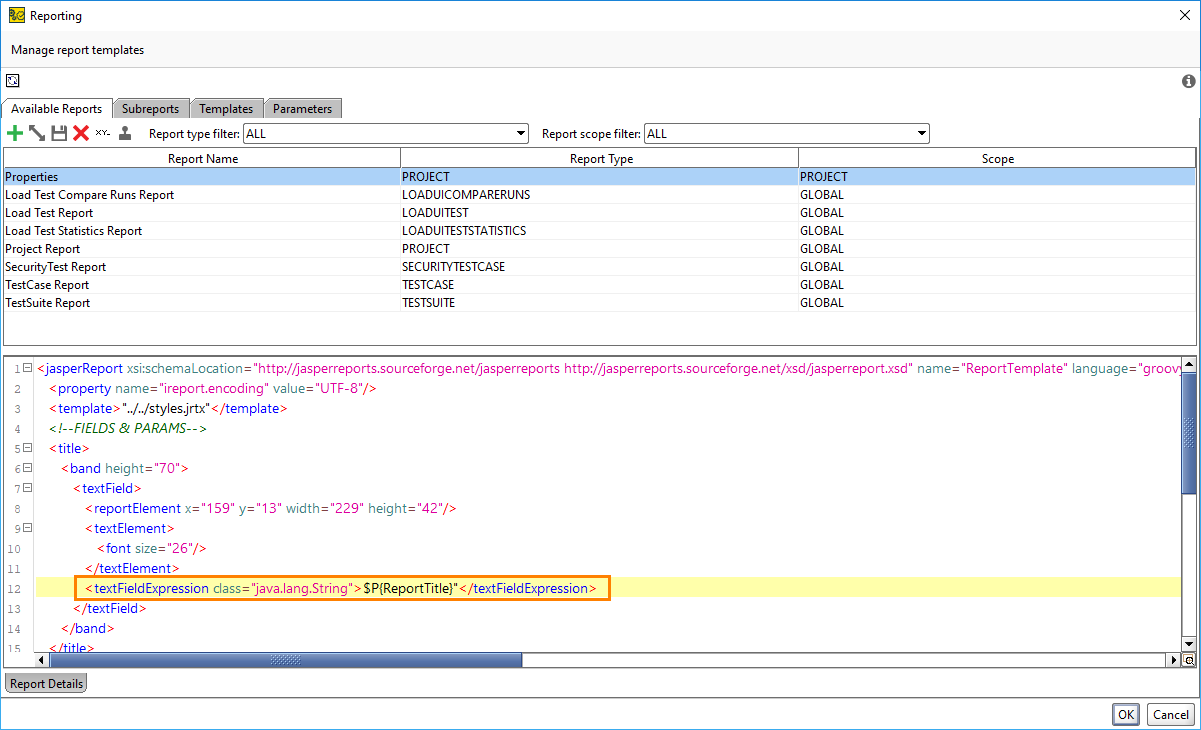
Switch to the Parameters tab. Click
 on the toolbar and enter the parameter name -
 ReportTitleand the parameter value -Default Title, then click OK.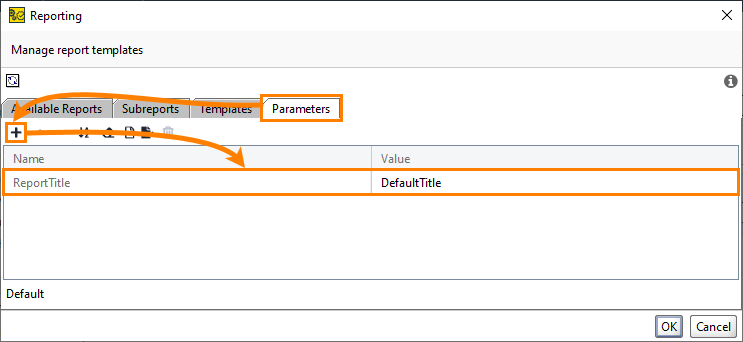
Create a report again. Click
 and make sure the Properties type is selected in the Create Report dialog, click OK. Here is what it should look like:
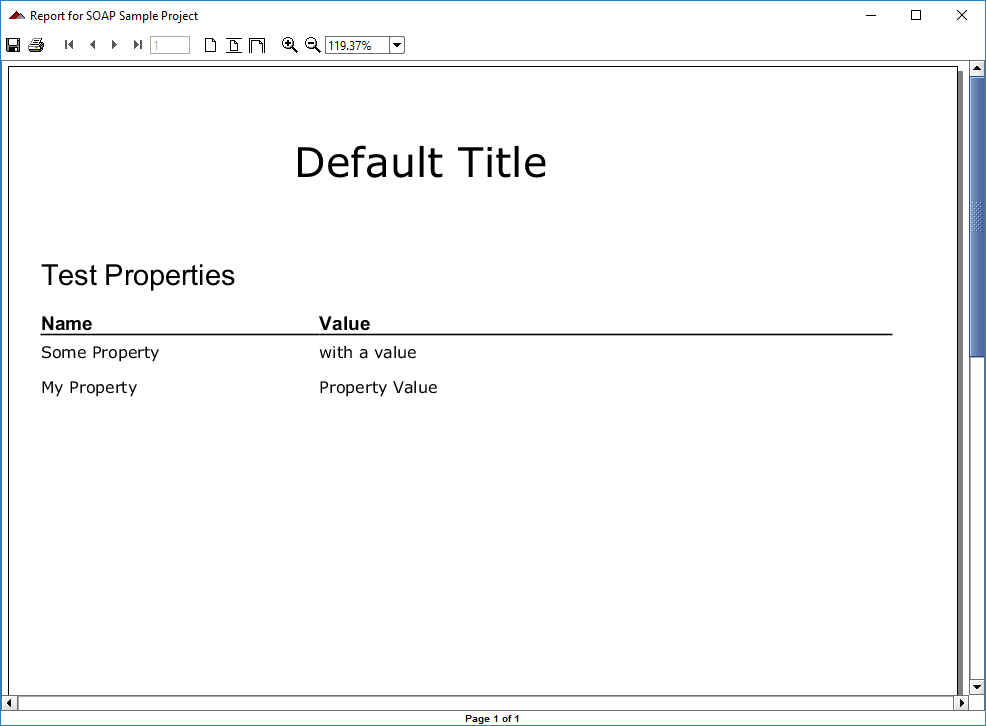
ReadyAPI can override parameters you specified at any level. For reports, you can create parameters anywhere you need.
For example, add a new parameter at the test case level:
Double-click a test case (for example, the Simple Login and Logout w. Properties Steps test case) in the Navigator panel.
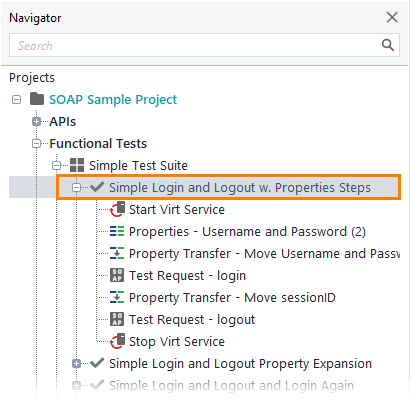
In the lowermost editor, switch to the Report Parameters tab.
Add a custom parameter as a property expansion. Click
 , enter the parameter name –
 ReportTitleand the value –${=testCase.name}.
Create a test case level Property report. Click
 and make sure the Properties type is selected in the Create Report dialog, click OK. Here is what it should look like:
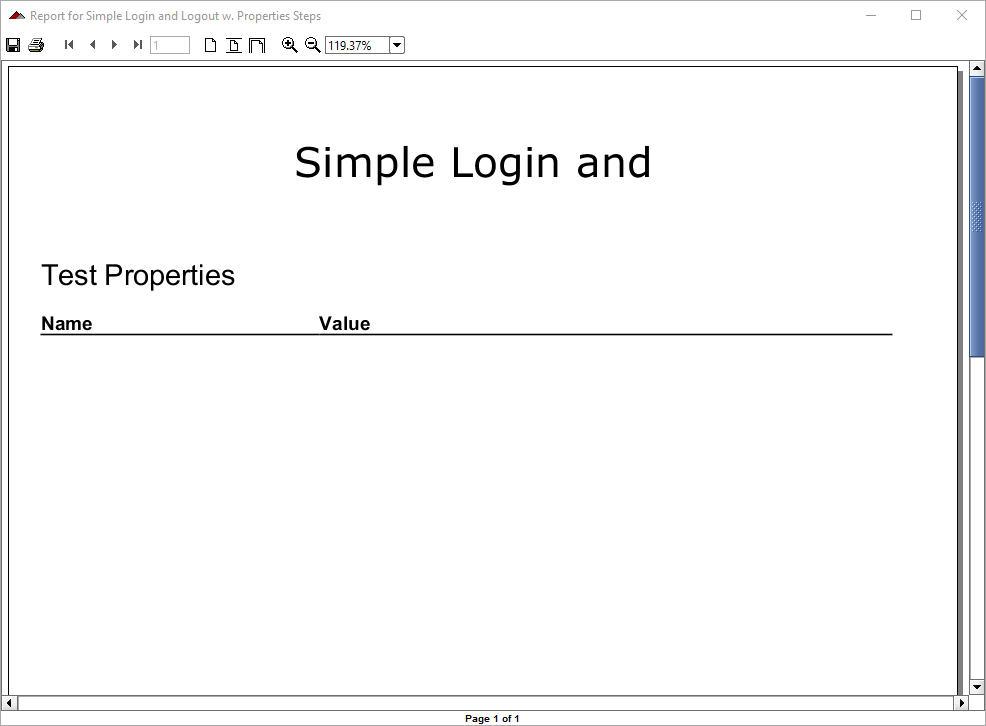
As you can see, a width issue has occurred. You can fix the issue either by editing the template or by adding configuration properties while creating a report.
Select Project > Reporting from the top menu.
On the Available Reports tab, open the Properties report template in the editor.
Add the following text to the template before the
titleelement, and then click OK: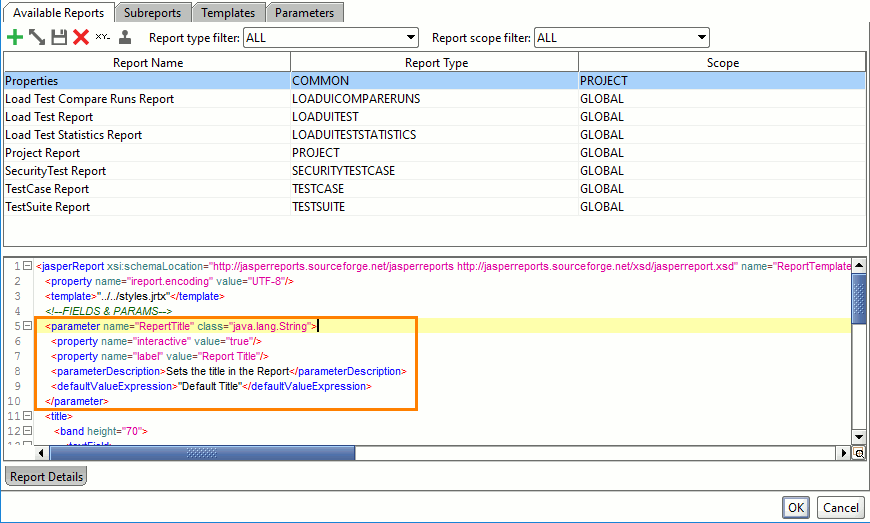
A new option is now in the Create Report dialog. But, to use this feature, you need to remove the
ReportTitleparameter you created on steps 17 and 19.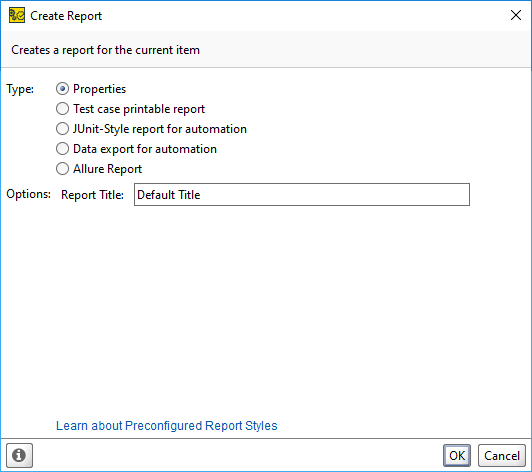
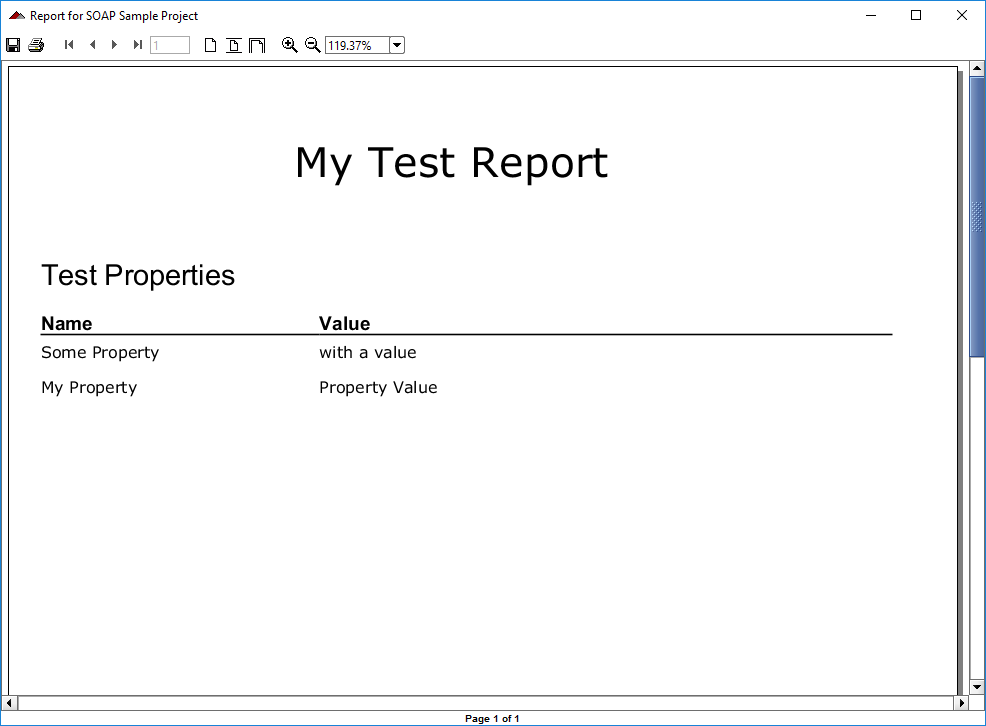
Once you fix the issue, you can create a report one more time. Enter a new report name in the Report Title text box (for example, My Test Report) and click OK. Here is what the report should look like:
To learn more about the available parameter types and options, see Configuration Parameter Reference.