Install SwaggerHub On-Premise on Azure
SwaggerHub On-Premise is available in the Azure Marketplace, so that you can quickly deploy SwaggerHub to the Azure cloud.
Prerequisites
To deploy SwaggerHub On-Premise to Azure you need:
A Microsoft Azure subscription. You can sign up at https://azure.microsoft.com.
Tip
An Azure subscription is also included in the Visual Studio subscription and some other Microsoft subscriptions.
An SSH key pair.
A SwaggerHub license file provided by a SmartBear representative. To request a free trial license, please fill out this form:
Create a SwaggerHub On-Premise virtual machine
In the Azure portal sidebar, click Create a resource.
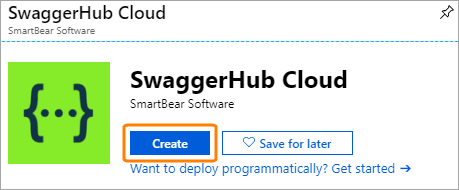
Search for swaggerhub and select SwaggerHub Cloud in the search results.

Click Create.

On the Basics page, specify the following options:
Option
Value
Subscription
Select your Azure subscription
Resource group
Click Create new and specify SwaggerHub as the resource group name. A resource group is a logical container that holds related resources for deployment.
Virtual machine name
Enter a name for your SwaggerHub VM
Region
Select the Azure region to deploy the VM to
Availability options
Optional – select if needed
Image
Leave as is
Size
The recommended VM size is E2s_v3 (selected by default), but you can use a different size if you wish. The selected VM size must have at least 2 VCPUs and at least 16 GB of memory.
Authentication type
SSH public key
Username
Enter a username for SSH access to your SwaggerHub VM.
Note: The administrator username for the SwaggerHub application will be configured later during initial SwaggerHub configuration.
SSH public key
Paste your SSH public key
Click Next : Disks.
Leave all the options as is and click Next : Networking.
Specify the networking options:
Option
Value
Virtual network and Subnet
Select the virtual network and subnet where the VM must be deployed, or create new ones.
Public IP
Azure automatically assigns a public IP address to the VM so that the VM can be accessed from the Internet. The IP address is dynamic by default. If you want a static IP, click Create new and change Assignment to Static.
NIC network security group
Leave as is. SwaggerHub VM image has preconfigured network security rules.
Configure network security group
Leave as is
Accelerated networking
Leave as is
Load Balancing
Select No. If you wish to set up a load balancer for SSL termination, you can do this later.
Click Next : Management.
Specify the following options:
Option
Value
Boot diagnostics
Optional – select if needed
OS guest diagnostics
Optional – select if needed
Diagnostics storage account
If you enabled boot diagnostics or OS guest diagnostics, select the storage account for diagnostic data
System assigned managed identity
Off
Enable auto-shutdown
Off
Click Review + create, then Create.
Wait until the VM is deployed. This may take a few minutes. You can track the deployment status via the notifications menu.
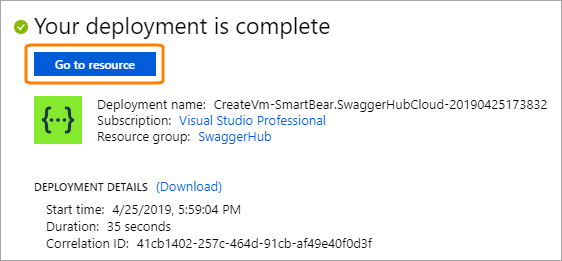
After the VM has been deployed, click Go to resource.

Note down the public IP address of the VM.

Click the image to enlarge it.
Configure SwaggerHub
Navigate to
http://<VM_IP>/uito access the installer.Configure the basic system settings, including the admin username and password.
Important
If you have already configured a DNS name for the SwaggerHub VM, specify it in the DNS name for this instance option. Otherwise, specify the VM IP address in that option.
Log in to the SwaggerHub Admin Center using the created admin user. Here you can configure additional system settings, such as single sign-on, HTTPS, and others.
After configuring the settings, you can access the SwaggerHub application at http://DNS_or_IP, and the SwaggerHub Admin Center at http://DNS_or_IP/ui.
You can also connect to the VM via SSH using the SSH user and key pair you specified when creating the VM.
