Editing a Test Case
Editing Test Cases
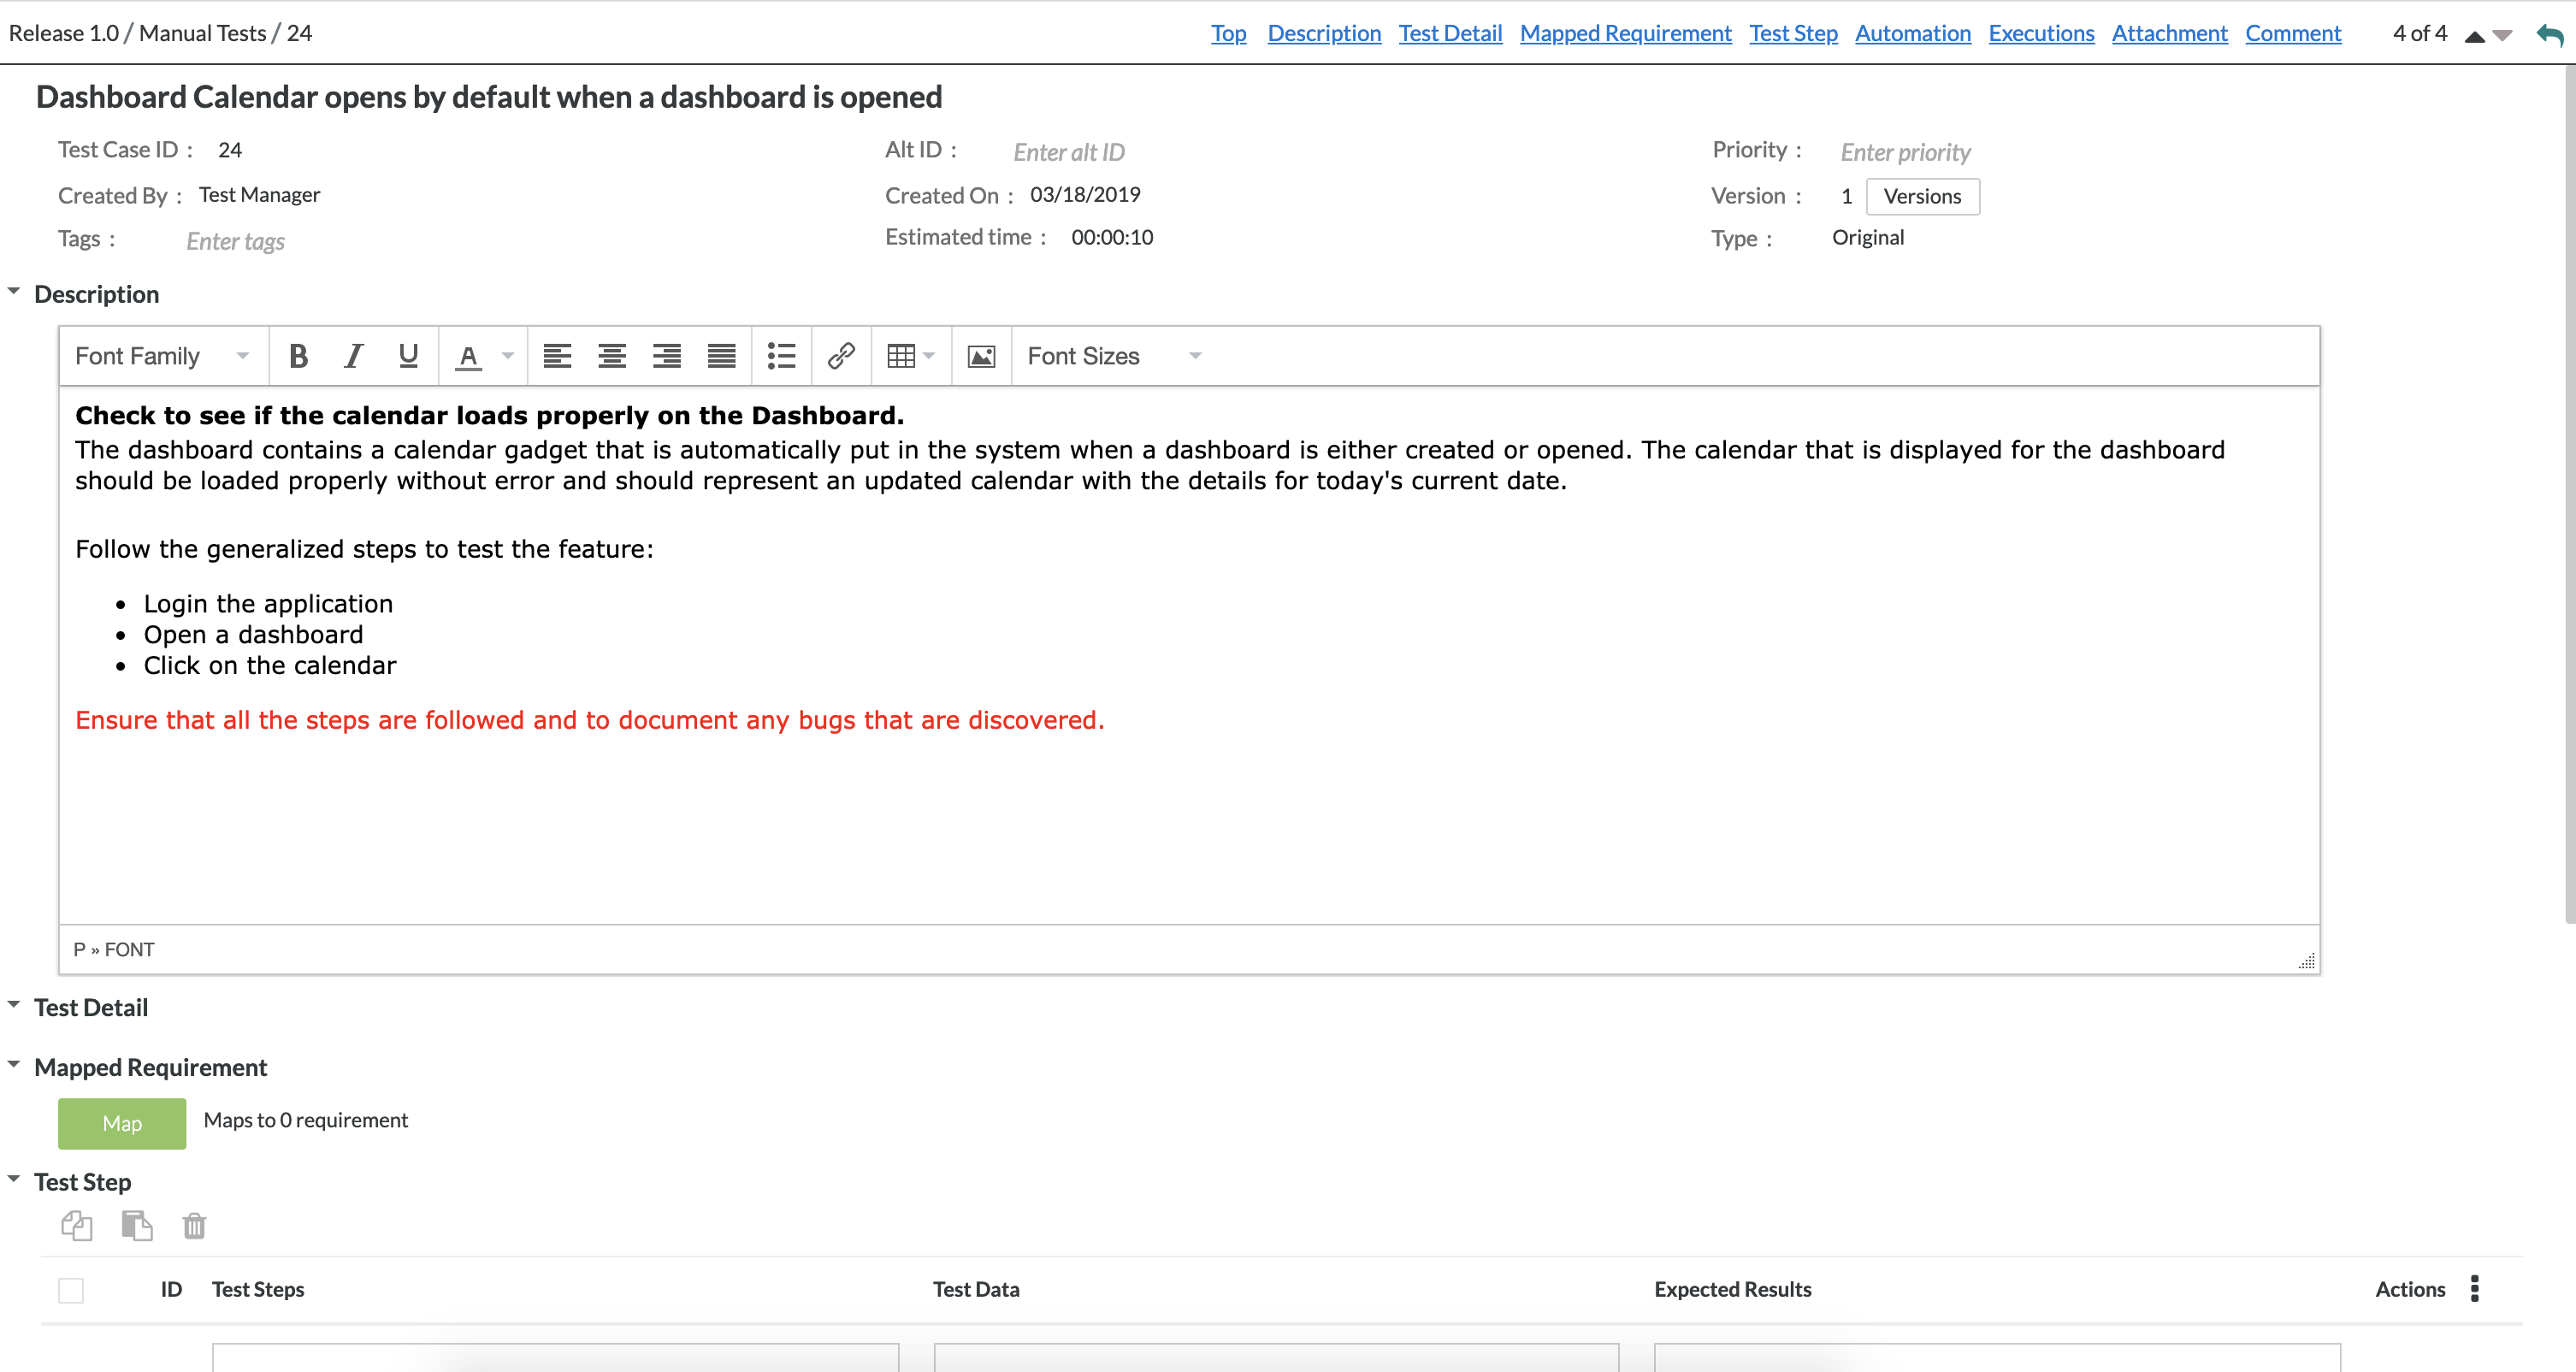
Simply click on the individual test case that you want to edit in the table.

You can change any of the fields once you click on the existing test case.
Feel free to change the fields that you want to edit/change.
Name - The name given to distinguish a test case in the system.
By default, the title of the test case will be labeled as "Untitled" until changed.
Alt ID - ID given if the test case is linked/imported from JIRA.
Priority - The urgency used to define a test case.
Tags - A label attached to a test case.
Description - A written representation to help provide an explanation for the test case.
Comment - Any additional information provided to help clearly understand the test case.
Mapping Requirement - Linking a requirement to the test case to build traceability between a requirement and test case.
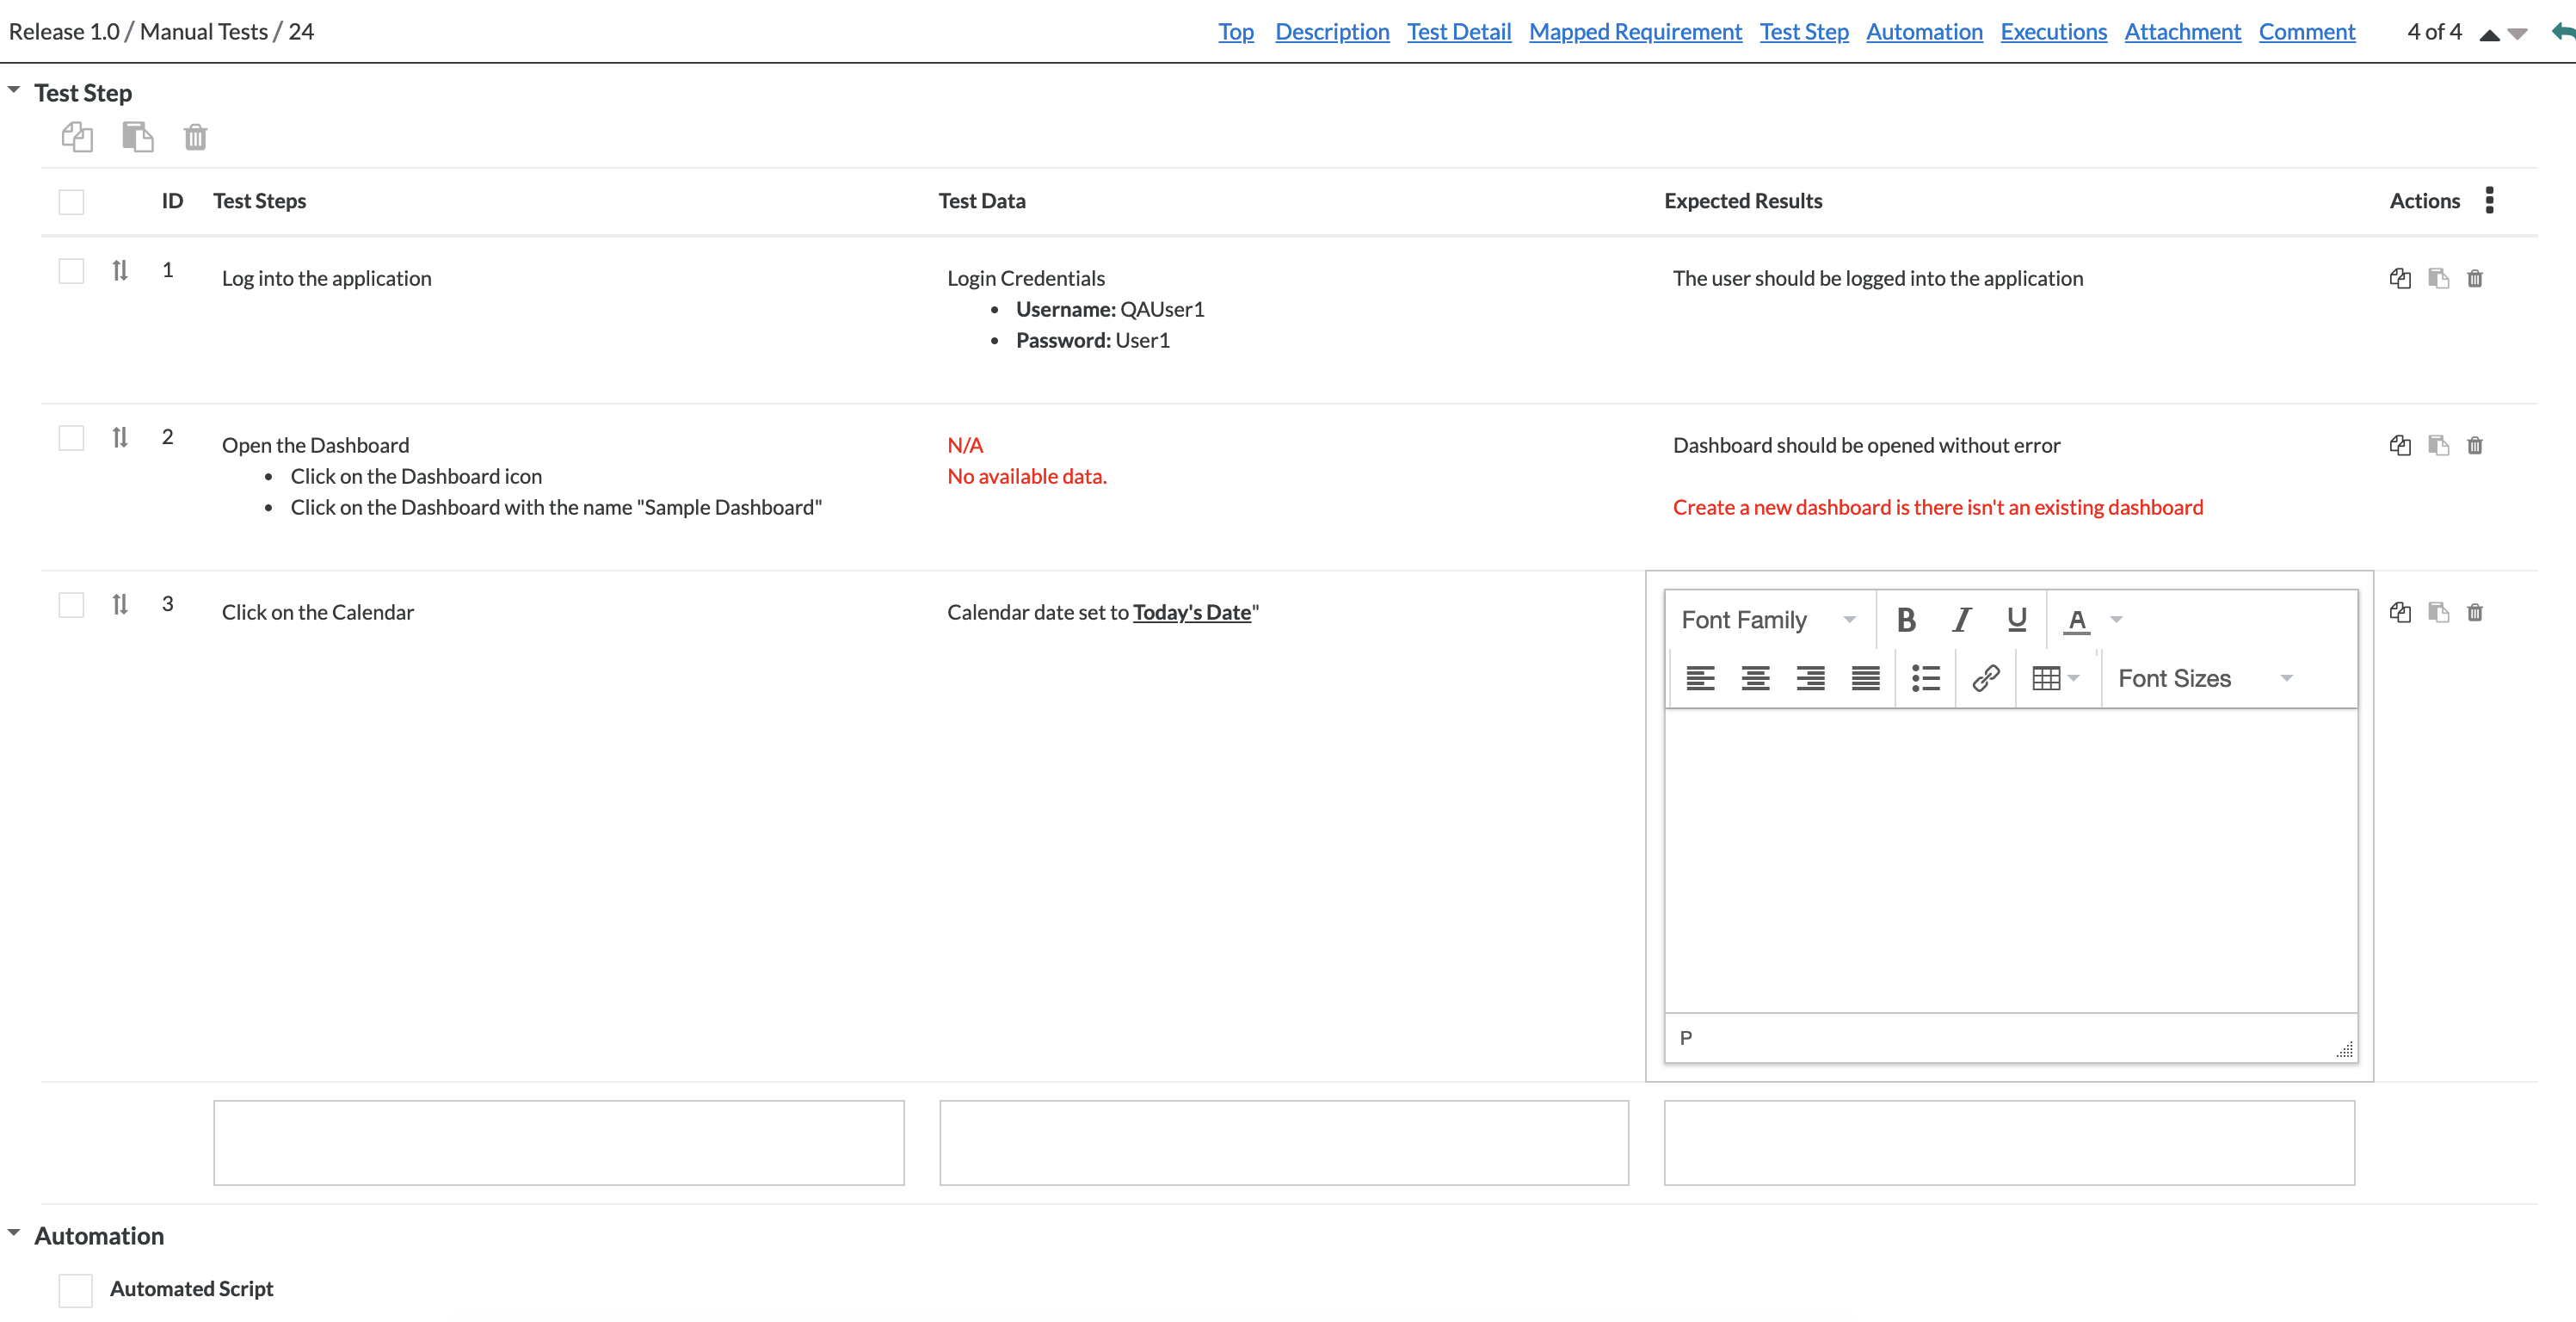
Test Steps - Informative steps used to define the executed steps involved, the data required to replicate the steps, the expected results involved for each step, and comments to provide additional context for the test step.
Automation - A file that can be attached to a test case to help define/describe the requirement. (images, docs, etc.)
Test Details - Any additional fields that can be filled out if previous test detail fields were customized in the administration page.
Attachments - Any file(s) used to assist in defining the test case. Click Attachments to know more about the supported file formats.
Warning
Warning for Editing Test Case Fields with Mandatory Custom Fields
Zephyr has improved handling of mandatory custom fields for test cases, adding a message to warn user to fill out mandatory custom fields. Users will receive a pop-up to warn users when they try to navigate away from editing in all places except for the following:
Breadcrumbs
Project/release links
Test repo tree
Pagination
Top navigation
Execution redirection

Test steps fields support rich text formatting that allows users to use wiki markup to format their test step fields in further detail.
Caution
To enable rich text formatting for your test steps, a user with administrative access must ENABLE the option in the test step configuration on the customizations page.
When enabling rich text formatting for test steps, any existing test steps that have embedded HTML text with new lines will not be converted. All new lines will be removed if there is embedded HTML text. As long as there is no embedded HTML text in the test step previous to enabling rich test formatting, it will retain the rich text new lines.
In a test case, clicking on any field of any step will enter edit mode for that step field.
An empty row with three columns will always appear at the bottom of the test case steps. Enter data in these columns and click the + button on the right to add the step. Click Save to submit all steps to the test case.
Saved steps will have a cog button on the right, you can Delete steps from this menu.

Detailed information about a test case can be added as test steps, appropriate test data, expected results for that step, and additional comments.
To use the comments field for your test steps, click the “triple” dots icon located at the top right of the test step section of a test case.
Using the check box, select the “Comments” check box and ensure that it is selected.
The comments field/column should now be seen on the test step table.

Tip
Once you edit or change a field, Zephyr automatically saves the changes.
When editing test steps, you can:
use the "Tab" key on your keyboard to move to the next field.
use the "Esc" key on your keyboard to close the Rich Text editor without saving the changes.
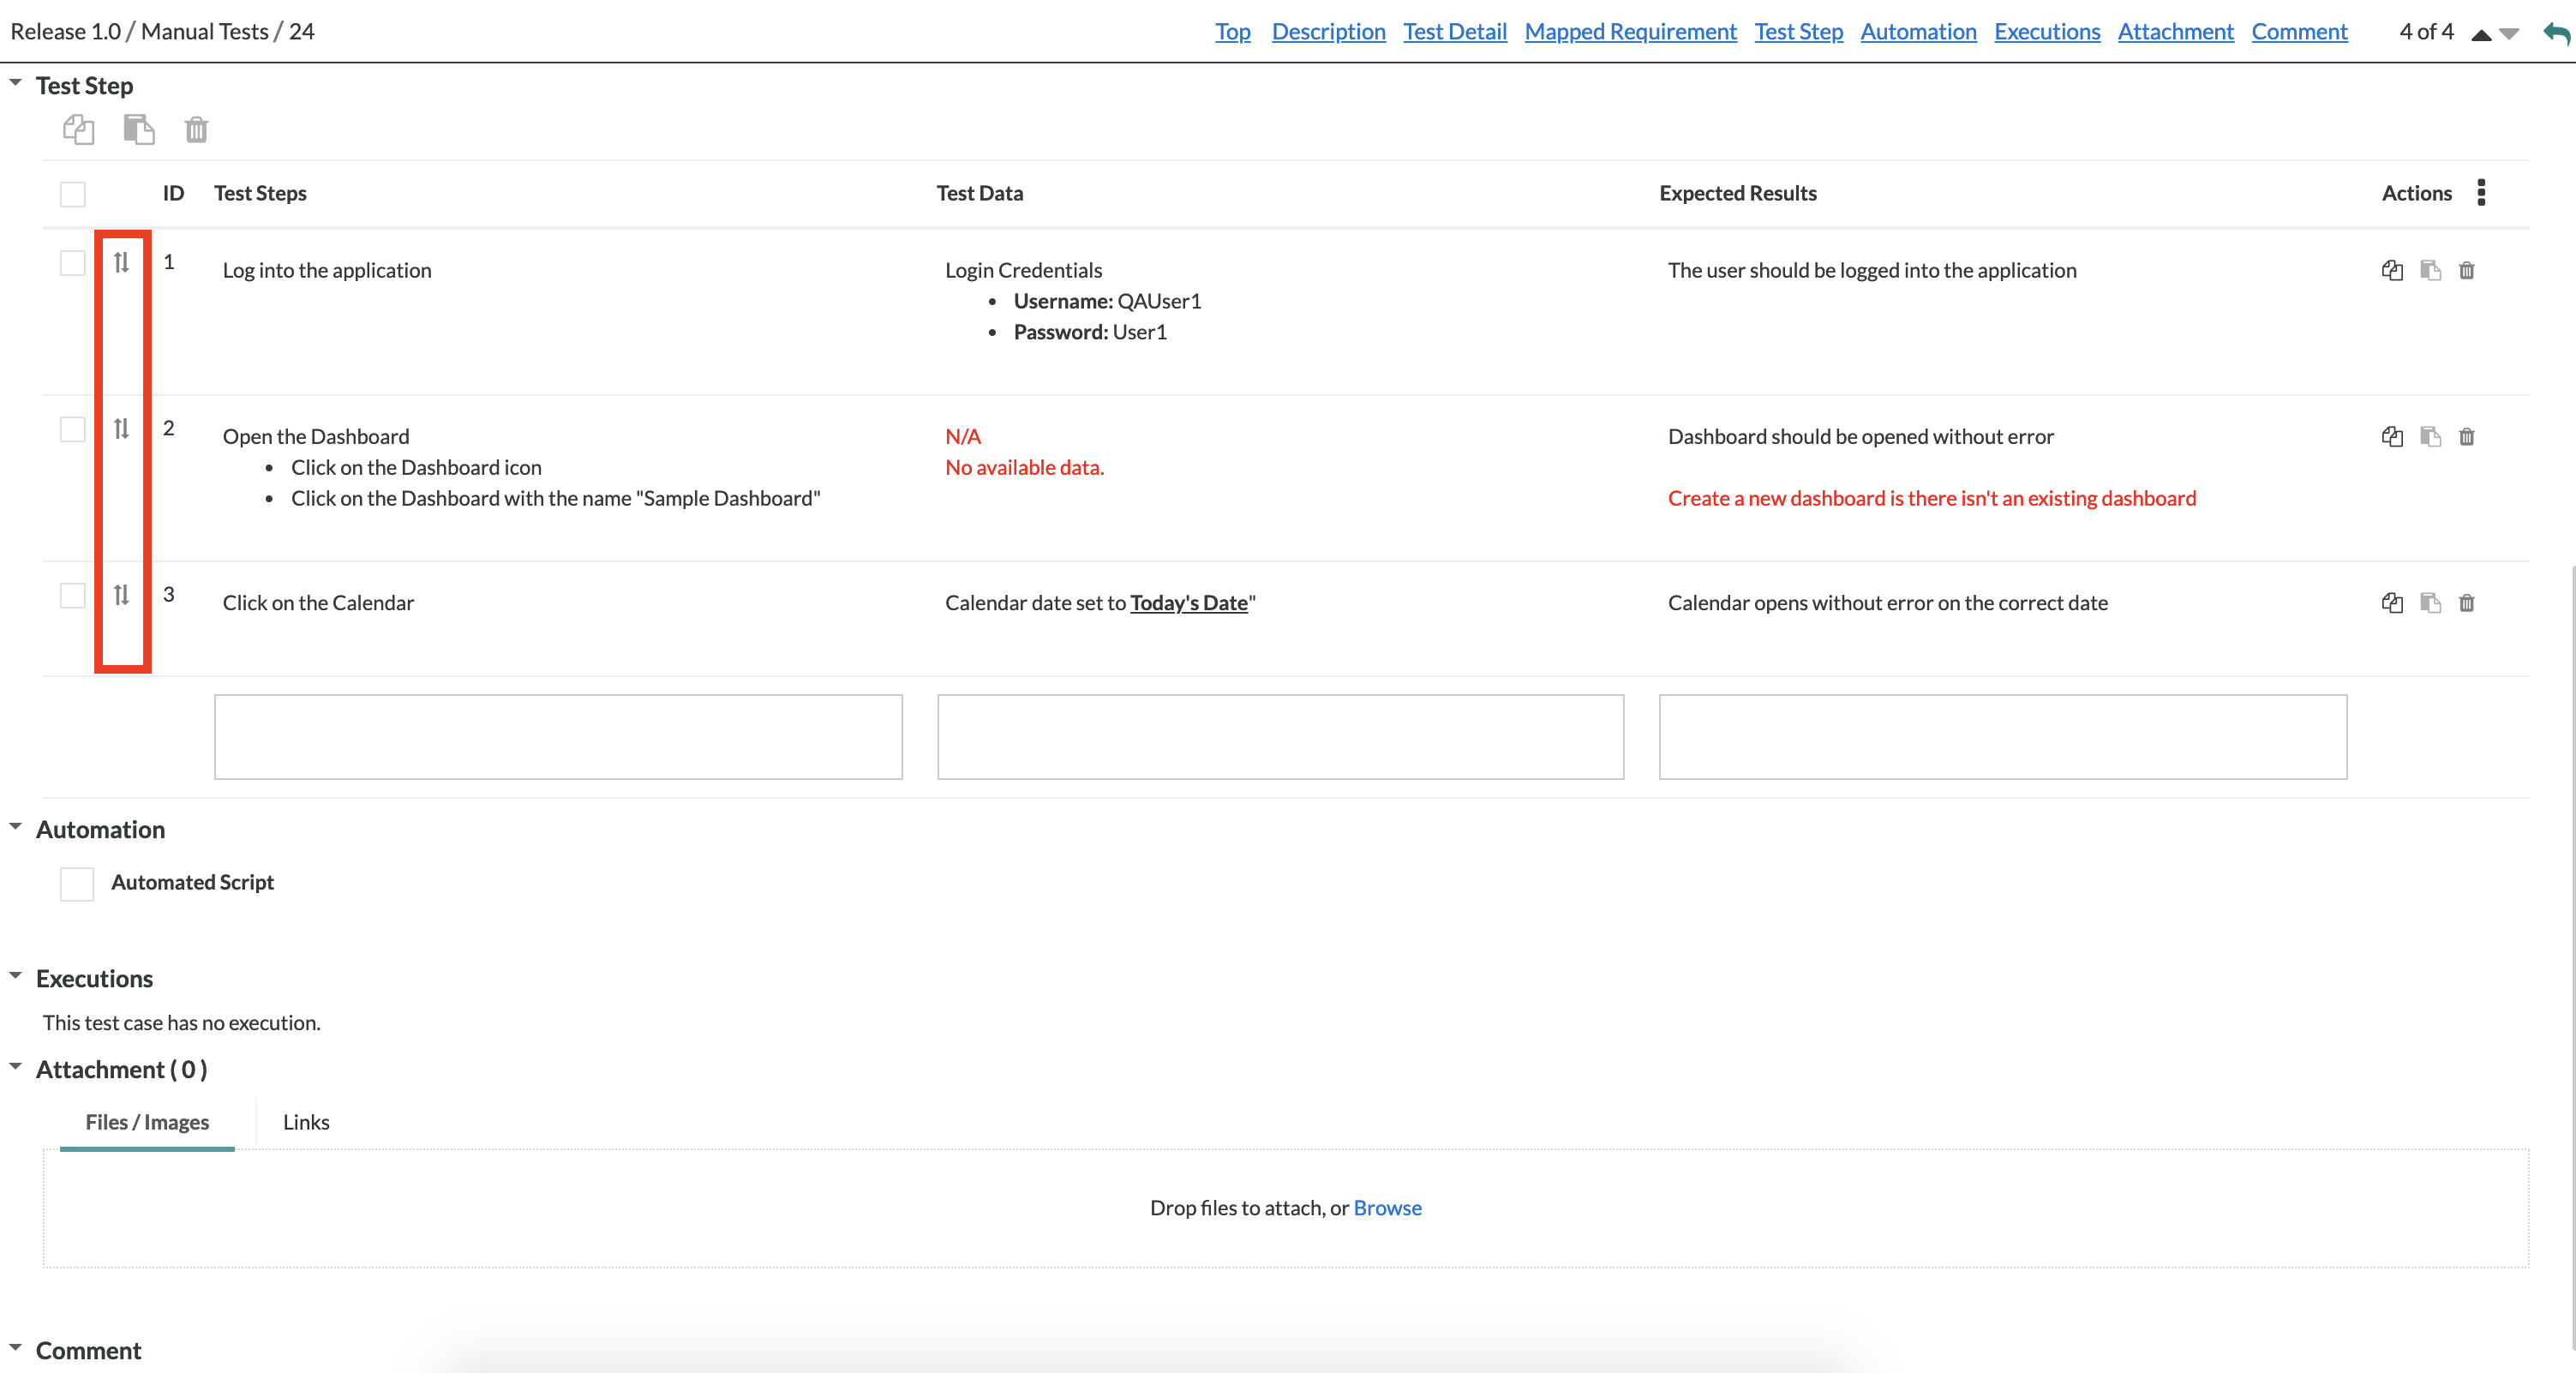
reorder the test steps to your liking.
Test steps can be reordered using the reorder icon next to the individual test step in the table. Users can simply drag and drop their tests to reorder them around.

Click on the
 icon to view the list of test cases.
You can also click the up arrow to view the previous test case in the list
You can also click the down arrow to view the next test case in the list