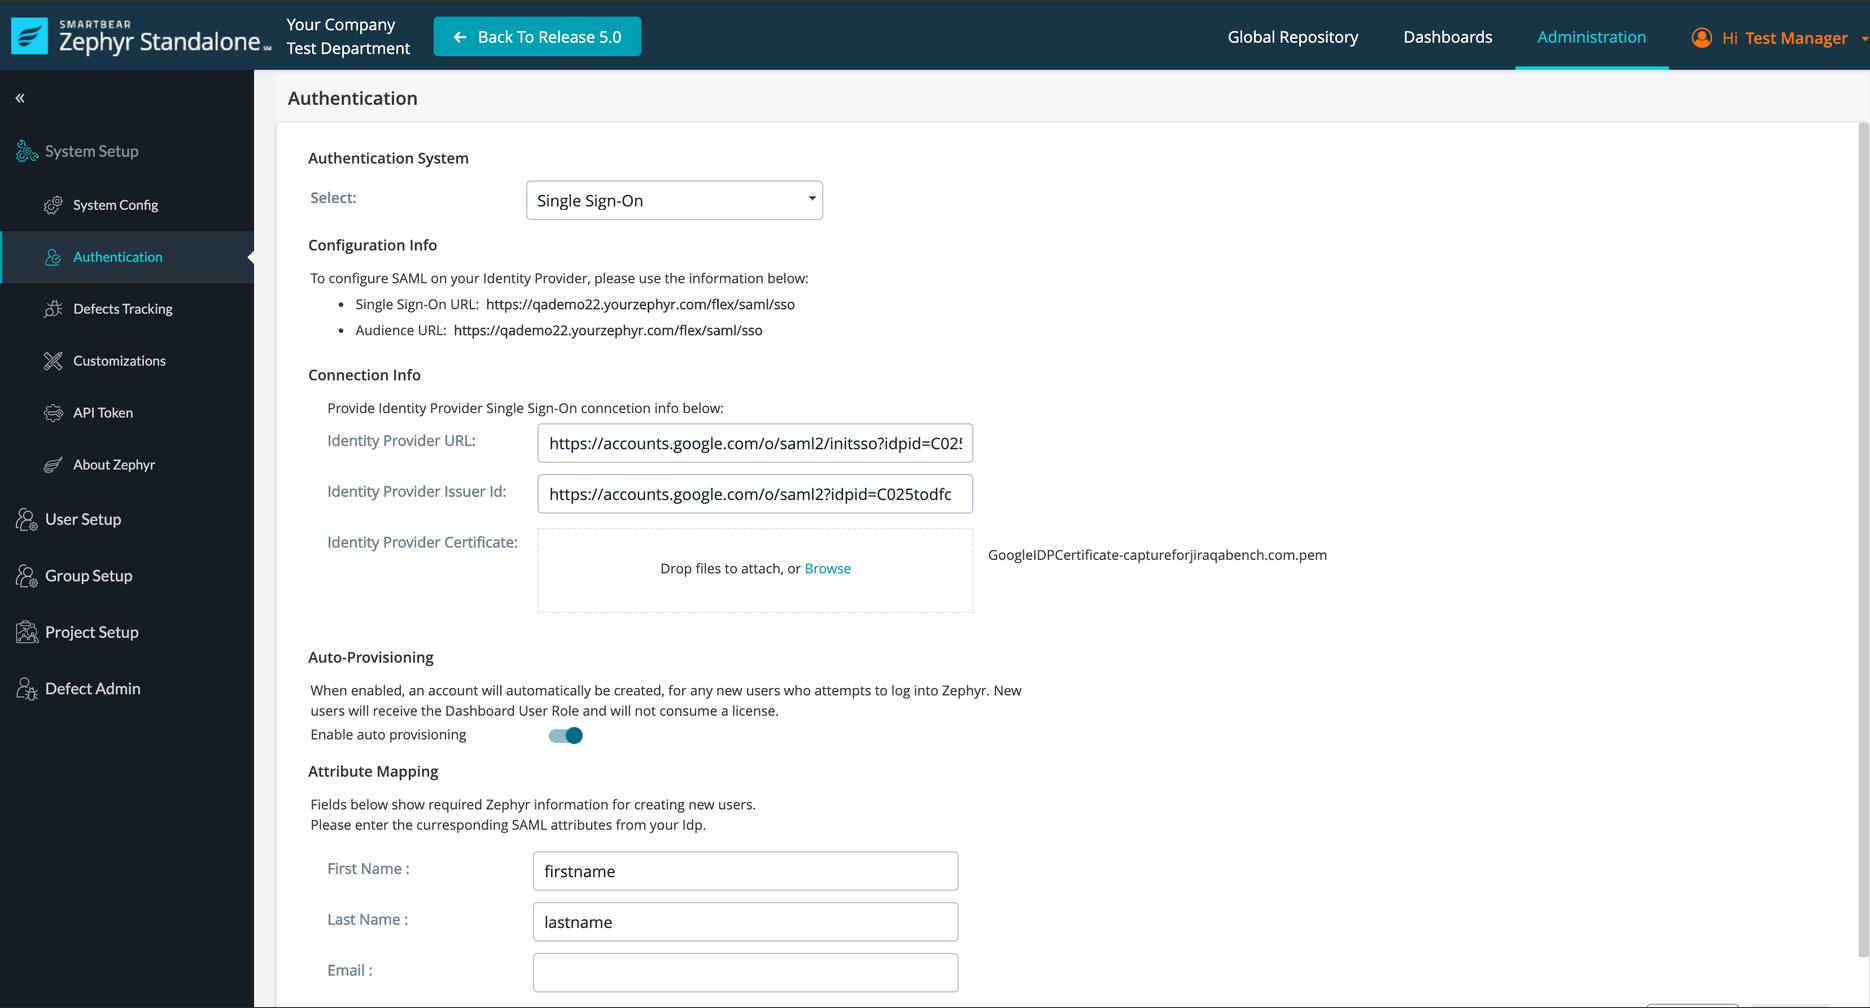
SSO Setup with Google (G-Suite)
Setup G Suite
Log in to the Google Admin console at https://admin.google.com/.
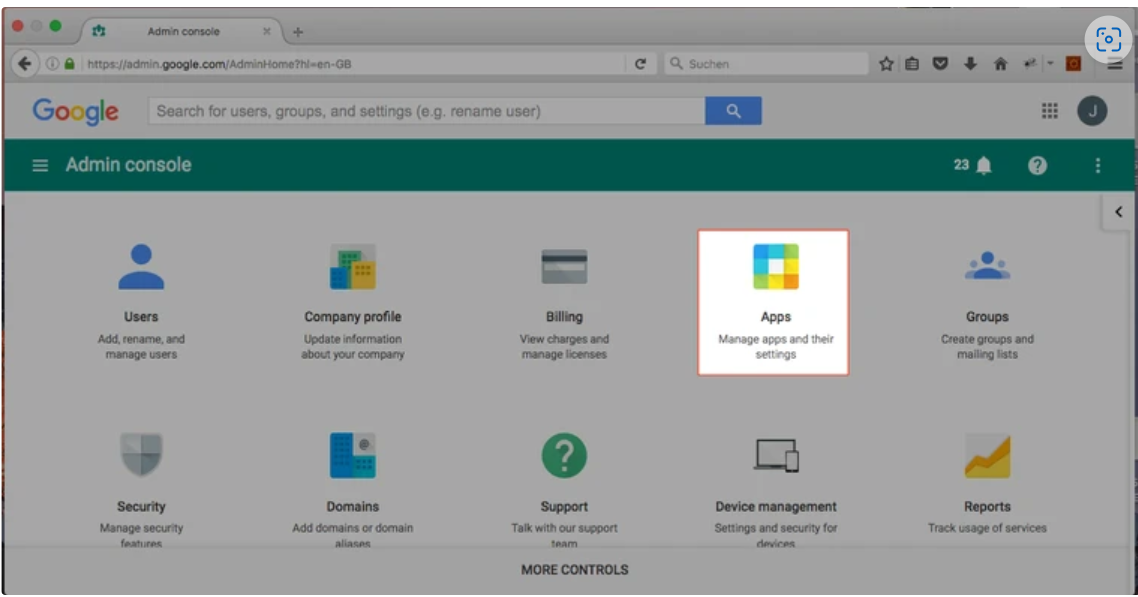
Step 1
Click Apps.
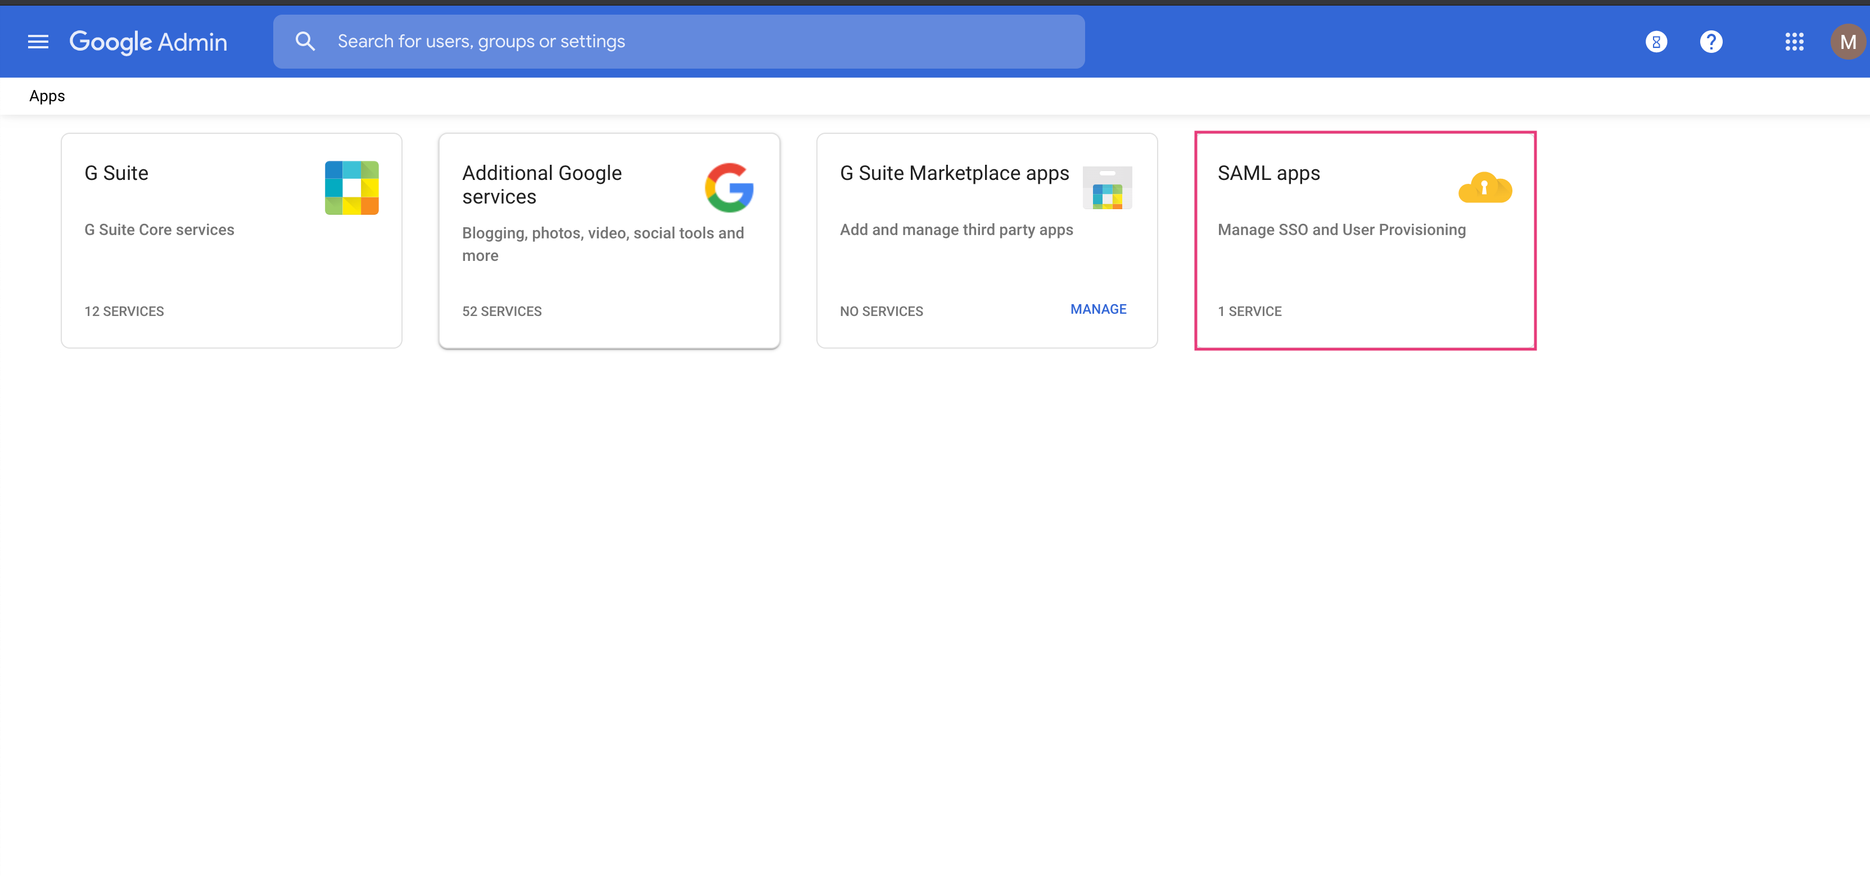
Step 2
Click SAML-Apps.
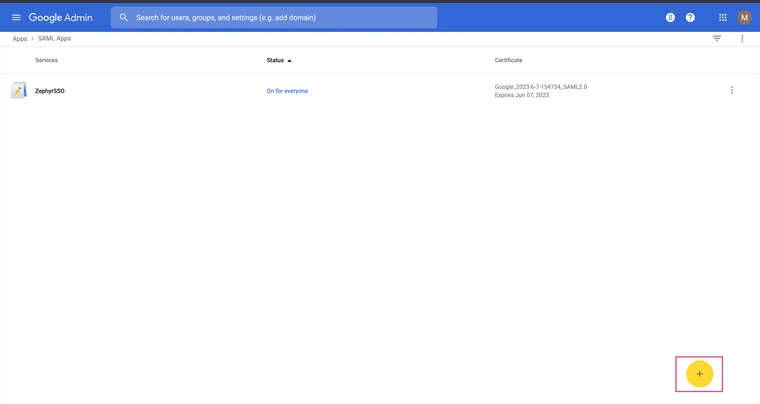
Step 3
Click on + icon at the bottom right.
Step 4
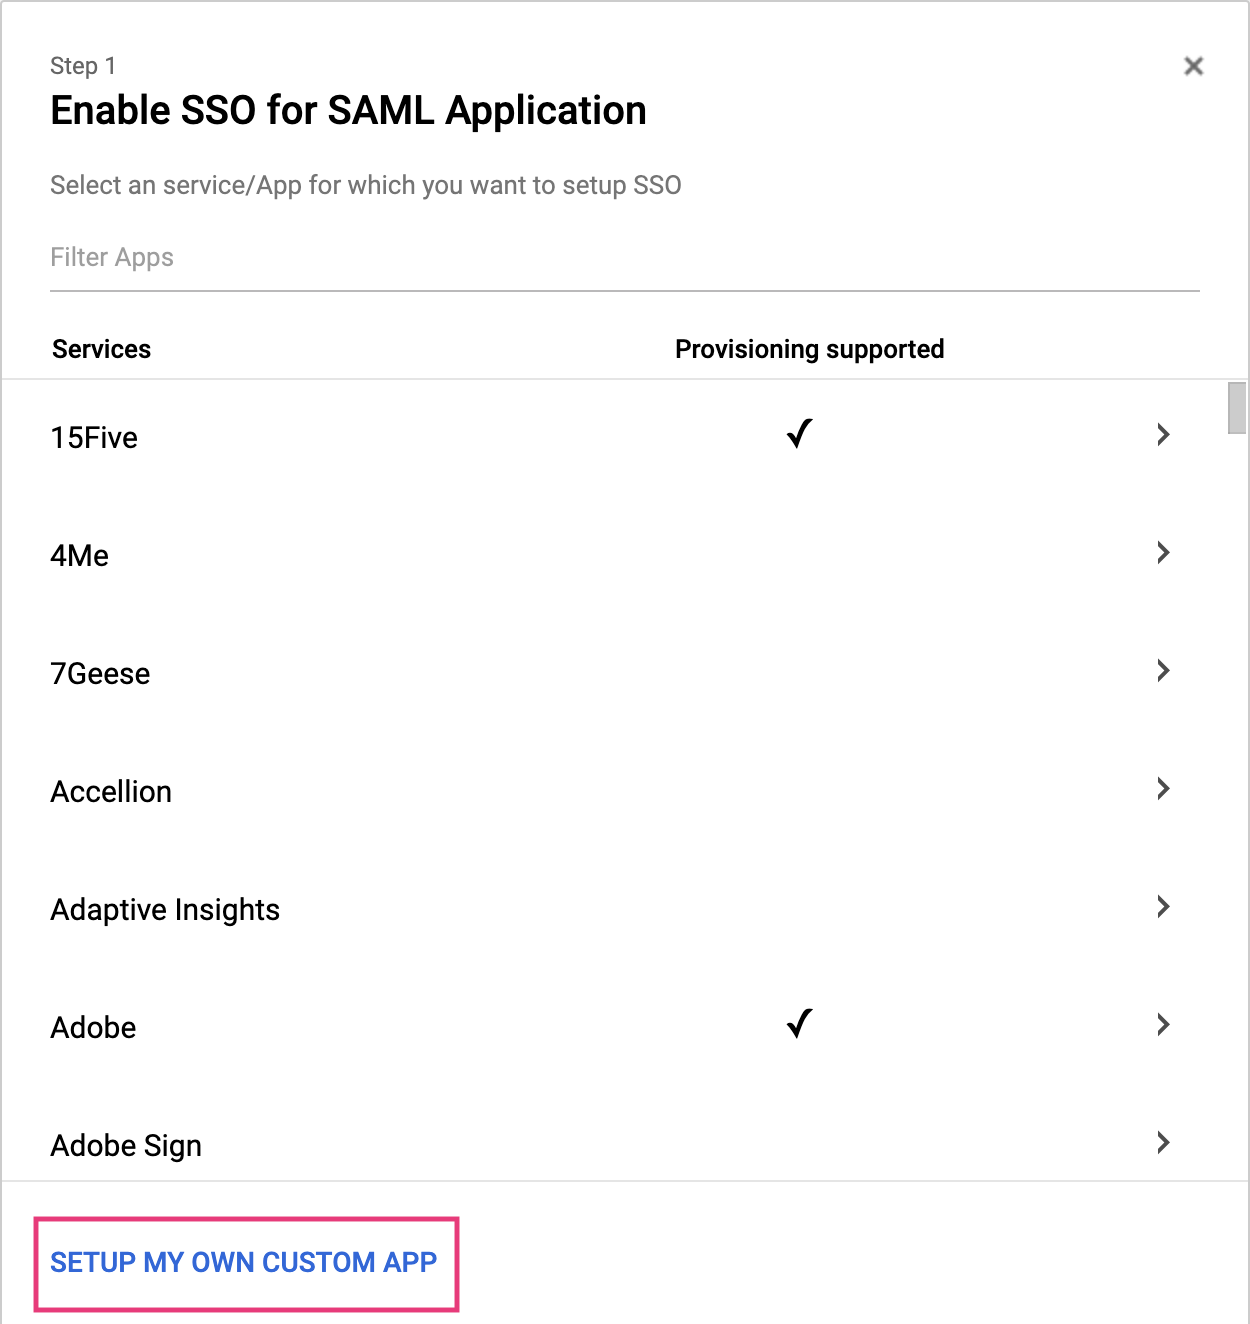
Click on SETUP MY OWN CUSTOM APP.
Step 5
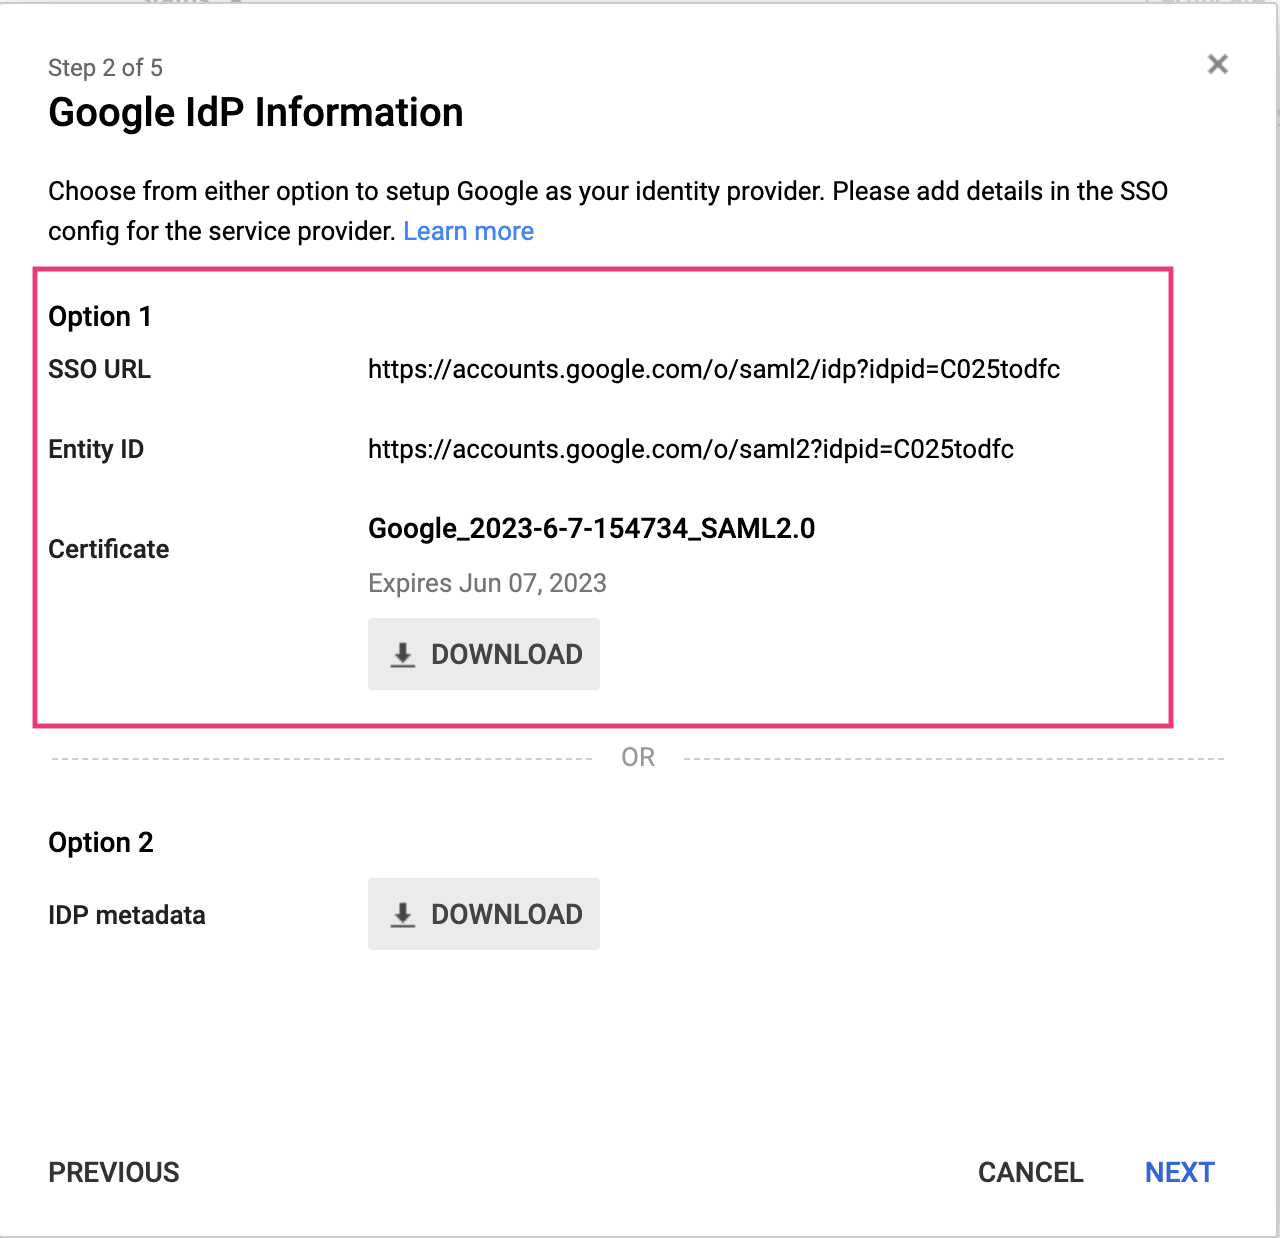
Click Download for Certificate and copy the SSO URL and Entity ID and Click NEXT.
Step 6
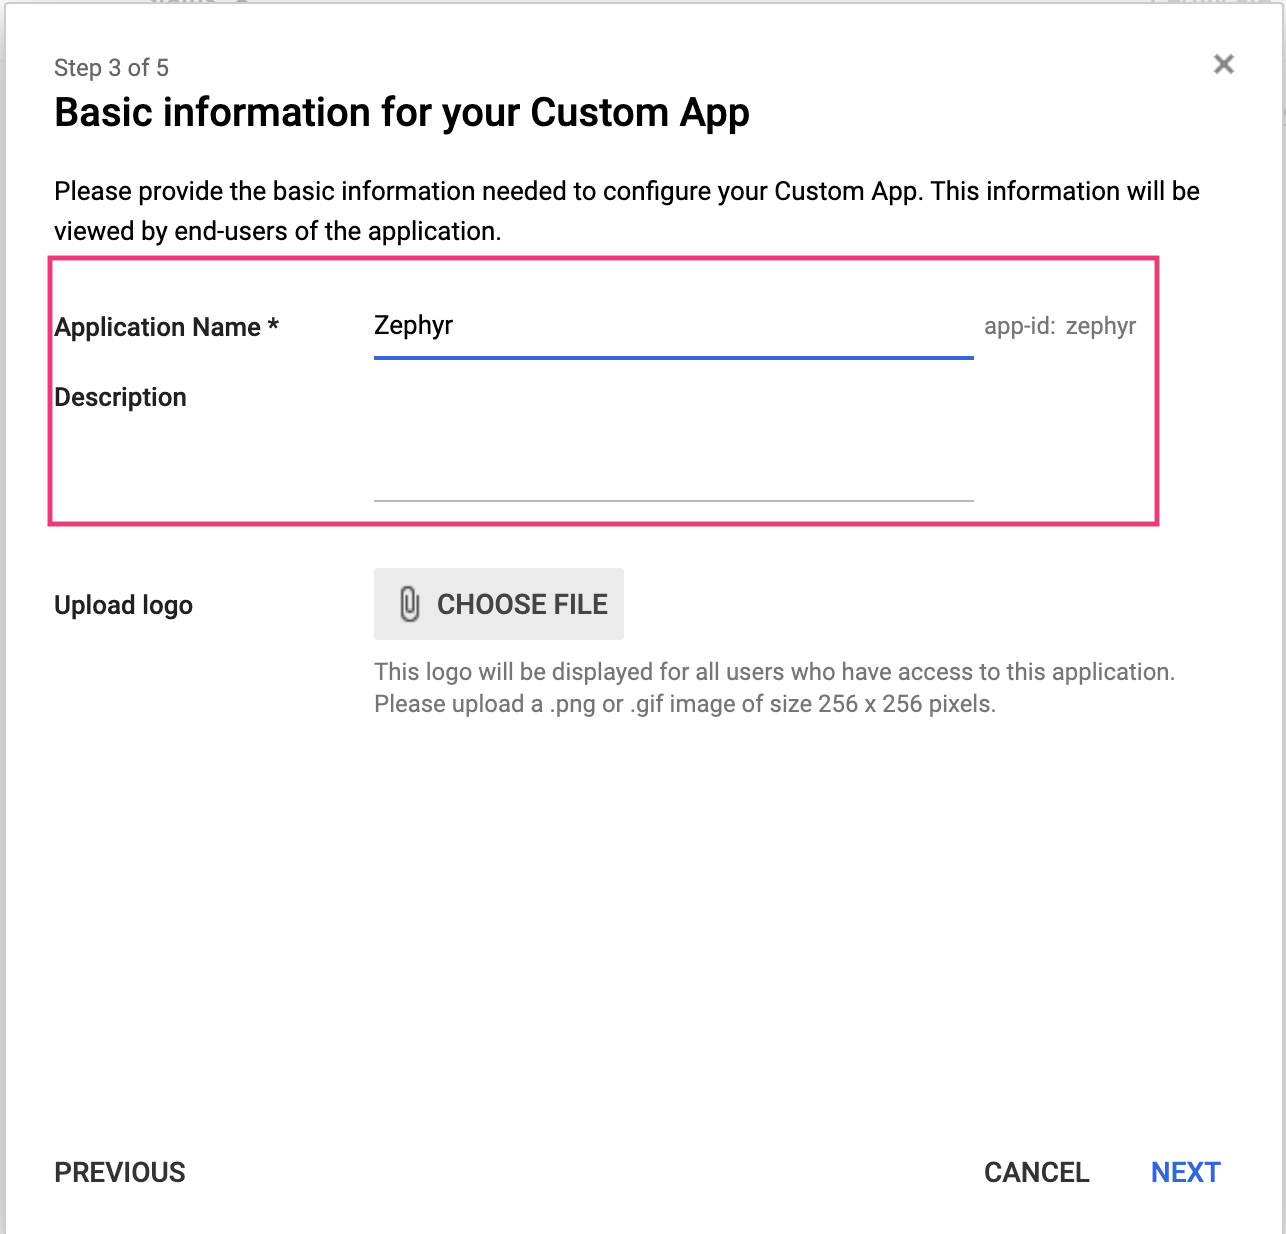
Choose an Application Name and Description and click NEXT.
Step 7
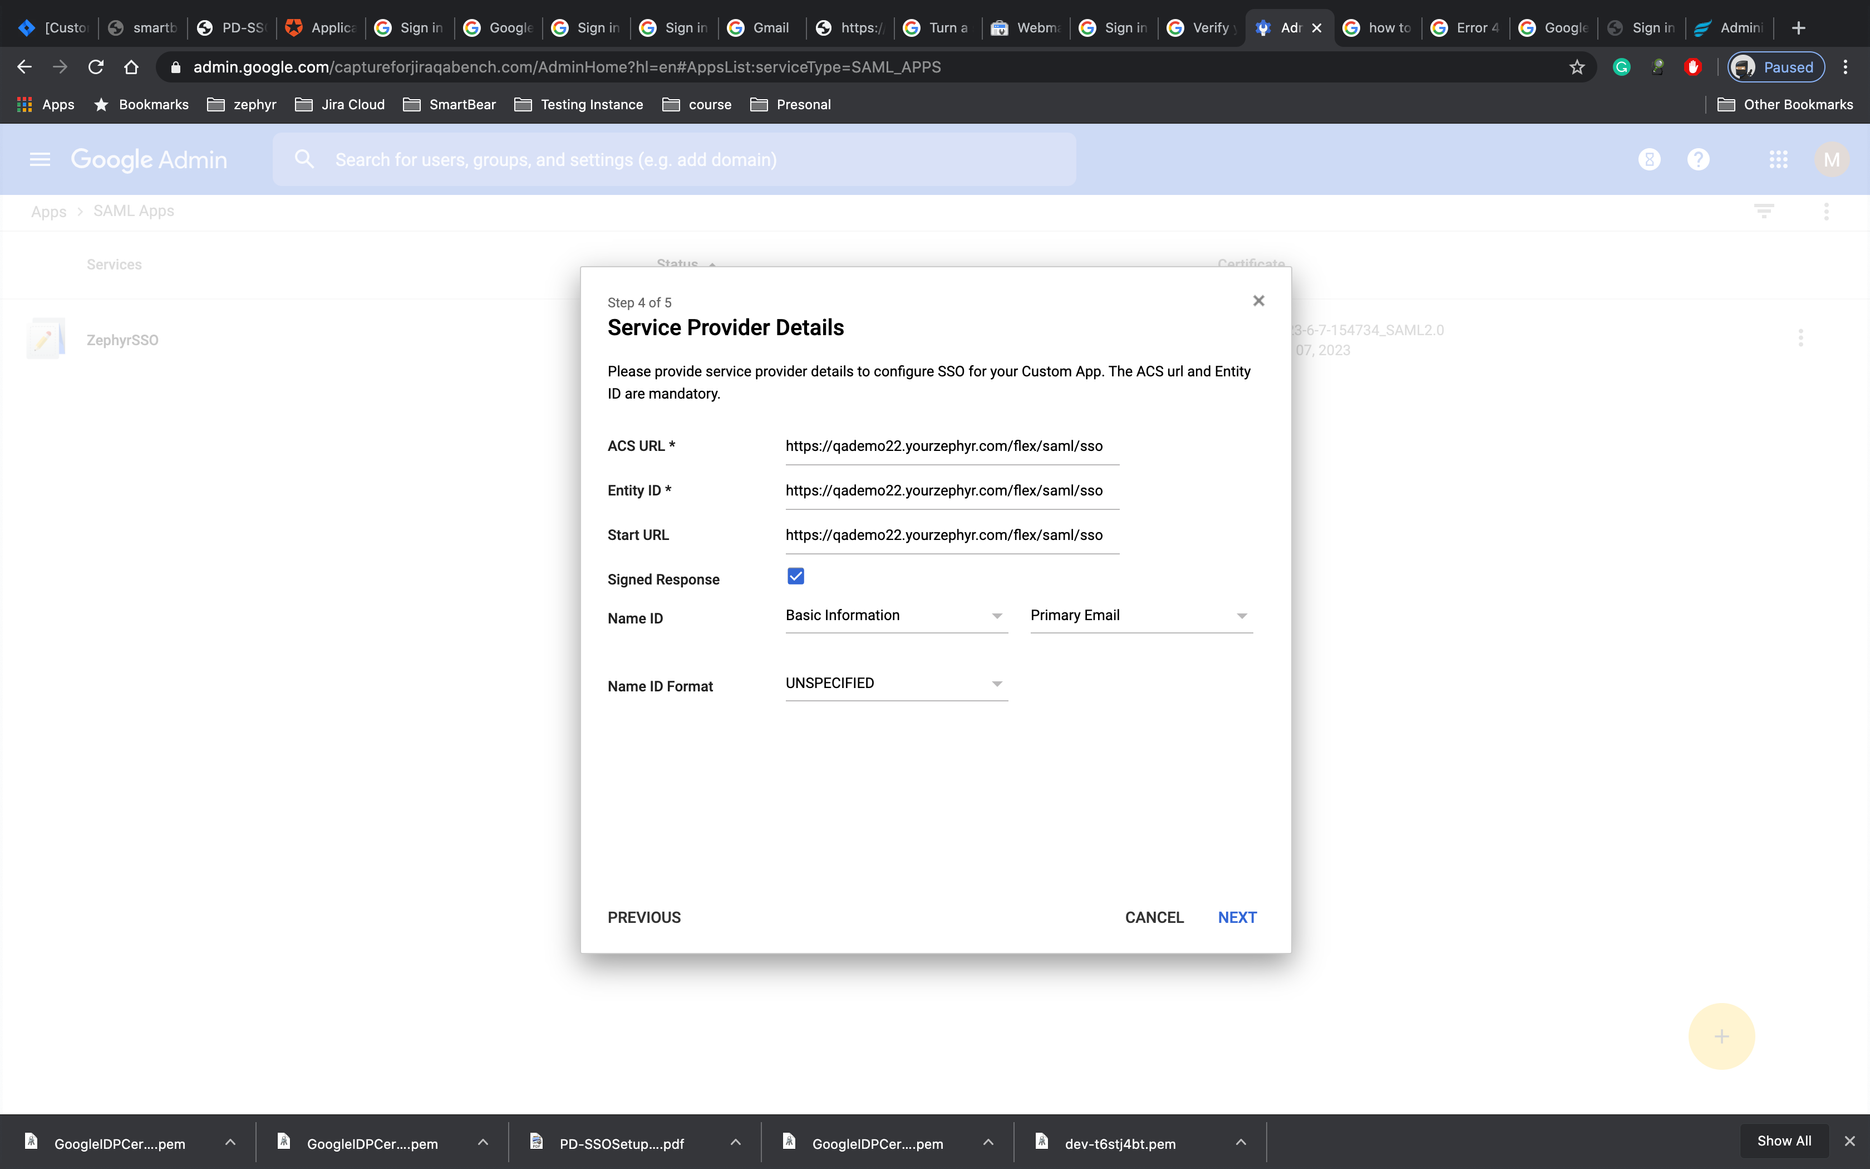
Enter The Service Provider Details.
Both ACS URL and Entity ID are https://<base-url>/flex/saml/sso
Select Primary Email as NameID and UNSPECIFIED as Name ID Format.
Click NEXT.
Step 8
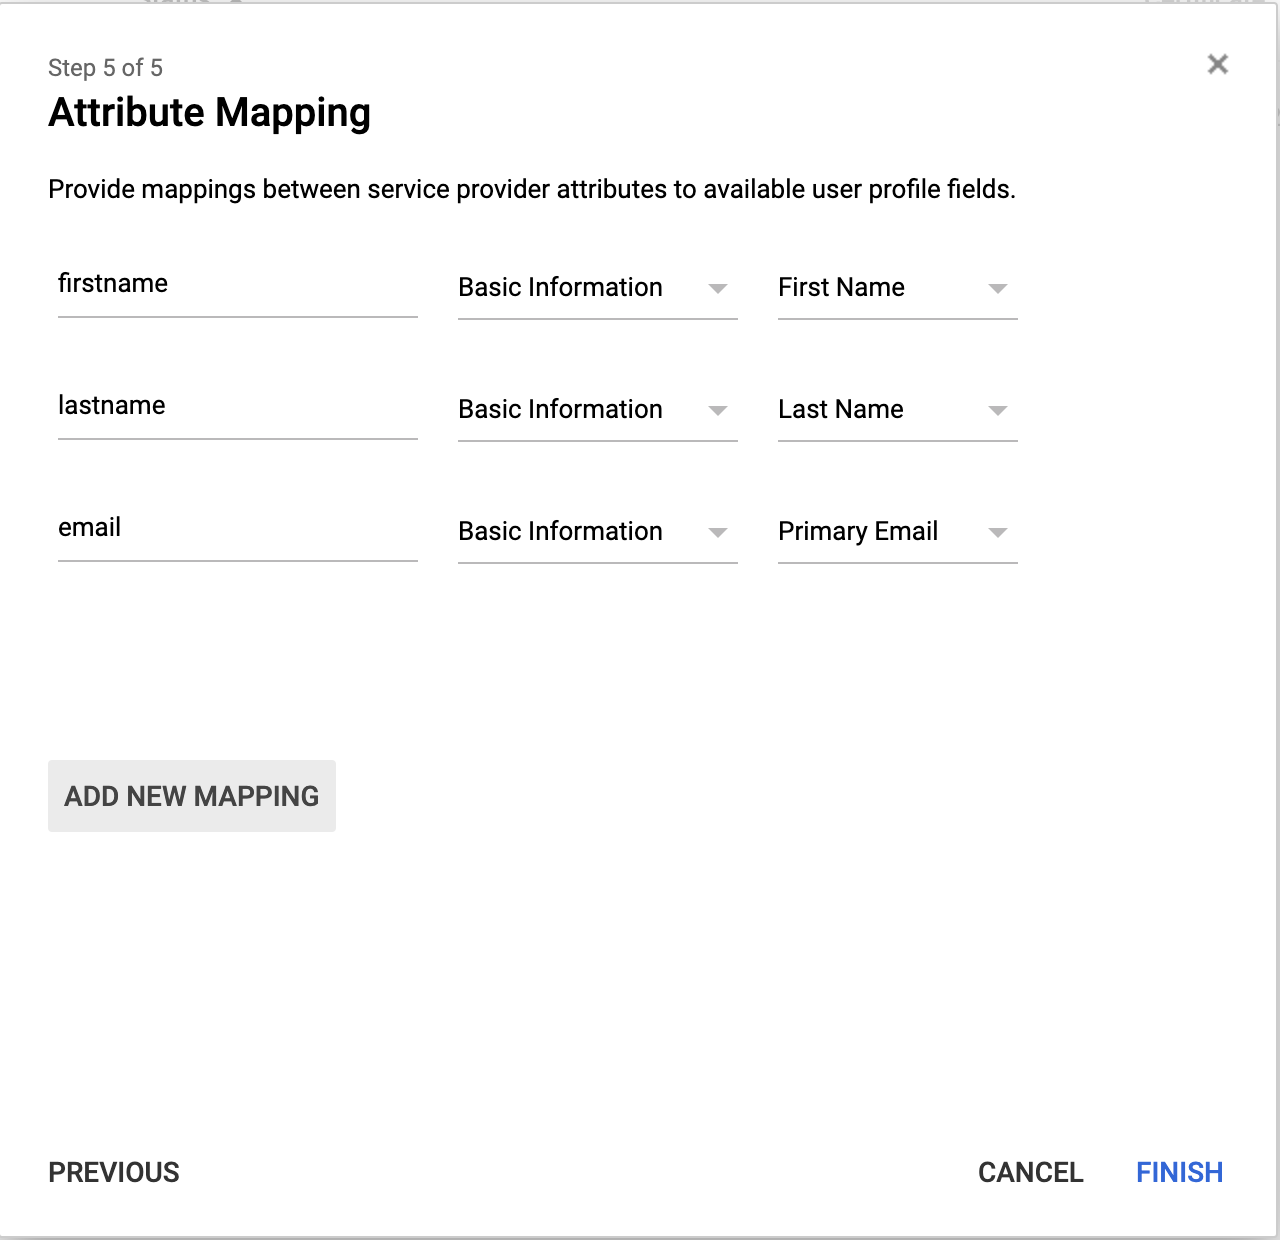
Configure The Attribute Mapping
This Mapping defines which values are contained in the SAML-Response.
In this example, 3 fields: email, firstname, and lastname are defined (the attribute names can be chosen) which are respectively mapped to Primary Email, First Name, and Last Name.
Click FINISH.
Step 9
Enable The IdP
Enable the IdP by selecting ON for everyone or ON for some organizations and confirming it.

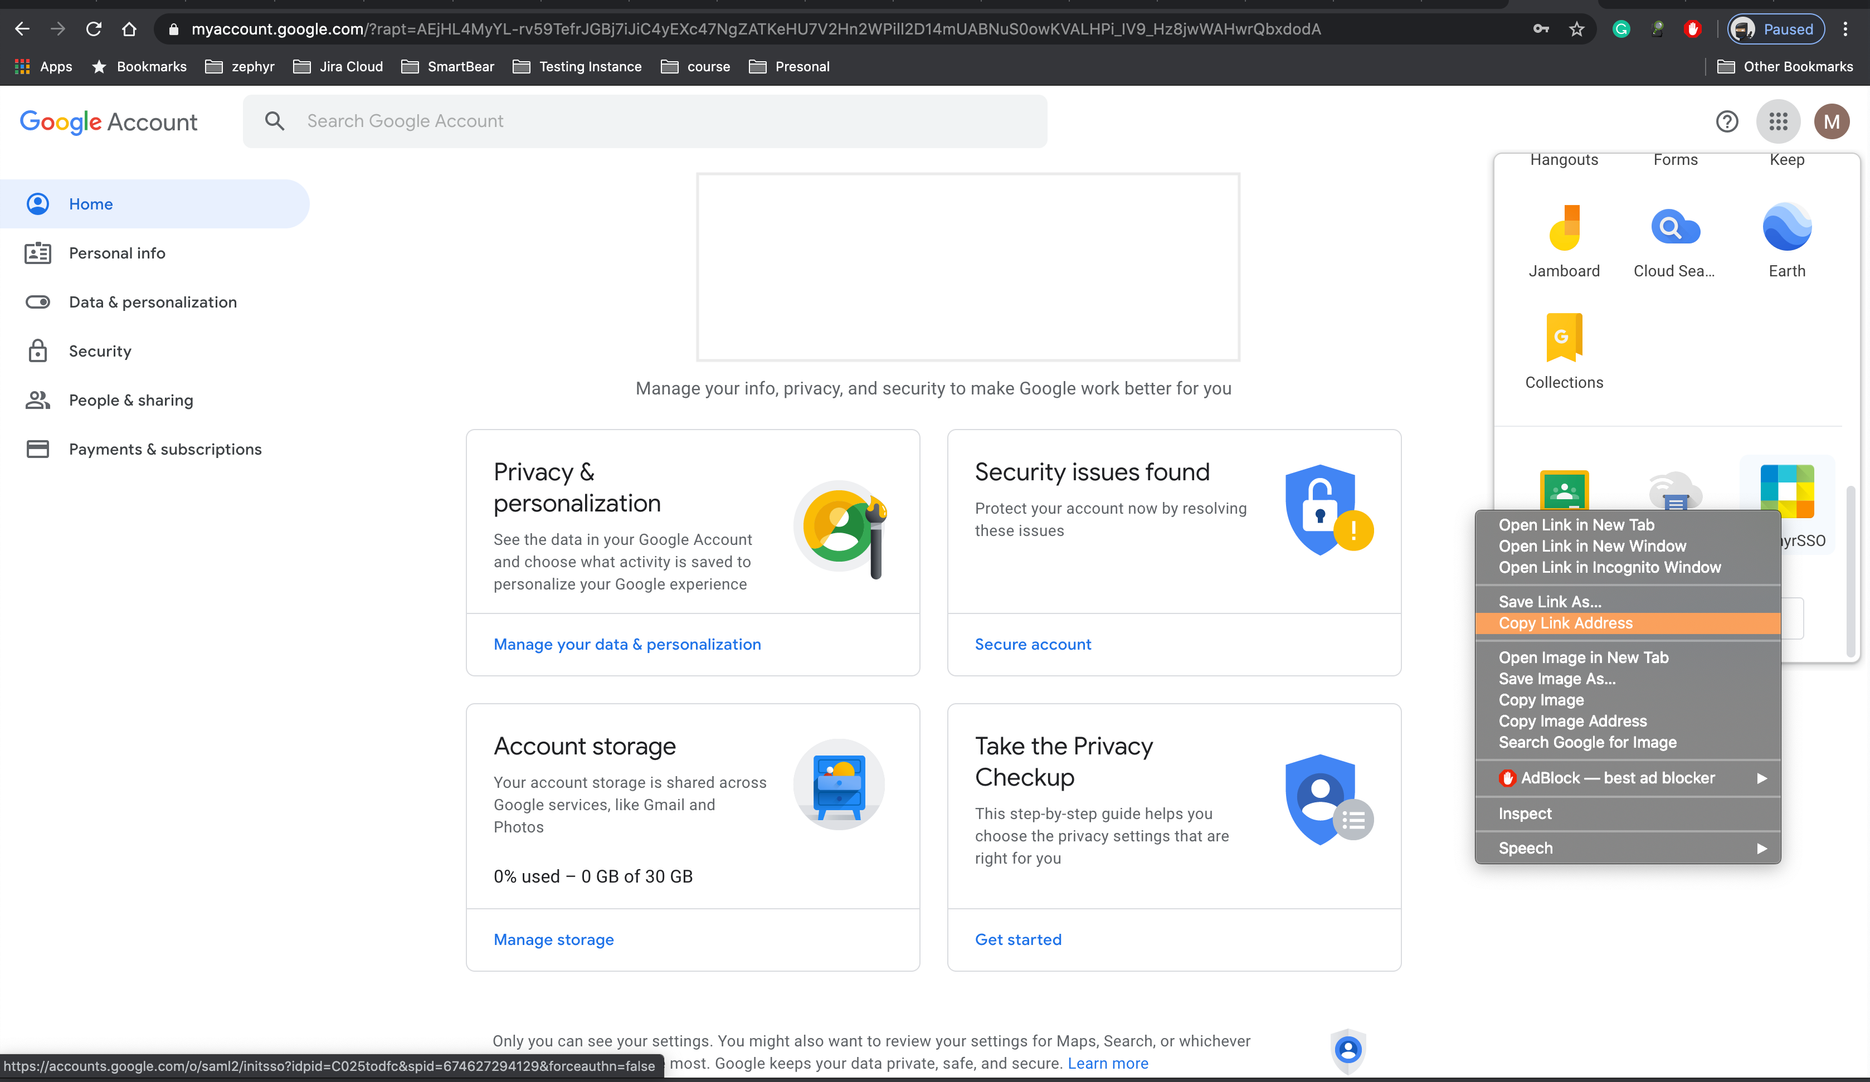
Step 10
From the APP Window copy, the APP URL by right-clicking copy the
Configure Zephyr with SSO
Go to Administration → Authentication and Select SSO from the Dropdown.
In Identity Provider URL: Give the Detail from the Copy the Link Address from the APP URL from Step 10.
In Identity Provider Issuer Id: Give the Detail of Entity ID from Step 5.
In Certificate, provide the Certificate Download from Step 5.
Enable Auto-Provisioning
Attribute Mapping Give the Detail from Step 8
