Customize Testcase and Test Step Execution Status
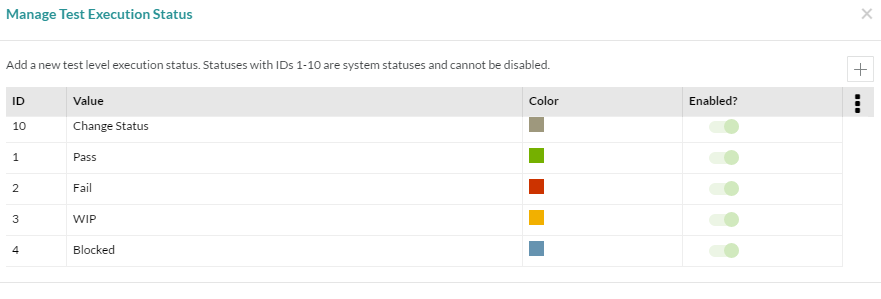
Both execution statuses at the Testcase and the Test Step level can be customized. By default, a testcase or a test step is in the "Unexecuted" or "Change Status" state before it can be put into one of 4 standard or system statuses - Pass, Fail, WIP (Work in Progress), and Blocked. System statuses can be modified (select it and click the "Edit" button) but not disabled.
Additional statuses can be easily added, color customized and enabled/disabled.
Customizing Testcase Execution Status
As a Zephyr Administrator, open the Administration section and select the Customizations tab. In the Testcases section, click on the 'Execution Status' button.
 |
Click on the '+' button to add a new status. Provide a name (this name will be displayed in the drop-down menu for your users when they execute tests, so name it appropriately), pick a color for this status from the color palette and click on Save.
 |
The new status is added and automatically enabled. Select it and click on the 'Enabled?' button if you do not want to use that status anymore.
Customizing Test Step Execution Status
As a Zephyr Administrator, open the Administration application and select the Customizations tab. In the Testcases section, click on the Step Execution Status button:
 |
Click on the + button to add a new status. Name it (this name will be displayed in the drop-down menu for your users when they execute test steps, so name it appropriately), pick a color for this status from the color palette and click on Save.
 |
The new status is added and automatically enabled. Select it and click on the 'Enabled?' button if you do not want to use that status anymore.