Running XCUITest Tests
Apple promotes the XCUITest testing framework as the go-to choice for testing iOS applications. It's primarily used for functional testing, allowing automation of typical workflows, demo sequences, and customer view behaviors.
To get started with the framework, you can utilize the XCUITest Recorder to record the initial steps of your automated test. Additionally, you can use the Interface Builder to locate elements, view their properties, and navigate through the application's element tree.
To prepare for testing, follow these steps:
Create the mobile application IPA following the instructions for creating an iOS Application Package.
Once the IPA file is generated, ensure the XCUITest Runner application is in the same folder as the application itself. You can find the
.appfile by right-clicking and selecting Show in Finder.
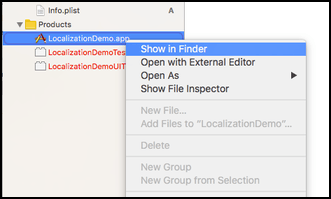 |
In the XCUITest project folder, you can find a file ending with -Runner.app. For instance, if the UI test target name is LocalizationDemoUITests, the app folder should contain the LocalizationDemoUITests-Runner.app file.
 |
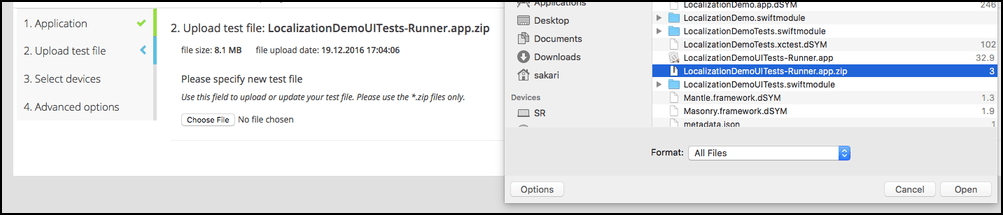
Subsequently, compress this file into a zip package by right-clicking the file ending with -Runner.app and selecting Compress <-Runner.app>. This action creates a .zip file suitable for uploading to BitBar Testing Cloud as the test package of the BitBar Testing XCUITest test project.
 |