Account Management
Learn how to manage your settings in BitBar.
Click the icon on the main page to open the account menu.
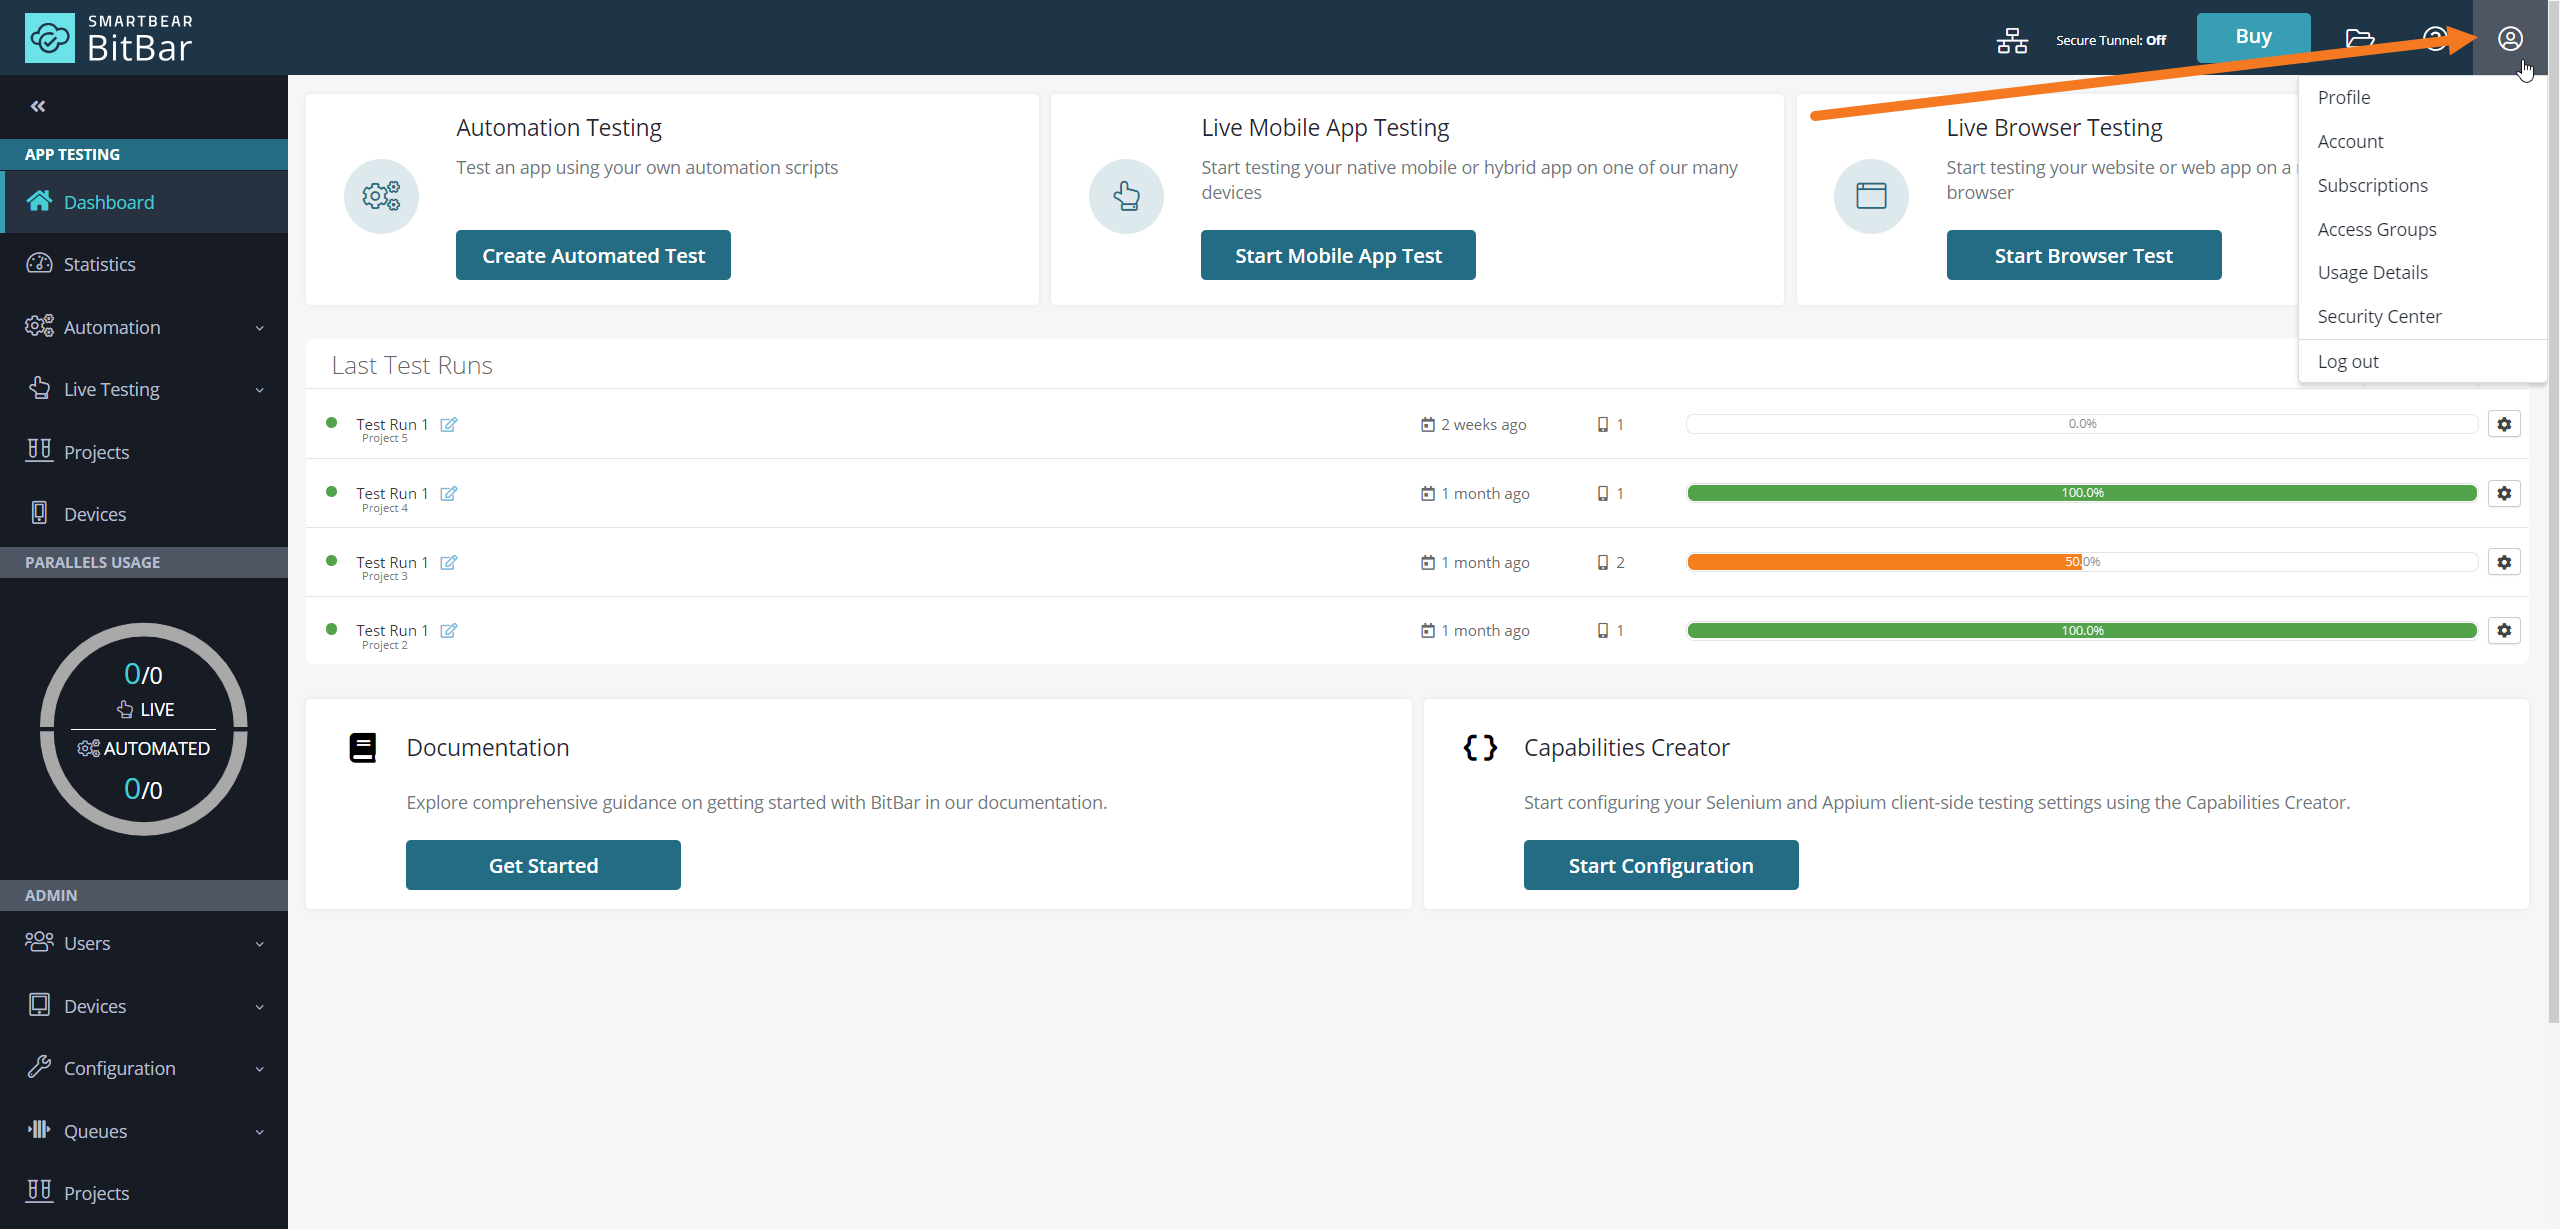 |
In the account menu, you can open the following pages:
Important
The Account page is available only for account owners.
Learn how to manage your settings in BitBar.
Click the icon on the main page to open the account menu.
|
In the account menu, you can open the following pages:
The Account page is available only for account owners.