Working with Folders
As you increase the number of test cases, cycles, and/or plans in your project, the organization of your content becomes increasingly important. Grouping testing artefacts into folders and sub-folders helps tremendously.
You can use folders to group tests for specific functions, requirements, or different test types, such as performance tests, integration tests, or system-level tests.
Create and Organise Folders/Subfolders
While in the Tests, Plans, or Cycles view, click Create Folder while your cursor is in the Folders panel. Type a name for your new folder, then click the check to save.
To create a subfolder, hover over and click the folder’s ellipsis icon.
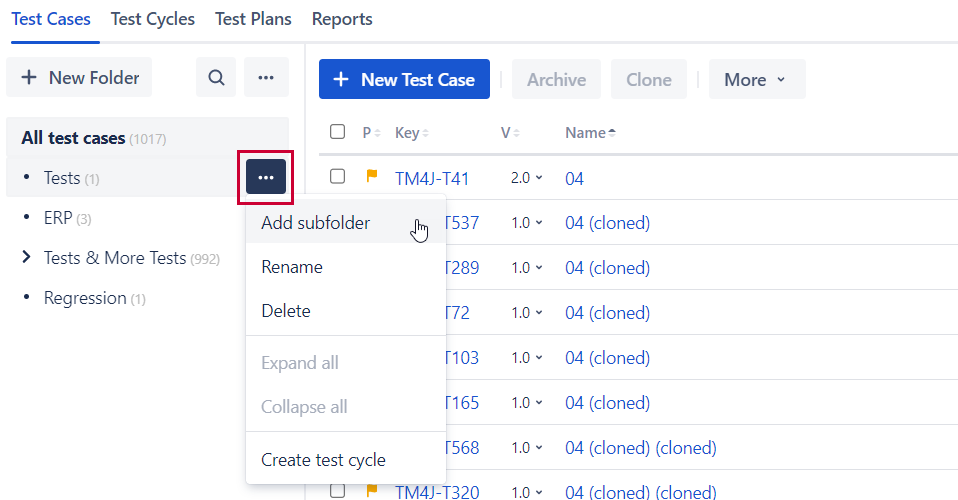
Click Add Subfolder.
Reorder Folders
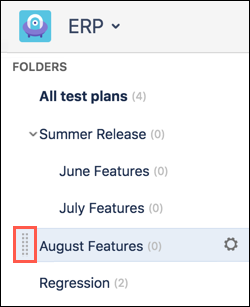
Drag-and-drop folders to reorder the list (top to bottom changes) or to restructure and create parent-child relationships.
To make a folder parent or child, click-and-hold the move icon at the left of the folder name, then drag-and-drop the folder left or right.
Collapse/Expand
If you have multiple folders and subfolders, you may find that collapsing/expanding at certain times helps you stay organized.
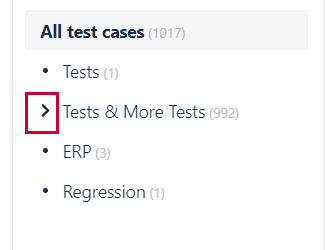
A carat indicated that a folder has a subfolder(s) within it. Click the carat to expand and collapse the folders.
You can also hover over a set of folders and click the ellipsis icon  to access the expanse and collapse folder options.
Moving Test Artefacts to a Folder
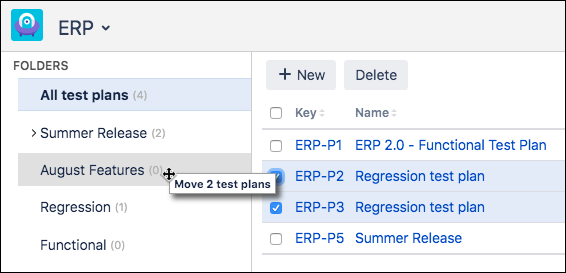
You can move test cases, plans, or cycles into a folder by selecting the test items you’d like to move, then dragging them into the folder of your choice.
Edit or Delete a Folder
You can edit or delete a test folder by clicking the ellipsis icon .
.
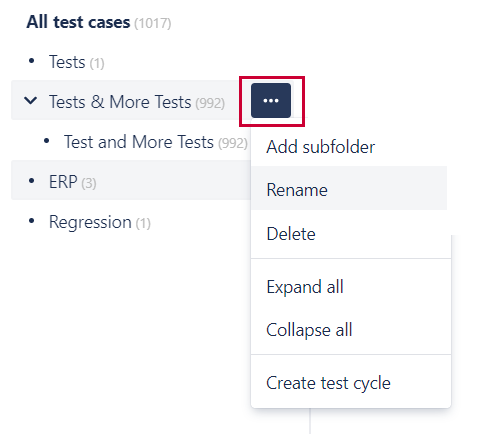
Select your preferred action from the dropdown list.