Test plans help you manage high-level test planning and oversee an entire testing effort.
Test plans are groups of test cycles. When you generate reports and statistics filtered by test plans, the information aggregates and displays the test-execution results, metrics, and coverage of the test cases associated with the test cycles.
This task offers an example of how to create a test plan, and it highlights important aspects of the creation process.
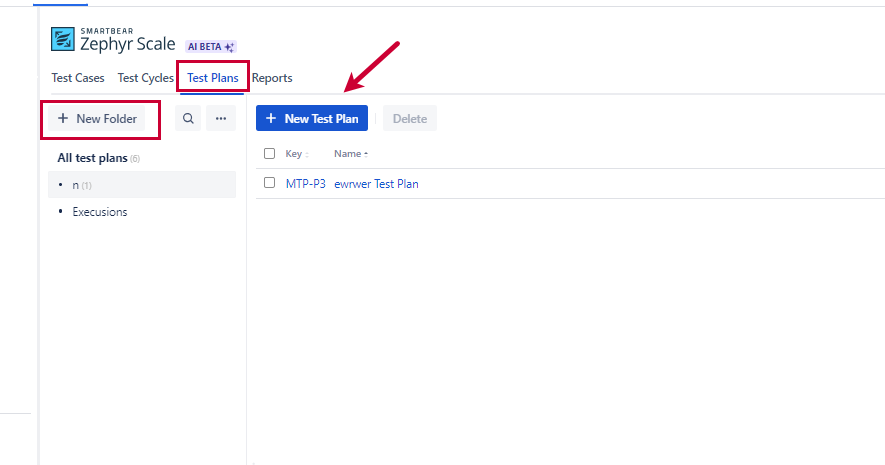
Click the Test Plans view.
In the Folders panel, click the folder you want to create a new test cycle. If you want to create a new folder, click New Folder, name the new folder, then click outside the name field. Your folder is automatically saved and appears on the list.
With a folder selected click New Test Plan to create a new test plan.
The Create Test Plan modal appears. Fill out all the details. You can modify your Test Plan later. The only required fields now are name and any of custom fields that you marked as required at the bottom of the modal.
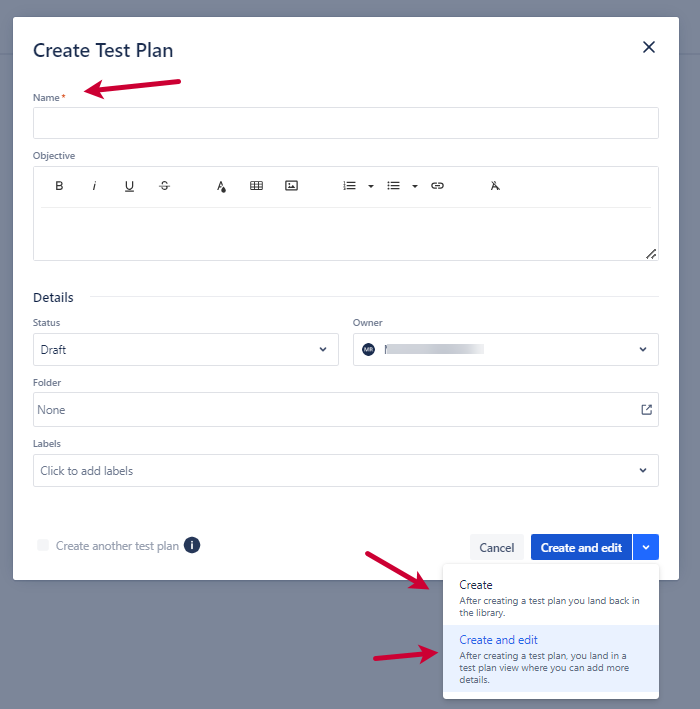
Once you are ready with filling out the fields, you can either:
Choose Create if you want to save the Test Plan and go back to the library. Your Test Plan is created and appears on the list.
Choose Create and Edit if you want to go to the Test Plan edit screen and provide more data.
If you want to add more information, fill in the desired fields on the Details tab, including the name of (required).
Folder is the destination of your test plan (specified in Step 2).
Status refers to the readiness of the test plan to be executed.
Owner is to whom the test plan is assigned.
On the Traceability tab you can link Jira issues, existing Test Cycles and Web URLs.
On the History tab, you can track changes to the Test Plan.