External Importer
The external importer allows you to import your test cases from either an Excel or XML file right into your Zephyr Squad project and this can done by using the third party importer.
Prerequisite for using the Zephyr importing tool
This prerequisite is applicable for the external importer tool.
Zephyr supports the majority of the Jira fields and this includes any custom fields added as well.
Even though we support these Jira fields (mandatory or optional), they must be added to the Create Issue Screen in Jira. It is required for all mandatory fields for a given project to be added to the Create Issue Screen.
This is required because it allows the field to be mapped to a data column as part of the import process. Zephyr is then able to list the respective fields on the mapping section when using the Importer tool. Once the mapping is done, the user is able to map the required mandatory or optional Jira fields to the importer file fields.
If your tests are in Excel or in a CSV format
You have a couple of different options to import them into Jira:
Using the Jira’s CSV import.
You will have to convert your files to a CSV format and use this plugin to import your tests into Jira. Note that if you have detailed test steps in your tests, they CANNOT be imported using this mechanism. Use the next option for that.
Using the Zephyr Squad Tests Importer Utility.
This utility allows the importing of tests directly from Excel spreadsheets, including detailed test steps.
Use the Zephyr Squad tests importer utility
This utility is a stand-alone program that you download and install on the machine where your Excel files are. In order to ensure security and privacy of your data, a relationship between the installed utility and your Cloud instance has to be established. Use the following steps:
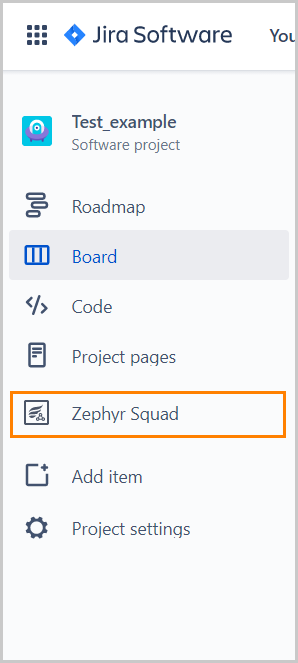
Click Zephyr Squad in the left-hand navigation menu.

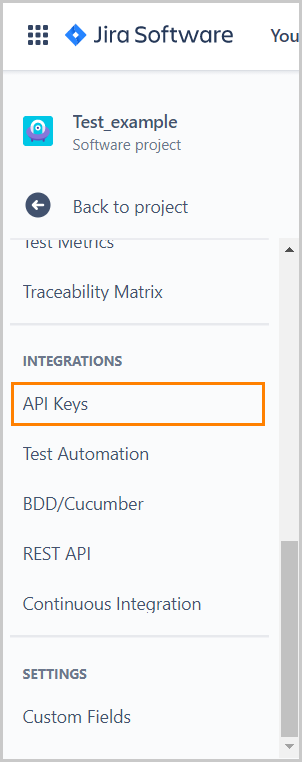
Click API Keys in the Integrations section to generate the Access Key and Secret Key.

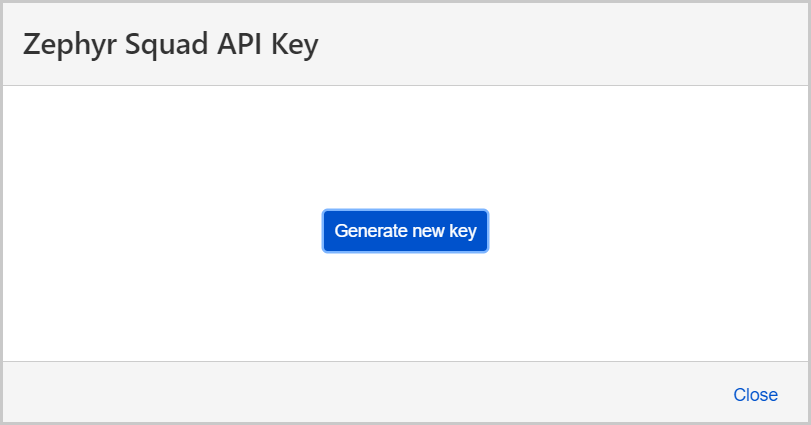
Select Generate new key in the Zephyr Squad API Key dialog.

Now click on the copy icon in the resulting window to copy both those keys to your clipboard. Both keys are copied at once so you may have to paste it into another document to separate the keys. You will need them individually later.
Now download and install the Zephyr Squad Tests Importer Utility.
Run the Utility and enter the following information:
The URL of your Cloud instance:The base URL of your Jira instance that is using Zephyr Squad.
Example: https://prod-api.zephyr4jiracloud.com/connect/
Userid: The ID of the user.
Password: The password field uses an API token (not your actual Jira password).
The API tokens can be generated here: https://id.atlassian.com/manage/api-tokens.
Secret Key: Generated from the API Keys page.
Access Key: Generated from the API Keys page.
Now click Connect and the Utility establishes a secure connection to your Cloud instance and retrieves the list of Jira projects.
Pick the project you want to import your tests into.
Select the Excel tab and now follow instructions on how to map and upload your tests which can be found in the Usage section of this page: https://bitbucket.org/zfjdeveloper/zfj-importer.