Upgrade Steps on Windows
Steps to Perform Before the Upgrade
Caution
Remember to take a full database backup before upgrading.
You need to restart the MySQL database before upgrading Zephyr Enterprise, as MySQL 8.0.30 and later versions have an issue.
Zephyr Enterprise Release 8.1 and later supports the latest Java 17 or OpenJDK 17.0.10 versions. You can download Java 17 and OpenJDK 17.0.10 from the respective download page.
1. Back up your Zephyr, node, and database data.
2. Restart MySQL DB before doing the upgrade.
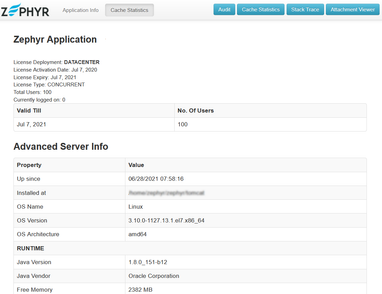
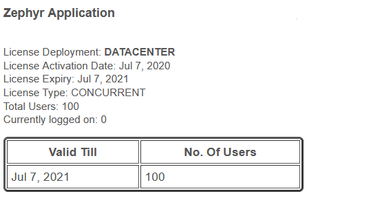
3. Save all the contents of the following pages (license details, the start and end dates, indexing statistics, the current JVM size, and so on). You will need them for post-upgrade verification:
https://<your instance>.yourzephyr.com/flex/assets/html/version.htmlhttps://<your instance>.yourzephyr.com/flex/version
4. Copy somewhere the following files:
{Zephyr directory}\zephyr\tomcat\conf\server.xml{Zephyr directory}\zephyr\tomcat\conf\web.xml{Zephyr directory}\zephyr\tomcat\webapps\flex\WEB-INF\classes\jdbc.properties{Zephyr directory}\zephyr\tomcat\conf\<SSL certificate>
5. Back up the zephyrdata folder located in the common shared storage. If it is not there, back up the {Zephyr directory}\zephyrdata folder on each Zephyr node.
6. Back up the nodedata folder located in the common shared storage. If it is not there, back up the {Zephyr directory}\nodedata folder on each Zephyr node.
7. If you are not using the latest supported version of Elasticsearch 8.6.2, install it.
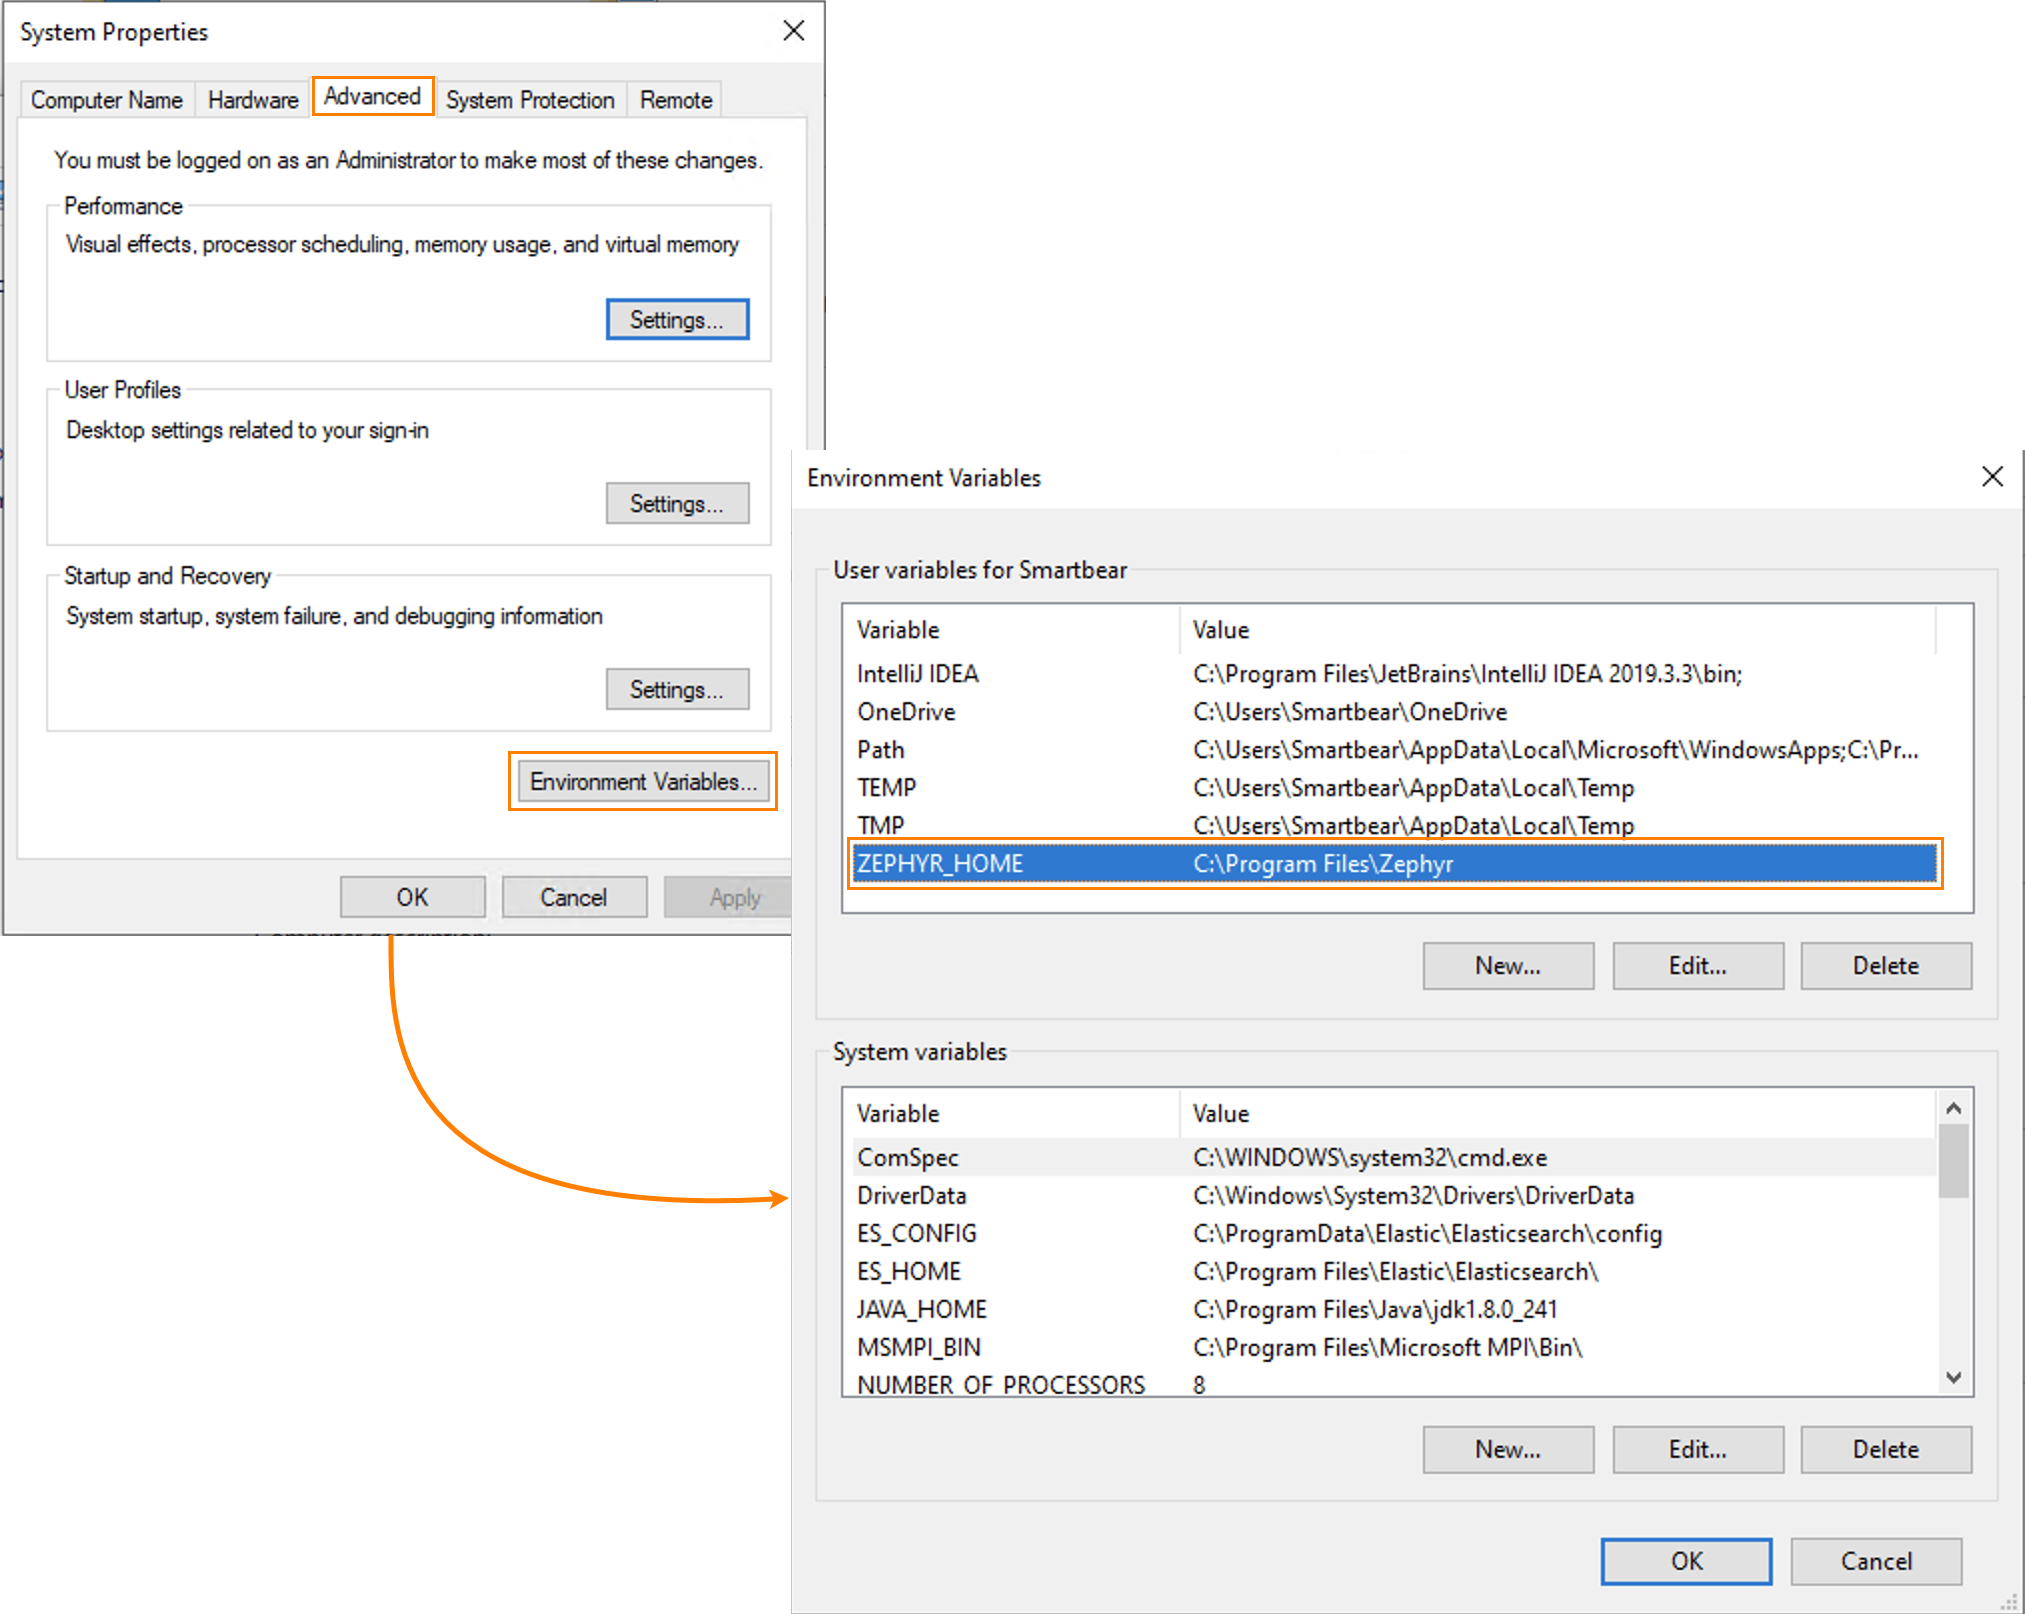
8. Make sure that ZEPHYR_HOME is in the list of environment variables:
Go to Control Panel > System and Security > System > Advanced system settings, click Advanced, and then click Environment Variables:
Important
Please take care of it if you have two or more nodes while upgrading the cluster environment:
The process of installing, updating, and executing the node occurs in a single step, starting from copying the update files.
Do not run the Upgrader simultaneously on all nodes, as it may lead to issues with database consistency.
First, execute the Upgrader on a single node until it is complete, and then proceed with upgrading the rest of the nodes.
9. Install RabbitMQ 3.12.10 (Optional): RabbitMQ 3.12.10 is a robust messaging and streaming broker that's easily deployable across cloud environments and on-premises setups. Currently, installing RabbitMQ 3.12.10 is optional for users. Installing Java 17 is required for using RabbitMQ. You can download RabbitMQ 3.12.10 here.
10. Install ZE-Services (Optional): Upgrading to Java 17.0.10 or later is mandatory for using ZE-Services:
ZE-Webhook Service is the component responsible for accepting incoming events from Jira and enqueuing them to the message broker for further processing. You can download ZE-Webhook Service here and find the installation instructions here.
ZE-Consumer Service is the component that picks the queued events from the message broker and updates ZE with the incoming data. You can download ZE-Consumer Service here and find the installation instructions here.
ZE-AuditService is the component that acts as the incoming endpoint for the Audit Logs generated during the incoming webhook event processing and queues them to the message broker. You can download ZE-AuditService here and find the installation instructions here.
- ZE-AuditProcessor is the component responsible for reading the enqueued audit logs from the message broker and inserting them into ZE. You can download ZE-AuditProcessor - here and find the installation instructions - here
The upgrade procedure
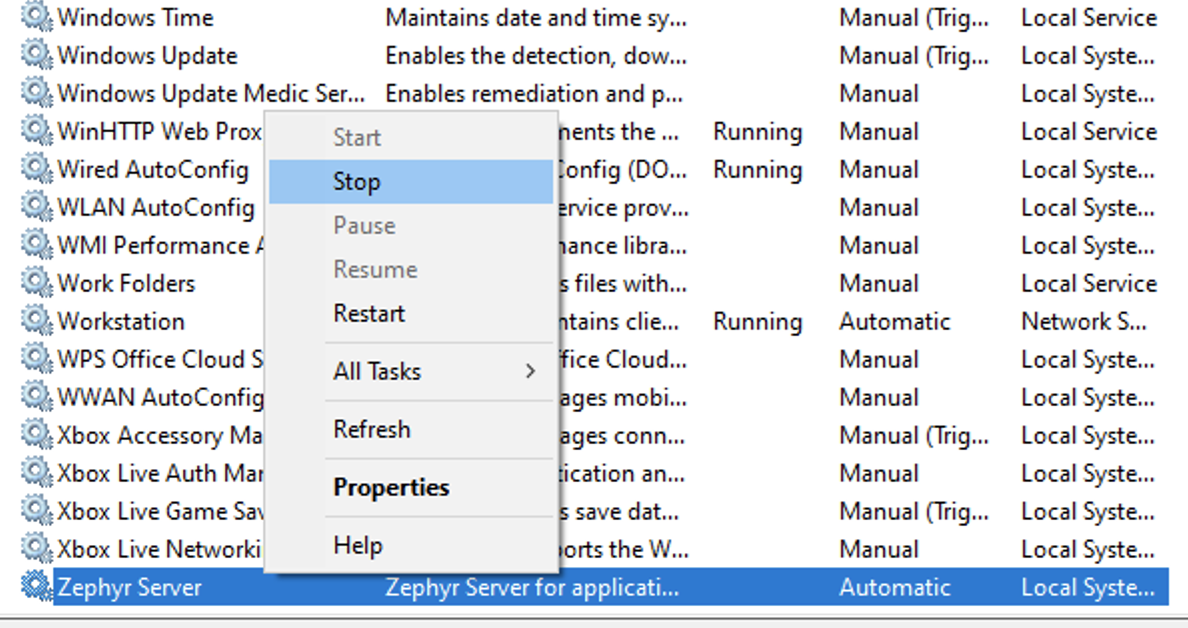
1. Stop the Zephyr service on all Zephyr cluster nodes:
 |
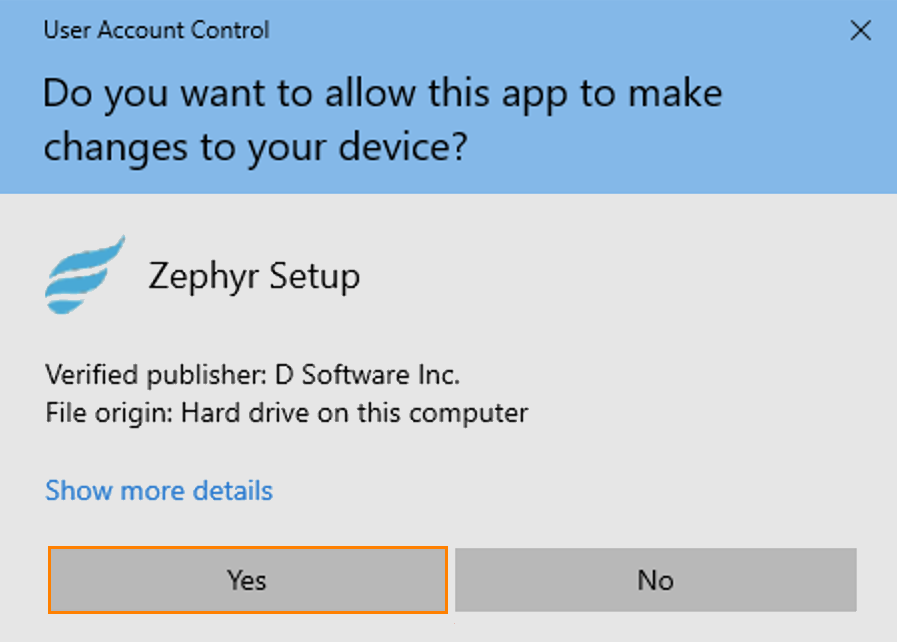
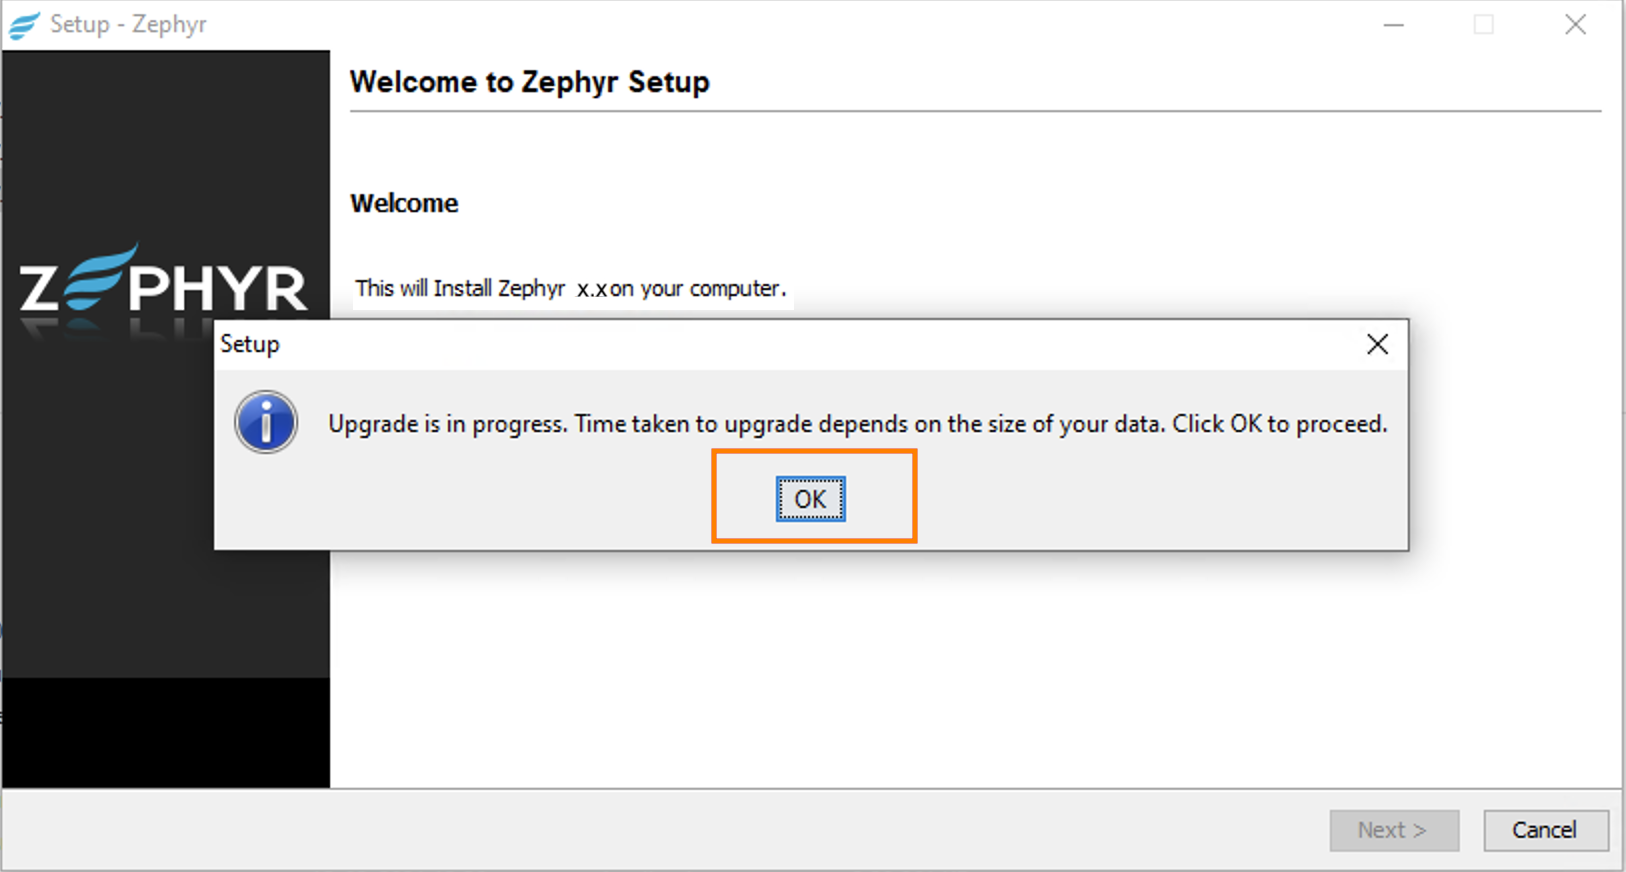
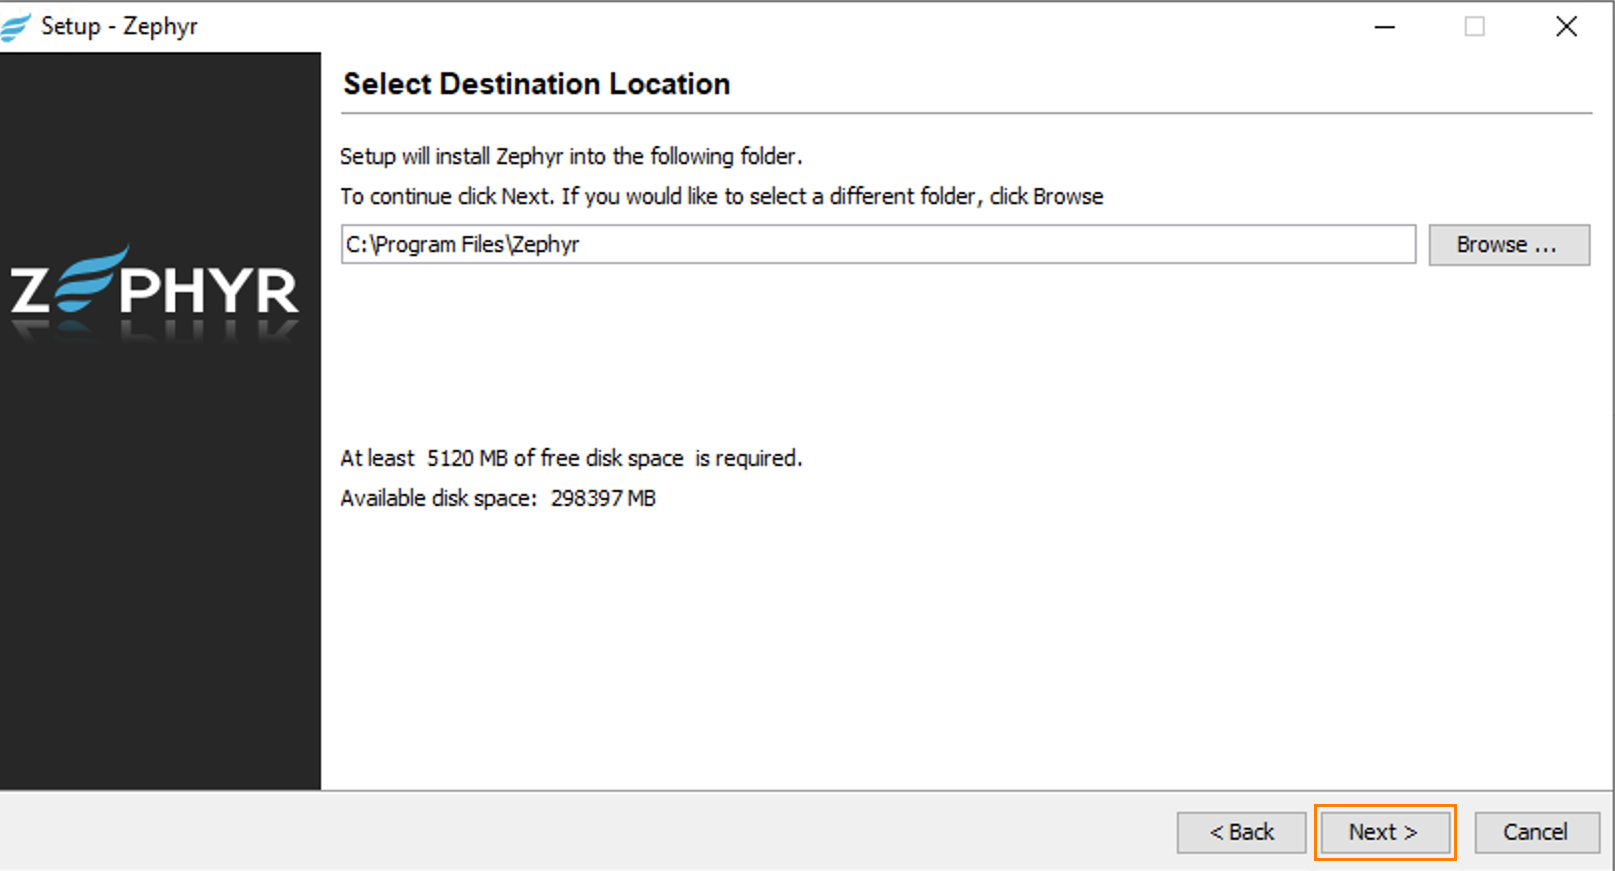
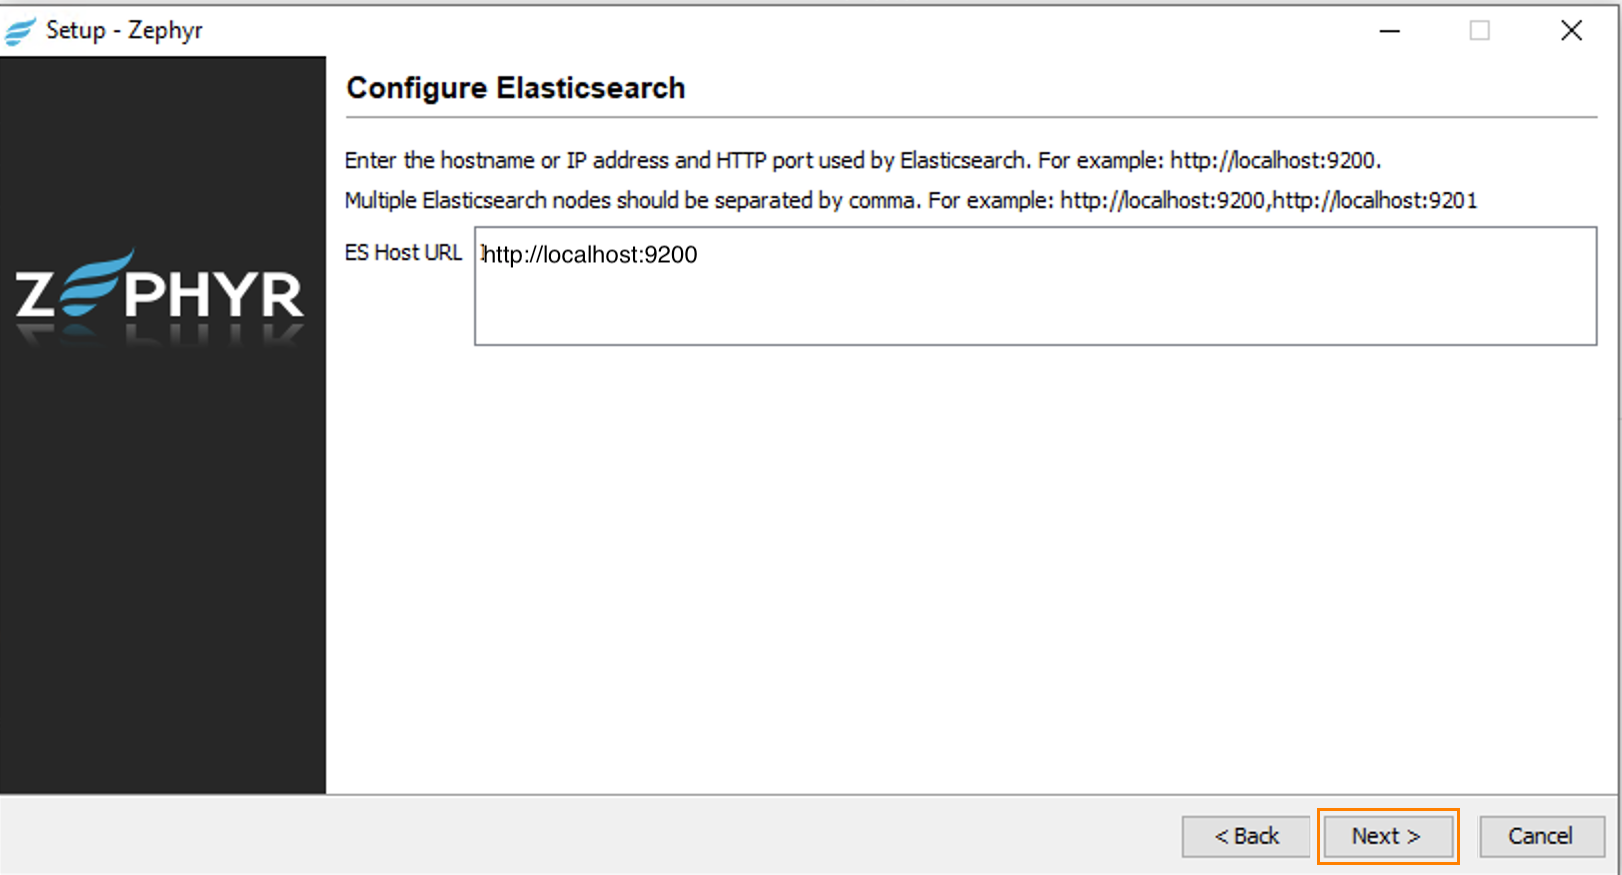
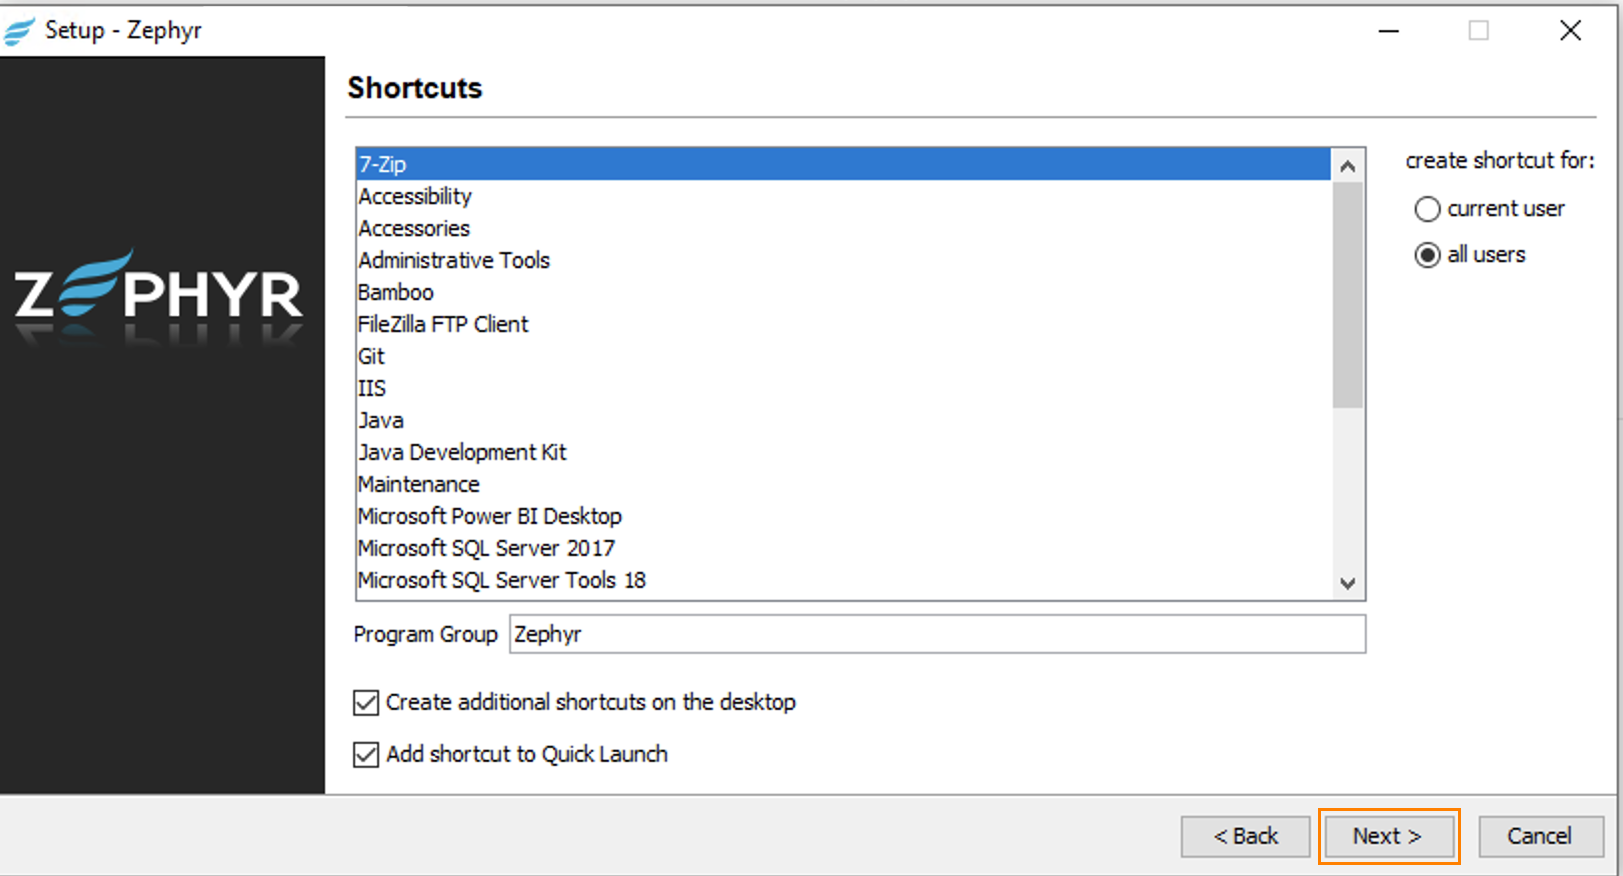
2. Start the Zephyr installer as an administrator on the first node and upgrade the product as shown below:
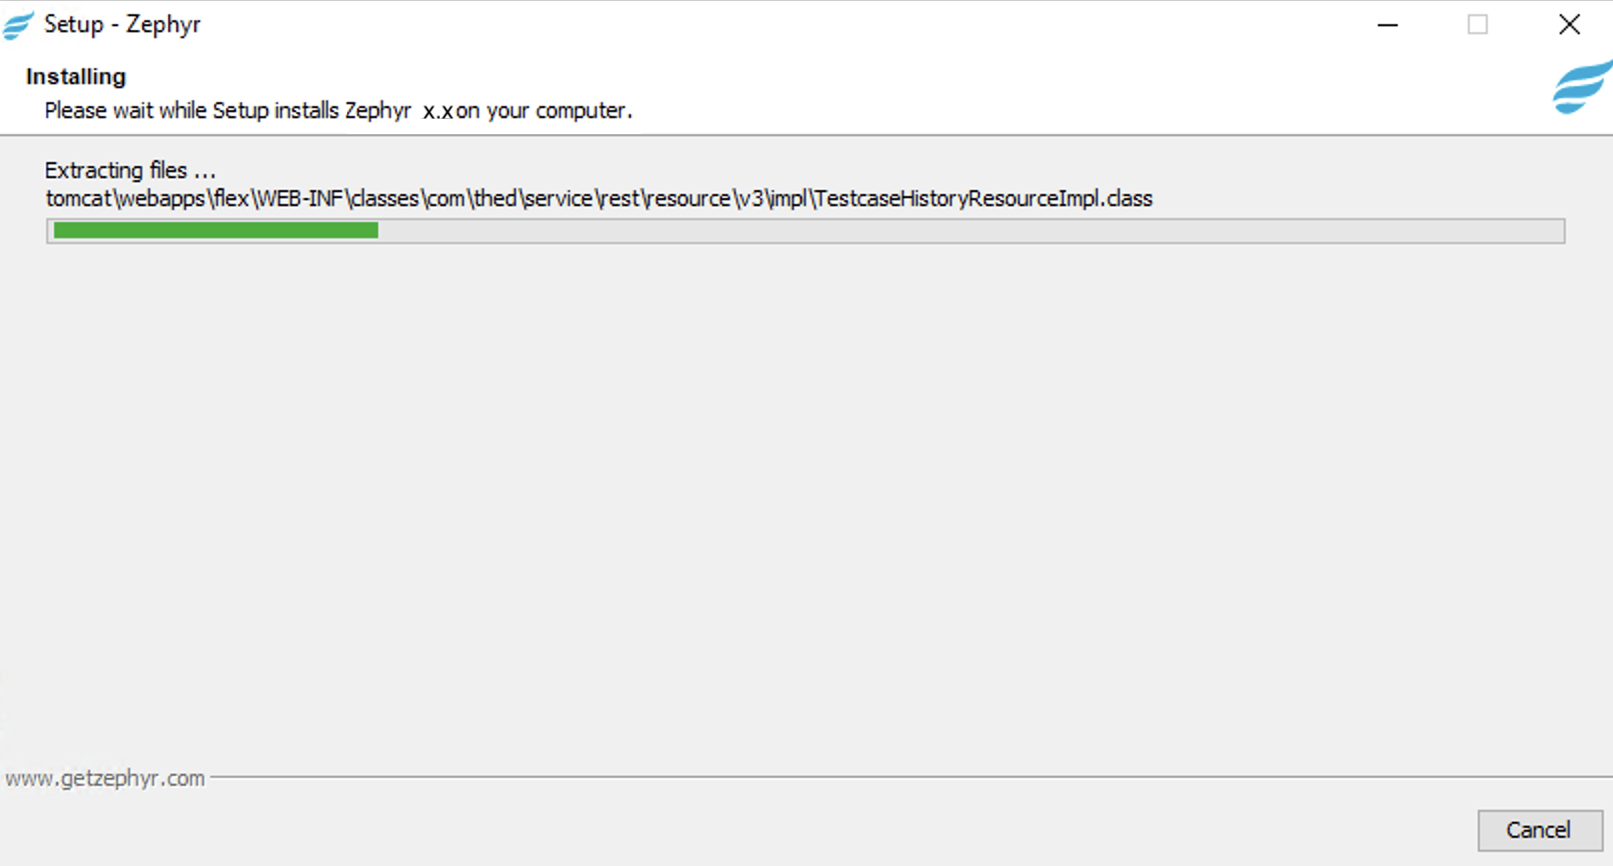
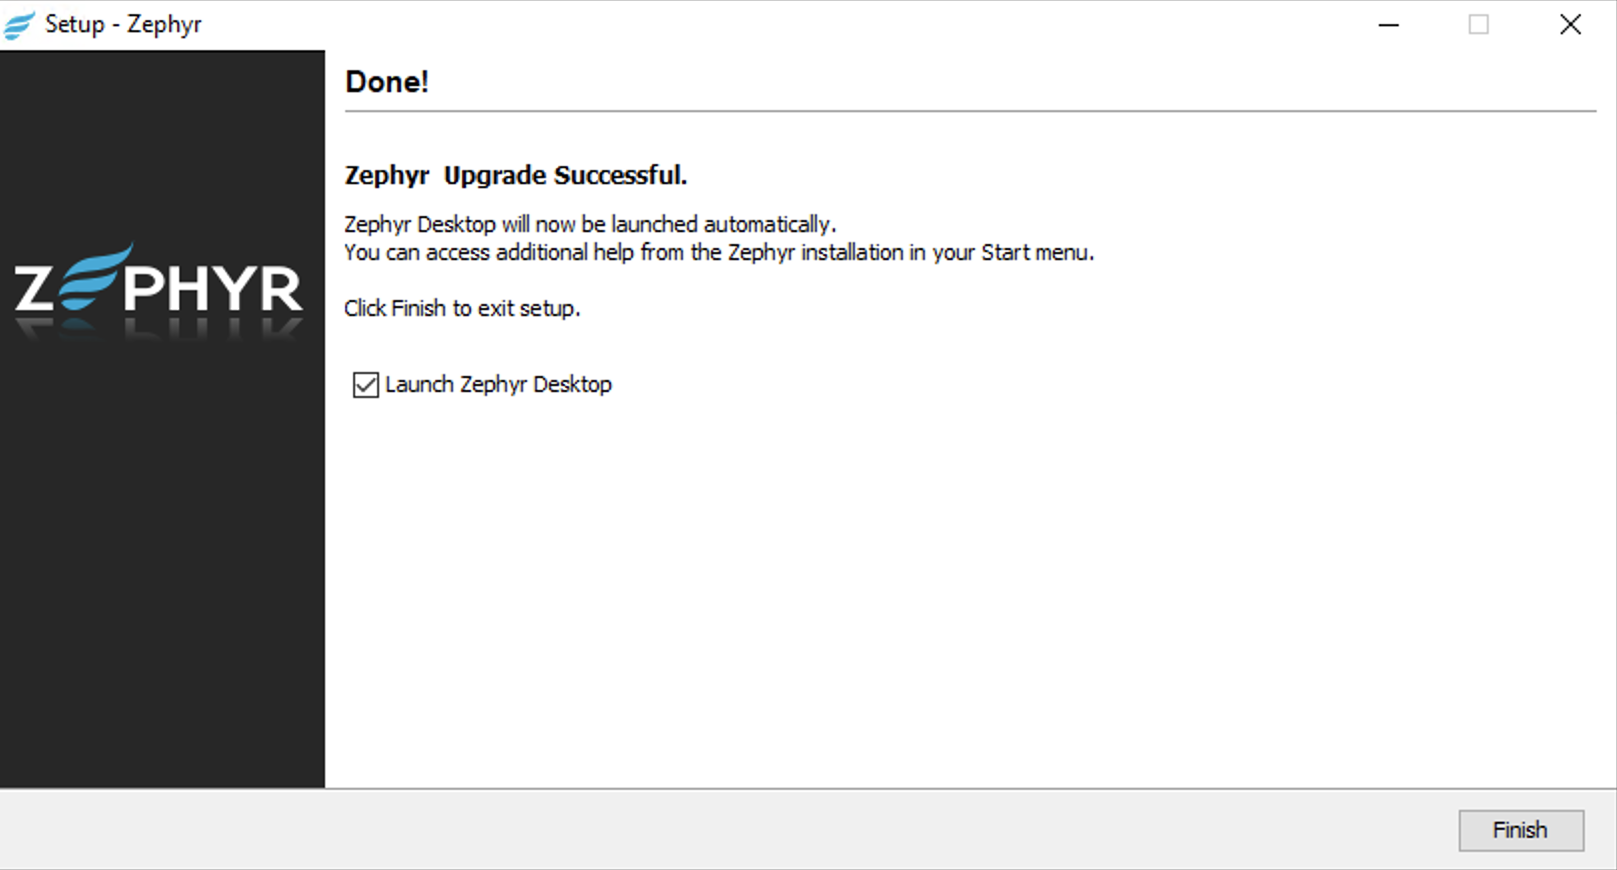
3. After you install Zephyr, make sure it is up and running.
When Zephyr starts, you will see the following line in the zephyrlocation/tomcat/logs/thedinc.log log file:
*****************
Zephyr Started
****************
4. Stop the Zephyr service:
 |
5. Copy the SSL certificate files with those you saved at step 3 to the following folder if Zephyr is configured to use SSL:
{Zephyr directory}\zephyr\tomcat\conf\<SSL certificate>Important
Now go to another Zephyr cluster node and repeat all the upgrade steps described above.
6. After you upgrade Zephyr Enterprise on all the nodes, you need to modify the following file on each node:
<Zephyr Directory>/tomcat/webapps/flex/WEB-INF/classes/hazelcast.properties
In this file, find the following lines and change the values as shown below:
zephyr.hz.cluster.enabled=false - set it to
true.zephyr.hz.cluster.name=zephyr-hazelcast-cluster - specify a unique name for each cluster, for example,
zephyr-hazelcast-cluster_smartbear.zephyr.hz.interfaces.enabled=false - set to
true.zephyr.hz.interface=127.0.0.1 - This is the IP of the IP interface. Replace it with an IP address that has asterisks instead of the last two components. For example
zephyr.hz.interface= 192.168.*.*zephyr.hz.tcp-ip.enabled=false - set it to
true.zephyr.hz.members=127.0.0.1 - specify the IP addresses and port number of each node separated by a comma. For example:
zephyr.hz.members=192.168.0.1:5701,192.168.0.2:5701
7. After modifying the hazelcast.properties file, start Zephyr on all the nodes. When Zephyr starts, you will see the following line in the zephyrlocation/tomcat/logs/thedinc.log log file:
*****************
Zephyr Started
****************
Steps to perform after the upgrade
Check if Zephyr and Elasticsearch are up and running.
Check the logs for any errors and make sure that all the patches have been applied successfully.
Log in as an Administrator and trigger the Full Reindexing manually.
Check the re-indexing status:
https://<your instance>.yourzephyr.com/flex/assets/html/version.html