SSO Setup with Active Directory - ADFS
Overview
This article provides the steps to install and configure Active Directory Federation Services (ADFS) on Windows Server 2016 with Zephyr Enterprise.
Configure ADFS to integrate with Zephyr Enterprise
Create a relying party
To create a relying party:
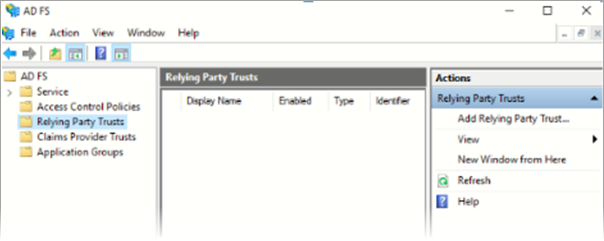
On the Start menu, click Administrative Tools > AD FS Management. The ADFS Management console is launched.
Click Relying Party Trusts. The wizard to add a relying party is launched.
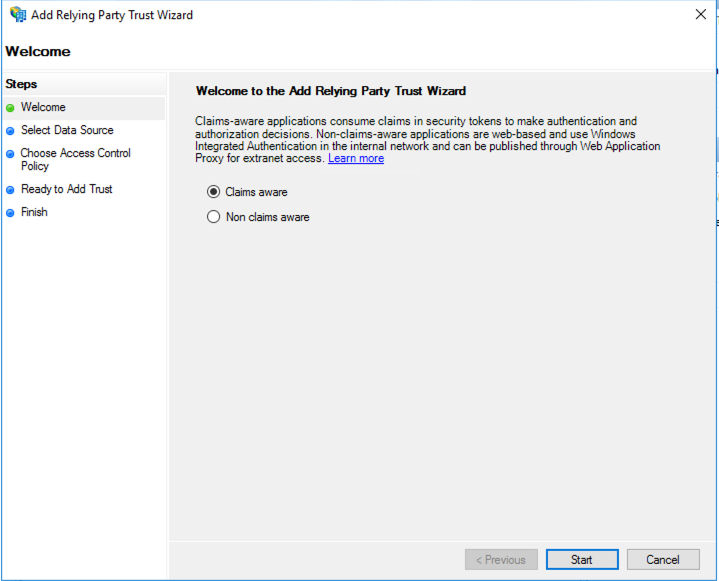
On the Add Relying Party Trusts Wizard, select Claims Aware and then click Start.
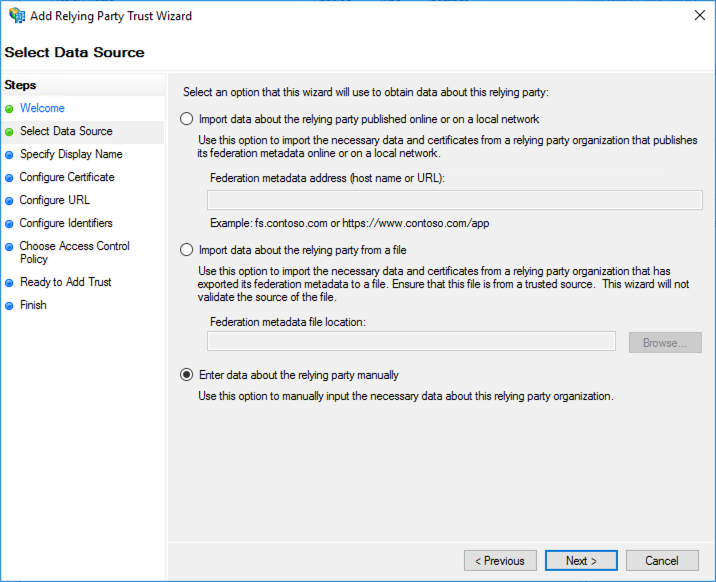
Under Select Data Source, select Enter data about the relying party manually.
In Specify Display Name field, enter Zephyr.
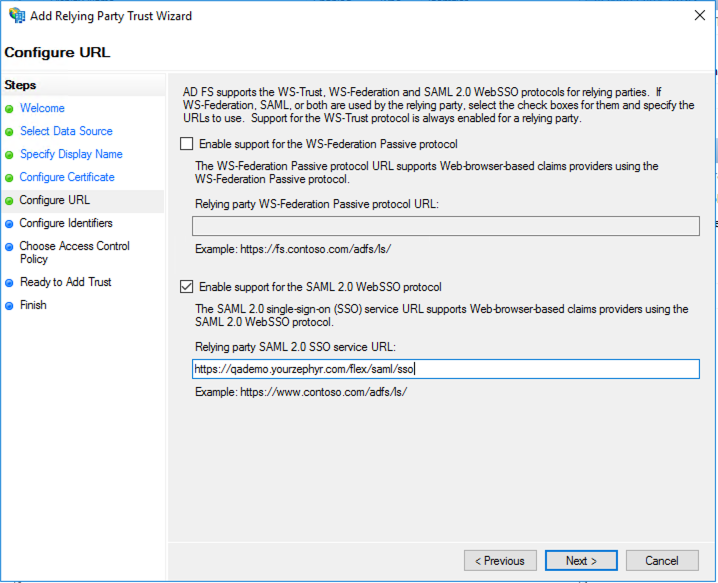
In the Configure URL section, select Enable Support for SAML 2.0 WebSSO Protocol and enter Relying party service URL as - https://{ZephyrHostname}/flex/saml/sso
Example:
https://qademo22.yourzephyr.com/flex/saml/sso
 |
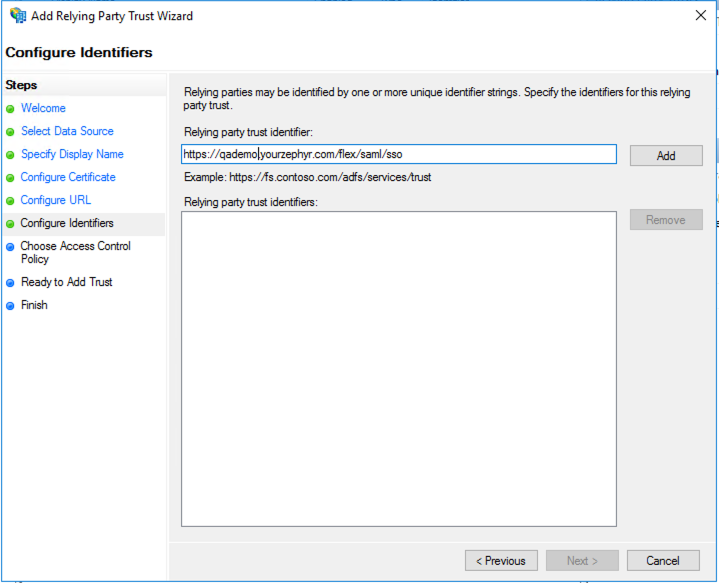
On the Configure Identifiers page, enter Relying Party Trust Identifier as - https://{ZephyrHostname}/flex/saml/sso
Example: - https://qademo22.yourzephyr.com/flex/saml/sso
 |
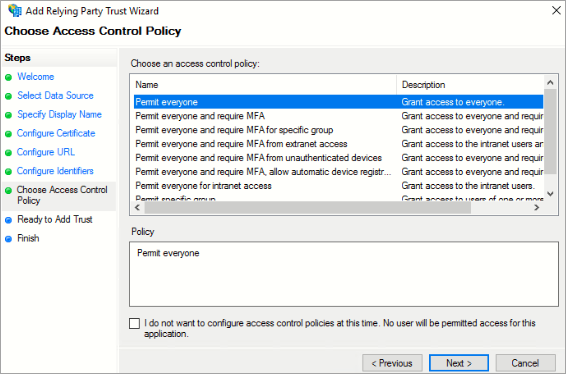
Under Choose Access Control Policy, select Permit everyone and click Next. This allows all users to access the relying party; these policies can later be modified as required.
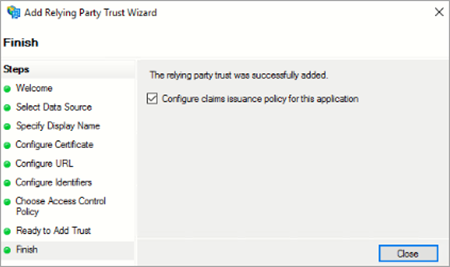
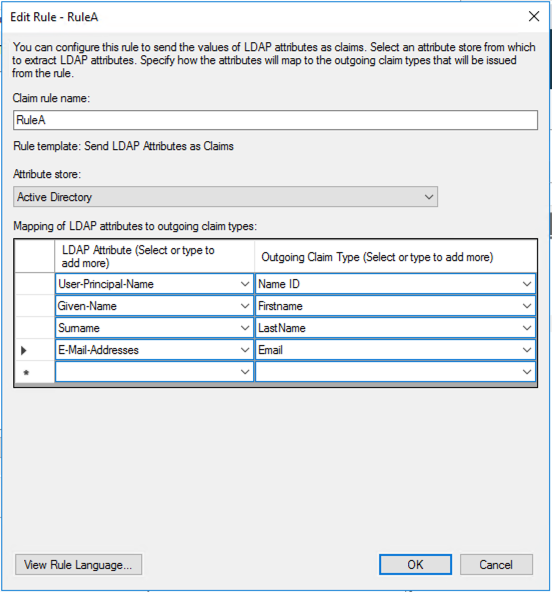
On the Finish page, select Configure claims issuance policy for this application and click Close. The Claim Issuance policy page is launched.
Claim Issuance Policy
If the Claim Issuance Policy page does not open, open AD FS Management Snap and right-click Relying party trust > select Edit Claim Issuance Policy.
 |
Get the IdP Certificate
An IdP certificate is required before configuring the Single Sign-On with DCP. To get the IdP certificate:
On the Start menu, click Administrative Tools > AD FS Management.
Expand to the Service folder and click Certificates.
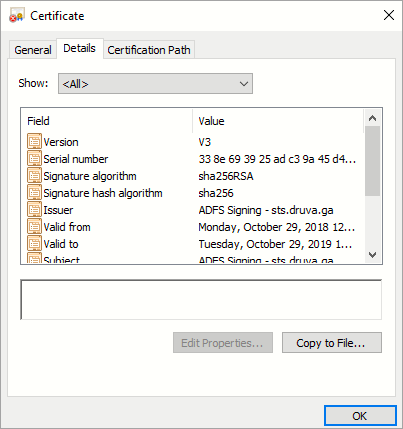
Double-click on the Token-signing certificate.
Click Details and click Copy to File.
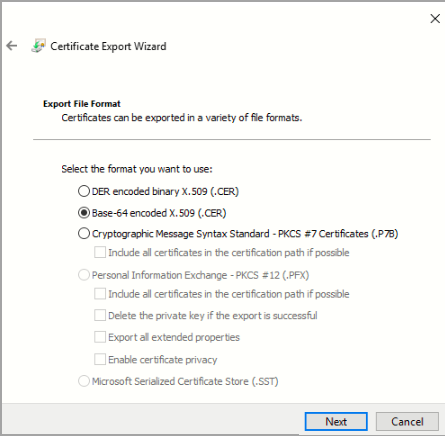
On the Certificate Export Wizard, select Base-64 encoded X.509 (.CER) and click Next.
 |
Configure the Single Sign-On settings in Zephyr
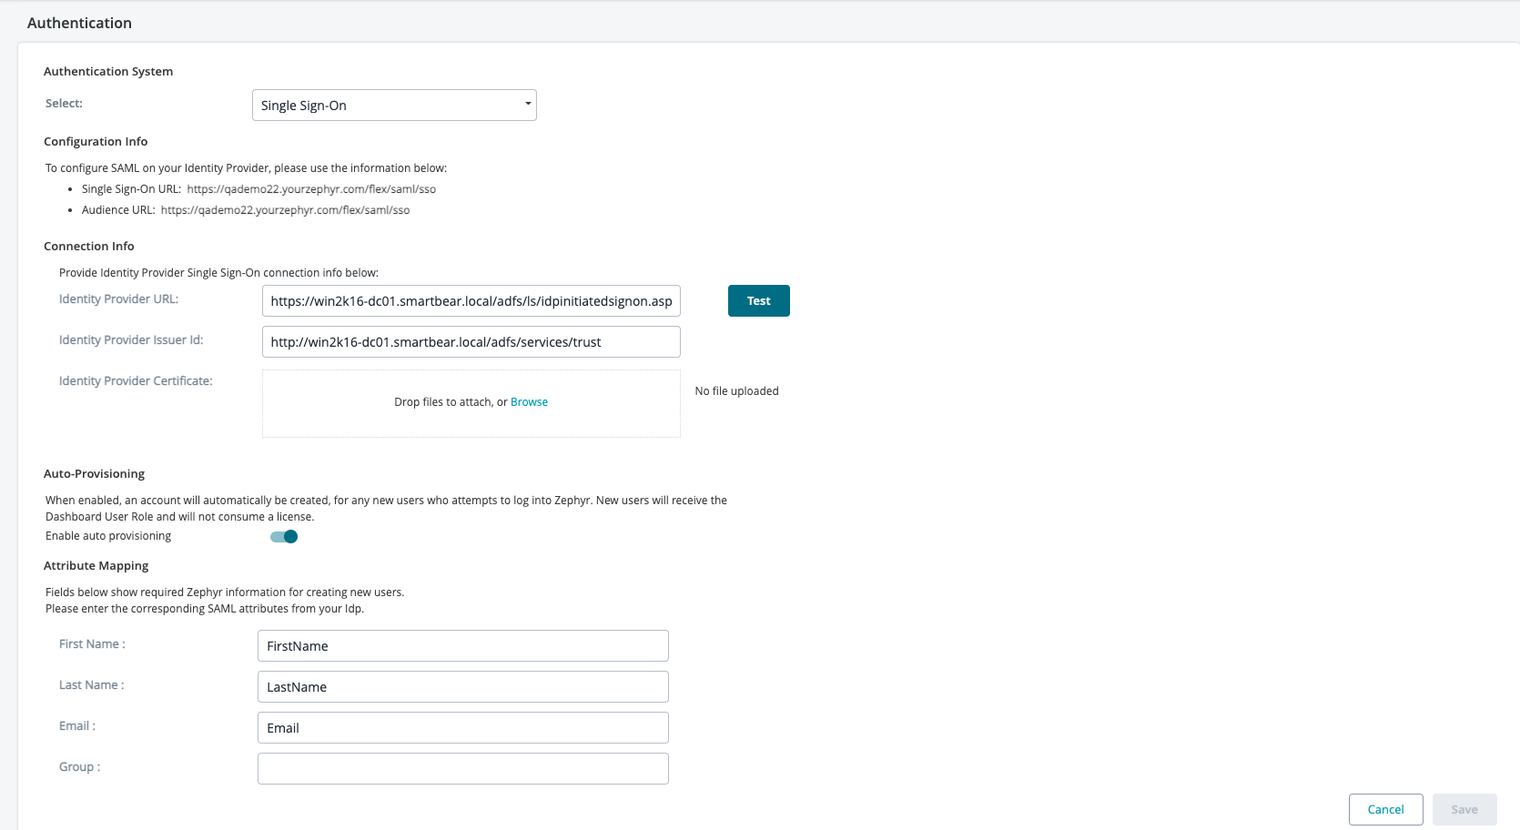
Go to Administration → Authentication and Select SSO from the Dropdown.
In Identity Provider URL: Give the Detail from the Copy the Link Address from the APP URL: - https://win2k16-dc01.smartbear.local/adfs/ls/idpinitiatedsignon.aspx?loginToRp=https://qademo22.yourzephyr.com/flex/saml/sso.
In Identity Provider Issuer Id: Give the Detail of Entity ID:- http://win2k16-dc01.smartbear.local/adfs/services/trust.
In Certificate provide the Certificate Download from above Step.
Enable Auto-Provisioning:
In Attribute Mapping: Give the details from Claim Issuance Policy.
