Get Started
To access VisualTest, you can obtain login credentials through these options:
If you are new to VisualTest, start a free trial by clicking the VisualTest Free Trial Page.
If you are joining an existing team, ask the admin to add you.
Create an Account
If you are new to VisualTest, you will need a SmartBear ID account. For information on creating one, refer to Creating a SmartBear ID account.
Note
If you already have a SmartBear ID account, you can log in using your existing credentials to access VisualTest.
Log In
To log in to VisualTest:
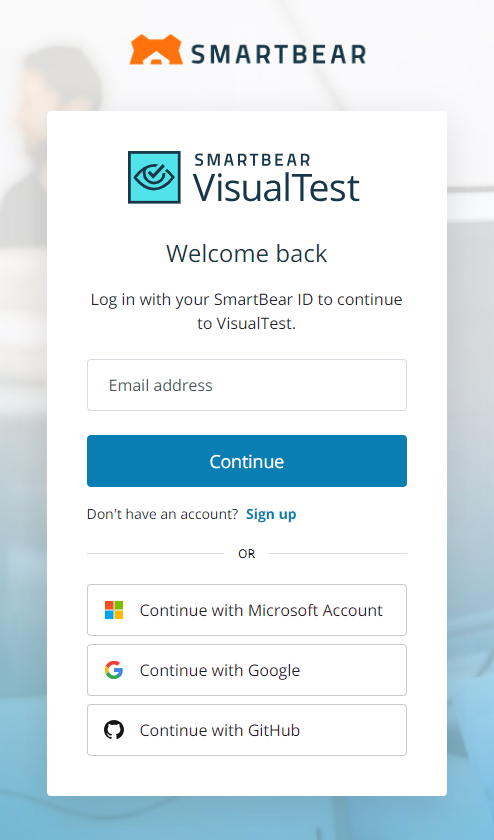
Open the following link: https://app.visualtest.io and then click Log In.
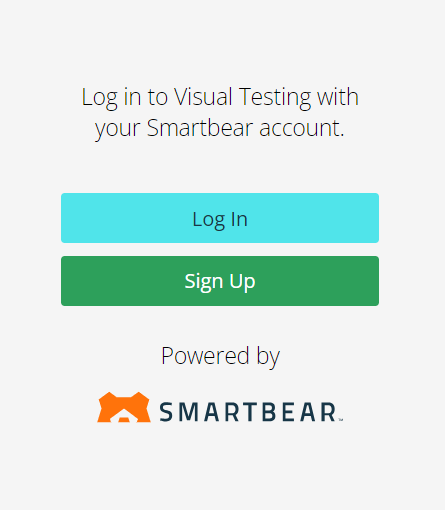
Log in with your SmartBear ID.
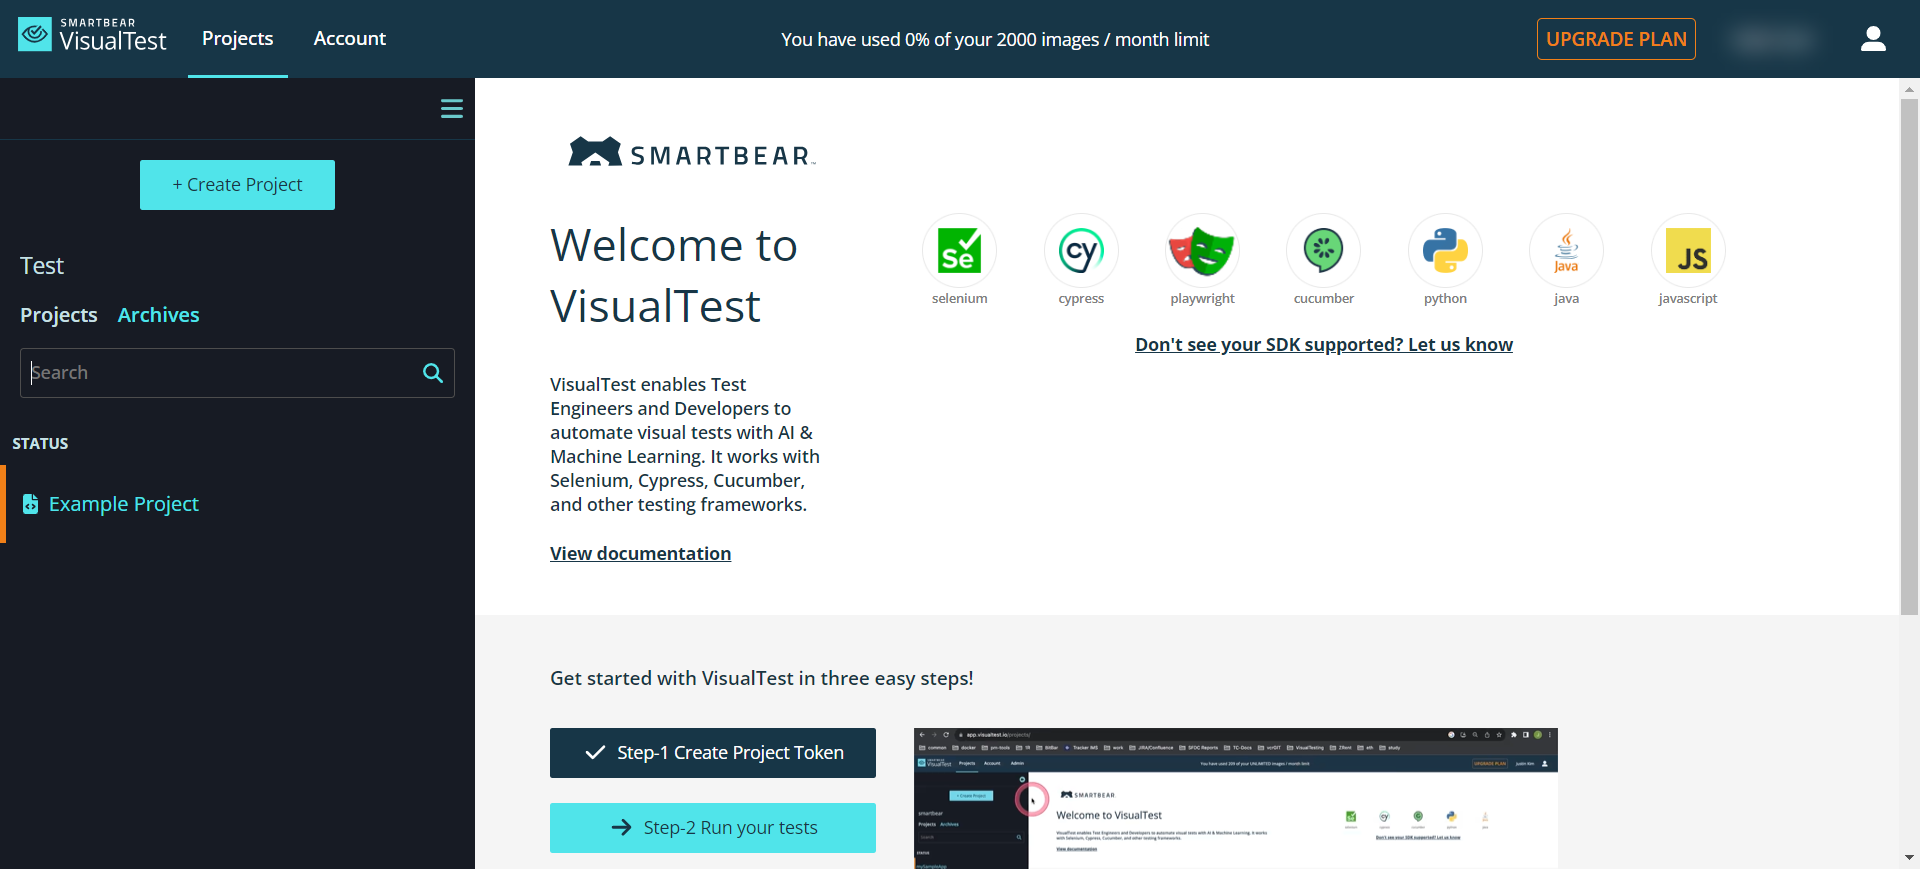
Once you successfully log in, you will see the VisualTest application displayed on your screen.
Note
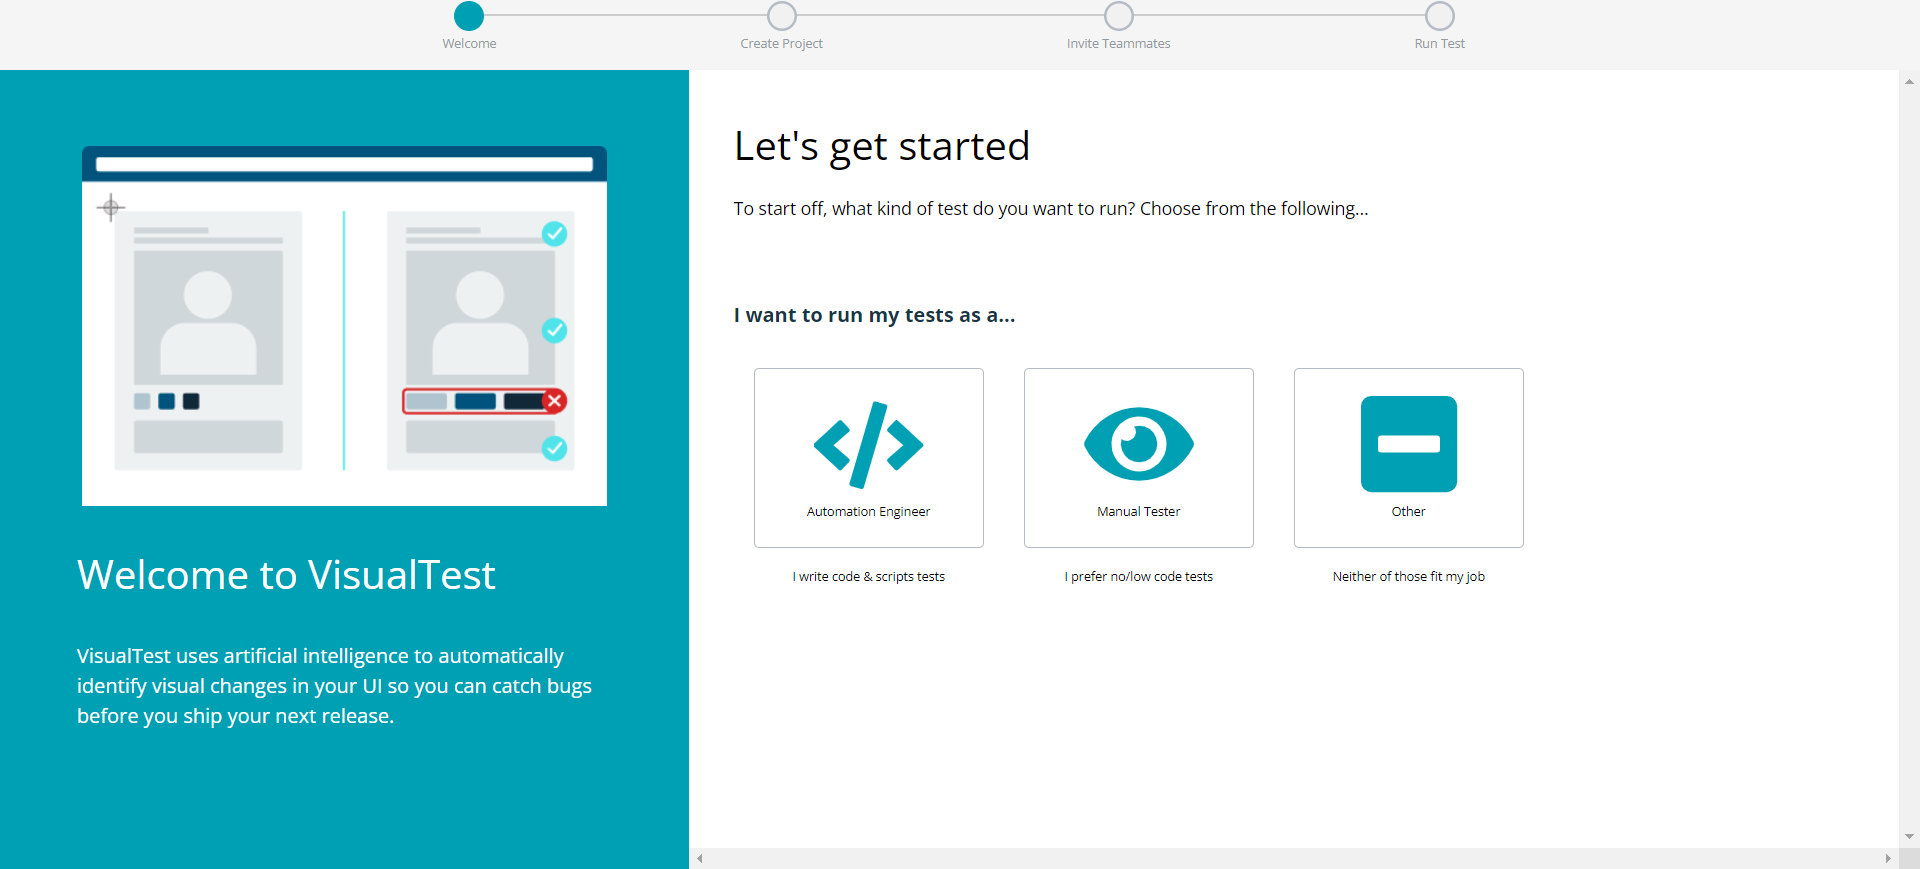
After logging in to VisualTest for the first time, the Onboarding Wizard will guide you through setup, ensuring a smooth start to using our platform.
Configure VisualTest
To configure VisualTest, you need to:
Generate a project-specific token.
Integrate VisualTest into your automated UI tests.
Run VisualTest.
Review differences found.
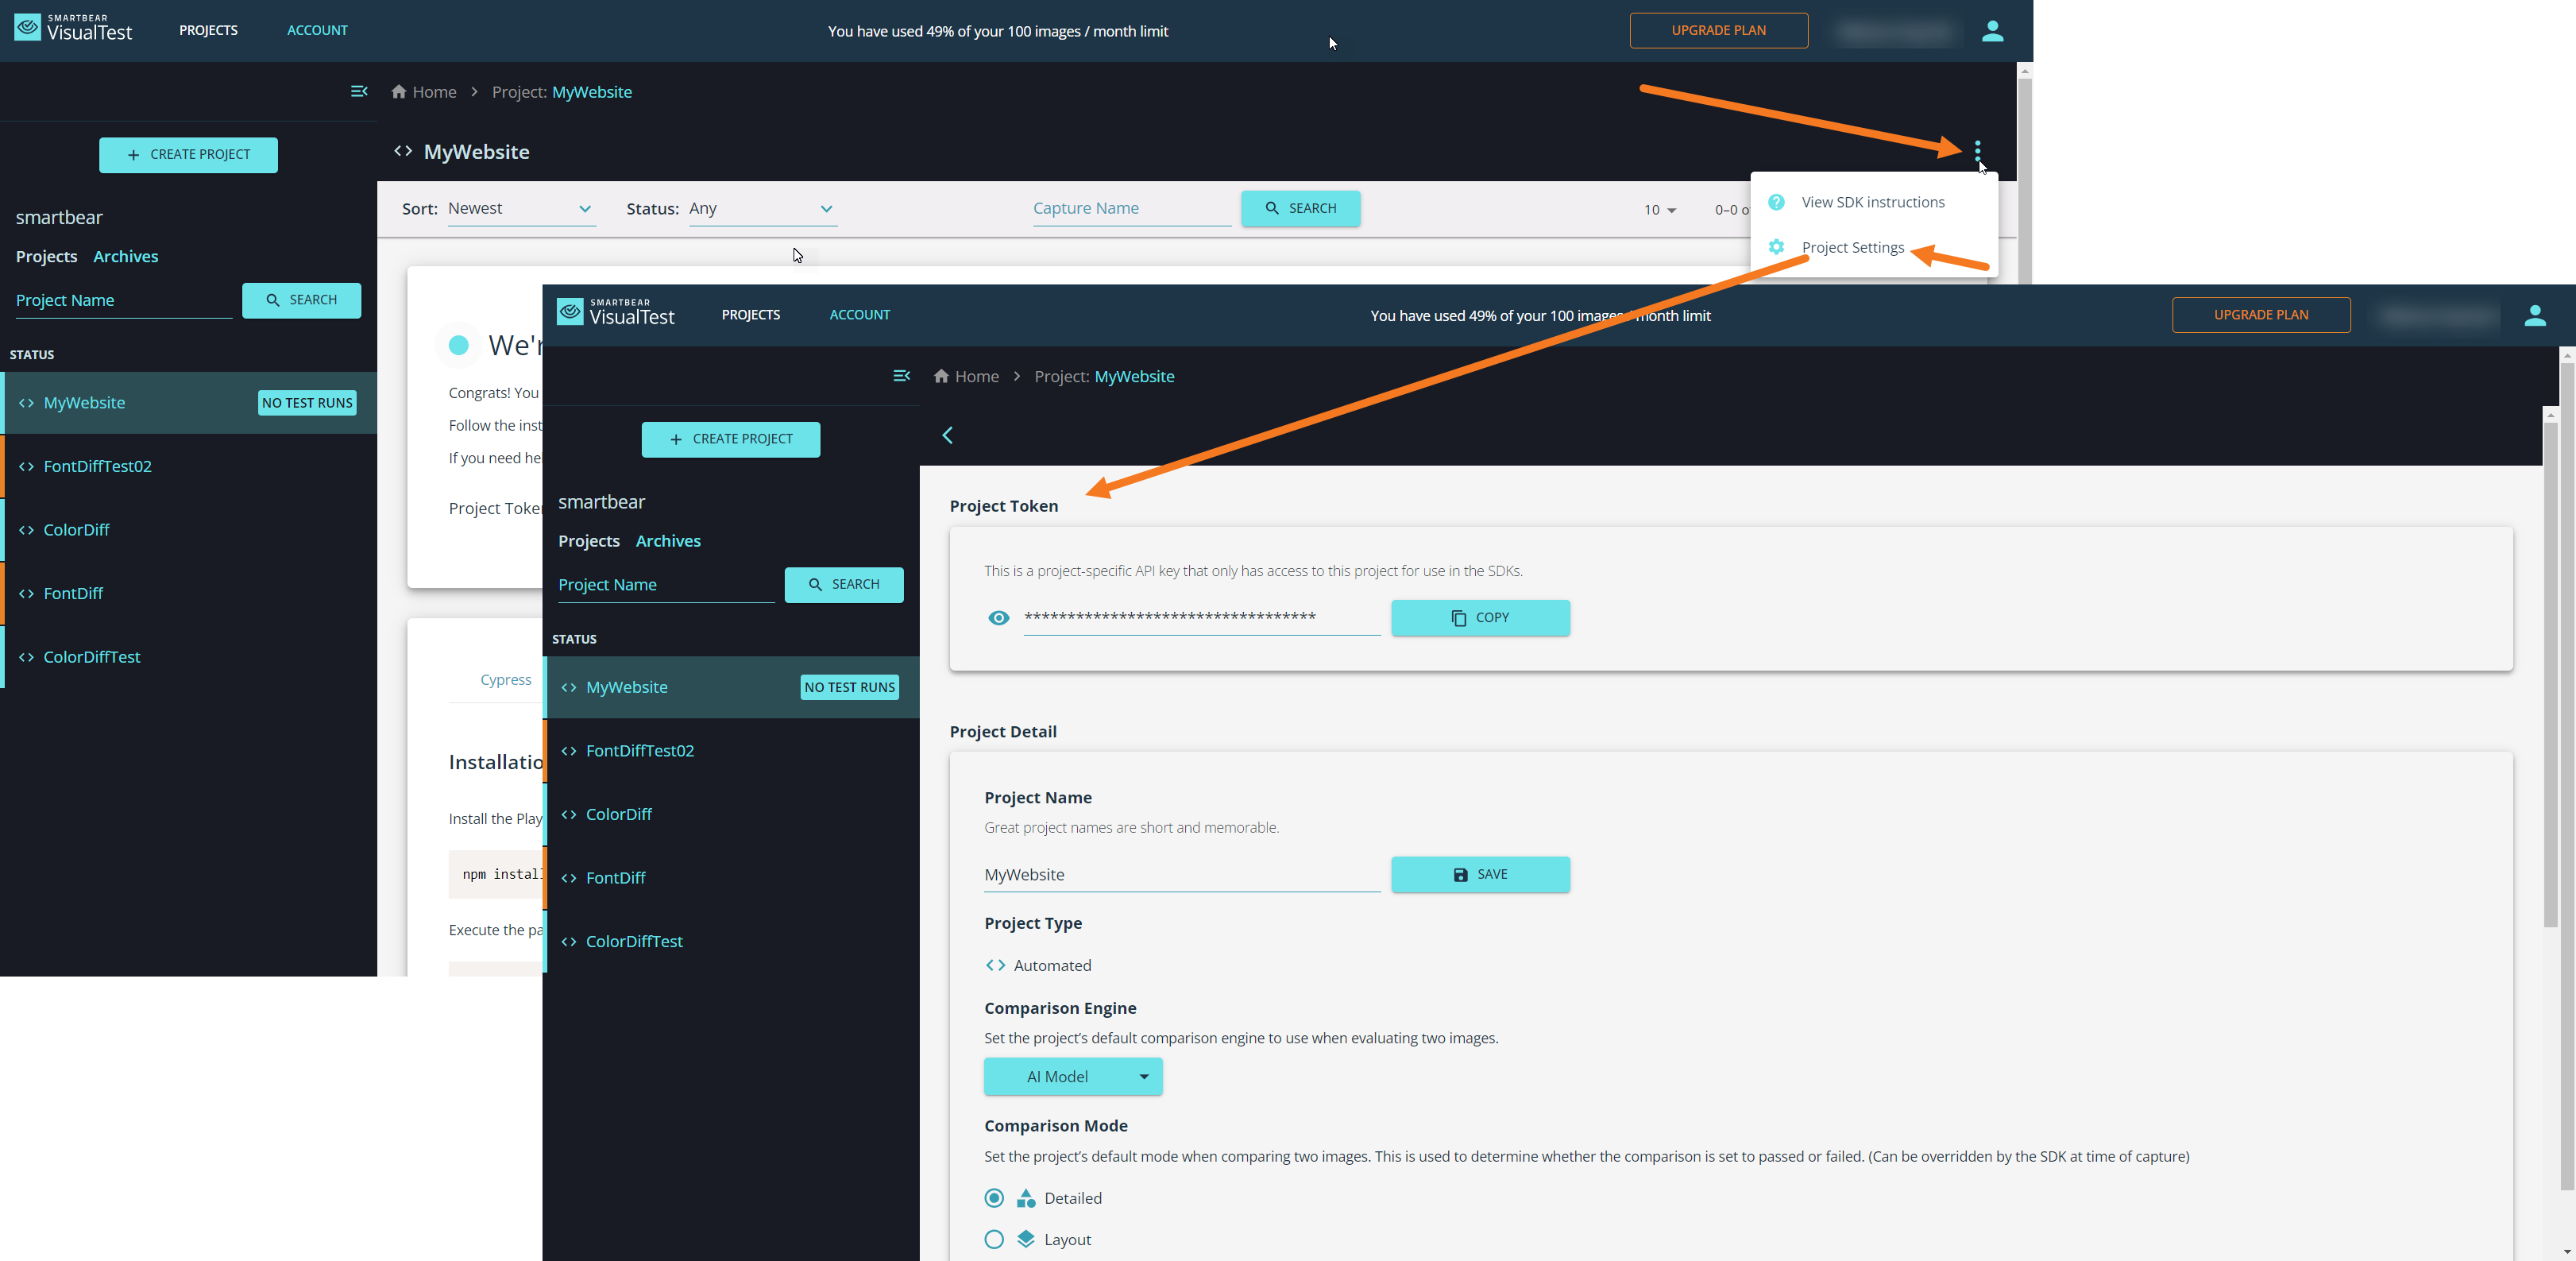
Generate Project Token
At launch, VisualTest shows the Projects screen. Click on Create Project and name your Project, as shown below:
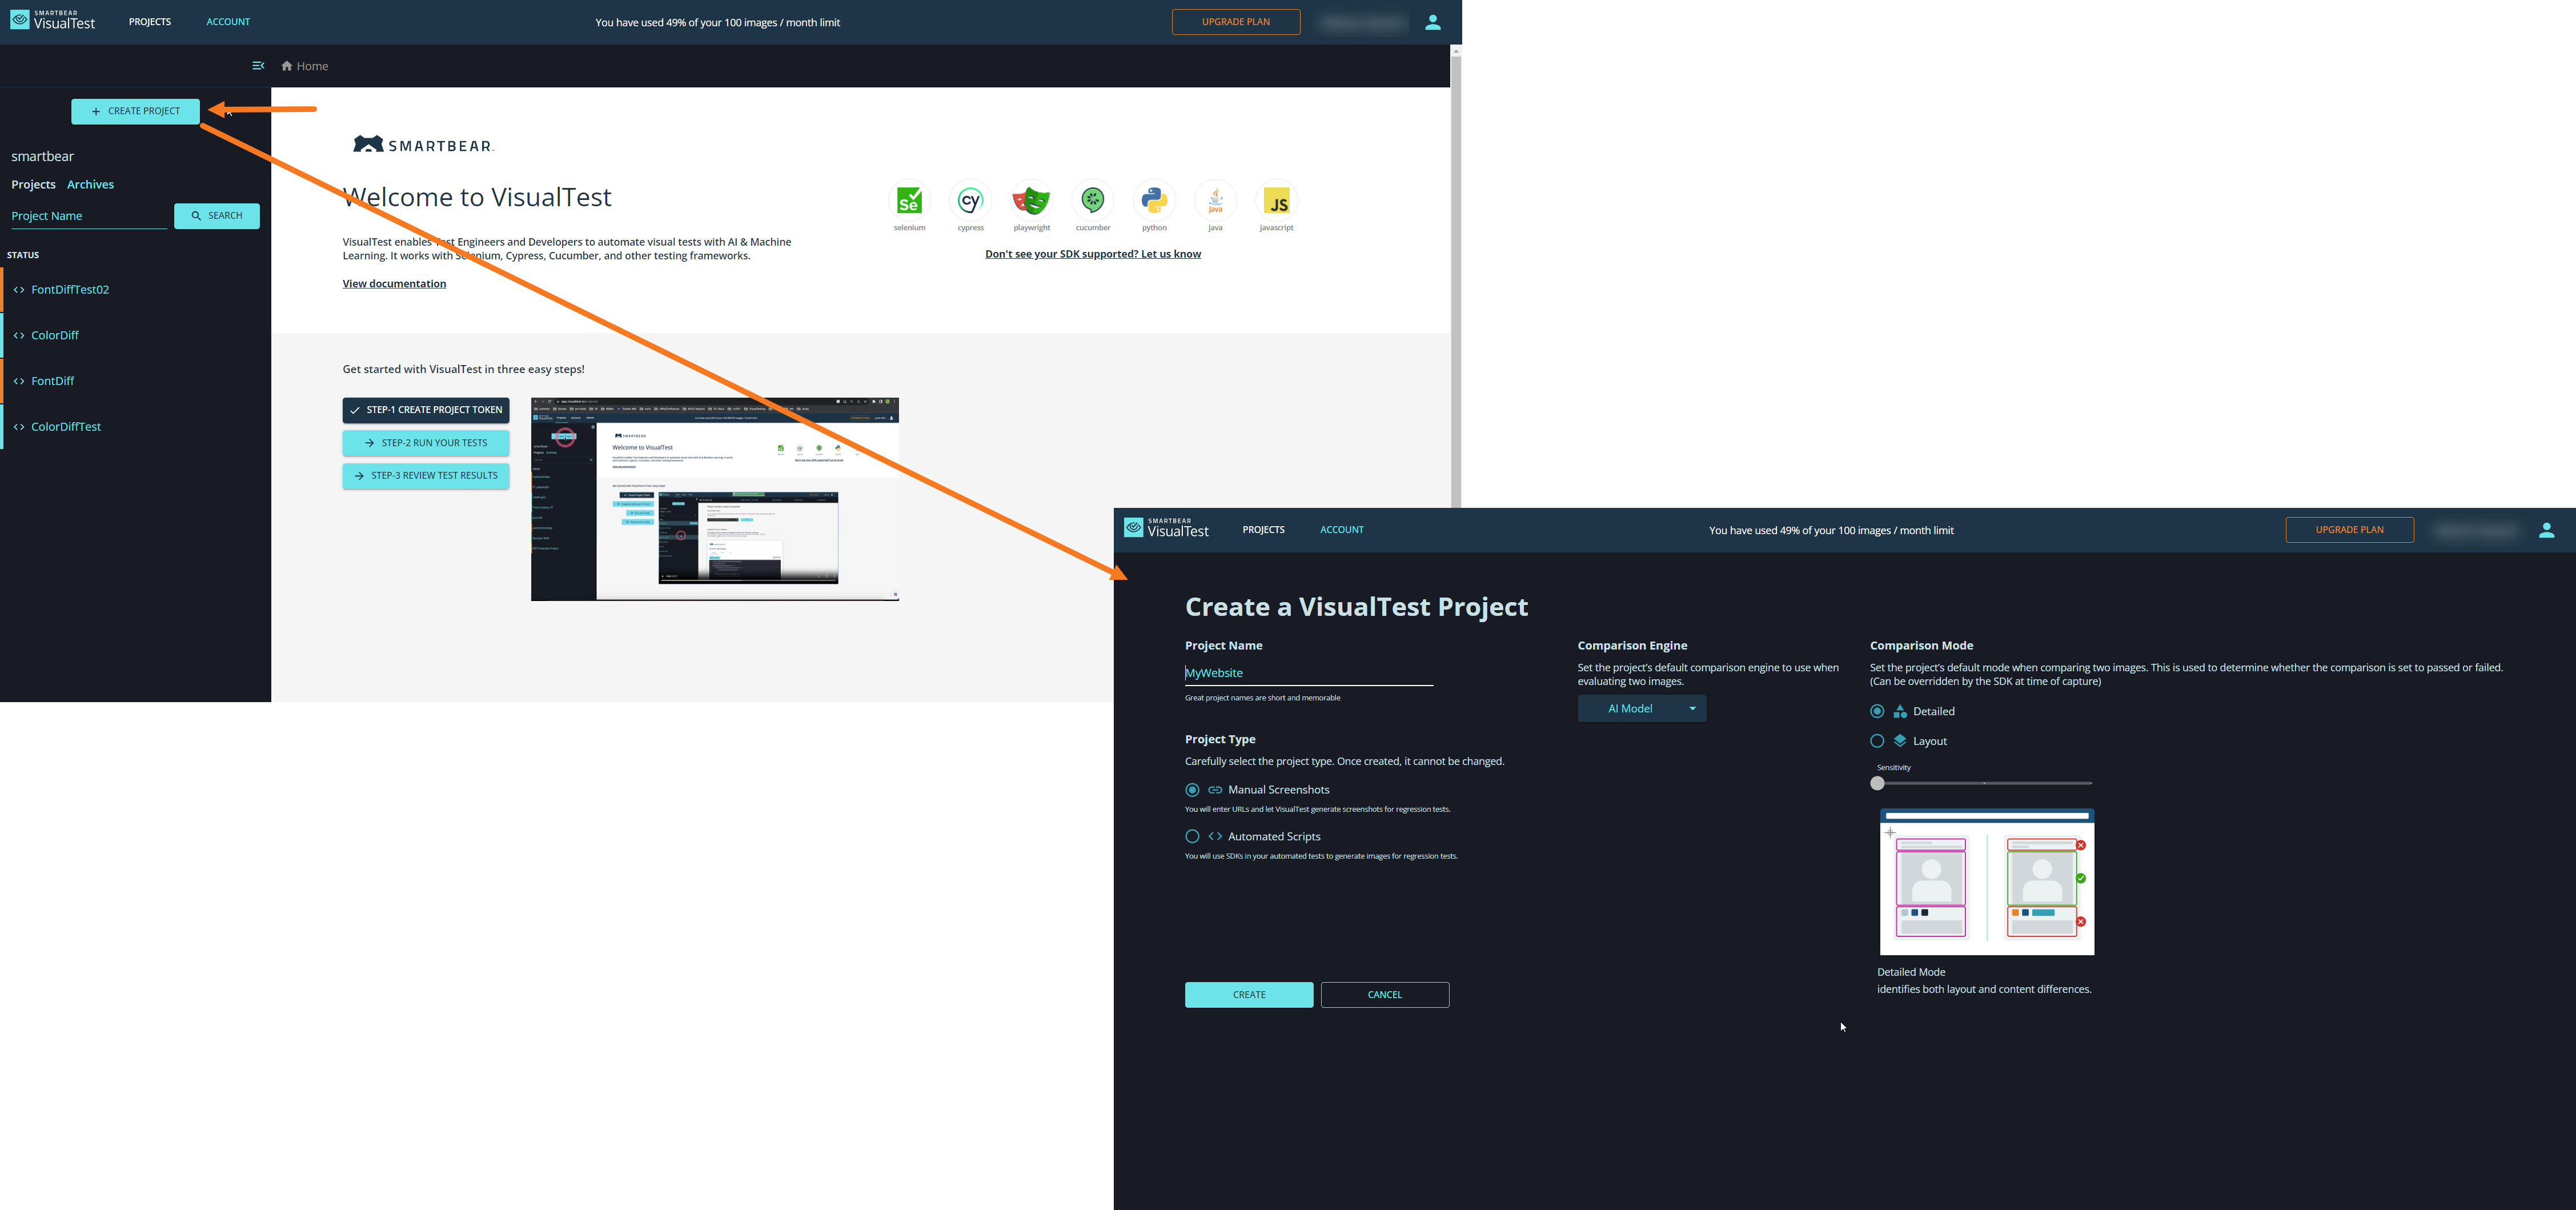
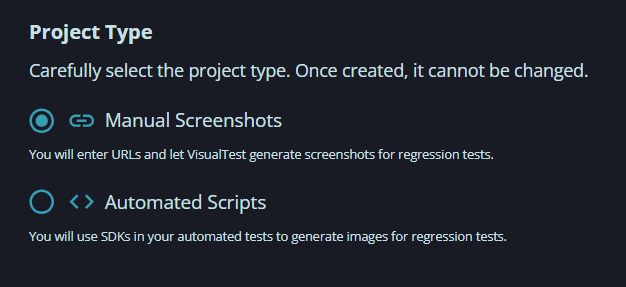
Choose the Project Type depending on whether you want to take manual screenshots or create automated scripts.
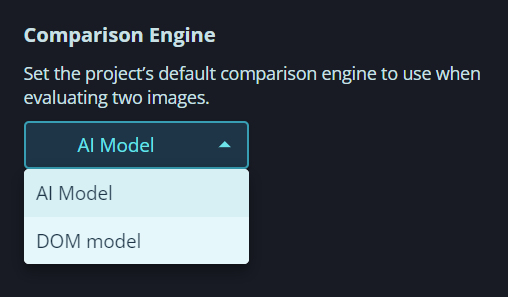
Choose the Comparison Engine: AI Model or DOM Model.
Optionally, choose which comparison mode – detailed or layout – you want for your project. This can be changed later in Settings. For more information on comparison modes, see the Comparisons section.
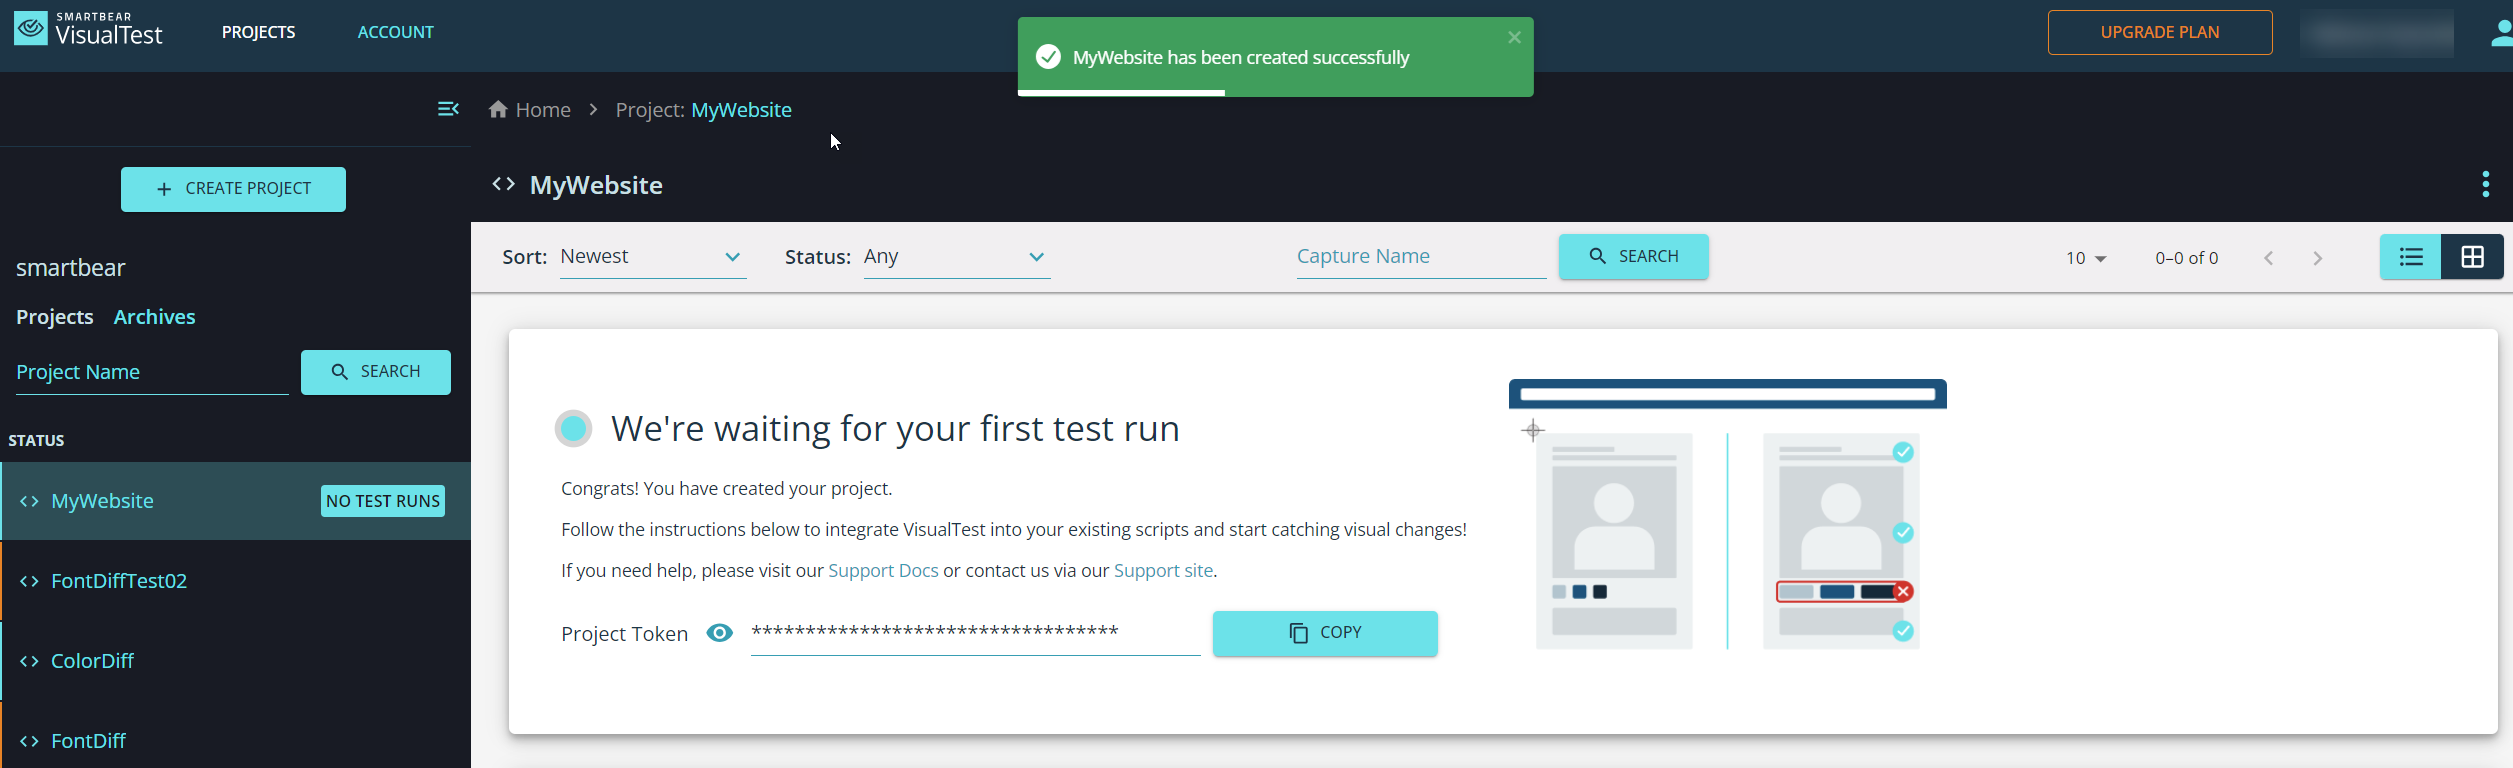
Click Create. VisualTest generates your project and a project-specific token.
Copy your project token, as in the following image. You need this to integrate VisualTest into your functional test scripts.
The following video shows these steps:
If ever you need to find your project token later, it is available from project settings:
 |
Integrate VisualTest into Your UI Tests
To integrate VisualTest into your UI tests:
Install one of the Software Development Kits (SDKs) to add screenshot capture commands where you'd like to add visual coverage.
The following video gives an example of inserting the project token into your script.
Choose from one of the following capture formats:
Fullpage – captures the whole page
Viewport – captures the visible portion of the page
Element – captures a specific visual element
Run Your Tests
VisualTest is designed to run using your existing functional UI test flows and framework. Simply run your VisualTest integrated test scripts using your test framework’s command of choice, either locally or via any CI/CD systems.
The following video shows an example of running a test.
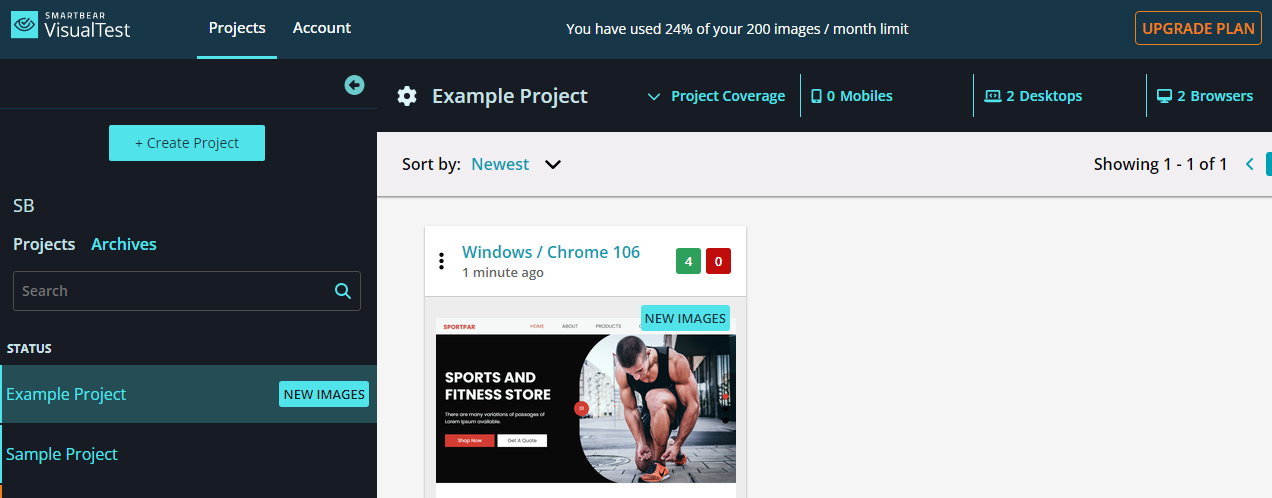
Regardless of how you run your tests, VisualTest creates a new tile to show any found image differences for your review:
 |
Review Any Visual Differences
Review found differences in the VisualTest platform. Click on your project to open the Test Run screen:
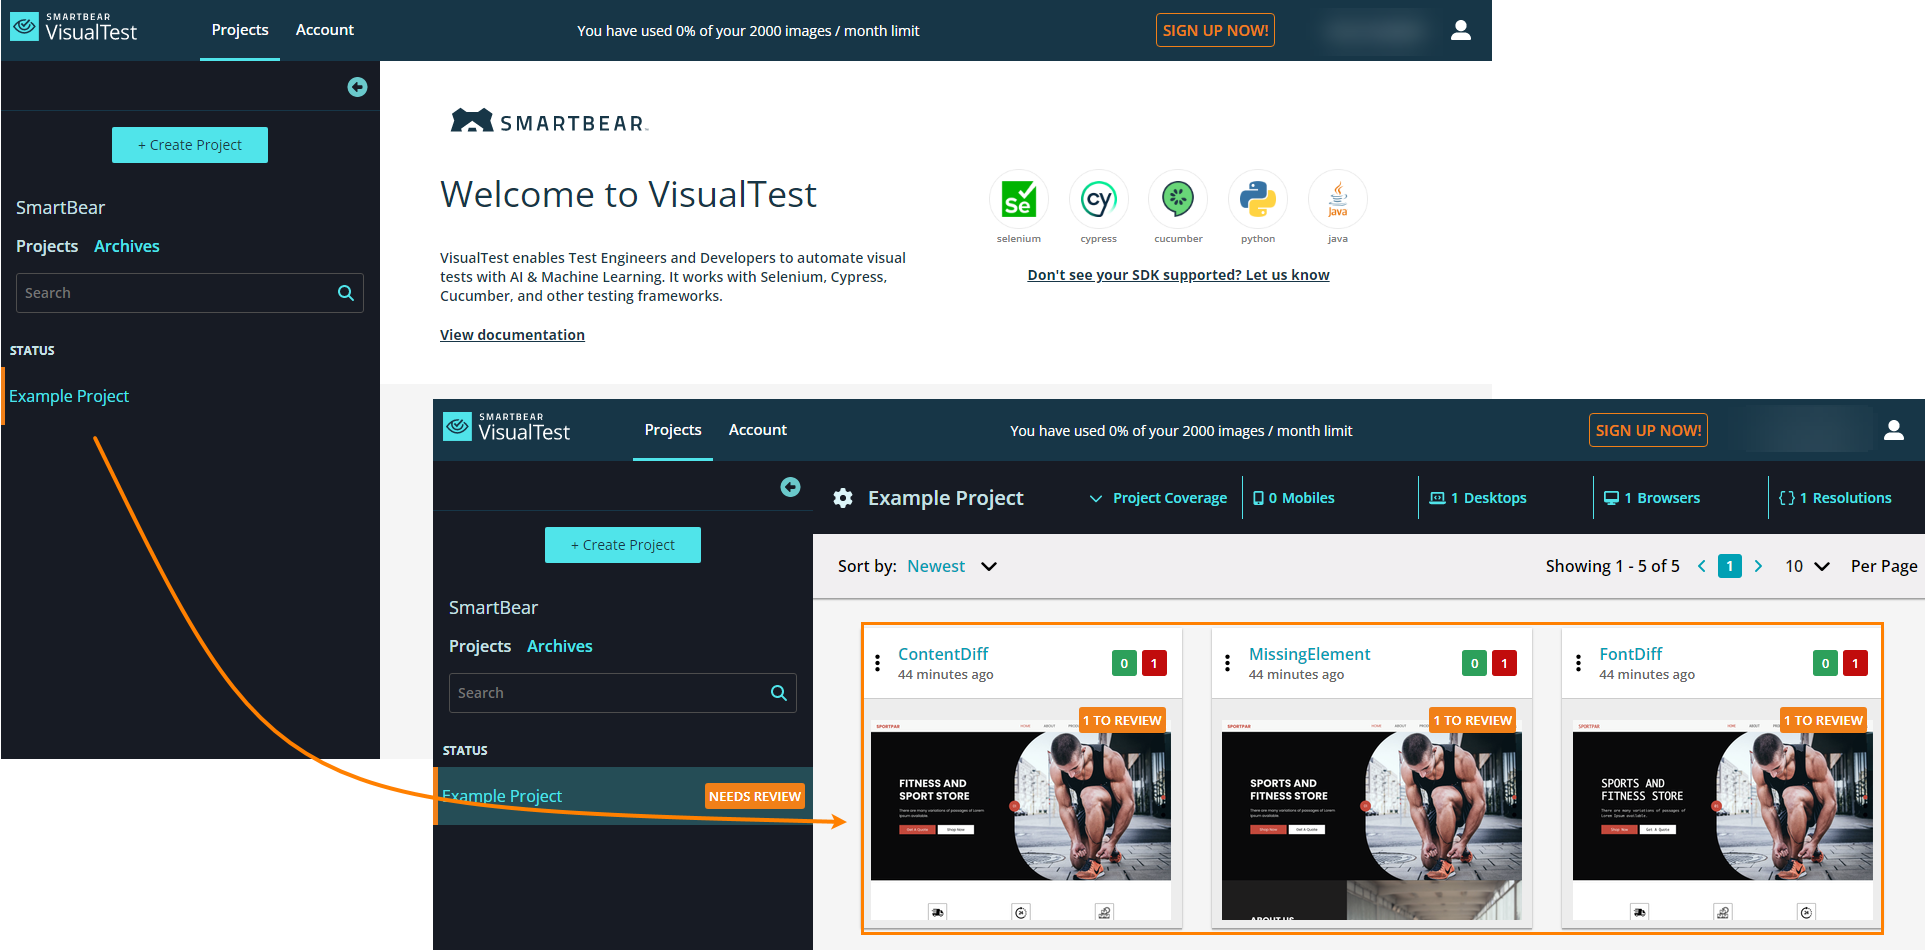 |
Your team can find all your test runs in any given Project, listed chronologically by default, as in the orange box above.
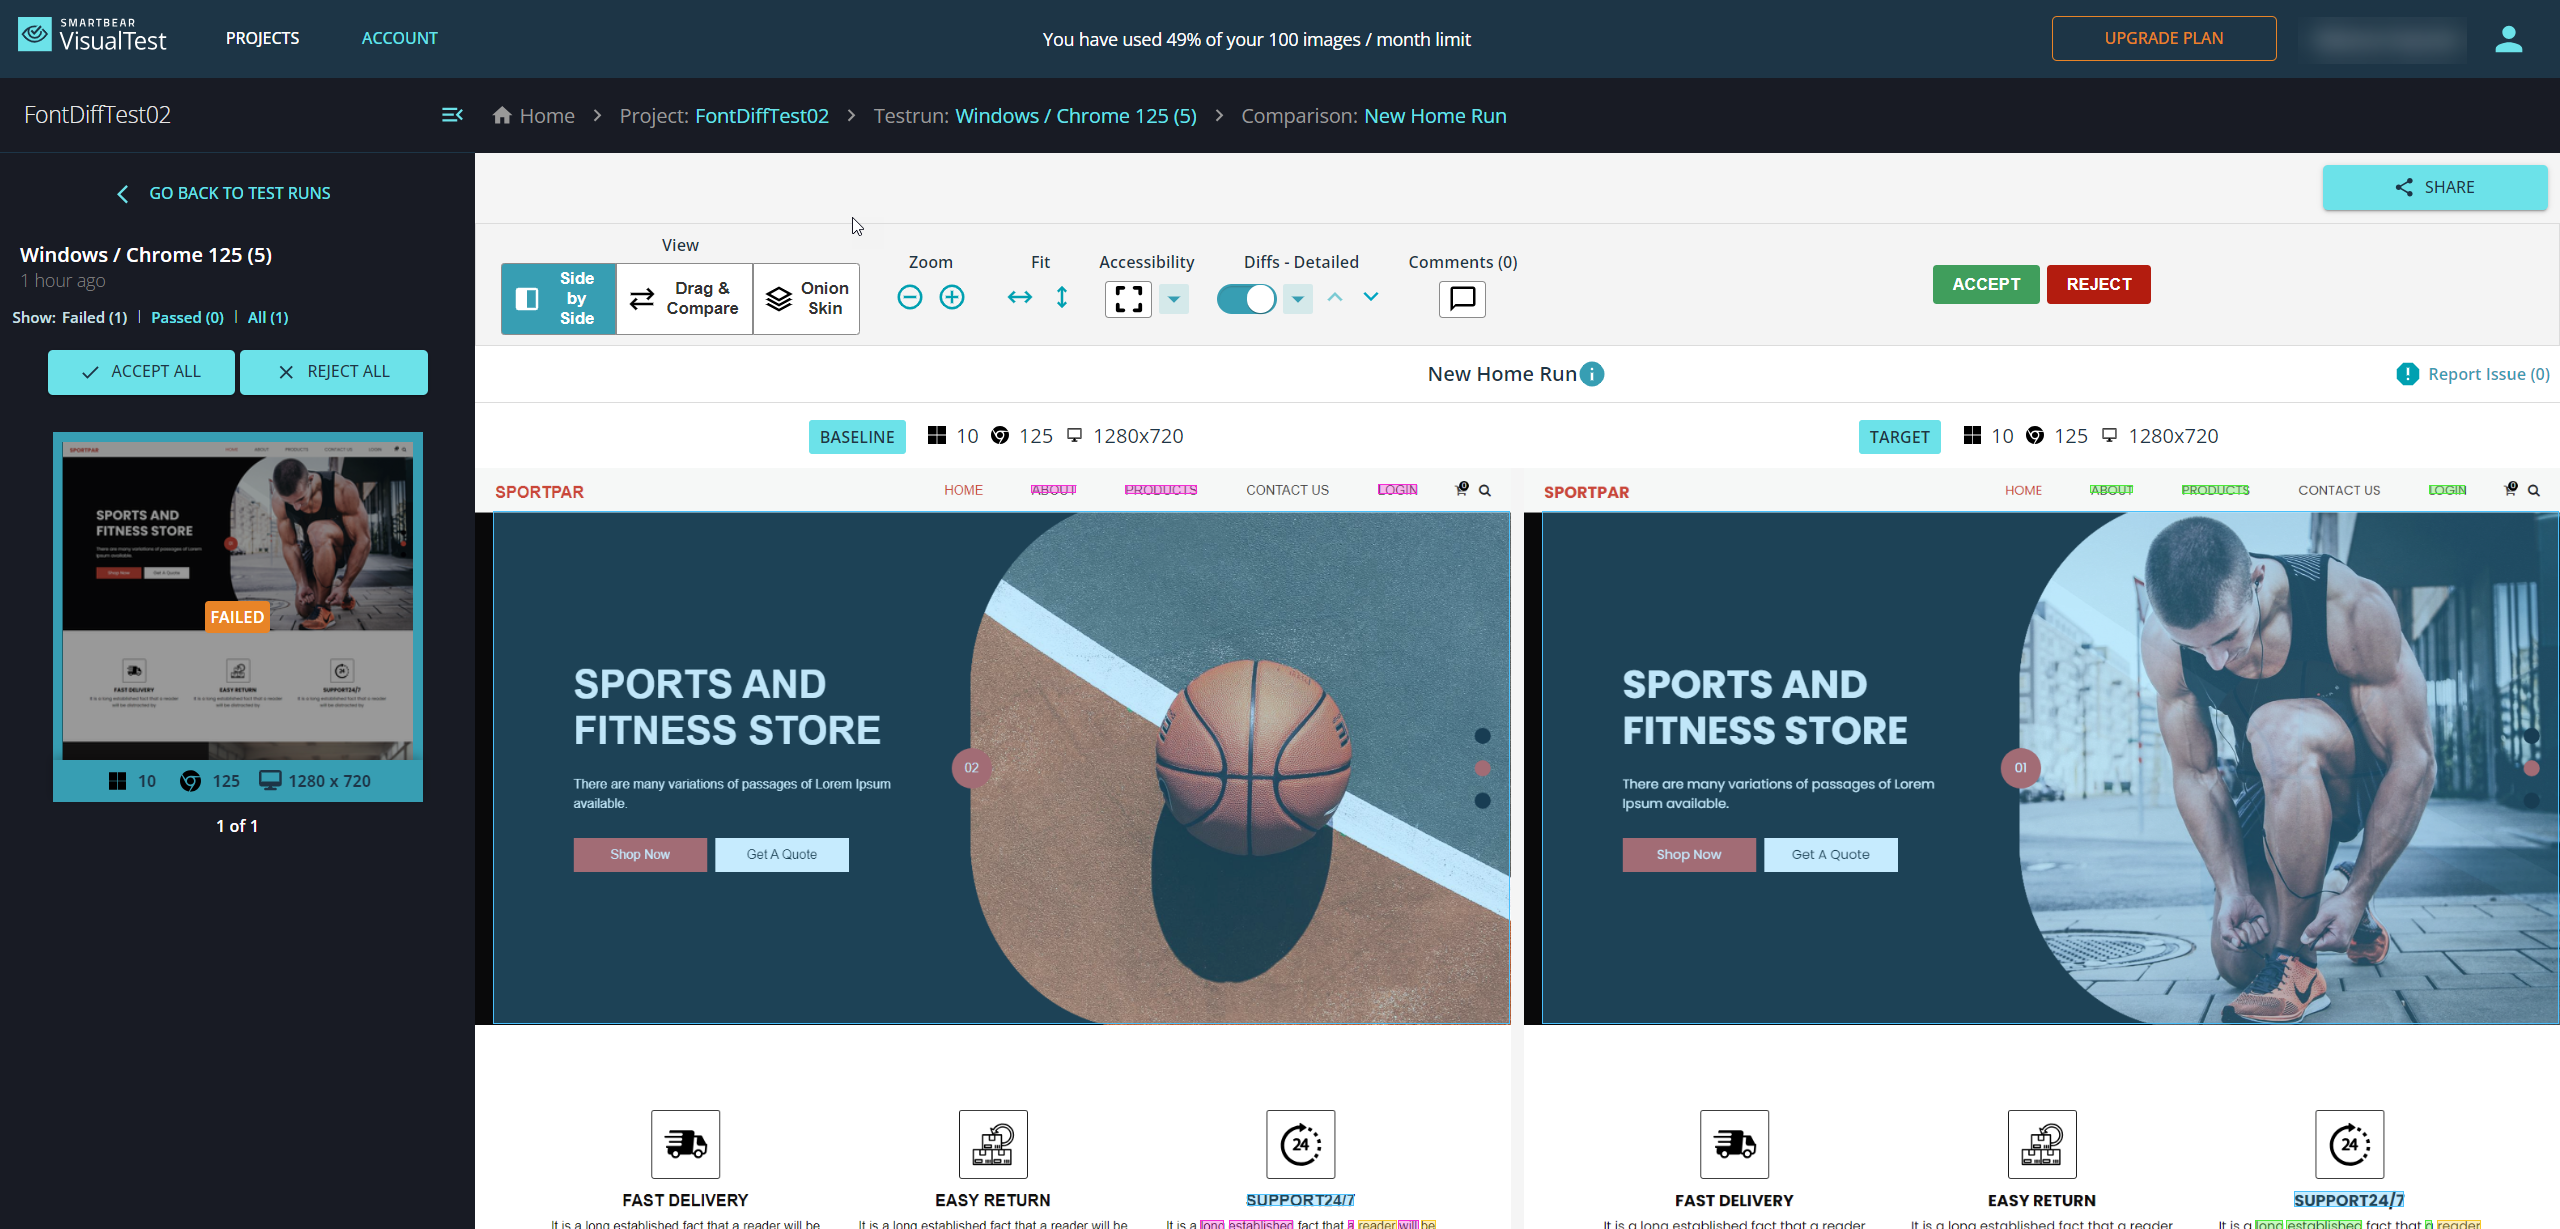
Each test run presents at a high level all the images that need review, and each review status is timestamped. Any team members who have access to the VisualTest platform can approve or reject any of the visual differences found.
 |