Selenium Python SDK
For VisualTest’s page on PyPi, go here.
Requirements
Selenium 3+
Python 3+
Set-up
In your Python project, pip install VisualTest:
pip install visualtest-python
Add your import of VisualTest and hand off your webdriver to VisualTest, replacing 'PROJECT_TOKEN' with your project token:
from sbvt import VisualTest

# pip install selenium==3.141
from selenium import webdriver

driver = webdriver.Safari()
settings = {'projectToken': 'PROJECT_TOKEN'}
visualTest = VisualTest(driver, settings)
At each point within your functional test where you want to capture an image (fullpage, viewport, or element) for regression testing, call the capture method:
# Fullpage screenshot
visualTest.capture('Home Page')

# Viewport screenshot
visualTest.capture('Home Page Viewport', {'viewport': True})

# Element screenshot
menuElement = driver.find_element_by_class_name('menu')
visualTest.capture('Menu', { 'element': menuElement })
Once your test is complete, VisualTest adds a tile to your Test Runs screen, where you can review and accept any found image differences.
Tip
You can have VisualTest add reporting of results to the console output, including:
URLs to the comparisons in the VisualTest app
results summaries
See Customizing VisualTest below for more information.
Customizing VisualTest
VisualTest allows script customizations that improve the quality of your testing. This section provides ways to optimize your test scripts.
Over-ride Comparison Mode
VisualTest is set to the detailed comparison mode by default (see the Comparison Mode section for more information). You can change this setting to layout mode by going to Settings.
If your tests need a combination of detailed and layout modes, you can code a given screen capture to override what you have in Settings. Below is an example. Choose from the following options:
Variable | Options |
|---|---|
|
|
|
Variable | Options |
|---|---|
|
|
| |
|
# Detailed Mode
visualTest.capture('Home Page', {'comparisonMode': 'detailed'})

# Layout Mode with sensitivity (low, medium, high)
visualTest.capture('Home Page', {'comparisonMode': 'layout', 'sensitivity': 'medium'})
Assign Captures to a Test Group Name
To organize your captures, assign them the same test group name by including testGroupName as a setting in the VisualTest constructor:
visualTest = VisualTest(driver, {
'testGroupName': 'YourTestGroupName',
'projectToken': "PROJECT_TOKEN",
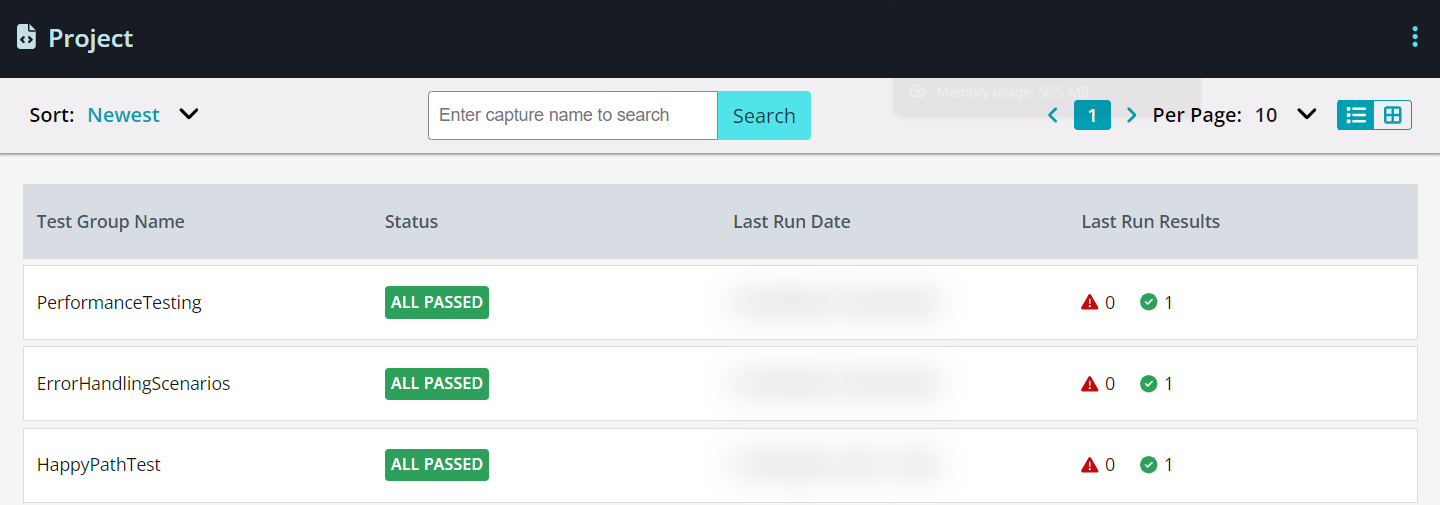
})Explore and manage your grouped test runs effortlessly by clicking the list view icon . Easily review and navigate through the organized test runs, all while retaining access to the detailed specifics of each individual test run.
 |
Lazy-loading Sites
The below runs fullpage regression tests for lazy-loaded websites, setting time to elapse between scrolls. Note that the value (1000) is the number of milliseconds to wait between scrolls:
visualTest.capture('Home Page', {'lazyload': 1000}) # number is milliseconds between scrollsFor code examples that handle dynamic, moving content, see Screenshot Consistency.
Reporting in Console Output
VisualTest can print a summary of the test run results to the console, along with a link to review the results in the VisualTest app.
For this, add the following code at the end of the test:
visualTest.printReport()
It produces results in this format:

Assert Comparison Results
You can aggregate all passed and failed VisualTest comparisons with the following assert:
result = visualTest.getTestRunResult()
assertEqual(result['failed'], 0)
The structure returned in Python is as follows:
{'passed': 1, 'failed': 0}
Integrating Appium for Screenshot Capture
Integrating Appium for screenshot capture enhances your visual testing and documentation endeavors by providing powerful functionality to capture screenshots of mobile applications. This capability enables you to visually verify the behavior and appearance of your mobile applications across diverse devices and platforms.
Note
Appium screenshots can only capture content visible within the application's viewport.
Below is a demonstration of how to integrate screenshot capture functionality into your Appium Python scripts:
import os
import unittest
from appium import webdriver
from appium.options.android import UiAutomator2Options
from sbvt import VisualTest

# Define capabilities for the Appium driver
capabilities = {
    'platformName': 'Android',
    'appium:automationName': 'uiautomator2',
    'deviceName':'Android',
    'autoGrantPermissions': 'true',
    'bitbar:options': {
        'app': '<YOUR_APP_ID_ON_BITBAR>',
        'project': '<YOUR_PROJECT_NAME>',
        'testrun': '<YOUR_TESTRUN_NAME>',
        'apiKey': '<YOUR_BITBAR_API_KEY>',
        'device': '<SELECTED_DEVICE>',
        'appiumVersion': '2.1',
    }
}

class TestAppium(unittest.TestCase):
    def setUp(self) -> None:
        # Initialize the Appium driver with defined capabilities
        self.driver = webdriver.Remote('https://eu-mobile-hub.bitbar.com/wd/hub', options=UiAutomator2Options().load_capabilities(capabilities))

    def tearDown(self) -> None:
        if self.driver:
            self.driver.quit()

    def test_simple(self) -> None:
        # Initialize VisualTest with the Appium driver and settings
        vt = VisualTest(self.driver, settings={
            'projectToken': os.environ["PROJECT_TOKEN"],
            'testRunName': f'Viewport Test: Appium',
        })
        # Capture screenshot of homepage
        vt.capture('homepage', {'viewport': True})

if __name__ == '__main__':
    unittest.main()
To integrate screenshot capture into mobile automation using Appium, adhere to the following sequence within your script:
Import Libraries: Import essential libraries like Appium and unittest.
Define Capabilities: Define the capabilities needed to tailor the Appium driver for Android devices, ensuring integration and BitBar compatibility.
Initialize Driver: Start your automation by initializing the Appium driver with the capabilities you've defined, setting the stage for smooth interactions with your mobile application.
Terminate Session: Ensure a conclusion to your tests by using the
tearDownmethod to properly wrap up the driver session, maintaining the integrity of your testing environment.Capture Screenshots: Capture screenshots of your application's key moments using the
test_simplemethod with VisualTest, which helps you detect visual issues and enrich your test reports for comprehensive documentation.
By incorporating Appium's screenshot capture functionality into your automation scripts, you can enhance the effectiveness of your mobile testing efforts and ensure the visual integrity of your applications across various devices and platforms.
Maintenance
Keep VisualTest’s performance optimized, by periodically doing as follows:
Refresh your version of VisualTest:
pip install visualtest-python --upgradeChrome users must keep ChromeDriver up-to-date:
Accessibility Testing
Below you can find SDK code snippet Accessibility examples for Selenium Python SDK.
Here's the list of the supported WCAG tags:
'wcag2a', 'wcag2aa', 'wcag2aaa', 'wcag21a', 'wcag21aa', 'wcag22aa', 'best-practice', 'wcag2a-obsolete', 'ACT', 'section508', 'TTv5', 'EN-301-549', 'experimental', 'wcag***', 'section508.*.*', 'TT*.*', 'EN-9.*', 'cat.*'
Selenium Python SDK Accessibility
When setting up your project, in settings = {'projectToken': 'PROJECT_TOKEN'} add either ‘wcagTags’ : ‘wcag2aa’ or ‘wcagTags’ : [‘wcag2aa’, ‘wcag2a’ ] so the code would look either like this:
visualTest = VisualTest(self.driver, settings = {
                'projectToken': 'xxxxxxxxxxxxxx',
                'wcagTags': 'wcag2aa'
            })
Or like this:
visualTest = VisualTest(self.driver, settings = {
                'projectToken': 'xxxxxxxxxxxxxx',
                'wcagTags': ['wcag2aa', 'wcag2a']
            })