Manual Tests
In the realm of manual tests, you have the opportunity to meticulously assess the visual and functional aspects of webpages to ensure they align with your quality standards and user expectations. This section provides insights and guidance on performing manual tests for webpages, ensuring they meet the highest standards of excellence.
Create Project
Creating a project allows you to efficiently organize and execute manual test runs.
Log in to VisualTest.
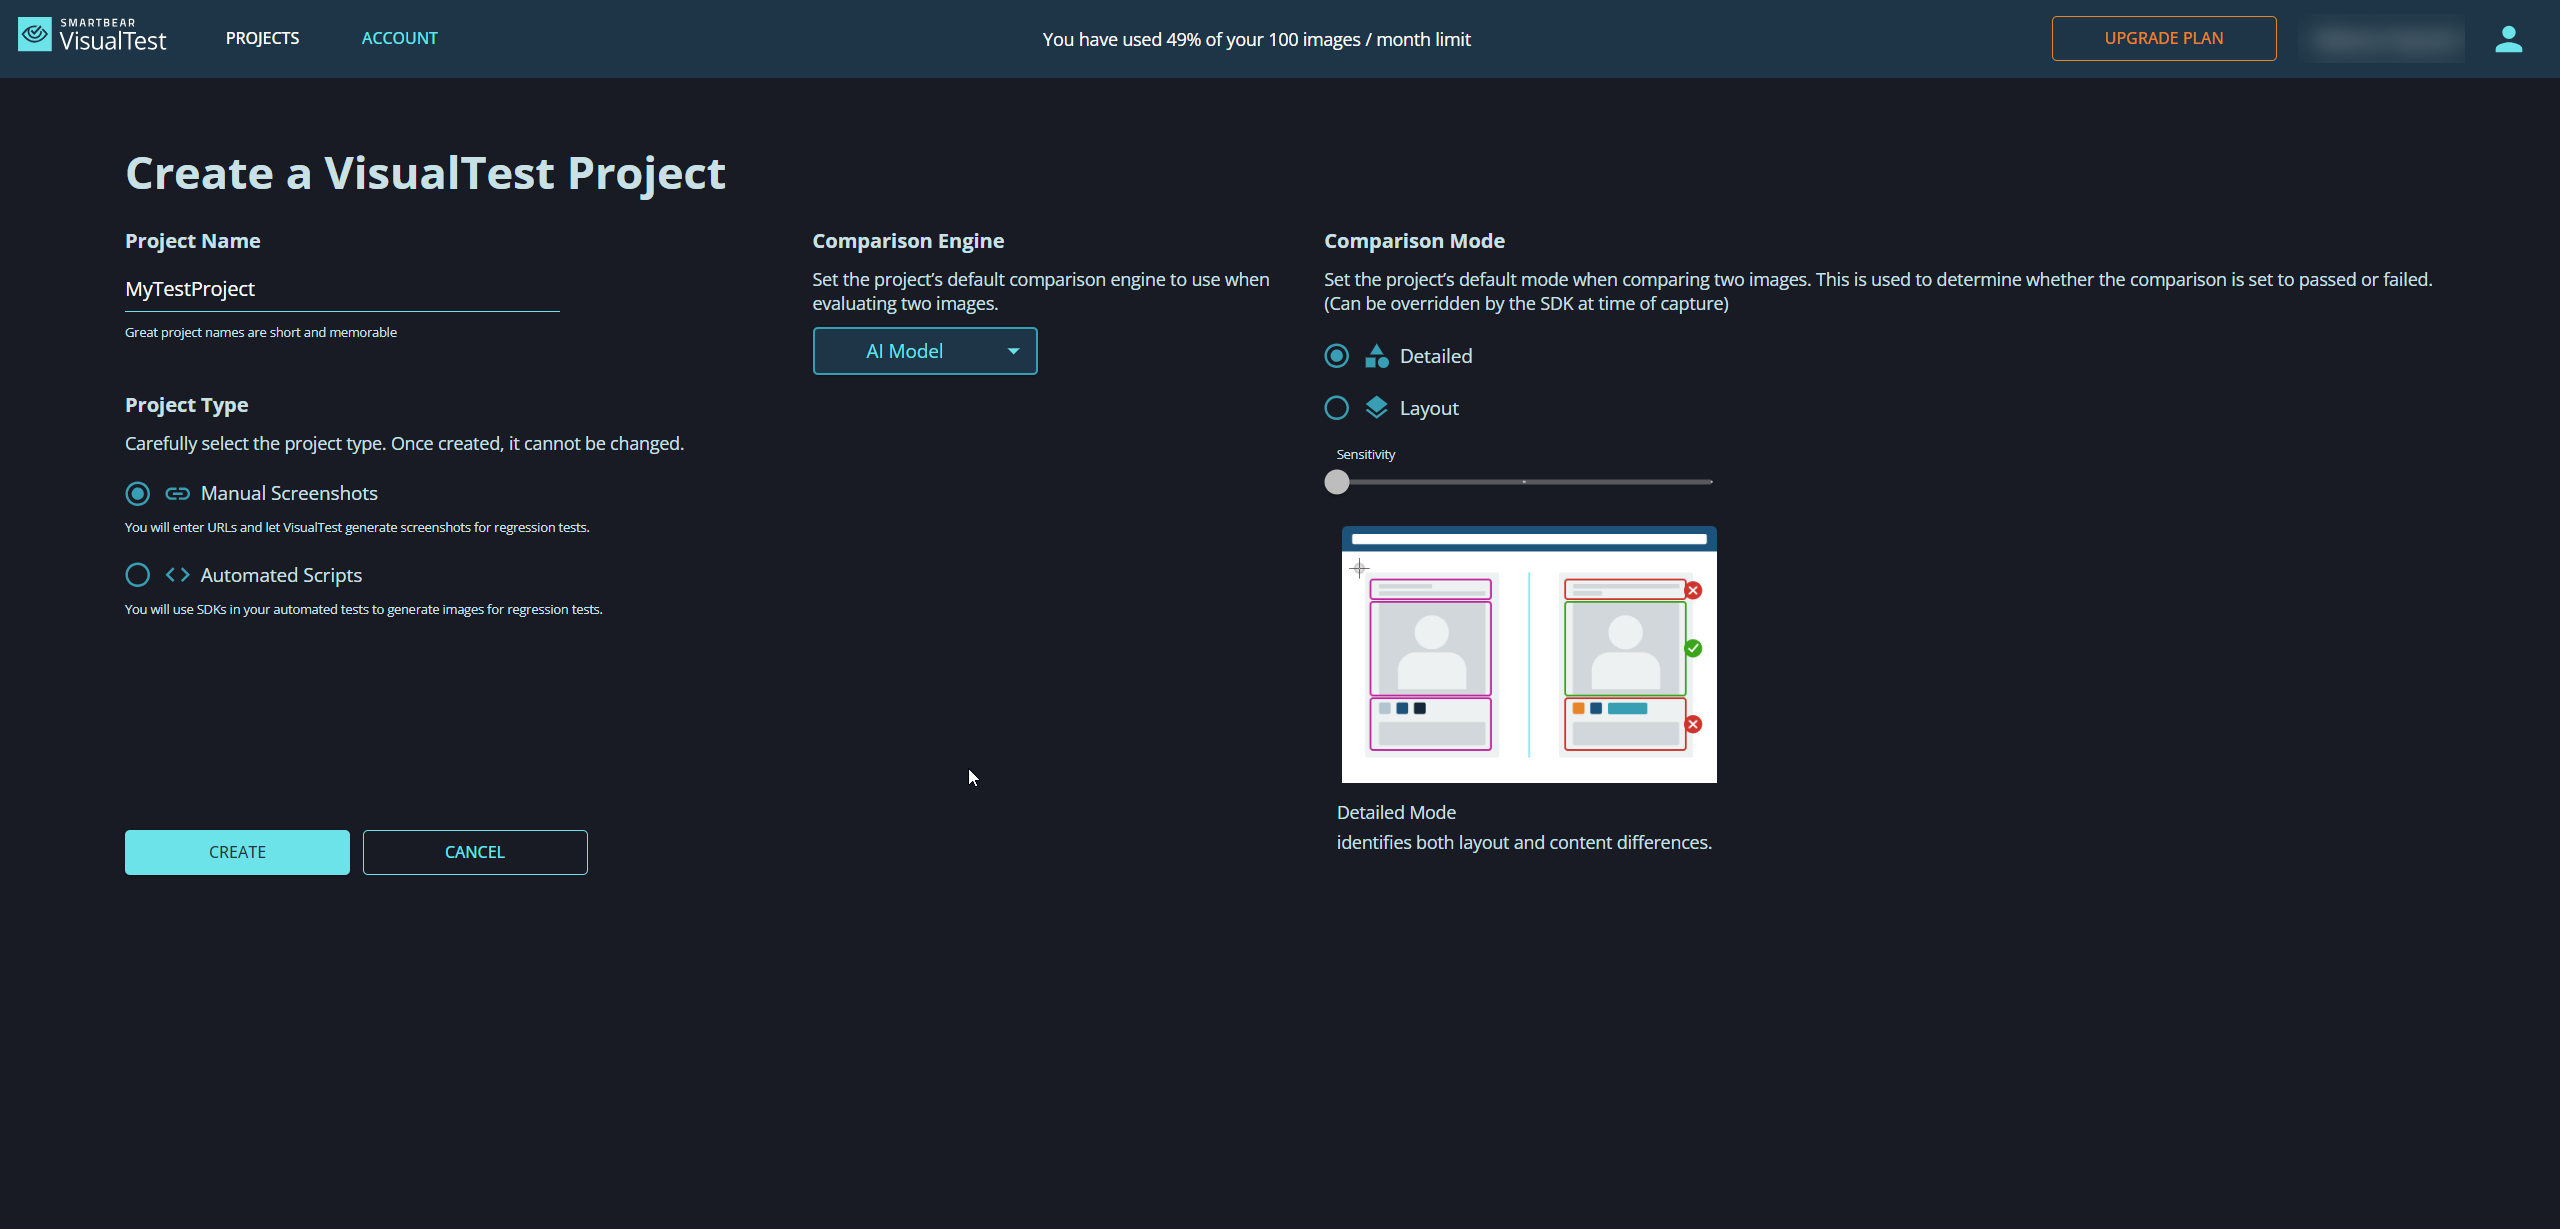
On the Projects page, click + Create Project.
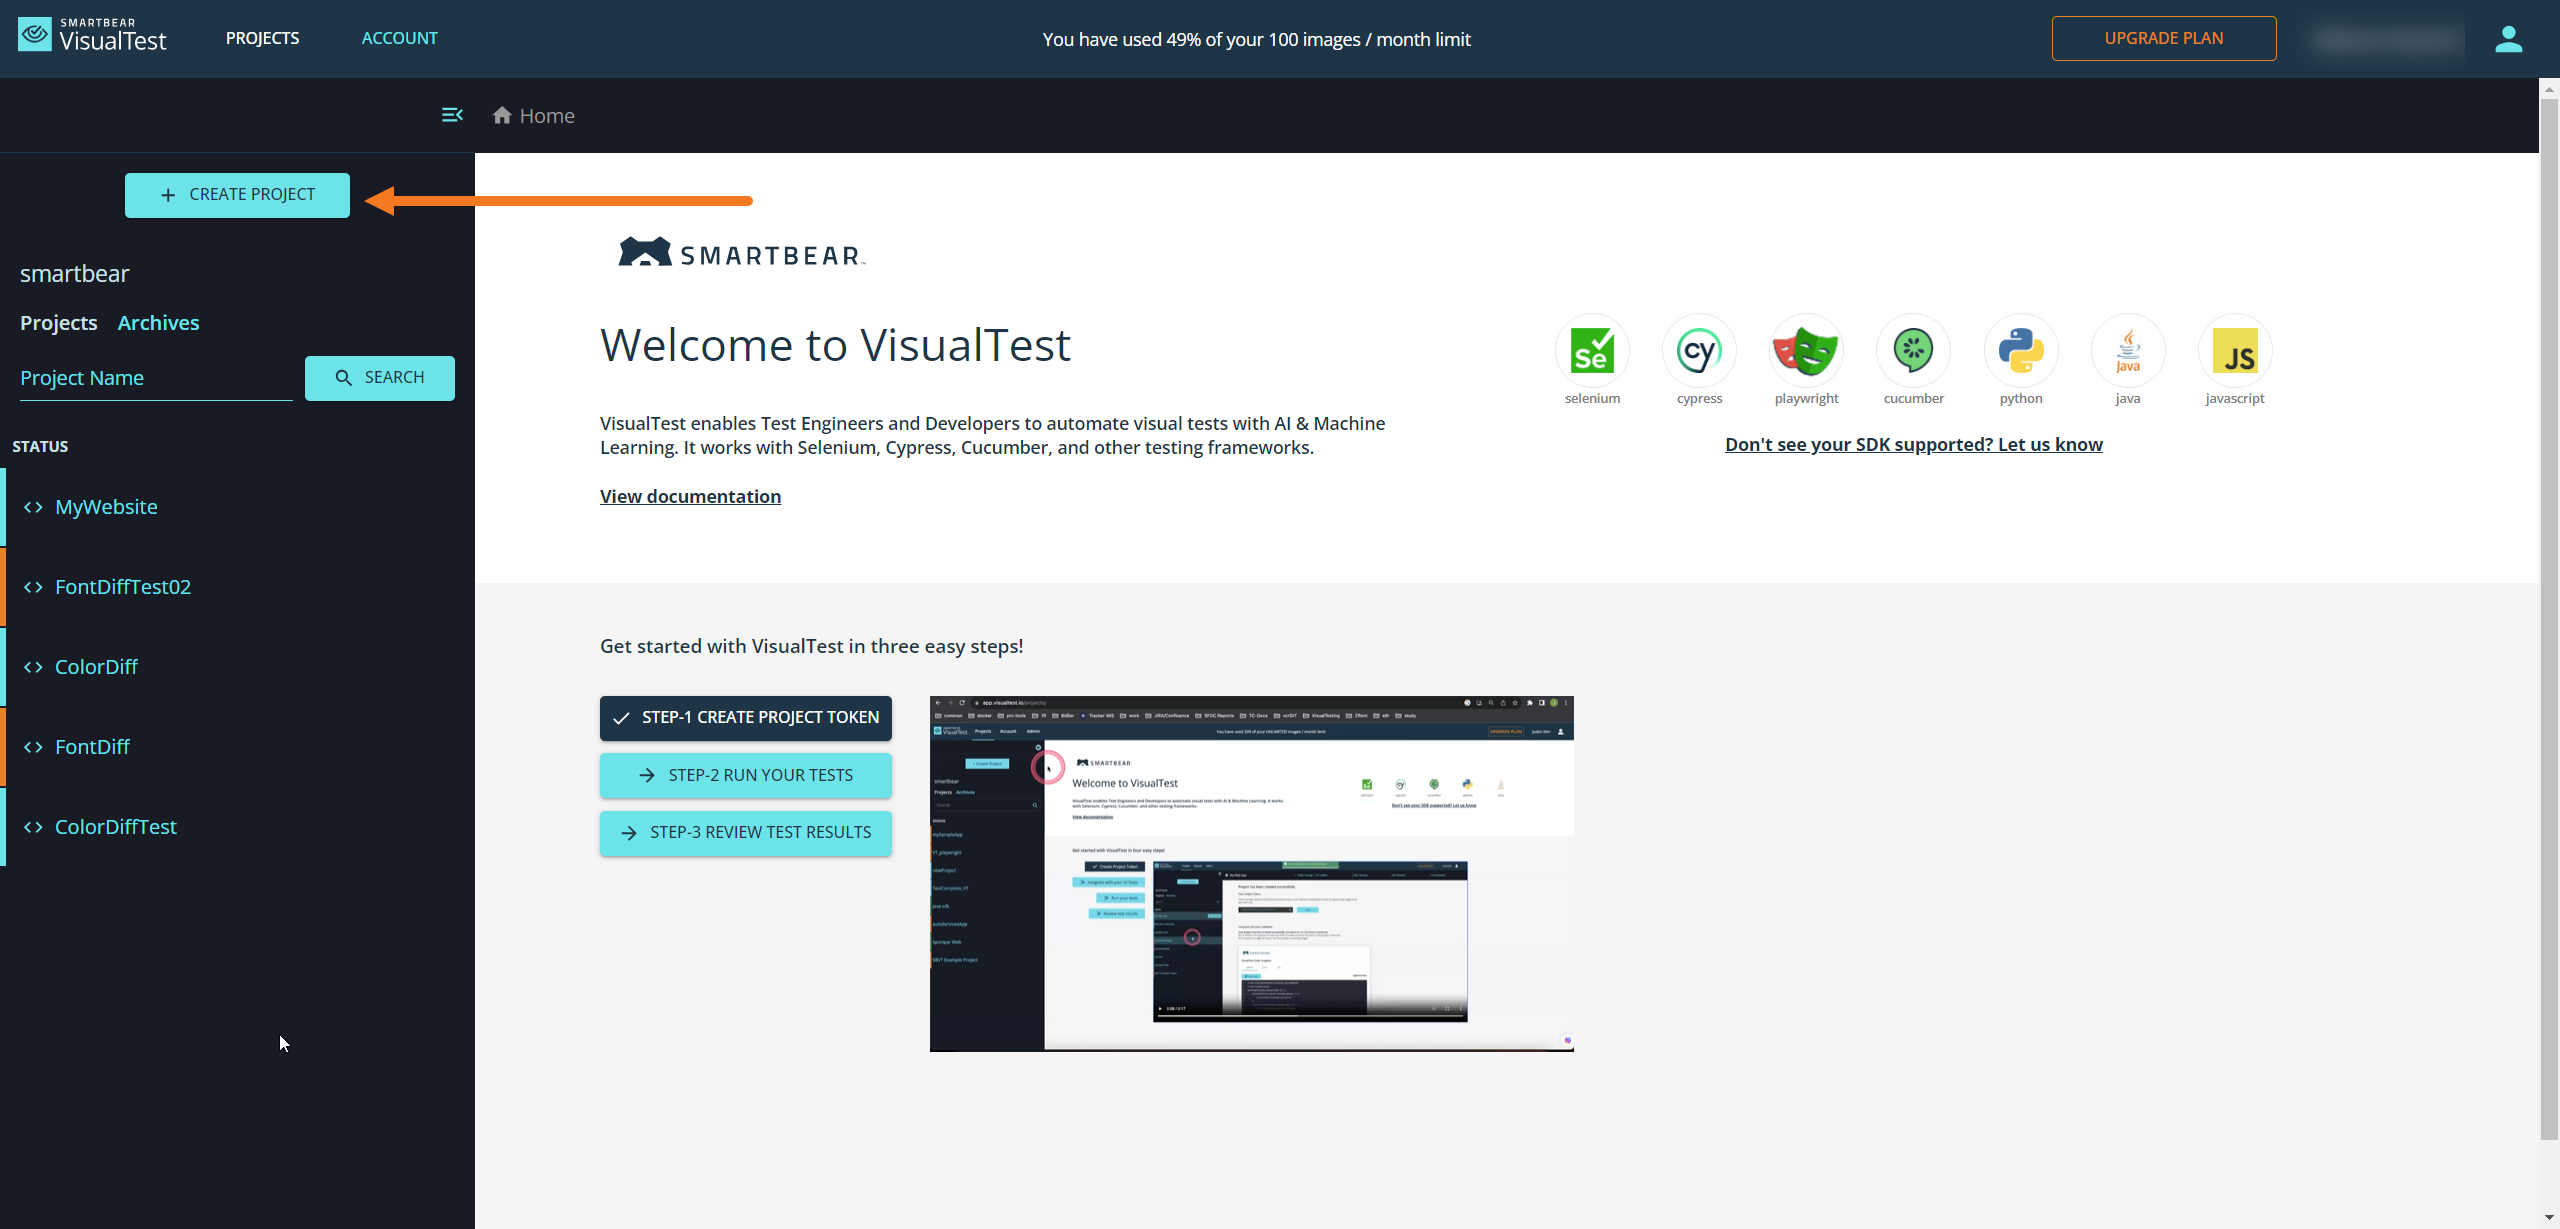
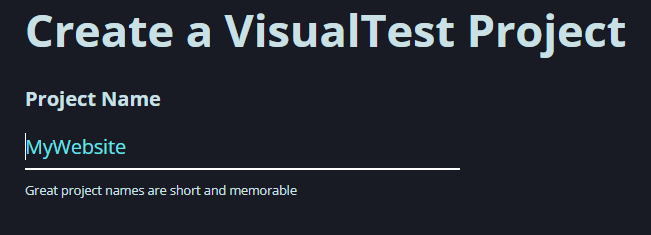
Enter your Project Name.
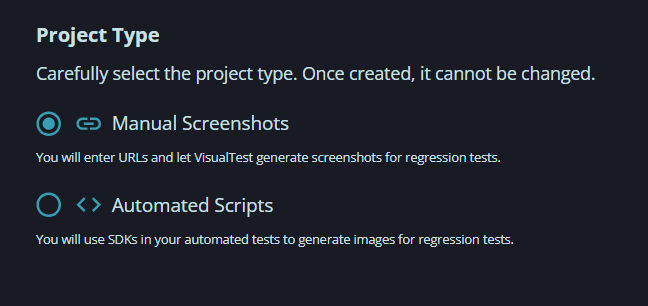
In the Project Type section, select Manual Screenshots.
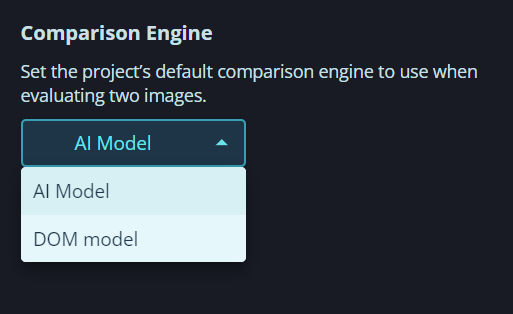
In the Comparison Engine section select the desired comparison engine.
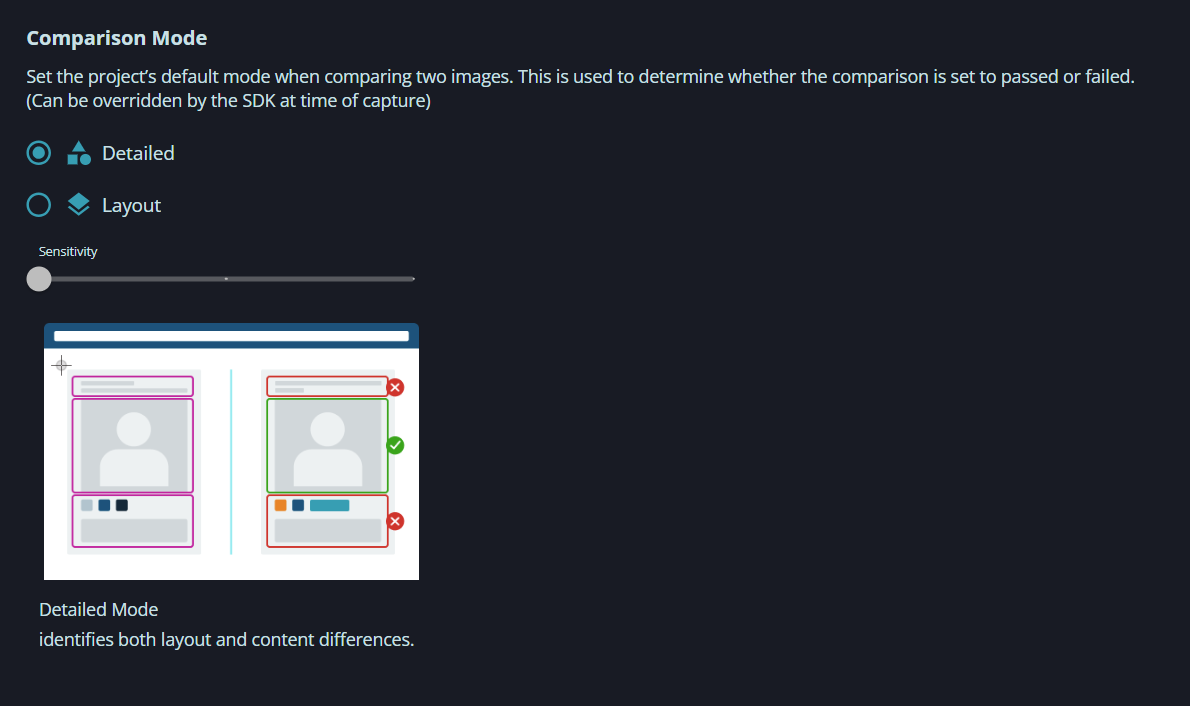
In the Comparison Mode section, select one of the project's default modes when comparing two images.
Click Create.
The system displays a confirmation message indicating the successful creation of your project.
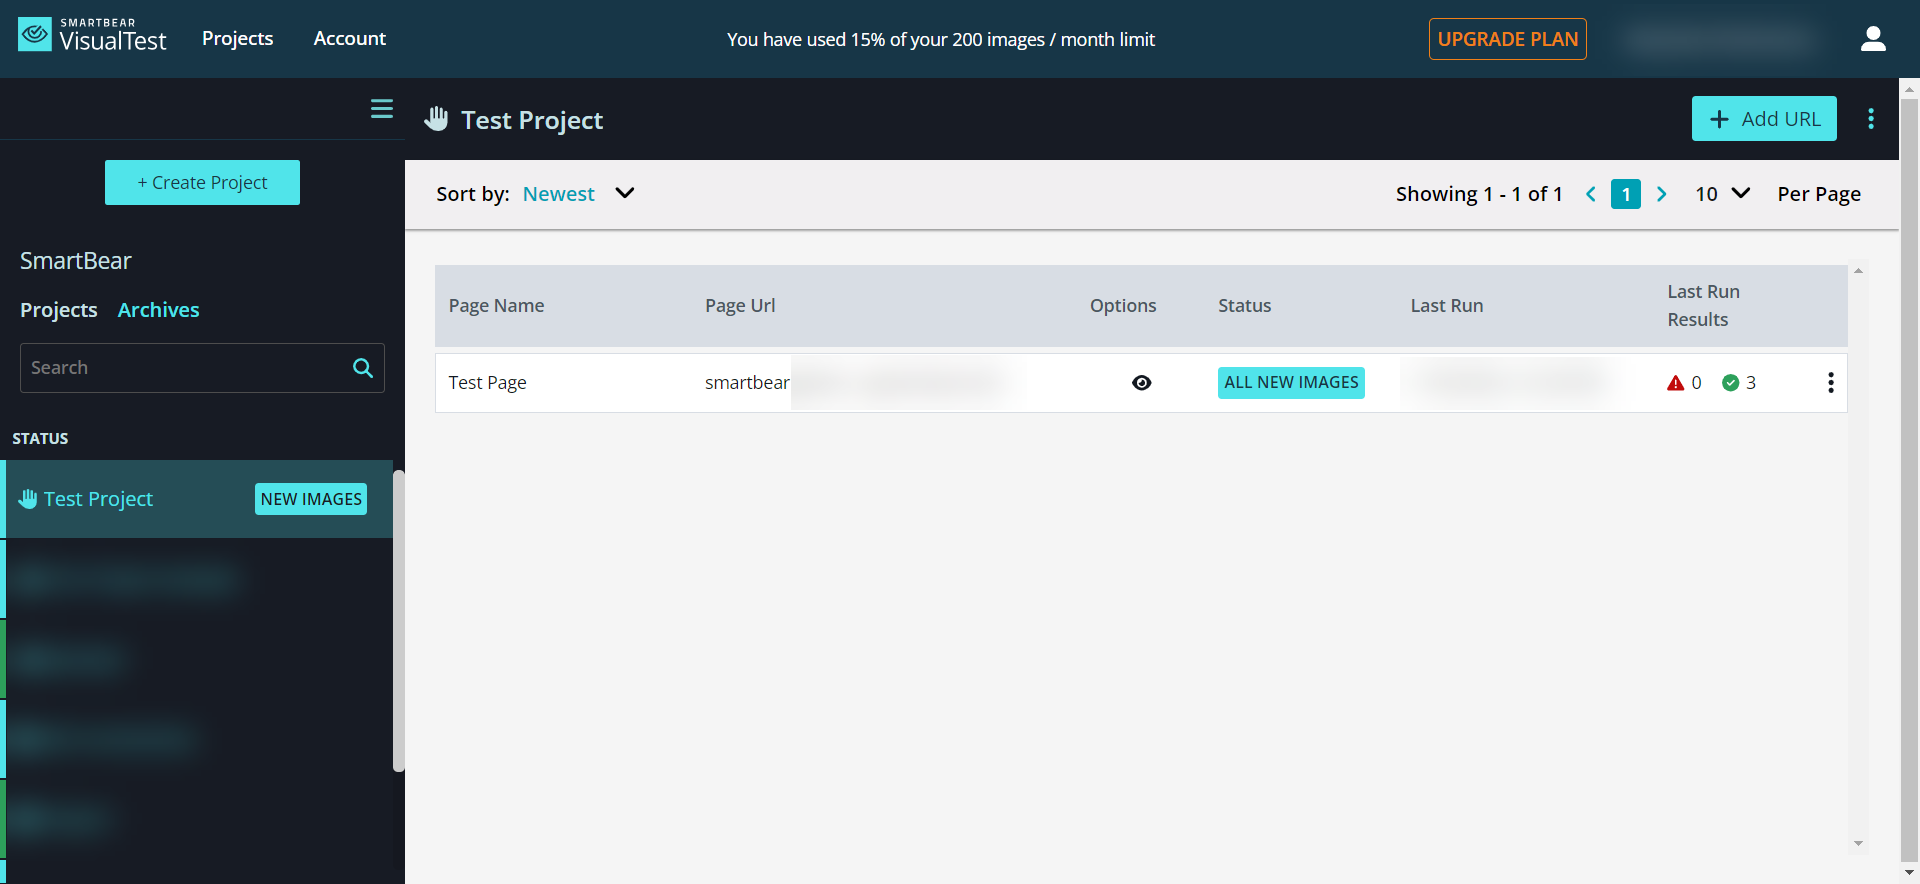
Add URL
Adding a URL enables you to test specific webpages or applications for visual consistency and functionality.
Important
The URL screenshot feature is not supported for automated project types.
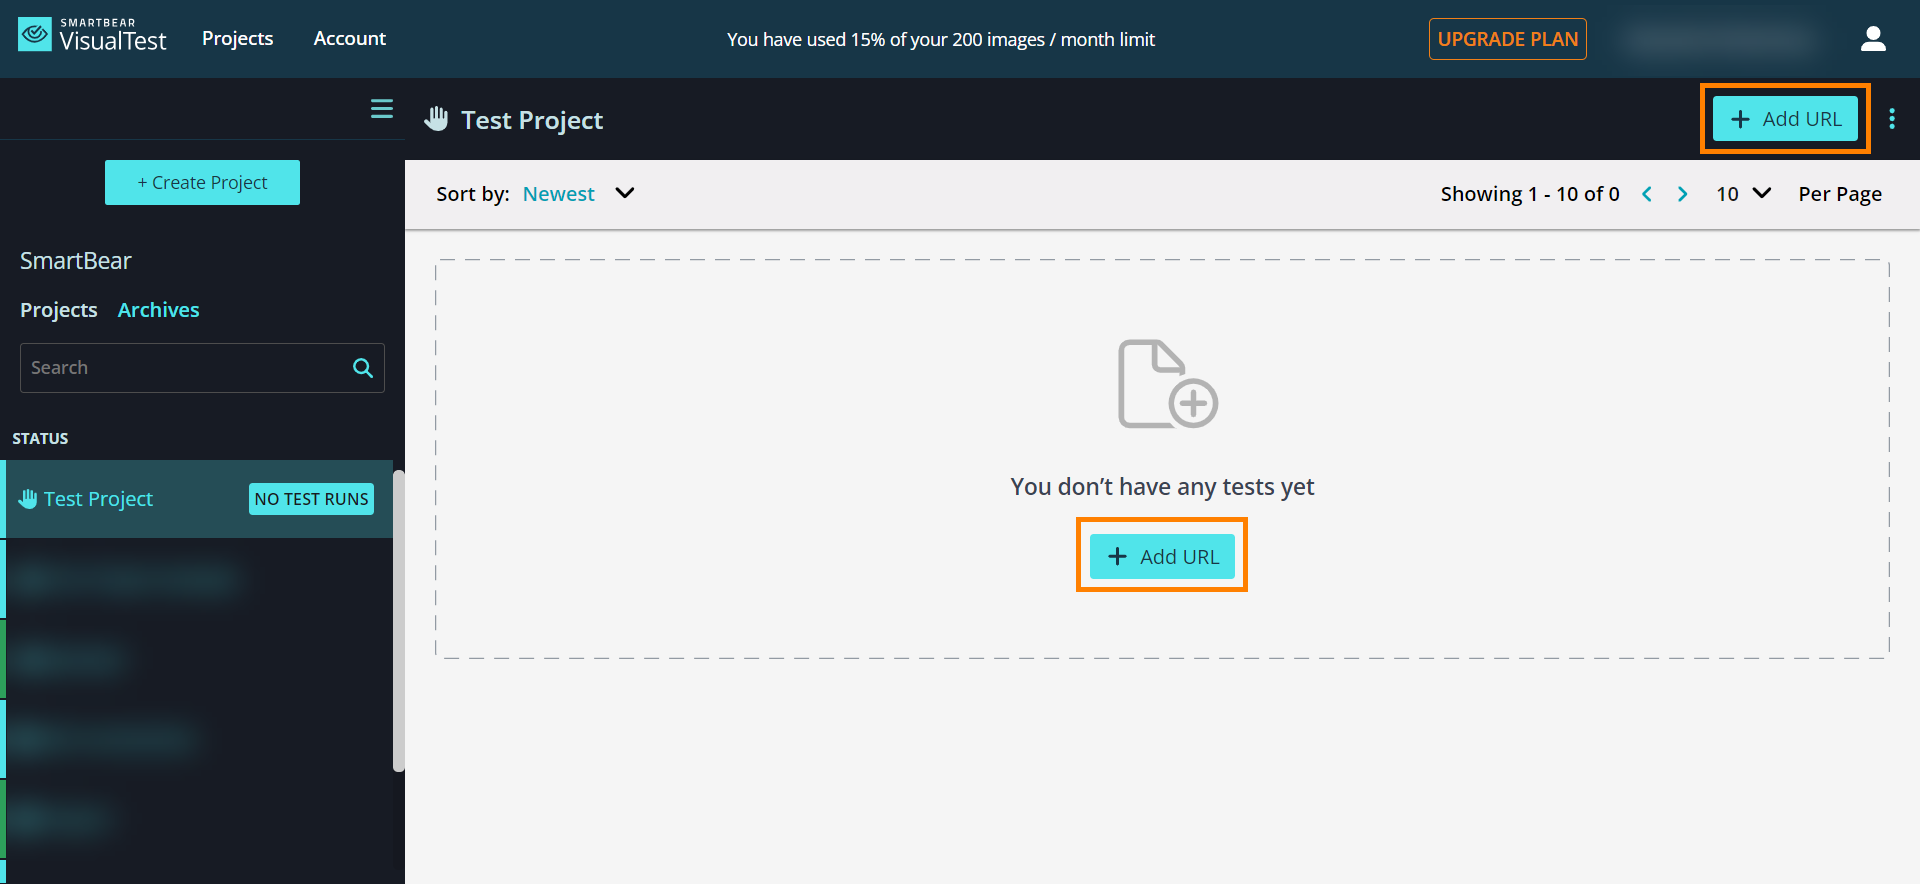
Click either one of the two + Add URL buttons on the page.
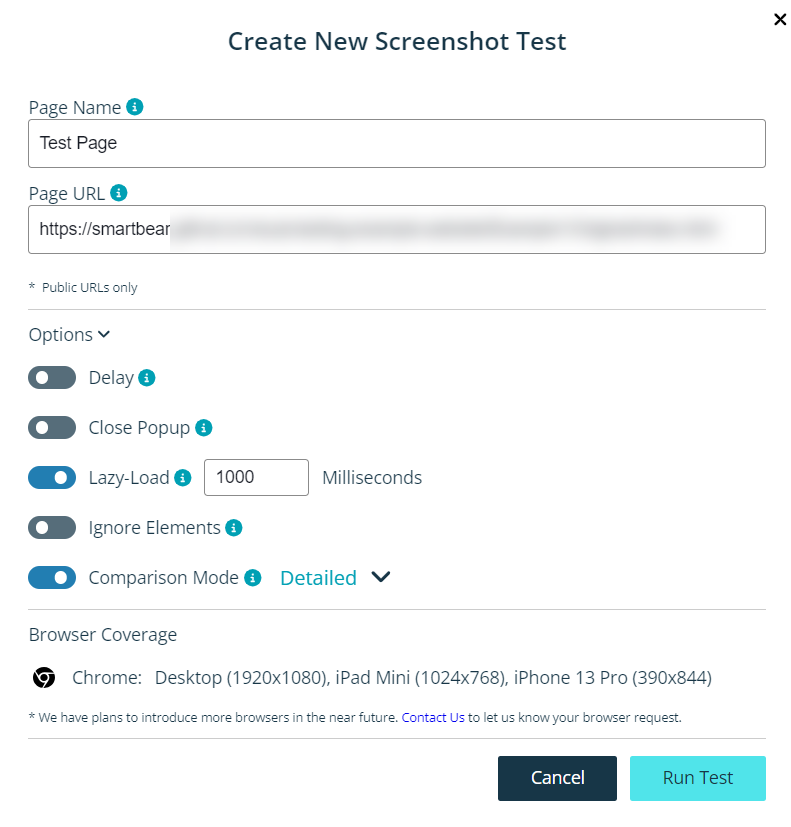
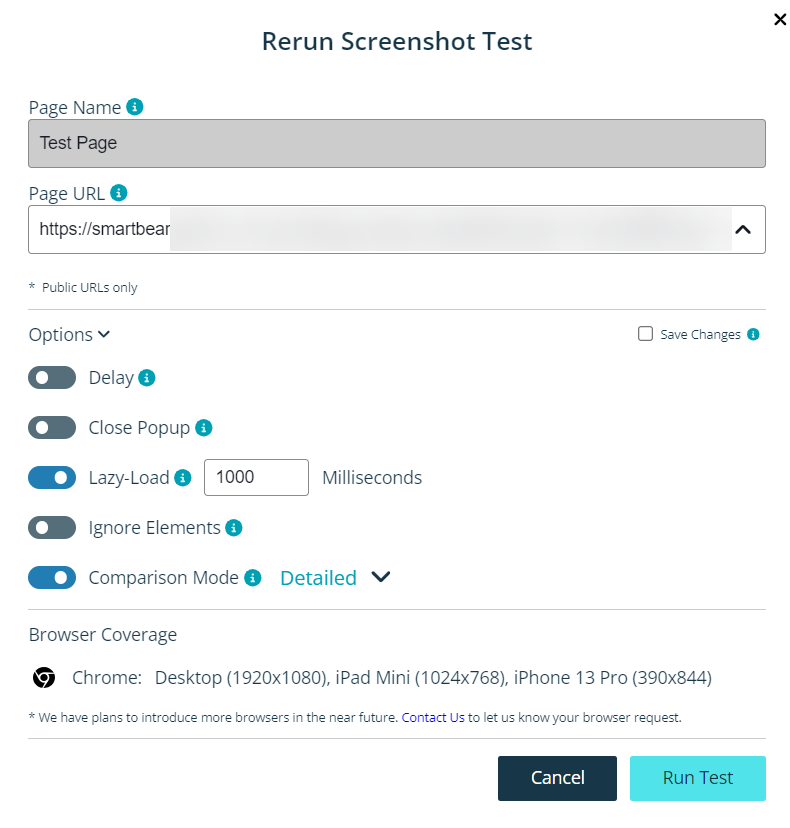
In the Create New Screenshot Test dialog box, enter your Page Name, Page URL. Within the Options section, you can enable the toggles corresponding to the functions you wish to activate during testing. Here is a list of available functions:
Delay: Specify how long the system needs to wait after the page loads before capturing a screenshot of the webpage.
Close Popup: Enable the closure of dialog boxes or cookie messages before taking a screenshot. Enter the CSS selector to click for accepting or closing the popup.
Lazy-Load: Adjust the timing for pausing between scrolls to accommodate webpages that require actual scrolling to be fully rendered.
Ignore Elements: Define a list of comma-separated CSS selectors for elements that should be excluded when comparing screenshots for differences.
Comparison Mode: Override the default comparison mode set for the project to tailor the comparison method according to specific requirements.
After selecting your functions, click Run Test to proceed.
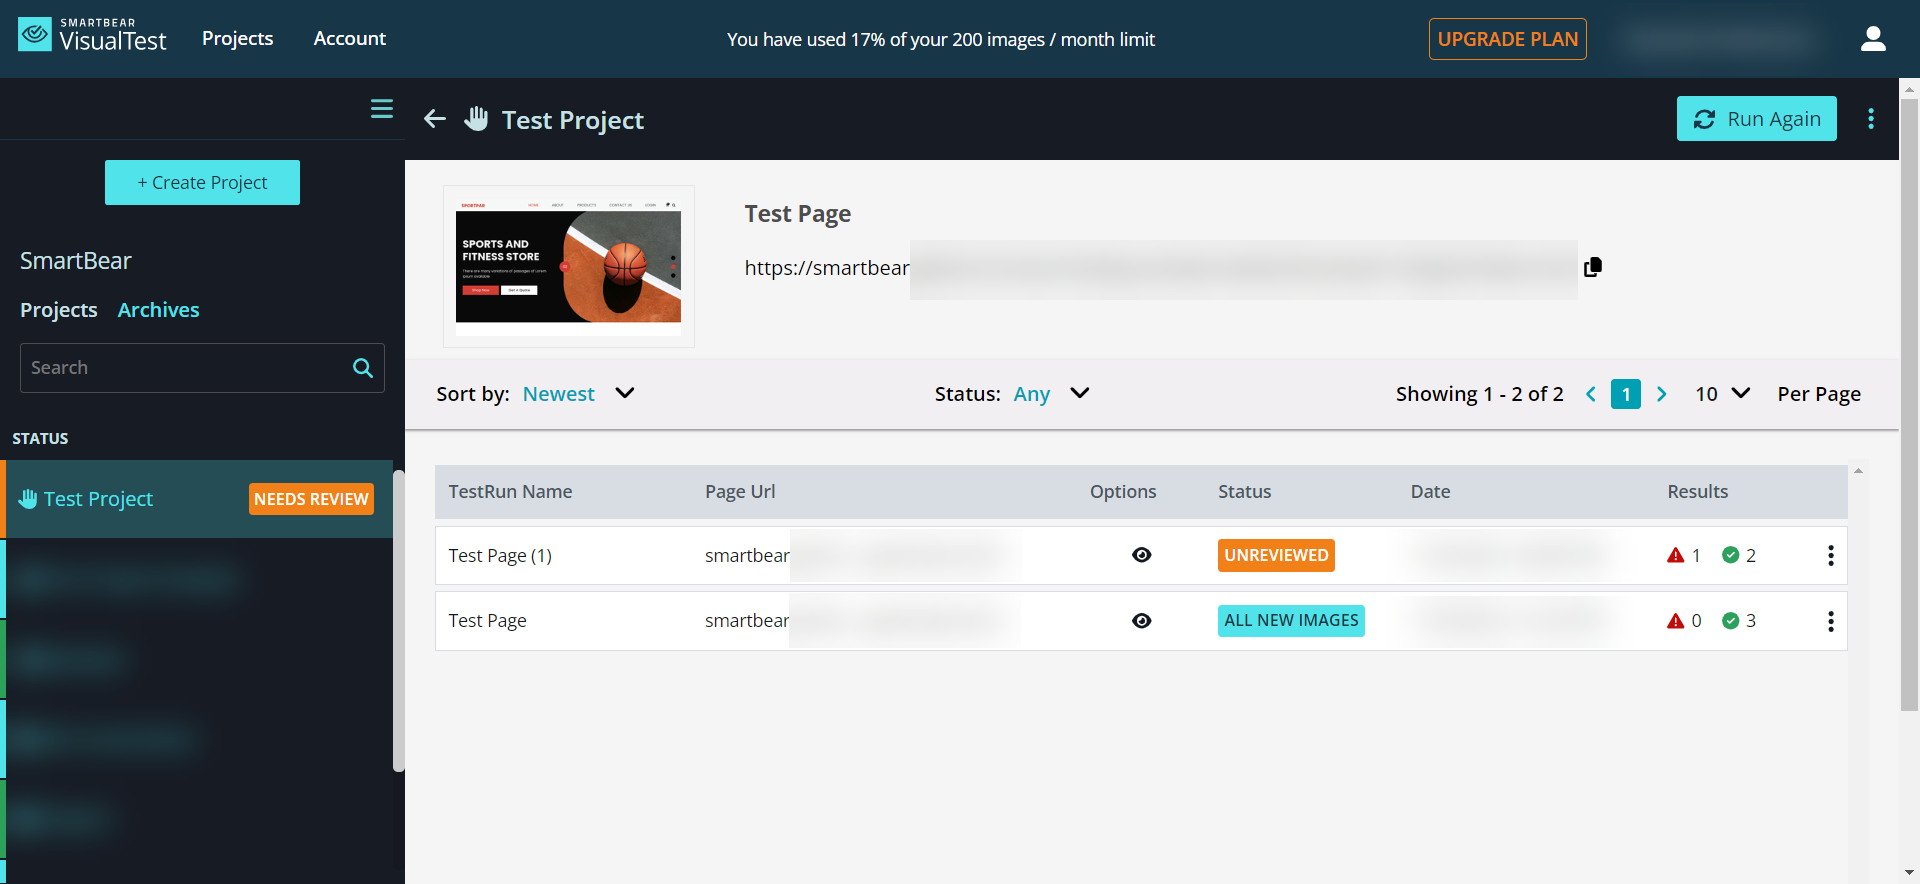
The system displays your test run results.
Rerun Screenshot Test
Rerunning a screenshot test allows you to reevaluate and verify the visual integrity of your webpage to ensure consistent quality.
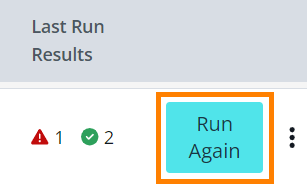
On your project's test results page, click Run Again.
In the Rerun Screenshot Test dialog, you can adjust your settings, and then click Run Test.
Tip
You can select the Save Changes check box to ensure the system remembers your option preferences for upcoming test runs.
The system displays the test results of your rerun.
Explore More Options
Clicking the vertical ellipsis icon grants you access to a range of functions designed to streamline the management of your test runs. This menu offers various options, including:
Last Run: Quickly review the details and results of your most recent test run.
See History: Access a historical record of your test runs, allowing you to track changes and progress over time.
Delete: If needed, you can delete a specific test run from your records.