Settings
VisualTest settings are controlled at project level. To access project settings, head to the test runs screen for the project in hand and select the settings icon:

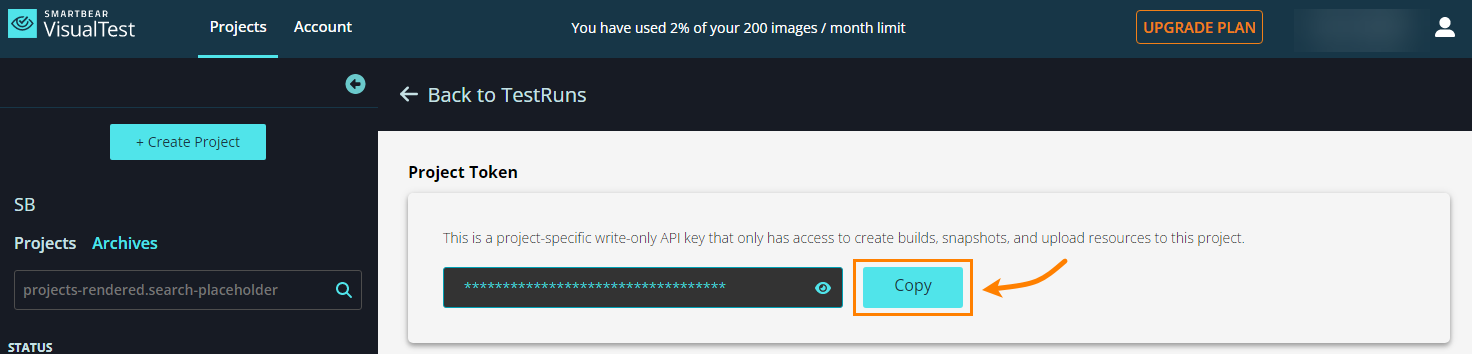
Project Token
The Project Token for the project you are in is available from the Project Token section of Settings:
Project Detail
Project Name
In the Project Name section you can change the name of your project by typing it and hitting Save.
Project Type
The Project Type section informs if the project is automated or manual.
Comparison Engine
VisualTest identifies the differences between screenshots by analyzing and comparing the elements in each image. There are two main methods for detecting these elements: using an AI Model or examining the Document Object Model (DOM).
The Comparison Engine is set to the AI Model by default. To change this, do as follows:
Head to Project Detail in Settings.
Find Comparison Engine in that panel.
Select the desired Comparison Engine from the drop-down menu.
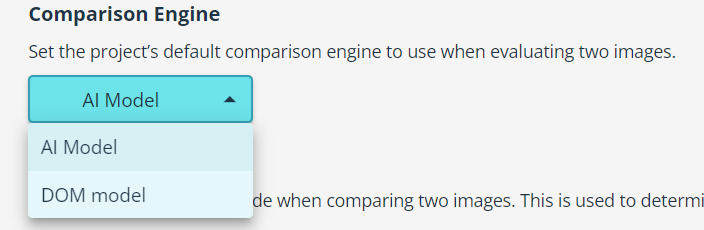
Hit Save.
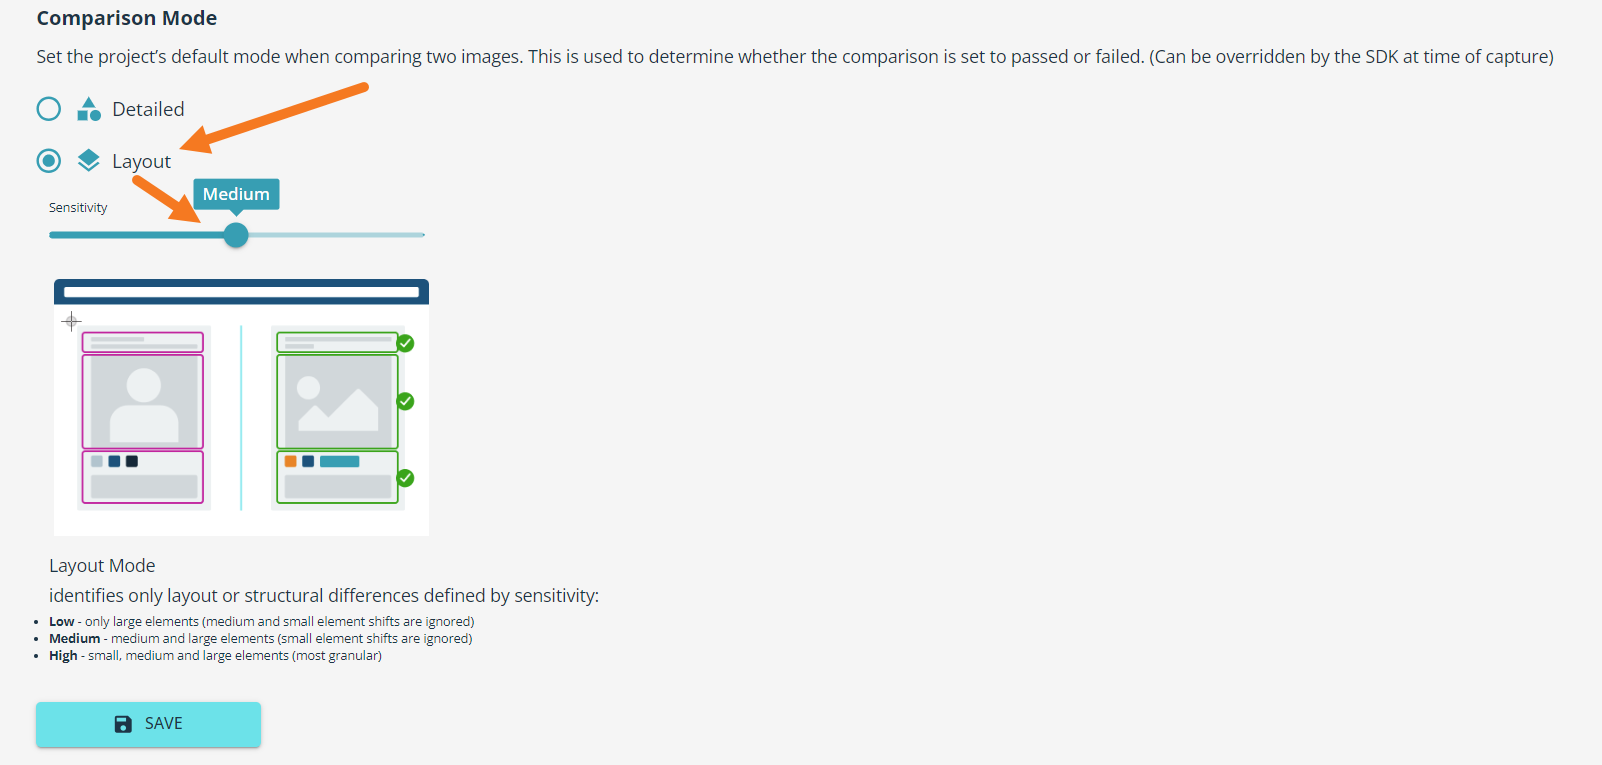
Comparison Mode
The comparison mode is set to Detailed by default. To change this, do as follows:
Head to Project Detail in Settings.
Find Comparison Mode in that panel.
Click the Layout button.
Select the sensitivity you want for your project.
Hit Save.
Tip
You can customize your SDK to override this default setting on a capture-by-capture basis. See SDKsfor examples.
For more information on comparison modes, see the Comparisons section.
Action
At the bottom of the Settings screen, the Action section allows you to Archive projects (this is reversible) and Delete projects (this is irreversible):
