After you created a project in LoadNinja, you need to create a test. In LoadNinja, you can create UI tests or API tests:
-
A UI test (or script) is a sequence of user actions – mouse movements, clicks, keystrokes, and so on – to be simulated on the tested website. You create these tests by recording user actions on the tested web pages. You can record multiple UI tests for your project.
-
An API test is a sequence of HTTP or HTTPS requests to be sent to the tested web service. You create these tests by entering request parameters manually.
Let’s record a UI test:
-
On the Tests tab of the project screen, click Create Test and select UI test from the context menu:

Click the image to enlarge it.
-
In the subsequent dialog, you specify the URL of the web page from which your test will start, and select a screen resolution for the recording (some web applications may look and behave slightly differently on different screens).
In our example, we will record a UI test on a sample pet store web application:
http://petstore.smartload.io/applicationPetstore/shopping/main.xhtml
Enter the URL and select the 1366×768 resolution:

Click the image to enlarge it.
The dialog box has two more settings:
-
From the drop-down list, you can select the location to use for the recording and further playback. This is helpful when you need to check how your website works for users located in different regions of the world. By default, LoadNinja selects the region that better matches your location. Let’s keep this default value.
-
Web applications that reside in your local network or on your computer require special recording steps. Select the This website is not publicly available check box, start recording and follow the instructions you will see on the screen. For more information, see Test Web Apps in Local Network.
The tested app we use in our tutorial is publicly available, so we can keep the check box unselected.
OK, ready to go? Click Start Recording.
-
-
You are now on the recorder screen. You see the tested web application on the right (in the internal browser area), and the recorded events on the left:

Click the image to enlarge it.
To record a UI test, work with the tested web application in the internal browser as an end-user will work with it: click links, enter text, scroll pages, and so on. LoadNinja will be recording your actions and include them into the test (see Recording UI Tests - Best Practices for more information).
For example, let’s test the login system of the application:
-
Click Log in.
-
In the Returning Customer form, specify these credentials:
- Login:
user - Password:
user
- Login:
-
Click Sign in.
LoadNinja will record all these actions. You will see them on the left. The parent node corresponds to the web page, child nodes correspond to user actions and other events.

Click the image to enlarge it.
In LoadNinja, the parent nodes are called Steps. In single-page web applications, parent nodes correspond to application screens.
-
-
Let’s record some more actions. Let’s check if our pet store offers poodle puppies: click within the search box at the page’s top, enter
poodlethere, and click Search: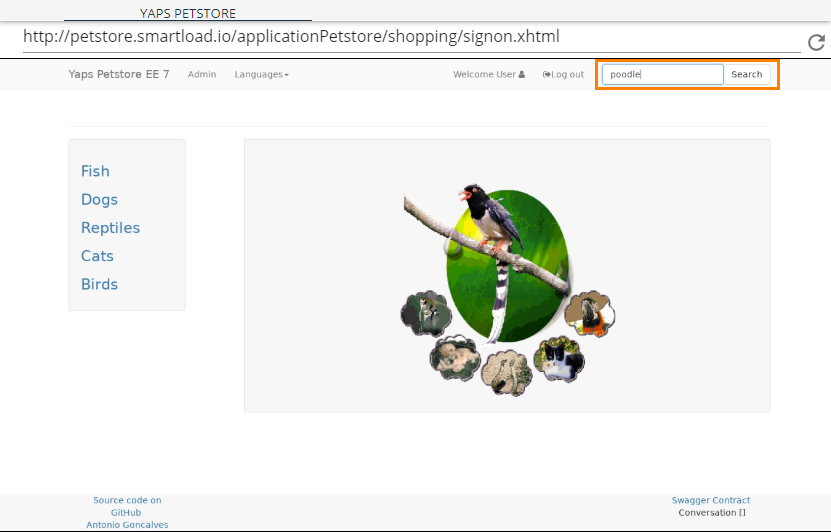
-
Now, we need to check if the search results have any information. To do this, let’s add a validation to our test (validations help you check the server responses and verify that the tested web application works as expected). In our case, the validation should check whether the search result web page contains the word “Puppy”. To add this validation:
-
Select Add > Validation on the toolbar.
-
In the subsequent Validations dialog, choose Text Validation from the drop-down list:

Click the image to enlarge it.
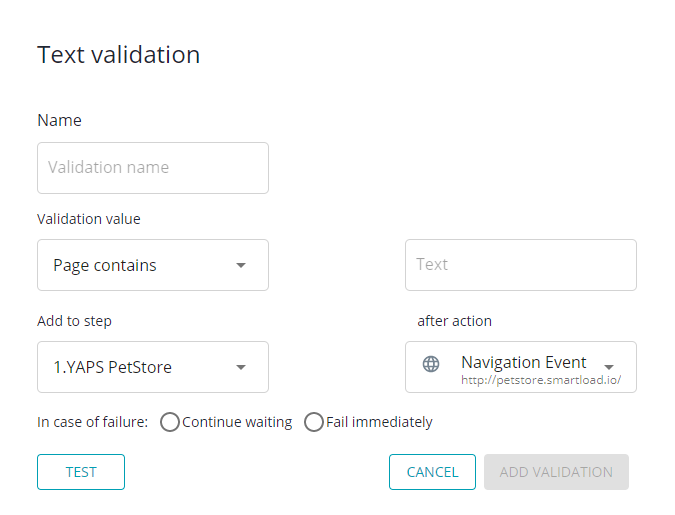
This will invoke the dialog box with the validation settings:
-
In the dialog:
-
Enter the validation name, for instance,
checkPoodle. -
Select the
Page containsvalidation type, and then specifyPuppyin the Value box. -
In the Add to Step box, select the last recorded step —
Search for poodle. -
You also need to choose the test engine behavior in case the check fails (that is, in case the tested page doesn’t have the specified text). In this tutorial, we can select Fail immediately. For information on possible options, see the validation description.
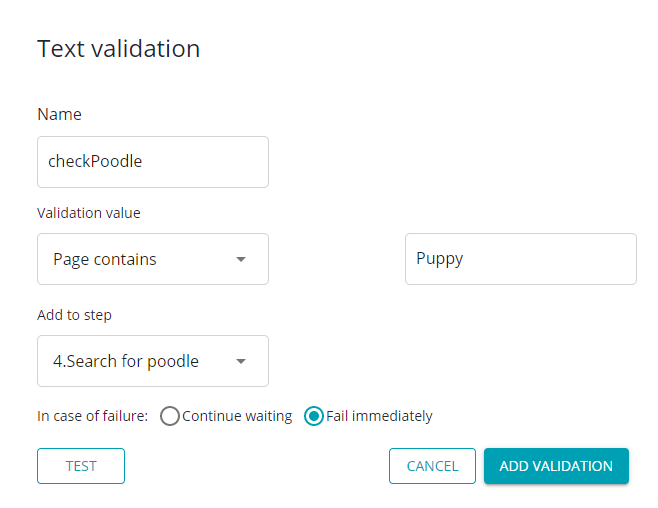
Now, the dialog box looks as follows:
-
-
Click Test to make sure the validation works.
-
If the validation completed successfully, click Add Validation. LoadNinja will notify you that the validation was created successfully and will return back to the Validations dialog box:
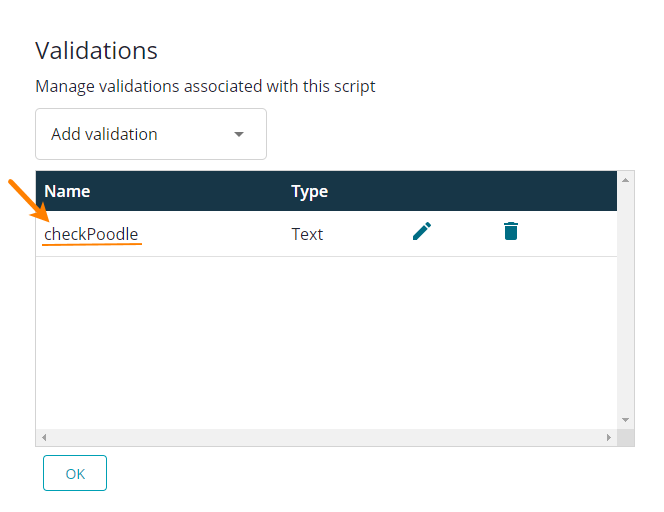
Click OK to close the dialog.
Tip: In LoadNinja, you can also create JavaScript validations. They have the same access to web page elements that script code running on the page has, and you can use them to perform any, even complex, checks. The validation JavaScript function must return trueif it passes successfully, orfalseotherwise. -
-
Click to finish the recording for now:
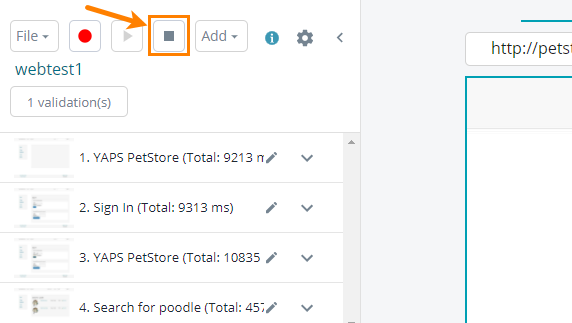
LoadNinja will display a message box suggesting that you run the recorded test at least once to ensure it works as expected:
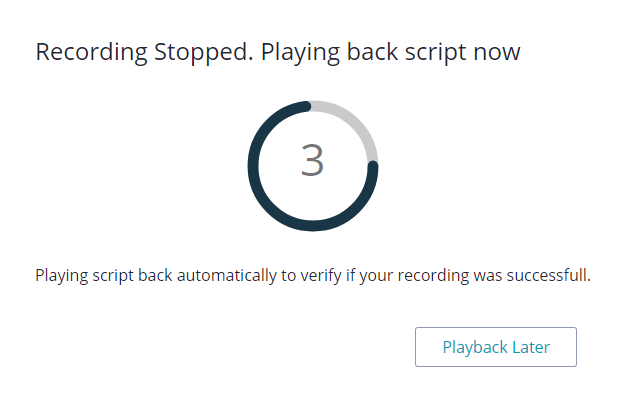
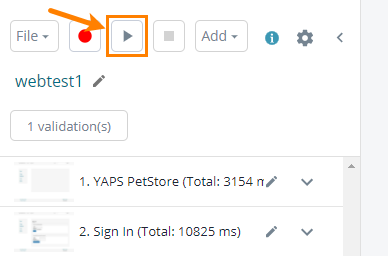
The playback will start automatically. We don’t recommend skipping it. If for some reason you decided to play back the test later, you can do this any time by clicking Play at the top left of the recorder screen:
Use the Playback Log at the bottom of the recorder screen to immediately check how your website responds to your test’s commands:

Click the image to enlarge it.
-
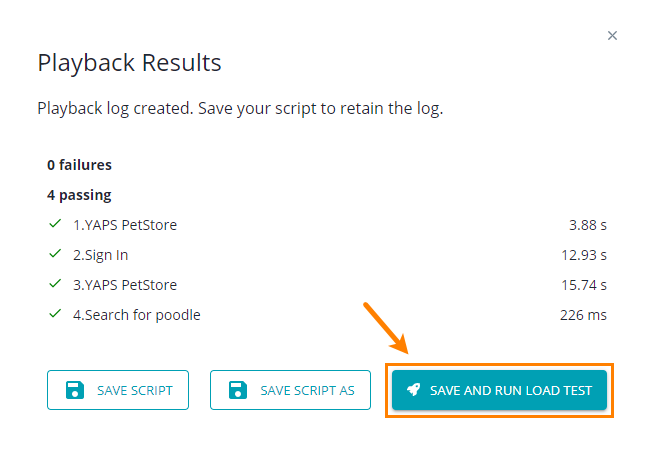
At the end of the run, LoadNinja shows a short excerpt of the playback results:
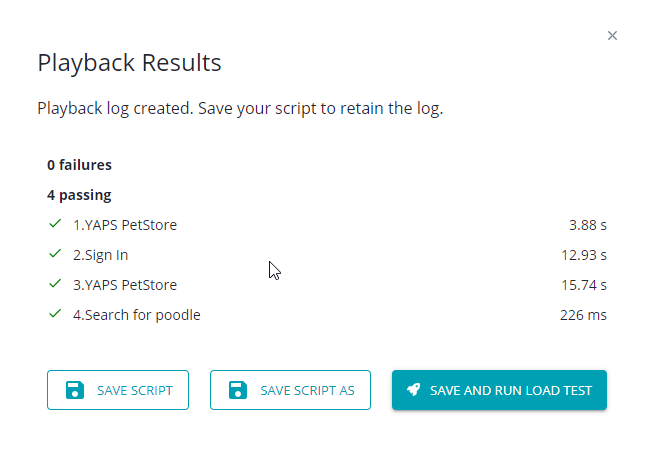
If errors occurred, fix them before you proceed.
If everything is OK, you can create a load testing scenario. To do this, click “Save and Run Load Test”. LoadNinja will ask you to save the recorded UI test first and then will display a special dialog box with scenario settings. If you click “Save Script” or “Save Script As”, LoadNinja will save the recorded test, and you will need to create a load testing scenario from another screen of the product (see Scenarios for details).
Let’s click Save and Run Load Test as this is a simpler and faster way at the moment. We’ll describe your actions in the next step of this tutorial: