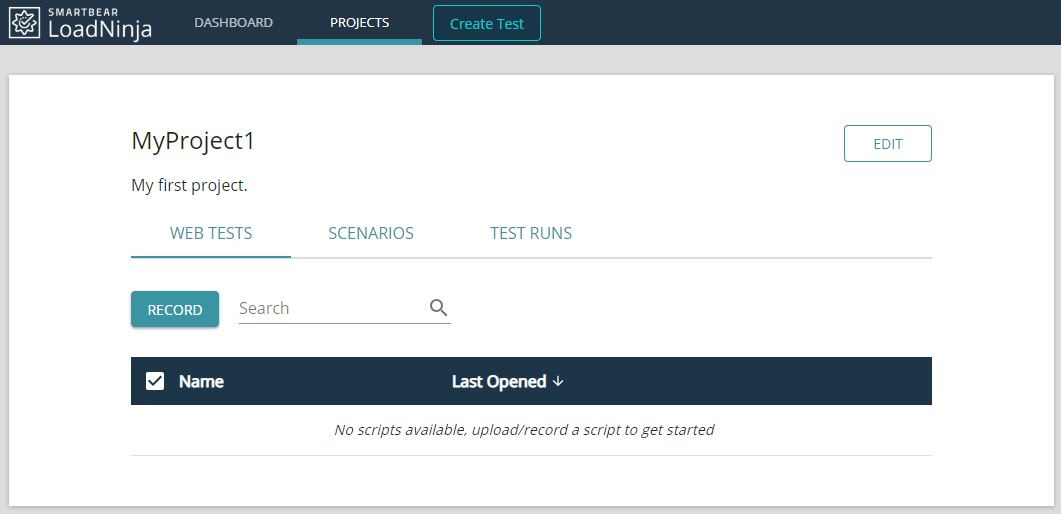
In LoadNinja, projects contains all the data for creating and running load tests:
-
Scripts — Series of user actions to be simulated on the tested web application.
-
Scenarios that contain definitions of your load tests (the number of virtual users to simulate, scripts they will run, test duration, and so on).
-
Projects also contain test results.
Let’s create a project:
-
Go to Projects and click Create Project there.
-
In the dialog that appears, specify the project name and enter some arbitrary description:
-
Once ready, click Create.
Wait a bit — LoadNinja will polish things and prepare a project workspace for you:
This is it! We will now use this project to organize our testing data.
Notes:
-
The number of projects is not limited by your billing plan.
-
The number of tests in your projects is not limited either. The plans limit, however, the number of concurrent load tests to run.


