You have several options for creating a review: via Collaborator Web Client, via GUI Client or via Command-Line Client. Besides you can create reviews directly from Eclipse, Visual Studio or from P4V or P4Win clients for Perforce. To ease you into the process, we will start with the Web Client. It does not need any client components except for web browser. The list of supported browsers can be seen here: Web Interface Client - Overview.
1. Open Collaborator Web Client
Start a web browser and navigate to the URL of the Collaborator Web Client. If you do not know the URL, ask your Collaborator administrator. The URL is defined by the External URL setting.
2. Log In to Web Client
You will be redirected to the login screen.
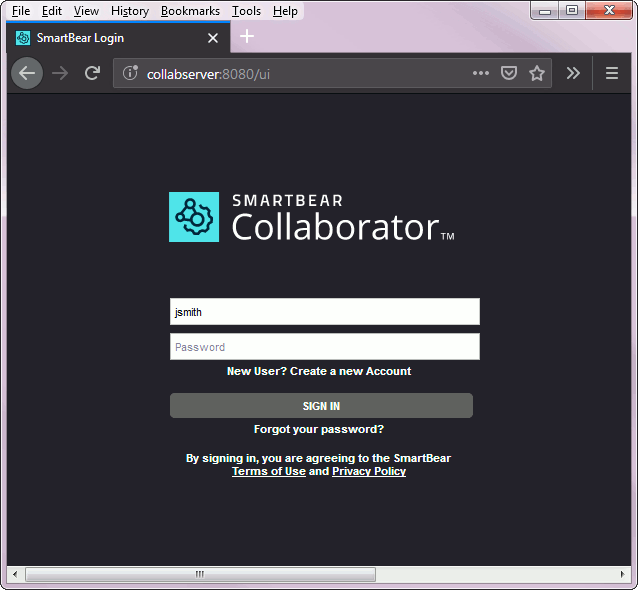
Enter your user name and password and click Login. The username and password is typically supplied by the administrator.
If you use LDAP or ActiveDirectory for authentication in your company, you can use that username/password with Collaborator and it will automatically create your user account.
If your administrator allows user-created logins, a "Create New Account" form appears on the login page where you can create your own login name and password. In this case we recommend that your account in Collaborator be identical to your version control system account.
3. Get Familiar With Home Page
Once you log in, you will be redirected to the Home page. This page is a starting point for most of peer review process.
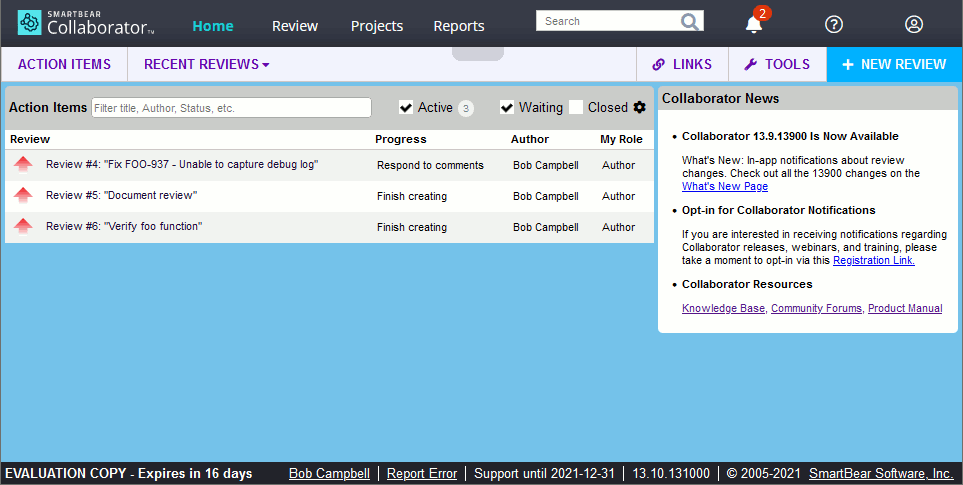
Collaborator Web Client Home Page
On Home page you can check your Action Items to see if you have any assigned reviews. You can also edit and change your settings and preferences by clicking Settings in the menu bar on the top right of the screen.
4. Create New Review
To create a new review, click New Review on the Home screen.
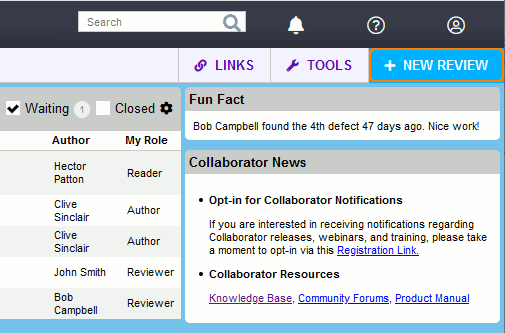
You will see the Review Screen where you can specify information about the newly created review.
5. Specify General Information About Review
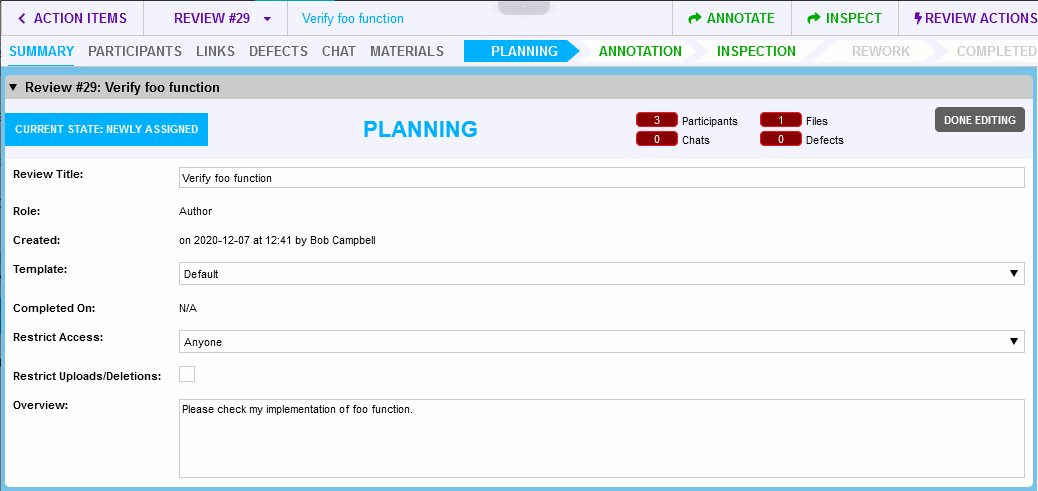
Enter a brief description for the review to the Review Title field. The title is used all over the place -- in Action Items, in notification emails, in web page titles, and so forth.
All other fields of the General Information section are optional, so you may skip them.
6. Add Review Participants
The next step in creating a review is to invite people to the review, and give each of them a role to play.

To add another user as a participant, select the desired role in the Role drop-down menu, then select one or more users in the Participants drop-down menu, and click Add. Start typing the name of the user in the appropriate field to narrow down the user list. User/role combinations you have used recently will also appear under Recent Participants. The latest 12 users, that were selected as participants by the current user during last 180 days are selected. This makes it easy and fast to select common combinations.
7. Add Review Materials
Review materials is what you are asking to review. From the Web Client, you can upload the following types of content:
- Arbitrary files from your computer: text files, word processing documents, spreadsheets, presentations, PDF documents, Visio graphics, images and so on.
- Changes committed to a pre-configured version control system
Let's upload some text file to a review.
- Scroll to the Review Materials section.
- Click the Upload button.
-
Select Files from the drop-down list.

- In the ensuing dialog, choose one or more files you want to attach and then click Upload.
| Tip: | Alternatively, you may just drag your local files and drop them to review web page. |
Once you have attached anything to a review, it will be listed in the Review Materials section.
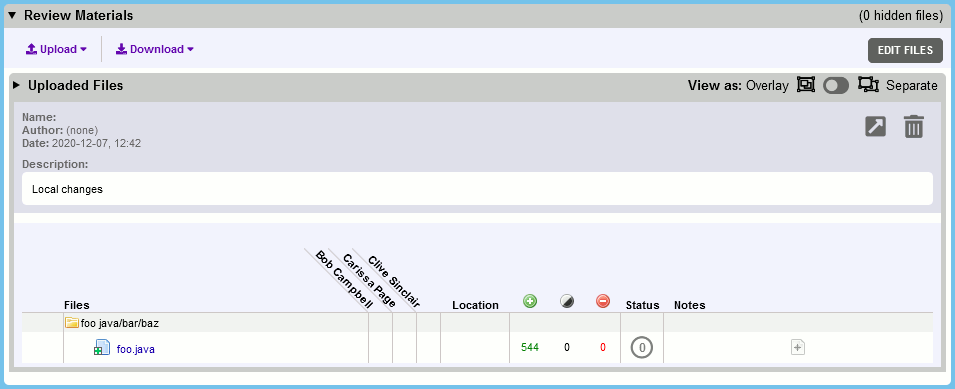
Most Collaborator users do not use the Web Client for attaching source files, reserving it for adding supporting documents. Instead, most of our users opt to use the GUI Client, the Command-Line Client, or add source files directly from Eclipse, Visual Studio or from P4V or P4Win clients for Perforce.
These clients need to be installed on your computer and properly configured, however they provide an extensive integration with Source Control Systems and/or IDEs.
To learn how to add review materials via these clients, please read the respective sections in the manual: GUI Client, Command-Line Client, Eclipse Plug-in, Visual Studio Plug-in or P4V / P4Win Integration.
8. Start Review
Click Inspect button in Review Screen header to start a review.
Alternatively, you can click Annotate button to apply the current changes, and proceed to optional Annotating phase. In this phase all participants that you have added will be notified about this review and will be invited to add their comments and review materials. The review will not begin until you select the Inspect button.
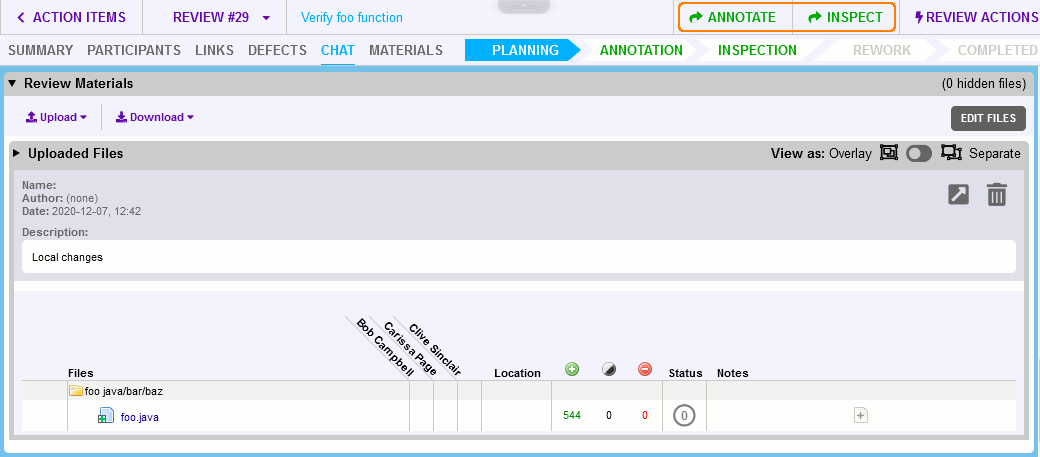
Other participants will receive notifications about your new review, and it will be displayed in their Action Items list.
Where to Go Next
To learn how to take part in someone else's reviews as a reviewer or observer, see Participate in Reviews.
To learn how to get to know about the issues other participants have found in your review, see Rework Defects.

