Creating and Editing Workflows
You can easily create workflows in BearQ by following these steps:
Log in to BearQ.
Select Workflows.
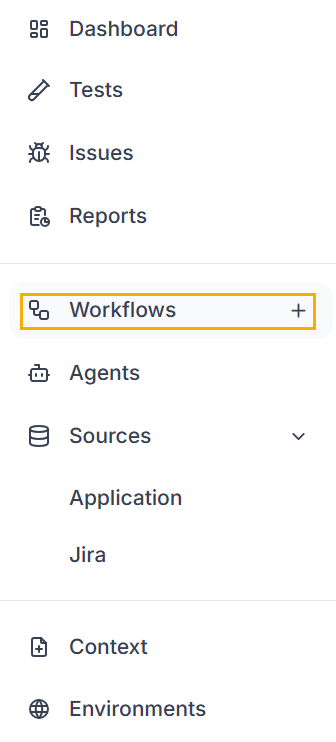
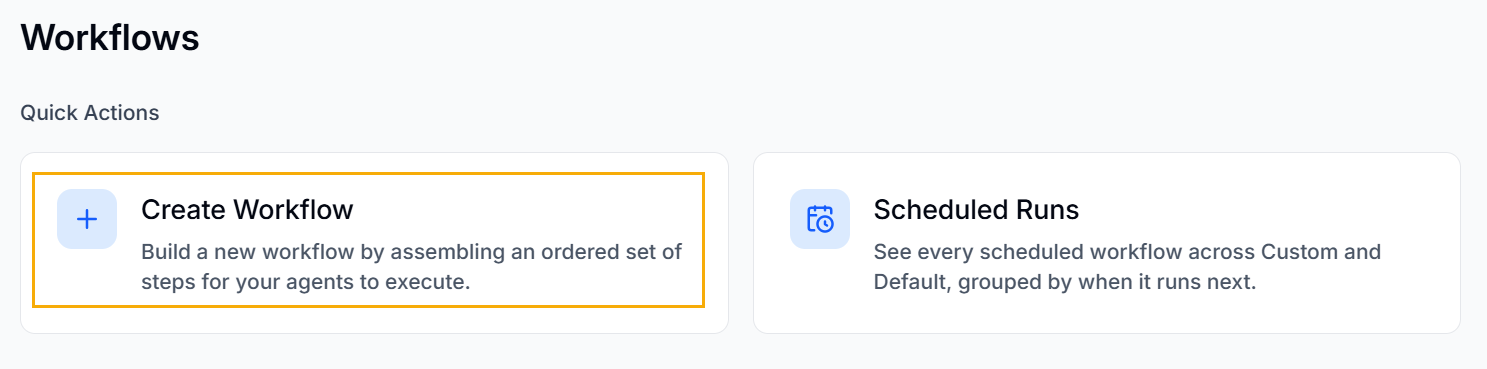
Click Create Workflow.
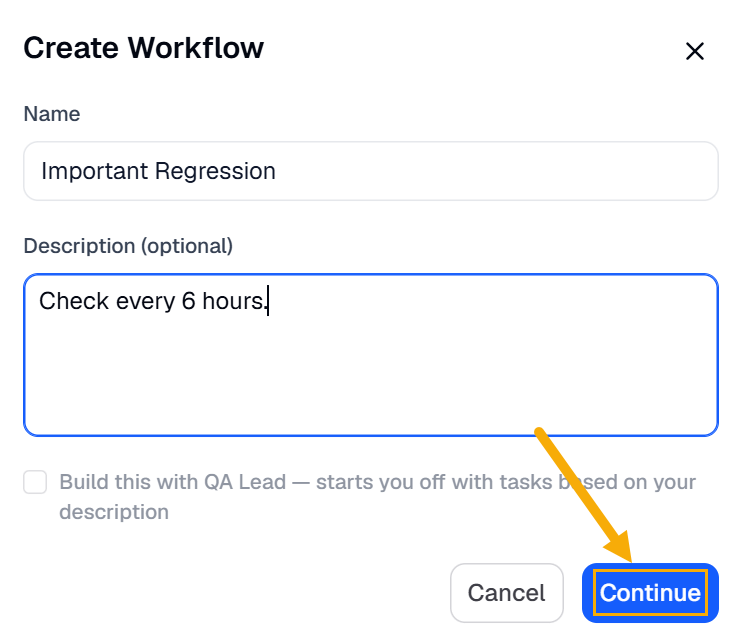
Enter the name and description of the workflow. Click Continue.
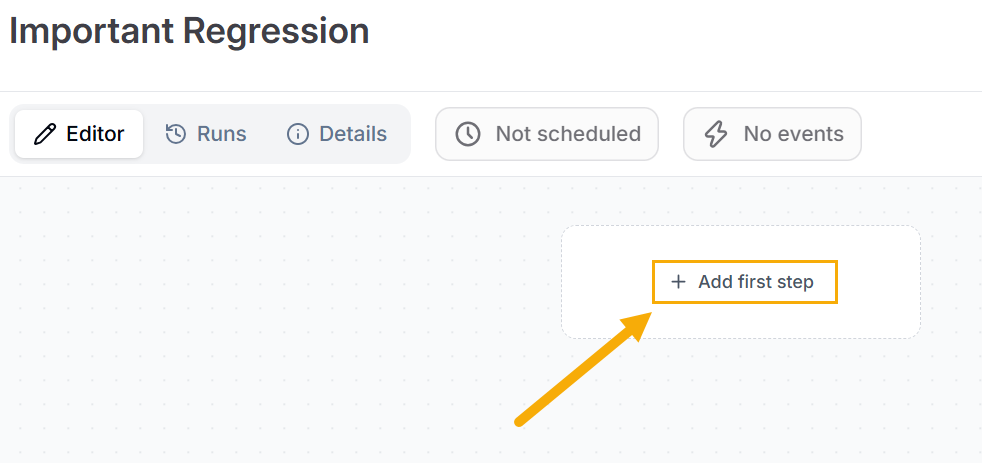
Click + Add first step.
Choose a relevant step type. These are the following step types you can choose.
Run Tests: You can either select a particular regression test, run tests by tag, or run all regression tests.
Chat with the QA Lead: You can enter an instruction you want the QA Lead to carry out.
Expand Test Coverage: You can either select a particular functional area or expand autonomously.
Generate Summary Report: You can generate a summary report for various time ranges.
Expand Application Model: You can either select a specific functional area or explore independently.
Find Issues: You can find issues in a specific functional area or explore independently.
Make an API Request: You can create an API request by choosing the method and entering the URL.
You can keep adding steps by clicking +.
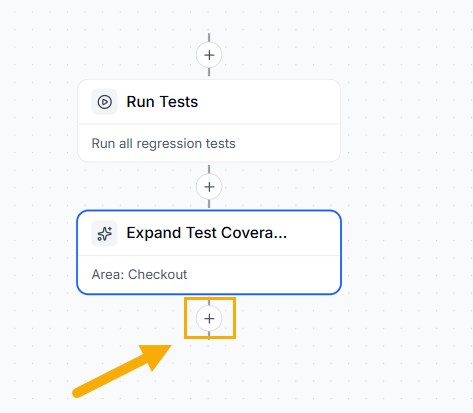
Click Save once your workflow is ready.
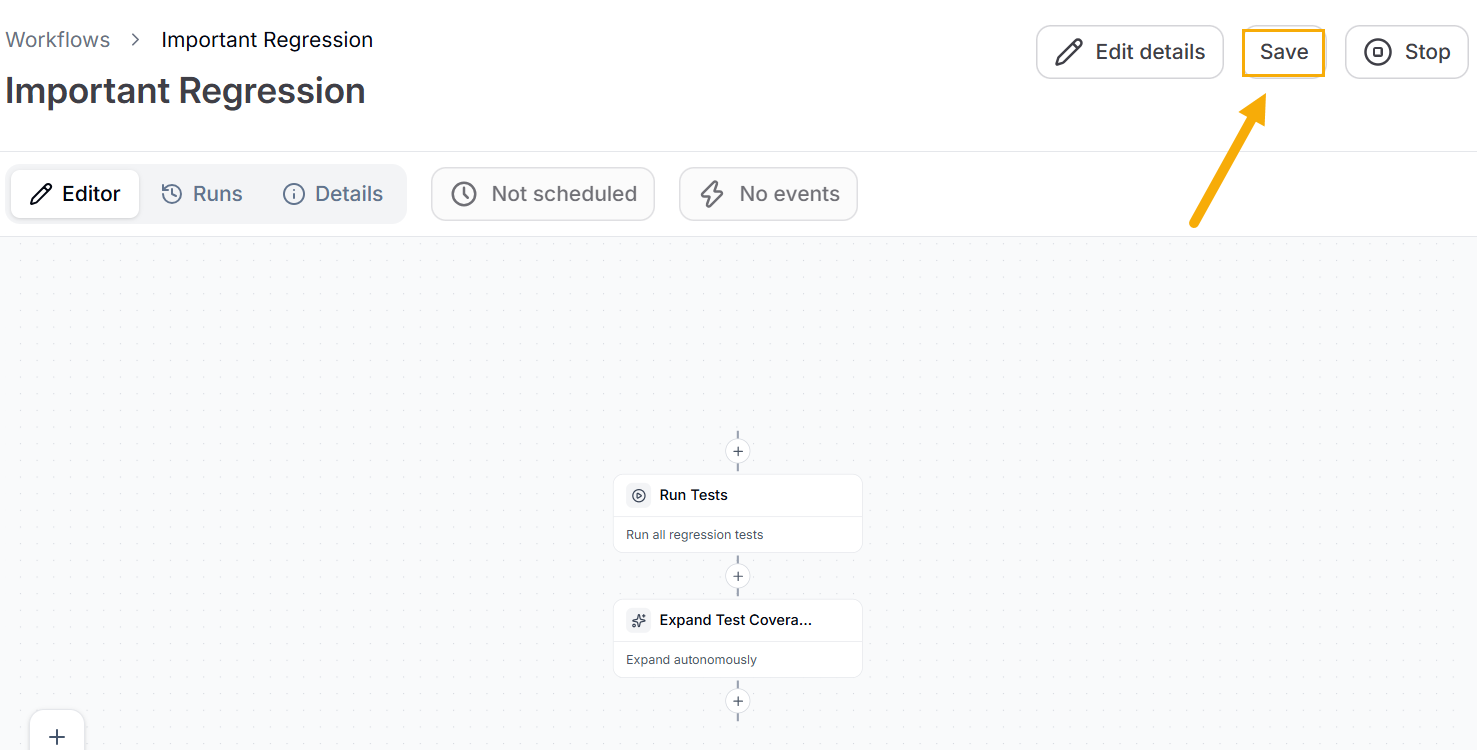
Result: Your workflow is created.
Editing a Workflow
To learn more about editing a workflow, see Workflow modes.
Scheduling Workflows
To schedule the created workflows, do the following:
Log in to BearQ.
Select Workflows.
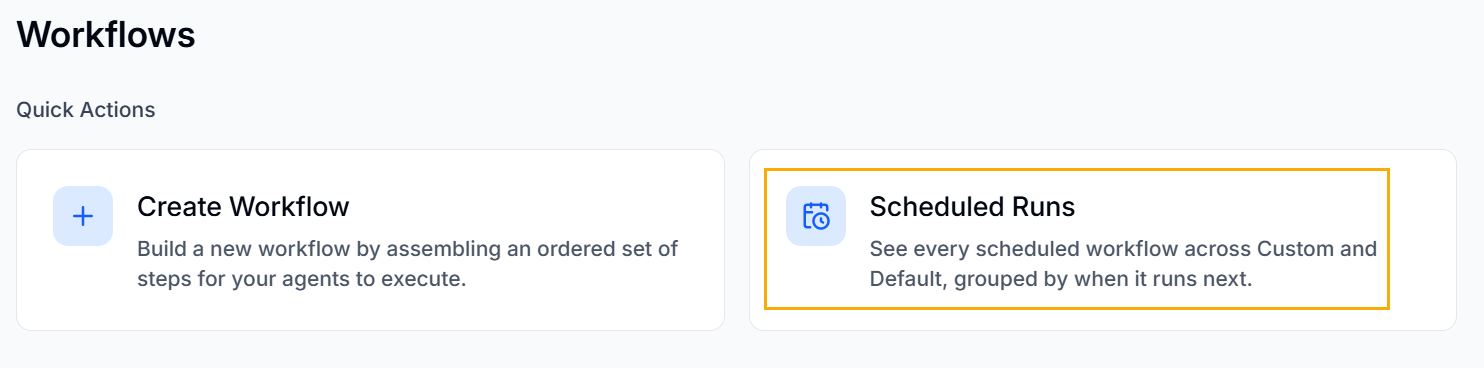
Click Scheduled Runs.
All workflows are listed on the Workflows page. Click the ones that are not scheduled.
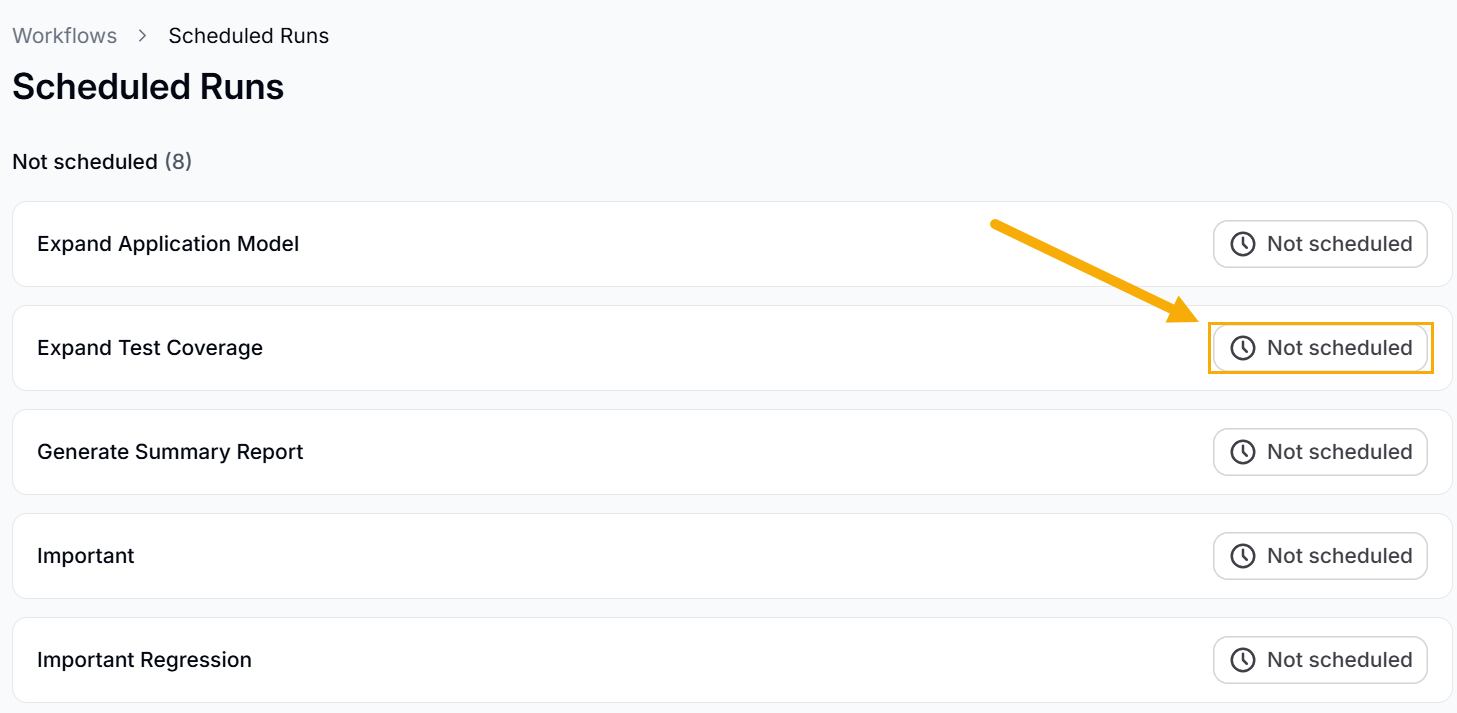
Set the frequency to hourly, daily, weekly, and monthly. Click Save Schedule.
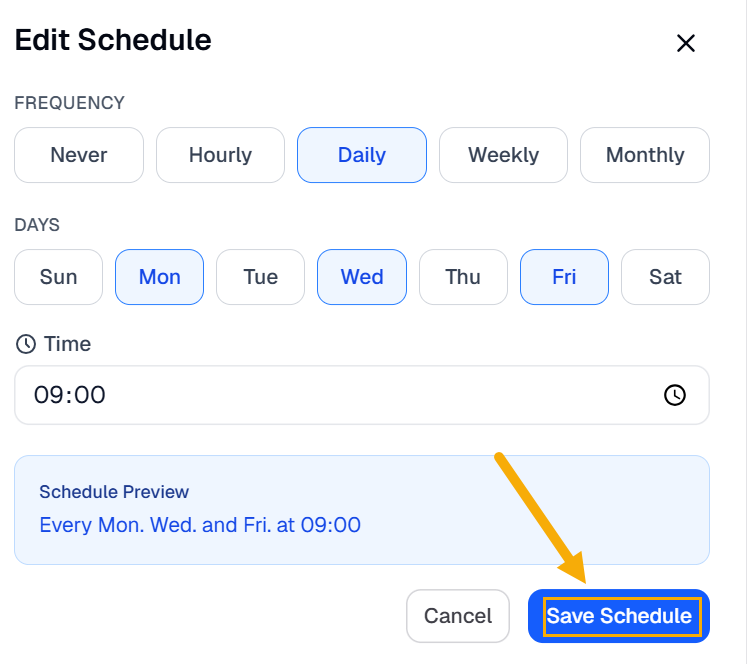
Result: Your schedule is saved.