Connecting to Jira Source
Connecting Jira as a source lets BearQ sync issues from a Jira project and display them on the Sources page. You can then generate tests directly from those issues.
Prerequisites
A Jira agent must be connected in BearQ. See BearQ for Jira Integration for more information.
You must have access to the Jira project you want to sync from.
Connecting Jira Source
To connect Jira source, do the following:
Log in to BearQ.
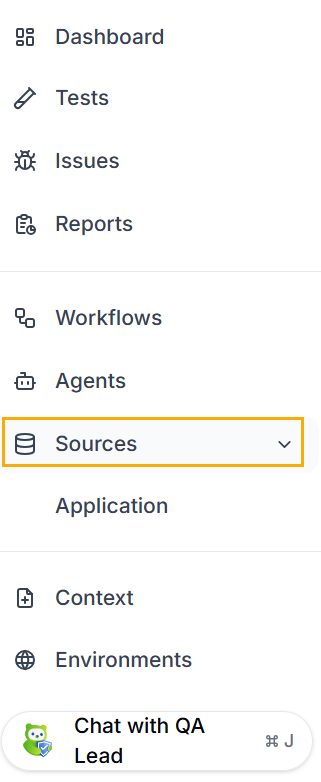
Click Sources.
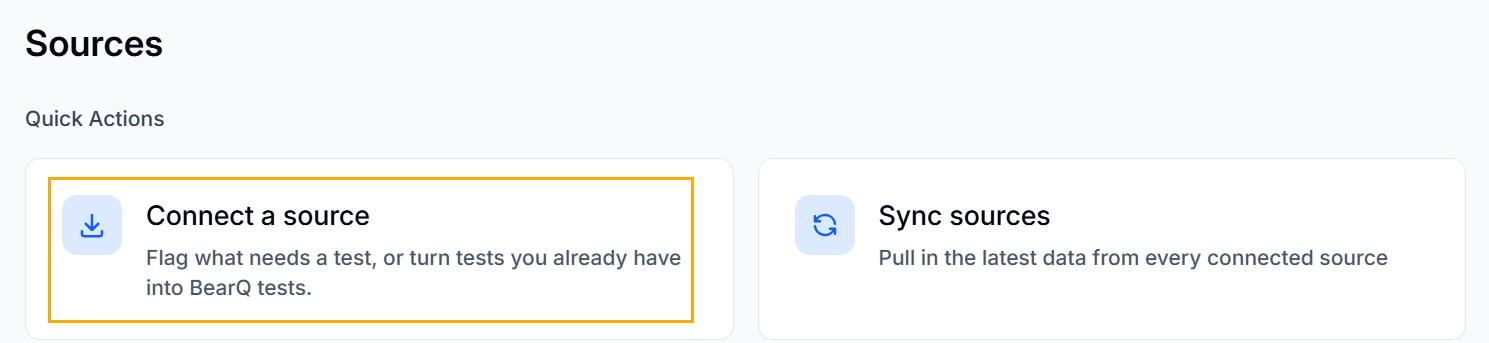
On the sources page, click Connect a source.
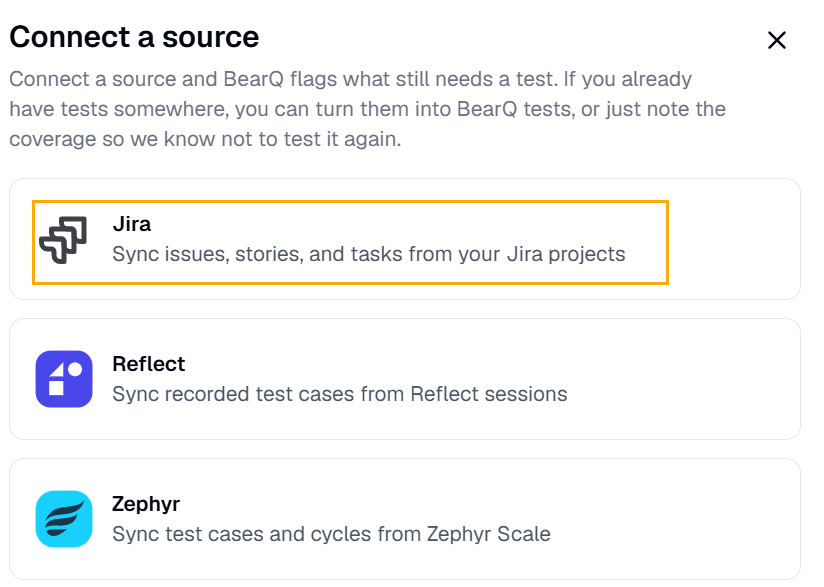
Select Jira.
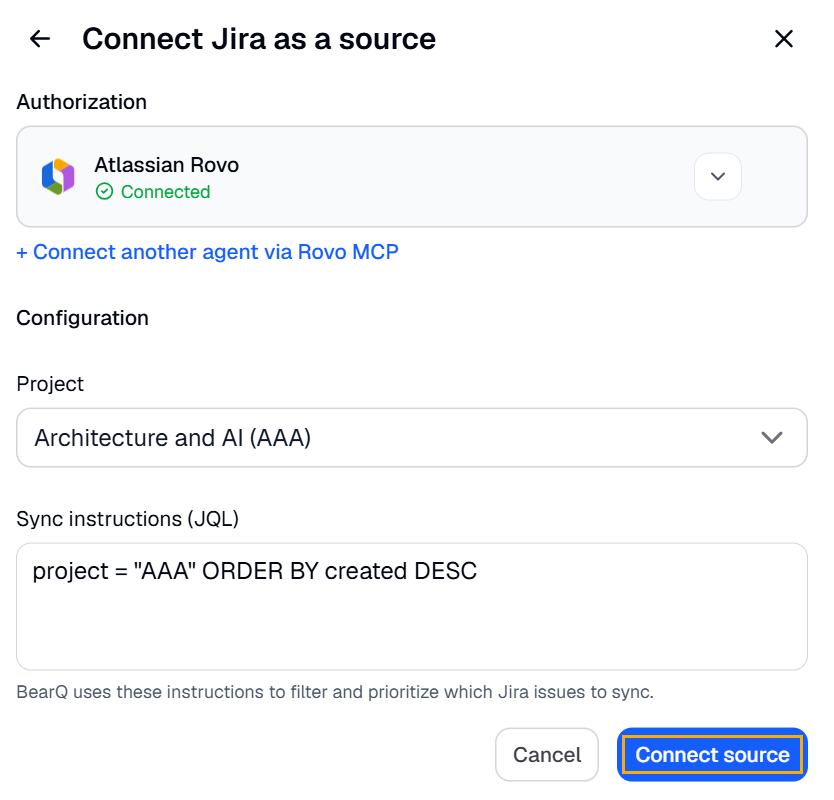
Select the Jira agent to use. If you have more than one Jira agent configured, BearQ tries each one until it finds one that can access the Jira site you specify. To switch to a different agent, select it from the agent list.
Select the Jira project to sync from.
Click Connect Source.
BearQ syncs the source automatically and lists the issues on the Sources page. If BearQ cannot fetch your projects, the connection dialog box shows an error message with a link to the Agents page. Go to the Agents page, re-authorize your Jira agent, and then try connecting again.
Editing a Jira Source
To edit a connected Jira source, do the following:
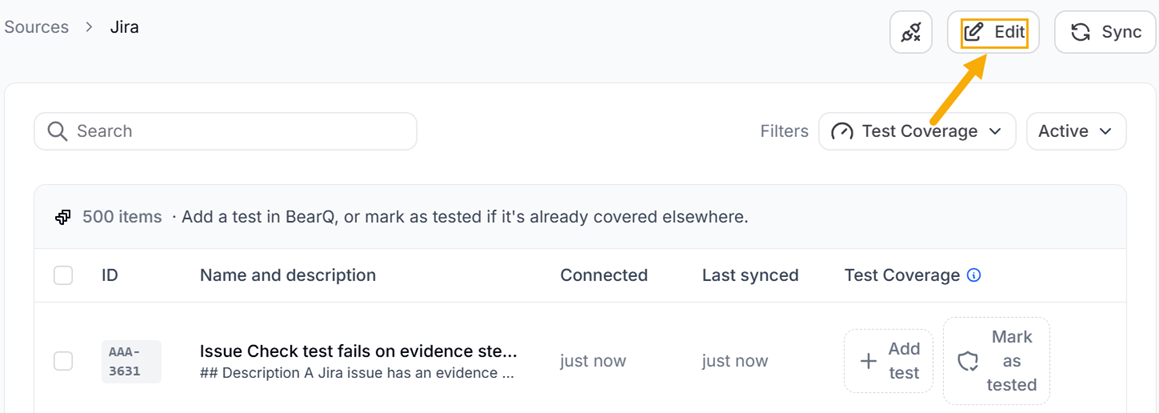
On the Sources page, find the Jira source you want to edit.
Select Edit.
Update the settings as needed, for example, by changing the JQL filter or switching to a different agent. Click Save changes.
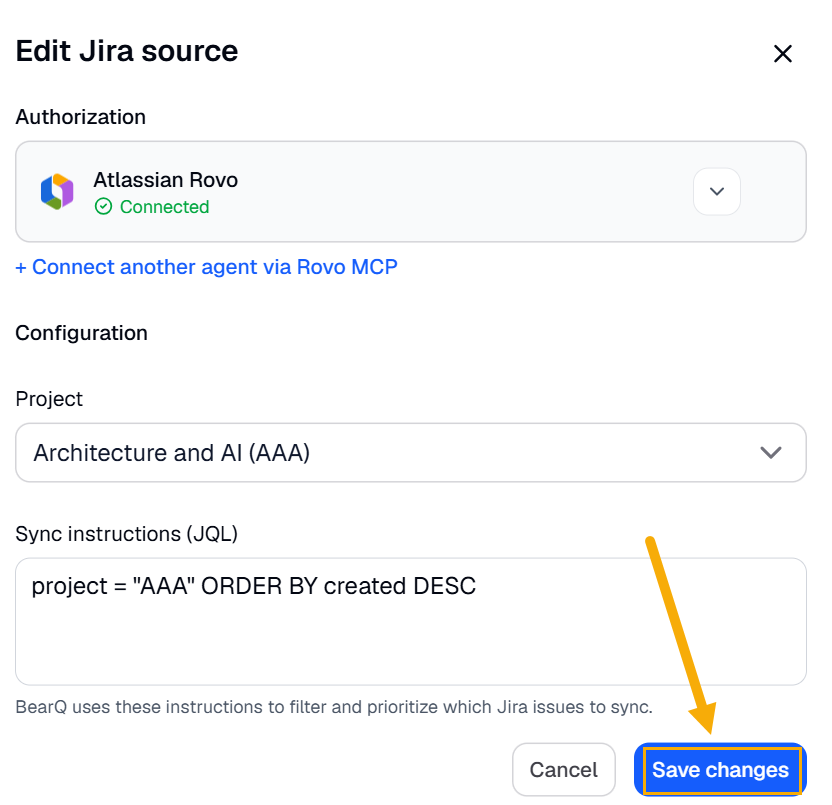
BearQ syncs the source automatically after you save your changes.