Connecting to Zephyr Source
Connecting Zephyr as a source lets BearQ sync test cases from a Zephyr project and display them on the Sources page. You can then generate tests directly from those test cases.
Prerequisites
A Zephyr agent must be connected in BearQ.
You must have access to the Zephyr project you want to sync from.
Connecting Zephyr Source
To connect a Zephyr source, do the following:
BearQ automatically syncs the source and lists the test cases on the Sources page, sorted with the newest first. If BearQ cannot fetch your projects, the connection dialog box shows an error message with a link to the Agents page. Go to the Agents page and re-authorize your Zephyr agent, then try connecting again.
Note
If your Zephyr agent's OAuth token expires, BearQ attempts to refresh it automatically. If the token cannot be refreshed, BearQ displays an error on the Sources page. Go to the Agents page and re-authorize the agent to restore the connection.
Log in to BearQ.
Click Sources.
Click Connect a Source.
Select Zephyr.
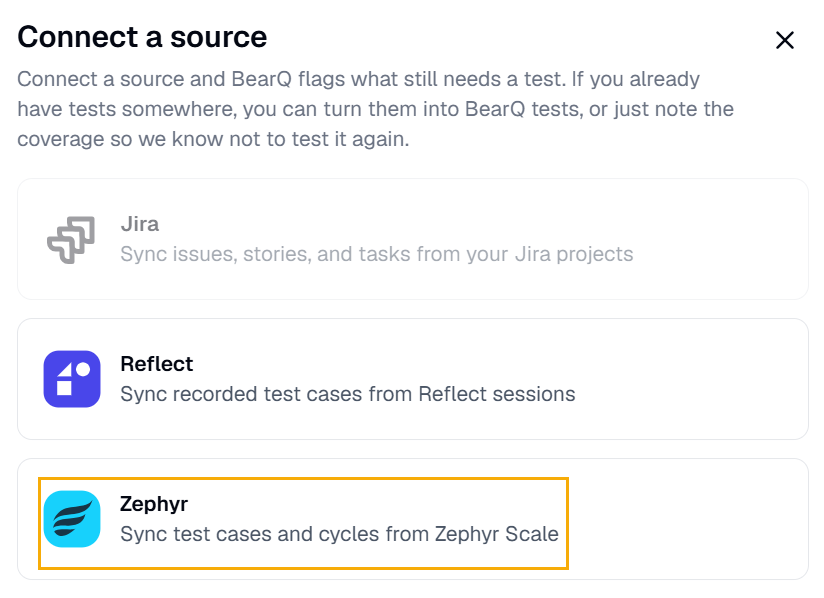
Click Connect another agent via Zephyr MCP.
Enter the server name, URL, and Authorization type. Click Connect and Continue.
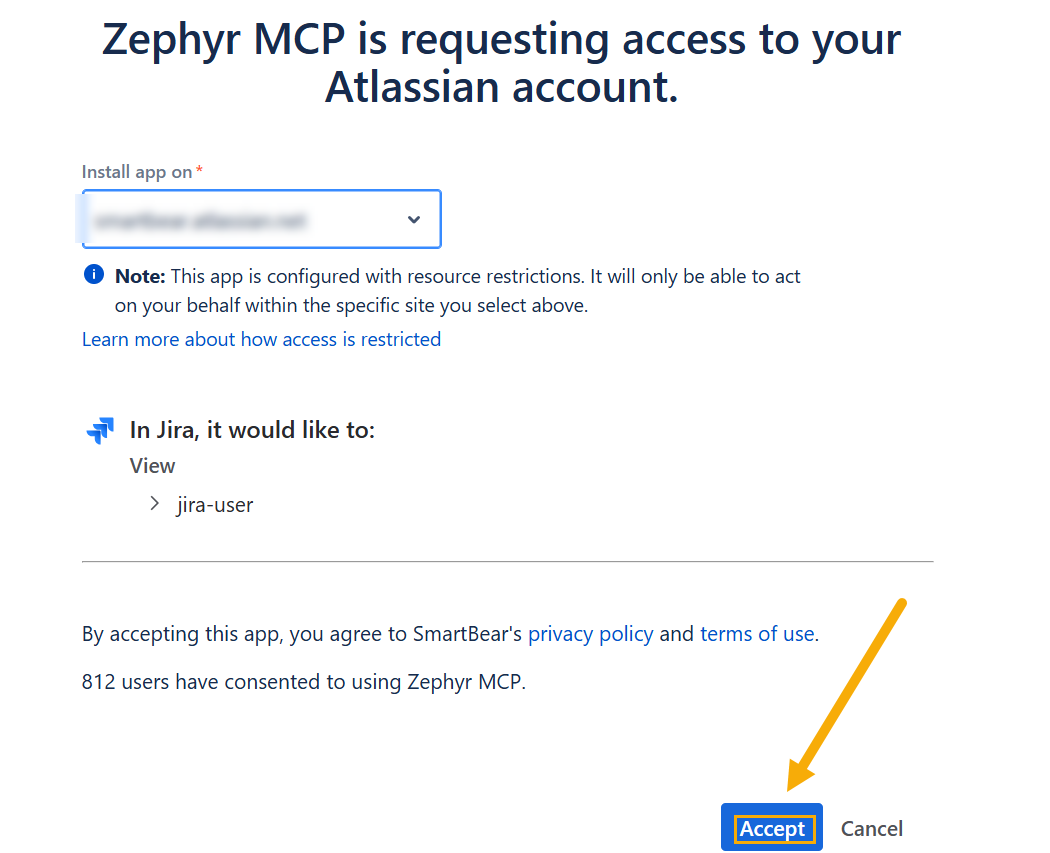
Log in to your Atlassian account.
Select the Jira Workspace. Click Accept.
Configure the agent if you want to. Click Save configuration.
Select the project you want to connect. Click Connect source.
Result: Your Zephyr Source is connected now.
Editing Zephyr Source
To edit a connected Zephyr source, do the following:
On the sources page, find the Zephyr source you want to edit.
Click Edit.
You can make relevant changes here, such as changing the project, etc.
Click Save changes.
BearQ syncs the source automatically after you save your changes.