To work with defects, go to Defects > Show Defects.
Create a defect
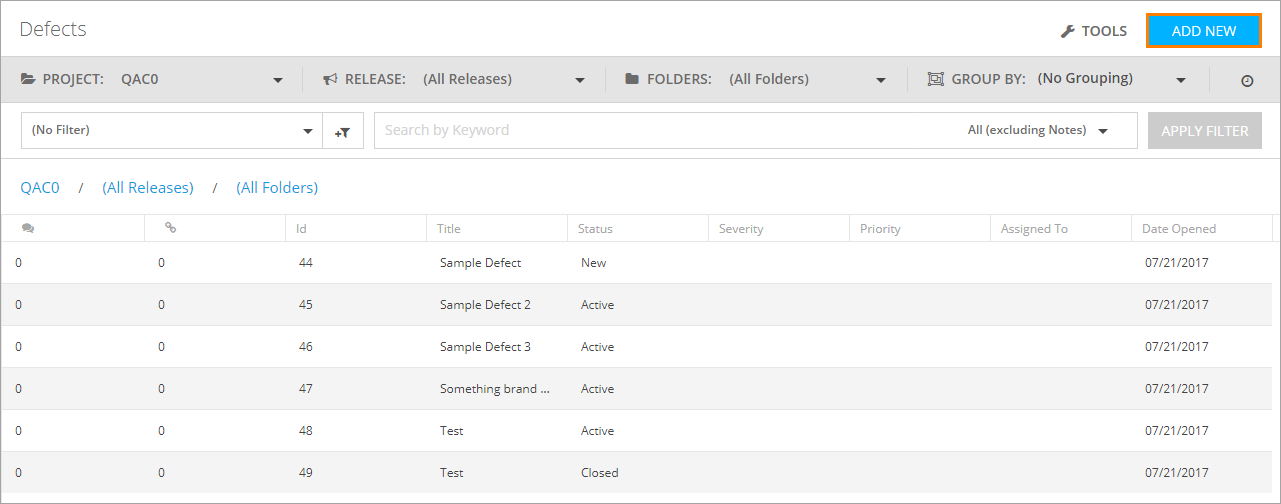
To create a defect, click Add New on the Defects screen:
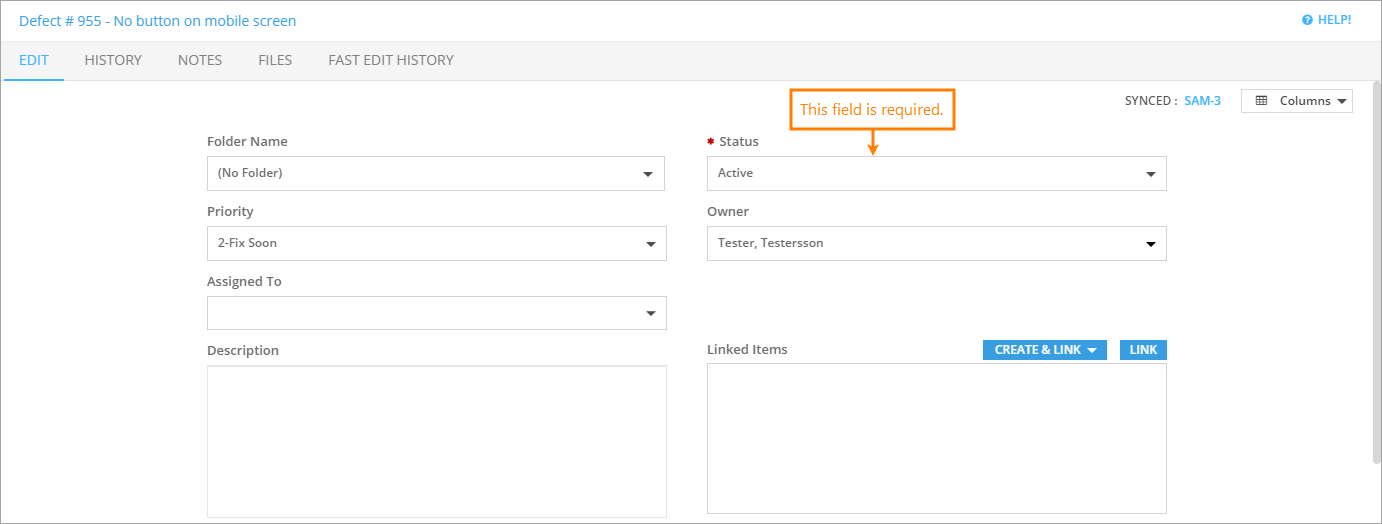
On the subsequent Create Defect form, describe a new defect on the Edit tab. To quickly describe the defect using data from the recently created defect, use auto-fill – select a recent entry in the Auto-fill From Recent drop-down list.
| Tip: | The required fields are marked with a red asterisk (*). |
To learn more about each field, see Defects Reference.
Use other tabs to provide users who will work on this defect with some additional information (see below).
Once your defect is ready, click Save and Close to apply the changes you have made.
A new defect will appear on the Defects screen.
Create defects from tests
To learn how to create defects while running tests in the Test Runner, see Create Defects From Tests.
Edit a defect
Click the Edit button next to the row of the needed defect to change the defect properties:
Click Edit to open the Edit Defect form.
On this form, apply the changes you need to the defect: for example, edit the fields describing the defect, attach new error logs, make some comments, and so on. See below for more information.
-
To apply the changes you have made and return back to the Defects screen, click Save and Close.
-
To apply the changes you have made and stay in the Edit Defect form, click Save.
-
To revert the changes and return back to the Defects screen, click Cancel.
Delete a defect
To delete a defect, click Delete on the Edit form, then confirm this action in the subsequent dialog.
Miscellaneous actions
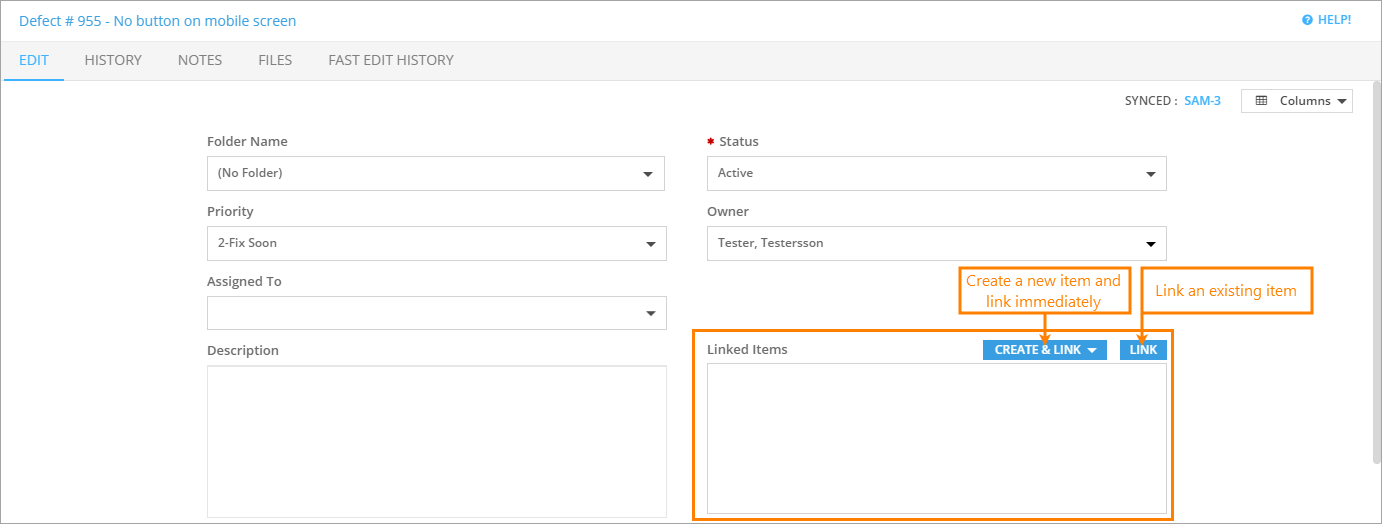
To link items
Use the Linked Items panel of the Create or Edit form:
To add comments
To attach files
Switch to the Files tab and do one of the following:
-
Drop the file you need to the panel.
-
Click Choose File and upload a file from your device.
-
Click Add / Link Files and upload the attachment in the subsequent dialog.
| Tip: | Use commands in the Action column to download, open, or delete attachments. |
To view the history of changes
Switch to the History tab of the Edit form, or switch to the Fast Edit History tab to see changes made to the item as part of a bulk.
To learn more about history of changes, see the corresponding topic.
To review and print an item
-
On the item list screen, click the Printer Friendly button on the row of the needed item.
—OR—
-
Click Printer Friendly at the top of the Edit form.
On the review form, QAComplete generates a QR code. Use it to quickly access this item from another device:


Switch to the Notes tab and click Add New: