
The Client Installer includes the following components:
- GUI Client
- Command-Line Client
- Tray Notifier
- External Diff Viewer Launcher
- Perforce P4V/P4Win plug-ins
- Version Control System triggers
The client installer is cross-platform and can be run in an interactive GUI mode or silently from the command-line.
Getting the Installer
Go to our website to get the latest installer for your platform:
https://support.smartbear.com/downloads/collaborator/
Installers are provided for Windows, Linux/Solaris and Mac OS. We also supply the raw files without a managing installer in the form of a compressed tar archive.
Requirements:
-
Java 8, 9, or 11. (OpenJDK is recommended, Oracle JRE/JDK might work as well.) See Java Compatibility Matrix for more details.
Notes:
-
If you have previously installed the client with the 32-bit installer and now want to run the 64-bit installer, you must first uninstall the 32-bit client. This will not remove any existing configuration data, like preferences, SCM configurations, default browsers and so on.
-
In order to enable integration with ClearCase Remote Client, you should launch client installer with administrator permissions on Windows. Otherwise, you can launch the installer as a regular user.
Graphical Installation
This is the recommended way to install the client software because you get a chance to see all the configuration options and allow the installer to validate your configuration.
On *nix platforms, you should grant execute permissions to the installer script and then launch it in shell:
sh ccollab_client_15_0_15000_unix.sh
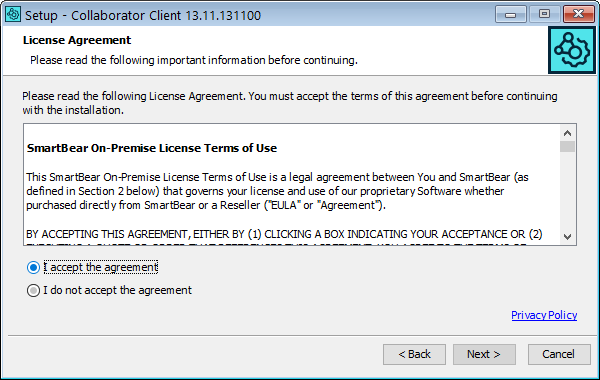
After the welcome screen, you are prompted with the EULA (End User License Agreement):
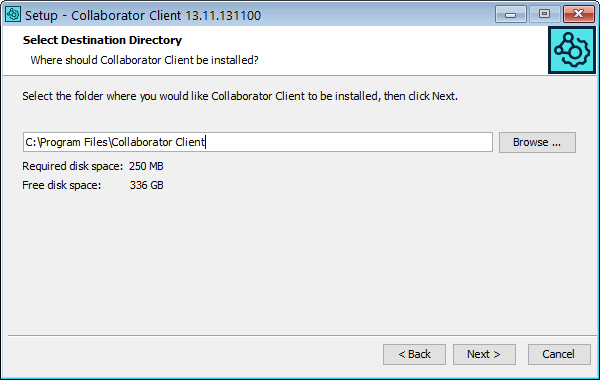
The next screen lets you select where to lay down the files for the installation:
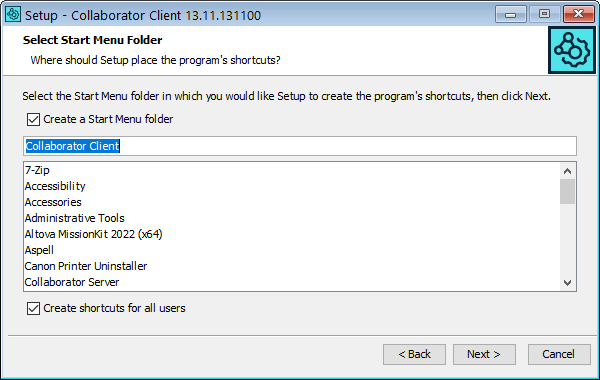
The next screen lets you configure how and if your Start Menu (Windows only) is modified. This does not affect the behavior of the command-line client itself:
Next, you configure your connection to the Collaborator server:
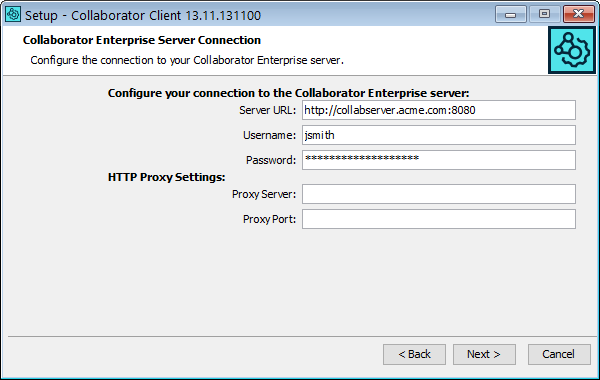
When you configure the URL, be sure to remember to specify the protocol (for example, http:// or https://) and port number, and path. Leaving out one of those things is the most common mistake.
Your username and password or login ticket must already exist on the server. Log into the server first from a web browser to test your account information.
When single sign-on authentication is disabled, specify password. When single sign-on authentication is enabled, specify login ticket instead.
If you use a proxy, supply your proxy information as well.
If the connection to the server cannot be established, you will get an error dialog and an explanation of the problem:
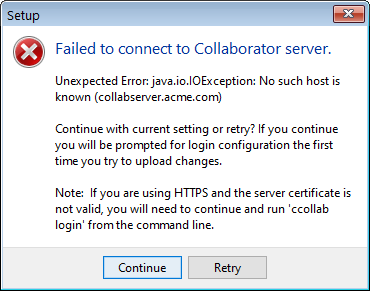
If you select Retry, you can supply different configuration information and try again. Otherwise, if you select Continue, the installation will continue but you will still need to set up your configuration.
After this step, you will be prompted for additional tasks.
On Windows you will have the option to configure the Collaborator Tray Notifier to run on Startup. On all platforms, there will be options to configure the integrations with ClearCase Remote Client and Perforce Visual Tools.
In order to enable integration with ClearCase Remote Client, you should launch client installer with administrator permissions on Windows. You need to specify the location of the Rational CM API jar files on your system. See details in Support for ClearCase Remote Client.
The Configure Addons To Perforce Visual Tools option is shown only if Perforce Visual Tools is installed. If this option is selected, the installer will attempt to configure the P4V and P4Win integrations for the current user. Other users will still need to configure the integrations manually.

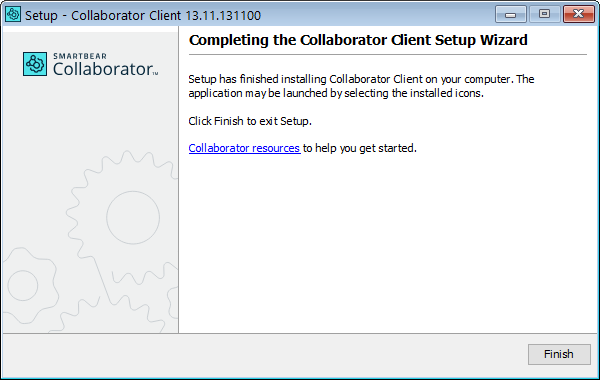
Once you click Next, the installer will complete:
Unattended Installation
To run the installer without a GUI, run it from the command-line using the -q switch. In this case, you can also use the -dir [directory] switch to specify the target install directory. The -q switch gives you a silent install and will not prompt you for any installation instructions.
This installation technique can also be used to install clients remotely on many workstations.
If you would like to be prompted for installation instructions without using the graphical installer, you can run the installer from the console using the -c command. Please note that in this case you should answer to prompt messages in console input, that follows the prompt message (that is, not in the prompt message itself).
C:\install>This will install Collaborator Client on your computer.
OK [o, Enter], Cancel [c]
C:\install>o
 |
When run in unattended mode, the installer cannot verify the client's connection with the Collaborator server. You might have to manually configure the connection with the server. |
Installing on a system with multiple JRE installations
See Known Issues with the Collaborator for instructions on selecting a specific JRE to be used by Collaborator.
