Transaction monitors simulate a user’s path through a website, such as buying something, logging in, or searching a website. You create transactions by recording actions in Firefox or Chrome using AlertSite script recorder, DéjàClick. DéjàClick is a free browser extension that automatically records and plays back user action, with no programming needed.
In this tutorial, we will use the Firefox browser to create a transaction monitor for Amazon.com. The monitor will search Amazon for Star Wars and verify that the search results contain the film Star Wars: A New Hope.
Important Firefox notice
Mozilla has recently removed access to legacy Firefox extensions, which prevents DéjàClick from being added to older versions of Firefox (such as version 52). Until a Firefox Quantum-compatible DéjàClick extension is available, please choose any of the following options:
-
Use our Chrome extension. For instructions, see here. Note that monitors recorded in Chrome can be uploaded as either Chrome or Firefox monitors.
-
Download special version of Firefox 38 with DéjàClick pre-installed. Get it here:
 https://cdn.alertsite.com/dejaclick/firefox/Smartbear_firefox-38.4.0.en-US.win32.installer.exe
Note that this version is only compatible with Windows OS.
-
For users who must have a version greater than 38, the version of Firefox that allows installation of unverified extensions is version 44. Once that version is installed, you can install DéjàClick directly using this file:
 https://cdn.alertsite.com/dejaclick/xpi/dejaclick.xpi
For more information on manually installing extensions on older Firefox versions, see this link:
1. Verify that DéjàClick is installed
If you have DéjàClick installed, you should see the DéjàClick toolbar in Firefox:

If you do not see this toolbar, use one of the installation methods mentioned above.
2. Record a transaction
-
To start recording, click
 Record on the DéjàClick toolbar.
-
If you see a message about simulating a new visitor, click Enable.
-
Open the starting page of the transaction and do what a typical user would do – click the links, fill in forms, and so on.
In this tutorial, we will search for Star Wars on Amazon:
-
Navigate to amazon.com.
-
Enter star wars into Amazon’s search box and press ENTER.
-
3. Create a keyword validation
To make sure your web pages contain correct content, you can add keyword validations to your transaction. For example, if you log into an application as TestUser, you expect Hello TestUser appear on the page, and if it is not there, the application is not working properly.
Let’s create a keyword validation:
-
Click
 on the DéjàClick toolbar:
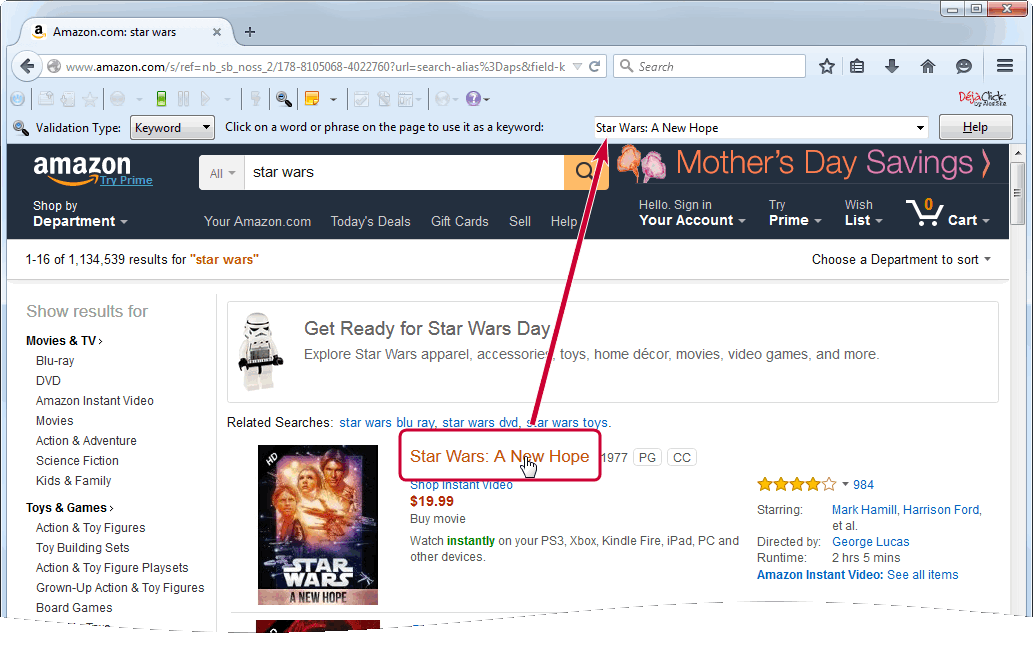
DéjàClick switches into the keyword selection mode. As you move the mouse pointer over the page, DéjàClick automatically suggests the text under the pointer as a keyword.
-
Click the text "Star Wars: A New Hope" to create a keyword validation for it.
-
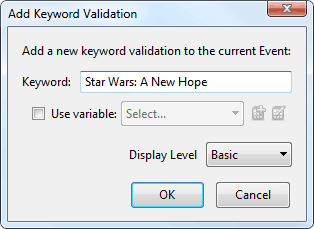
In the subsequent dialog, review the keyword and click OK.
-
You can repeat steps 2-3 to add validations for other phrases on the page.
-
To exit the keyword selection mode, click
 on the DéjàClick toolbar again.
The transaction is now configured to raise an error if the text does not appear on the page.
4. Finish recording
Click Stop recording on the DéjàClick toolbar. You will see a message with the number of recorded events.
For now, the transaction is temporarily stored on your computer. We need to upload it to AlertSite so that the transaction will run from the global monitoring locations. We will do this later in this tutorial.
5. View the recorded transaction
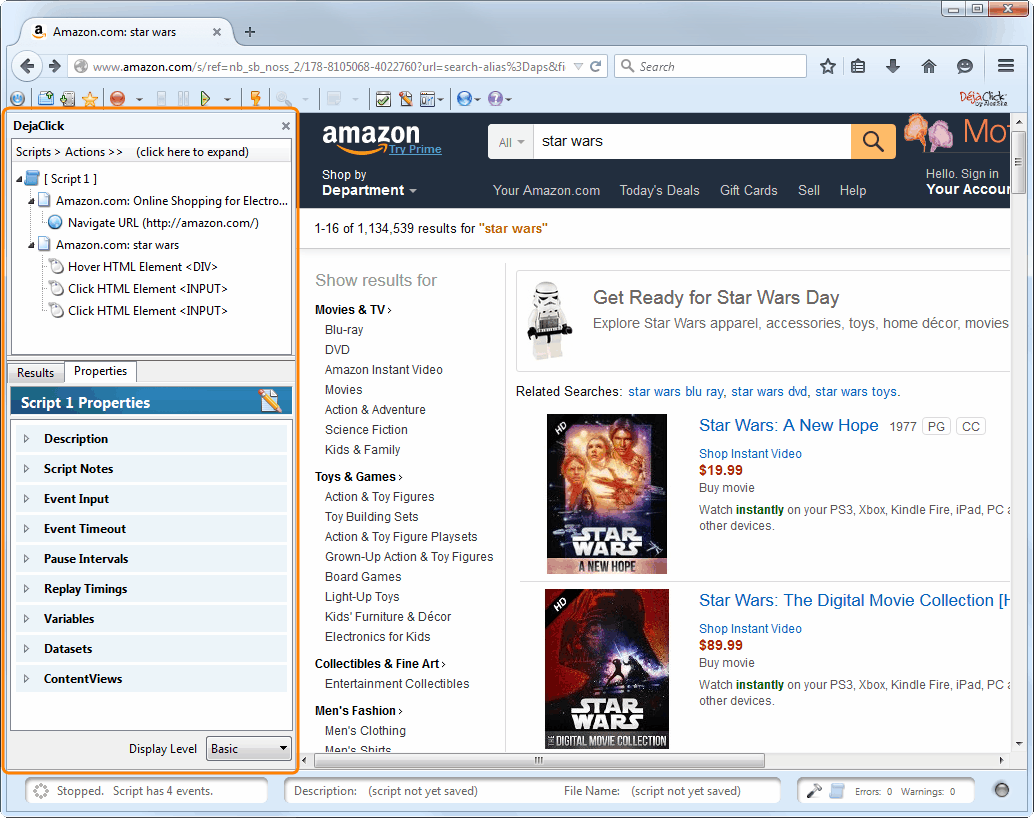
All recorded user actions appear in the DéjàClick sidebar on the left side of the Firefox window. If you do not see the sidebar, click the ![]() Open Sidebar button on the DéjàClick toolbar.
Open Sidebar button on the DéjàClick toolbar.
On the Properties tab, you can review the event properties and playback parameters.
6. Replay transaction on the desktop
Before uploading the recorded transaction to AlertSite, you need to replay it locally to make sure it works correctly.
-
(Optional.) If you want to measure page rendering time during monitoring, click
 Configure Options on the DéjàClick toolbar and select Quick Settings > Replay for User Experience.
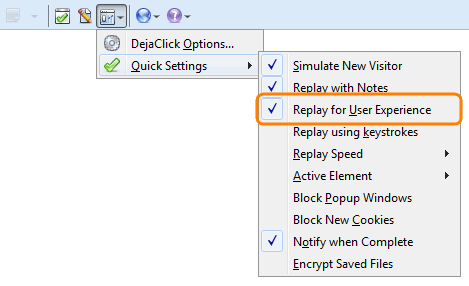
Note: With this option the replay may take longer because DéjàClick measures render times after loading web pages. -
Click
 Replay.
 -
If you see a message about screen size adjustment, click Yes.
DéjàClick will now repeat the recorded actions in the browser.
-
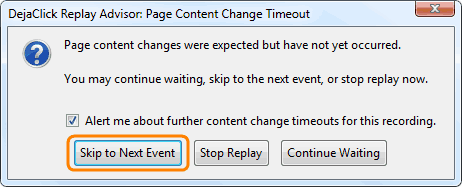
If you see a message about page content timeout, click Skip to Next Event, and DéjàClick will automatically adjust the timeout.
-
When the replay is complete, the results appear on the Results tab on the DéjàClick sidebar.
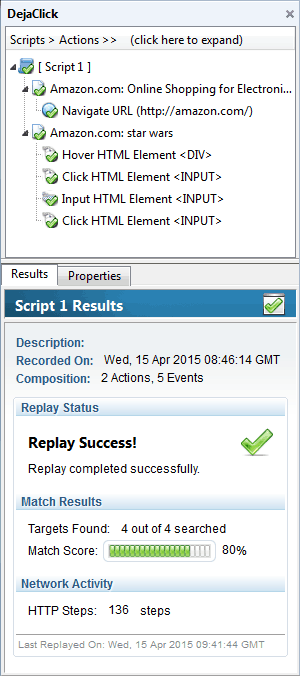
If there was an error, try re-recording the transaction or try adjusting playback parameters on the Properties tab. For troubleshooting tips, see DéjàClick Troubleshooting Guide.
7. Upload transaction to AlertSite
After the replay completes successfully, you can upload the transaction to AlertSite.
-
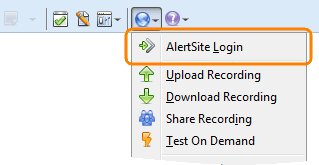
On the DéjàClick toolbar, click the
 Remote Services button and select AlertSite Login.
-
Enter your AlertSite login and password and click OK.
-
Click
 again and select Upload Recording.
 -
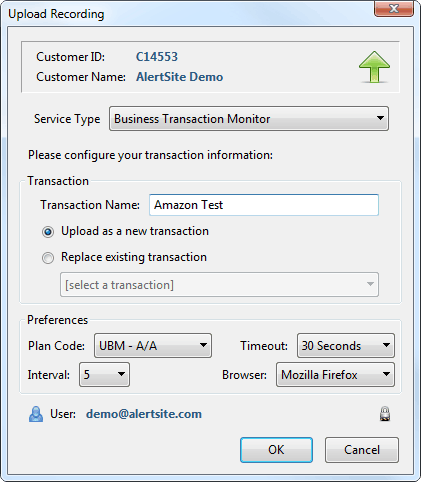
In the Upload Recording dialog that appears, specify the Transaction Name and other parameters:
-
Service Type – Leave as Business Transaction Monitor.
-
Select Upload as a new transaction.
-
Plan Code – If you have multiple monitoring plans, select the plan to use for this transaction.
-
Interval – How often the monitor will run the transaction. Default is 5 minutes.
-
Timeout – The timeout for each HTTP request in the transaction.
-
Browser – The browser that AlertSite will use to run the transaction: Firefox or Chrome. You may want to use a specific browser if your website is designed or optimized for that browser.
Note: To measure page rendering time, select Firefox. -
Click OK.
-
-
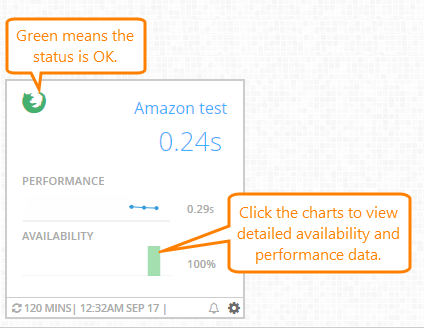
You will be redirected to AlertSite Monitor Summary dashboard.
-
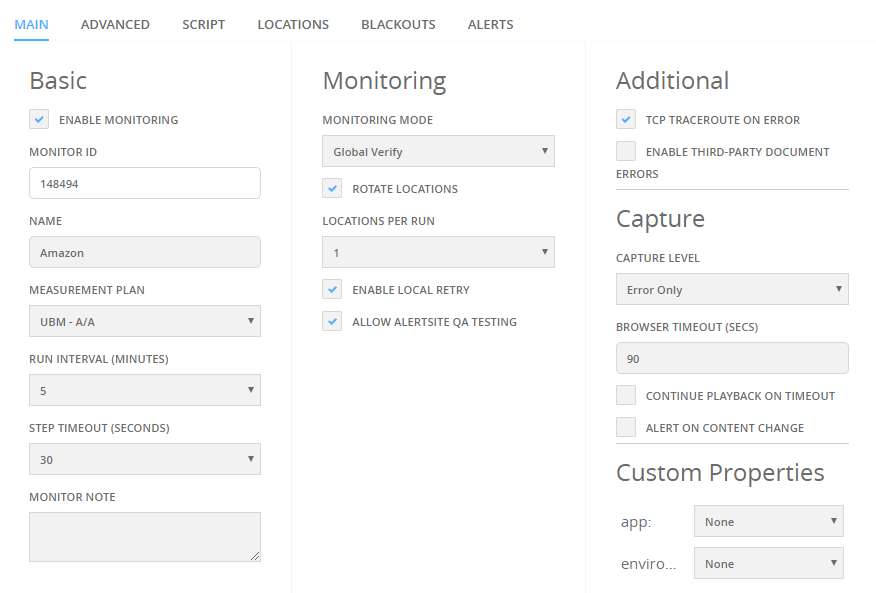
To review or change other monitoring settings, click Edit Monitor and proceed from there. For a description of available settings, see Real-Browser Monitor (DéjàClick) Settings.
-
The monitor will start collecting data shortly. You can see the run results on AlertSite dashboards.
What’s next
 Selecting Locations for Monitoring
 DéjàClick User Guide – learn how to fine-tune your transactions


