This tutorial describes how to start working with DéjàClick for Google Chrome.
Get the AlertSite DéjàClick for Chrome extension
| Tip: | If you do not have Google Chrome installed, you can download it from here. Click Download, accept the Terms of Service, and follow the Chrome installation instructions. |
To install the AlertSite DéjàClick extension:
-
Go to the AlertSite DéjàClick Chrome Webstore page.
-
Click Add to Chrome > Add .
Once the DéjàClick extension is installed, you will see the DéjàClick icon. You do not need to restart the browser for the changes to apply.
The DéjàClick Simulate New User feature lets you record a transaction without using cookies, saved passwords, and other information that might affect a web page behavior. To use this feature, you need to enable the incognito mode for the DéjàClick extension. To do this:
DéjàClick 2.0
-
Open the AlertSite DéjàClick browser extension page in either way:
-
In Chrome, select > More Tools > Extensions.
-
Enter chrome://extensions/ in the Chrome address bar.
-
-
Click Details on the AlertSite DéjàClick tile.
-
Enable the Allow in incognito option.
DéjàClick 1.x
-
Open the AlertSite DéjàClick browser extension page in either way:
-
In Chrome, select > More Tools > Extensions.
-
Enter chrome://extensions/ in the Chrome address bar.
-
-
Click Details on the DéjàClick for Chrome tile.
-
Enable the Allow in incognito option.
Tutorial
In this tutorial, we will record a quick 2-step transaction using Yahoo as an example. You will need to enable the incognito mode in Chrome as described above.
1. Record your first transaction
DéjàClick 2.0
-
Start Chrome and click the
 DéjàClick icon on the toolbar to start the extension.
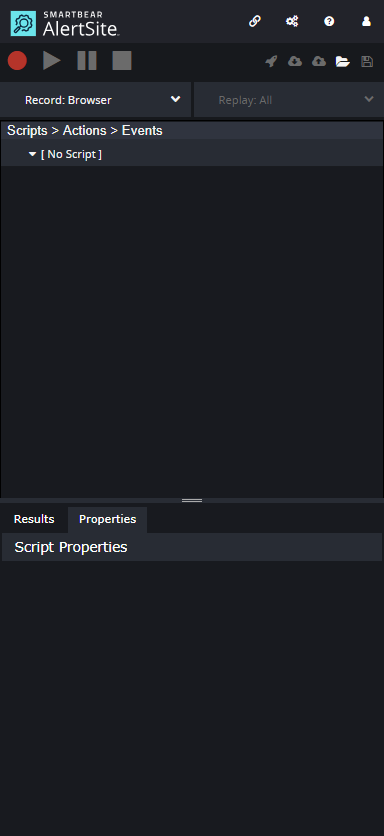
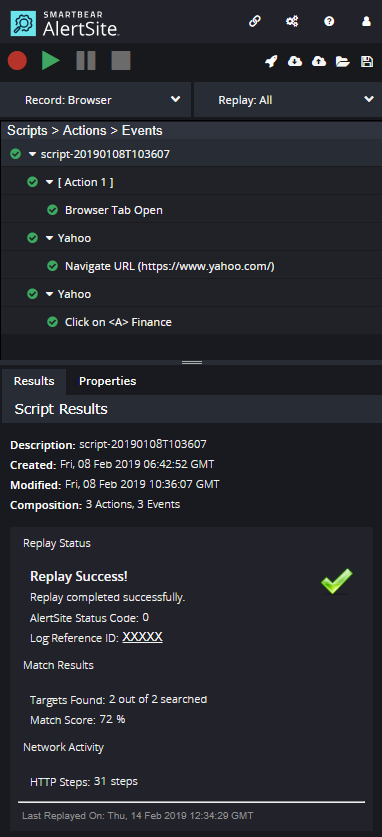
The top half of the extension window is the tree view. You will see your recorded steps appear here. The lower half will display results of the interaction with the web page and the properties of each item.
-
In Chrome, press Ctrl + Shift + N to open a new tab in the incognito mode. This assures that the recording acts as a new visitor to your website.
-
Click
 on the DéjàClick toolbar.
-
Enter www.yahoo.com in the address bar and press Enter.
You will see your user event recorded in the tree view of the DéjàClick extension.
DéjàClick 1.x
-
Start Chrome and click the
 DéjàClick icon on the toolbar to start the extension.
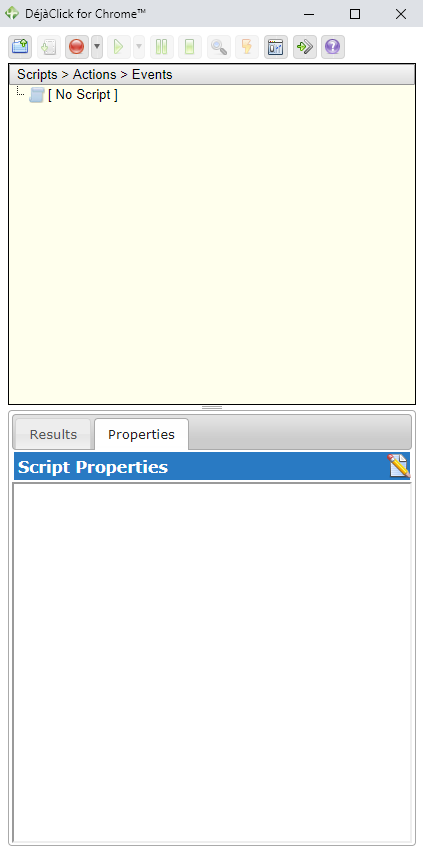
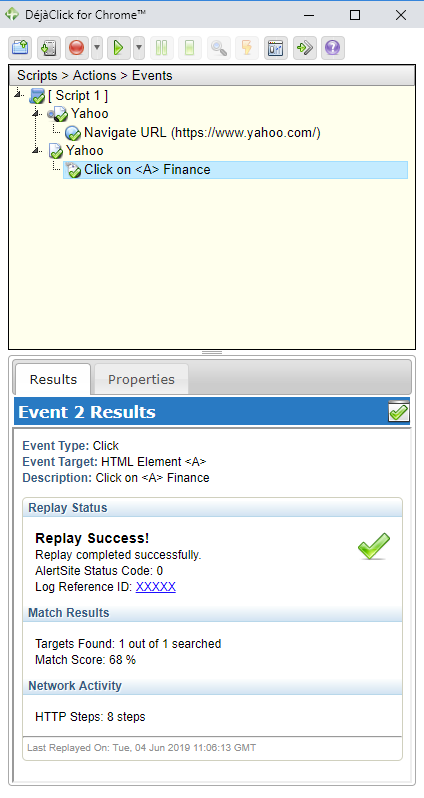
The top half of the extension window is the tree view. You will see your recorded steps appear here. The lower half will display results of the interaction with the web page and the properties of each item.
-
In Chrome, press Ctrl + Shift + N to open a new tab in the incognito mode. This assures that the recording acts as a new visitor to your website.
-
Click
 on the DéjàClick toolbar.
-
Enter www.yahoo.com in the address bar and press Enter.
You will see your user event recorded in the tree view of the DéjàClick extension.
2. Add keyword validation
While DéjàClick does a great job of understanding if there is a web application error, using the keyword validation feature ensures the application is responding correctly and things are really working. For example, if you are the content manager for the Yahoo home page, you might want to make sure a repeatable piece of content always appears on the page.
To add keyword validation:
DéjàClick 2.0
-
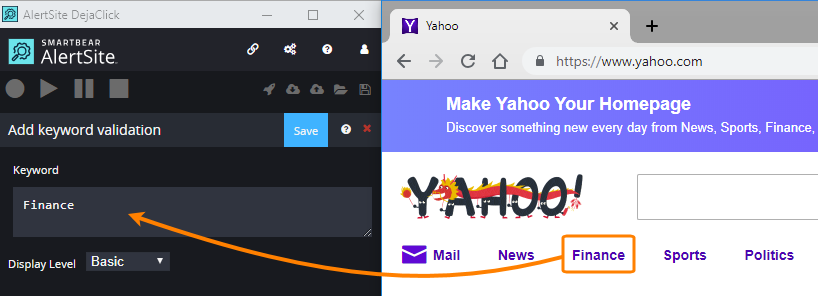
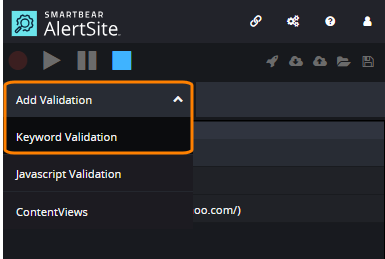
Click Add Validation on the DéjàClick toolbar and select Keyword Validation.
-
Point the mouse cursor on the Finance word at the top of the page and click it. The word will appear in the Keyword box.
-
Click Save to add the keyword validation.
-
After you have added the keyword validation, just perform the next user interaction – click the Finance link to go to the Finance page. DéjàClick will add the step to the web transaction recording making it appear in the tree view.
DéjàClick 1.x
-
Click
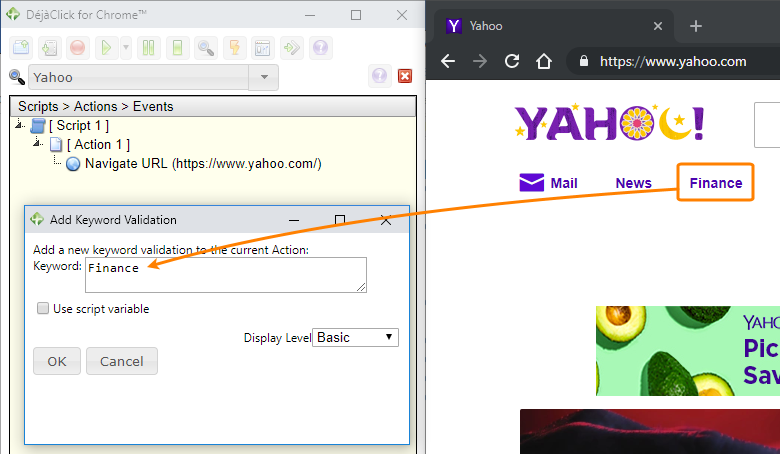
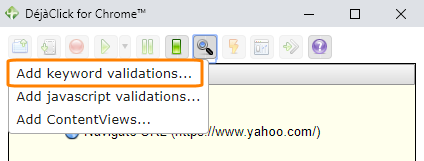
 > Add keyword validations on the DéjàClick toolbar.
-
Point the mouse cursor on the Finance word at the top of the page and click it. The word will appear in the Add Keyword Validation dialog.
-
Click OK in the Add Keyword Validation dialog.
-
Click
 on the toolbar to exit the keyword validation mode.
 -
Click the Finance link to go to the Finance page. DéjàClick will add the step to the web transaction recording making it appear in the tree view.
3. Complete your script
DéjàClick 2.0
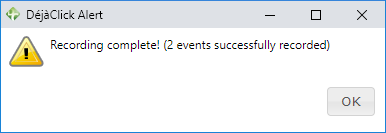
To end the recording, click ![]() Stop Record/Replay. You will see a message with information about your script. Click OK.
Stop Record/Replay. You will see a message with information about your script. Click OK.

DéjàClick 1.x
To end the recording, click ![]() Stop Record/Replay. You will see a message with information about your script. Click OK.
Stop Record/Replay. You will see a message with information about your script. Click OK.
4. Delete extra actions
Supported in DéjàClick Chrome v. 1.4.2.0 and later.
DéjàClick 2.0
If the script includes extra hover and click steps not essential for the transaction flow, you can delete them. To do this, select an action or event in the DéjàClick sidebar and press Delete or Backspace, or click next to the needed action or event and select Delete.
DéjàClick 1.x
If the script includes extra hover and click steps not essential for the transaction flow, you can delete them. To do this, select an action or event in the DéjàClick sidebar and press Delete or Backspace, or right-click the needed action or event and select Delete.
5. Playback from your desktop
DéjàClick 2.0
Now that your script is complete, click ![]() Begin Replay to replay the script from your desktop. The DéjàClick extension performs all of your user interactions across the web page and records the results.
Begin Replay to replay the script from your desktop. The DéjàClick extension performs all of your user interactions across the web page and records the results.
| Tip: | You may want DéjàClick to run the script as if it was a completely new user. To do that, simply press Ctrl+Shift+N to open a fresh Incognito tab in Chrome, then click |
DéjàClick 1.x
Now that your script is complete, click ![]() Begin Replay to replay the script from your desktop. The DéjàClick extension performs all of your user interactions across the web page and records the results.
Begin Replay to replay the script from your desktop. The DéjàClick extension performs all of your user interactions across the web page and records the results.
| Tip: | You may want DéjàClick to run the script as if it was a completely new user. To do that, simply press Ctrl+Shift+N to open a fresh Incognito tab in Chrome, then click |
You have just completed your first script!
After the replay, you can review your script results. To do that, select an item you are interested in in the tree view at the top of the DéjàClick extension. The Results panel down at the bottom will show playback results. The Properties tab displays details about each event or action.
6. Save your script
DéjàClick 2.0
To save the script to your desktop, click on the DéjàClick toolbar. Chrome will download your script as an XML file. To view it, click the Downloads link. The browser may request you to confirm the download.
DéjàClick 1.x
To save the script to your desktop, click ![]() on the DéjàClick toolbar. Chrome will download your script as an XML file. To view it, click the Downloads link. The browser may request you to confirm the download.
on the DéjàClick toolbar. Chrome will download your script as an XML file. To view it, click the Downloads link. The browser may request you to confirm the download.
Now that the script is saved, you can select it and replay it at any time.
7. Test on demand
You can replay your script on any of the AlertSite world wide locations by using the Test on Demand feature. Test on Demand allows you to instantly verify your script on any of AlertSite monitoring stations.
DéjàClick 2.0
-
Click > Sign In to log in to your AlertSite console.
-
Click Begin Test on Demand on the DéjàClick toolbar.
-
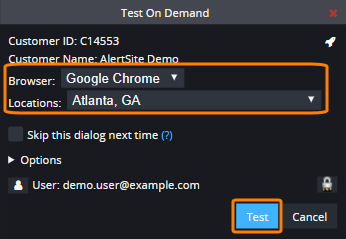
Select your browser and location and click Test.
DéjàClick 1.x
-
Click
 to log in to your AlertSite console.
 -
Click
 Begin Test on Demand on the DéjàClick toolbar.
 -
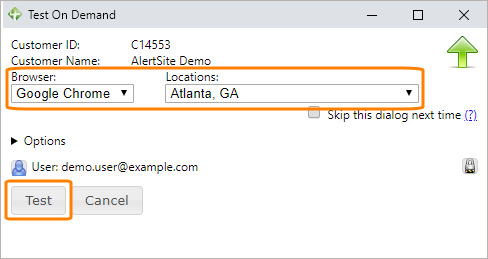
Select your browser and location and click Test.
Test on Demand will run your script, showing you a screenshot of each action.
When complete, Test on Demand shows you the script status. You can review each screenshot by clicking on the thumbnail. You can also view the detail or capture report.
8. Upload your script for monitoring
You can store your scripts on the AlertSite monitoring locations using your AlertSite account.
DéjàClick 2.0
-
If you are not logged in to AlertSite, click > Sign In on the DéjàClick toolbar to log in to your AlertSite console.
-
Click on the DéjàClick toolbar.
-
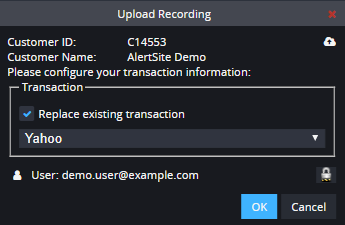
Configure the transaction monitor details:
-
Transaction Name – The monitor name.
-
Interval – How often monitor checks your website.
-
Timeout – How long the monitor waits before reporting a timeout error.
-
Browser – The browser that AlertSite will use to access your transaction.
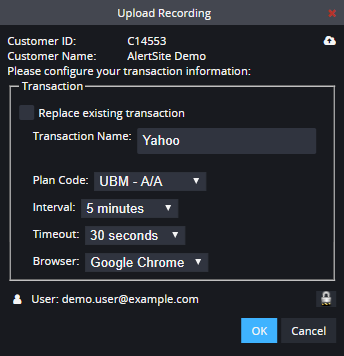
Alternatively, you can use an existing transaction. To do this, select the Replace existing transaction check box, and then select the transaction to be replaced.
-
-
Click OK.
DéjàClick 1.x
-
If you are not logged in to AlertSite, click
 on the DéjàClick toolbar to log in to your AlertSite console.
 -
Click
 > Upload Recording on the DéjàClick toolbar.
 -
Configure the transaction monitor details:
-
Transaction Name – The monitor name.
-
Interval – How often monitor checks your website.
-
Timeout – How long the monitor waits before reporting a timeout error.
-
Browser – The browser that AlertSite will use to access your transaction.
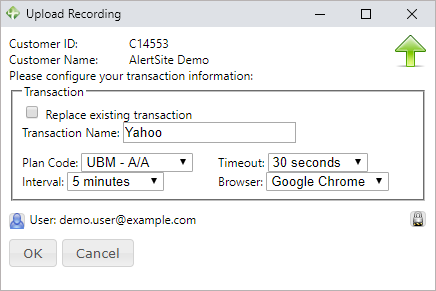
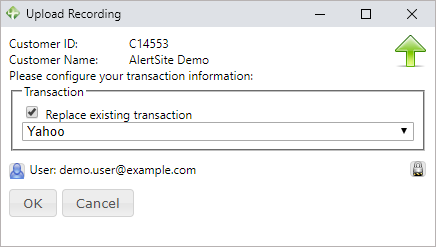
Alternatively, you can use an existing transaction. To do this, select the Replace existing transaction check box, and then select the transaction to be replaced.
-
-
Click OK.
More actions with transactions
Download a transaction from AlertSite
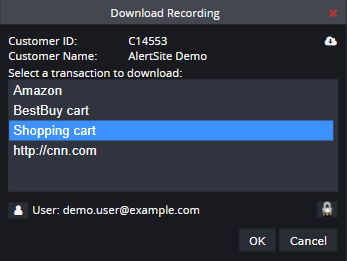
To import a previously recorded transaction from AlertSite:
DéjàClick 2.0
-
Log into your AlertSite account. To do this, click > Sign In.
-
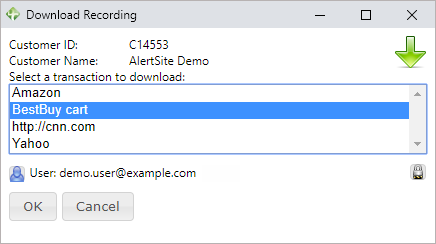
Click , select a transaction to be downloaded, and click OK.
DéjàClick 1.x
-
Log into your AlertSite account. To do this, click
 .
. -
Click
 > Download Recording, select a transaction to be downloaded, and click OK.
Open a recorded script
DéjàClick 2.0
To open a recorded script, click on the toolbar and browse for the script file.
DéjàClick 1.x
To open a recorded script, click ![]() on the toolbar and browse for the script file.
on the toolbar and browse for the script file.
Save a recording as a script
DéjàClick 2.0
To save a DéjàClick transaction, click on the toolbar, enter the transaction name, and specify the directory to save it to.
DéjàClick 1.x
To save a DéjàClick transaction, click ![]() on the toolbar, enter the transaction name, and specify the directory to save it to.
on the toolbar, enter the transaction name, and specify the directory to save it to.


