
To load test your web service, you first create an API test that would simulate behavior of one client and then create a load scenario to run this API test (possibly, in a combination with other API or UI tests) using multiple virtual users.
1. Create an API test
-
On the Tests tab of the project screen, click Create Test and select API test from the menu. Alternatively, you can click Create Test > API Test on the toolbar:

Click the image to enlarge it.
This will invoke the API test editor.
-
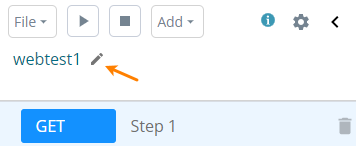
In the editor, click next to the test name and enter a new name. Press Enter to confirm the change:
-
Now, we can create test steps. Each test step is a request to the tested web service. Enter the step name, select the HTTP method for the request, specify the request URL, parameters (if needed), and other settings:

Click the image to enlarge it.
Click Send to check if the request works and if the tested service responds to it.
If the response has data to be used in a subsequent request, you can extract this value to a variable. See how it works.
If needed, you can also create one or multiple validations to check the response data and response time.
-
Add more requests to your test. Often, a test corresponds to some user procedure, so you may want to add all requests of that procedure.
-
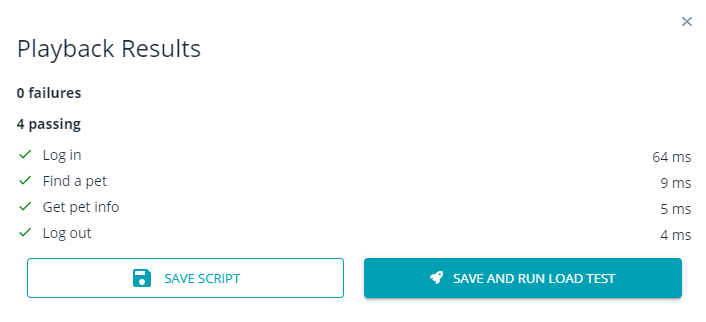
When you are done, run the test to check if it works as expected:

LoadNinja will report errors, if any (see below on how LoadNinja detects if a test failed or not).
-
If the API test has been completed successfully, save it and start working on the load scenario.
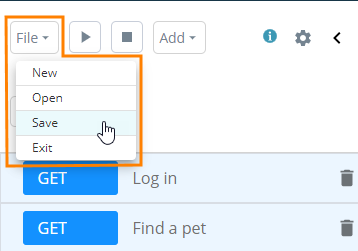
To save the test, select File > Save from the menu at the top left corner of the editor or click one of the Save buttons in the message that LoadNinja displays at the end of the test run:
2. Create a load scenario
-
In LoadNinja, you can create a new load scenario in different ways. See Scenarios for details.
One of the easiest ways is to click Save and Run Load Test in the message box that the API test editor shows at the end of the test run (see above).
-
In the scenario editor:
-
If your API test is not yet in the scenario for some reason, click Add Tests and add your API test to the scenario:

Click the image to enlarge it.
You can add multiple API tests to your load scenario.
 Currently, it is not allowed to mix API and UI tests in one scenario. If you already have UI tests in your scenario, you need to remove them all in order for you to be able to add API tests to that scenario.
 -
Then, specify the virtual user number, select the server location, log configuration, and playback parameters. See Scenarios for details.
If you created load scenarios with UI tests, you will find the process very similar.
-
3. Run the test
After you finished configuring the load scenario, click Save and Run at the top right corner of the scenario editor:
Click the image to enlarge it.
Initially, on the test start, you will see the timer. While this timer is on the screen, LoadNinja is allocating the cloud machines needed for simulating requests and preparing virtual users.
After these preparatory steps, you will be able to monitor the progress of your load test in real time.

Click the image to enlarge it.
After the test run is over, you can analyze the results. For more information on this and on the charts and tables available, see Test Results.
Success criteria
To mark the test failed or successful, the test engine checks if every simulated request is completed successfully or not. If at least one request fails, the entire test is considered to be failed. If all requests are completed successfully, then the test run is considered to be successful.
To determine if a request failed or passed, the test engine checks the response status and validations defined for that request:
-
All status codes in the range 300…400…599 are considered as errors. All other response codes, for instance,
200, are treated as success.There are few exceptions though. The following codes –
301,302,303,306401,403
– can be treated as errors or success depending on the settings of your test.
-
If any validation fails, then the request is considered as failed regardless of the response code.
In other words, in order for a request to pass successfully, its response code should indicate success, and all assigned validations should pass.