About
You use variables in API tests to parameterize test steps and to transfer data from previous responses to subsequent requests:
-
A typical example is when a request obtains some ID (like session or order ID) at the beginning of the test, and then subsequent requests of the test use this ID in their URL, headers or body. To implement this scenario, you extract the ID from the server response, save it to a variable, and then insert this variable into the URL, header or body of subsequent requests. The test engine automatically extracts data to these variables during the test run.
-
Another possible use case is to create a variable storing some value and use this value in requests. For example, you can create a variable storing a host name and make test requests use this variable in their URLs. When the tested web service moves to a new server, you can update the variable value with the new URL and continue running tests. You don’t need to correct all requests of your test.
Create a variable
Option 1 - Extract data from a response
 Currently, you can extract data to variables from responses that use JSON data.
Also, you can extract data from response bodies only.
-
In the API test editor, run the entire test or run the request whose response you need:
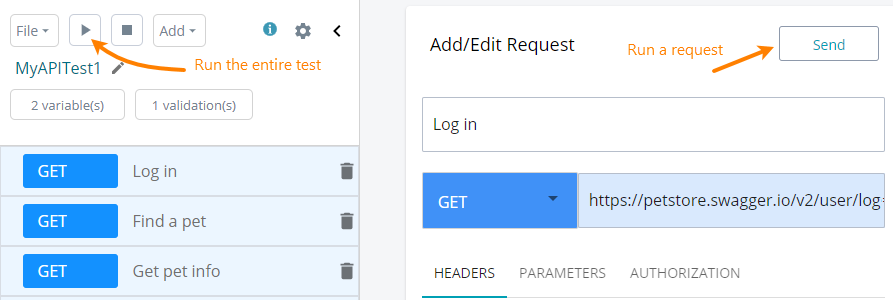
You need to do this to have a response to extract data from.
-
If you ran the entire test, then select the request, whose response you need, in the editor.
-
Switch to the Response > Body tab. Click the needed value and select Add Variable from the context menu:

-
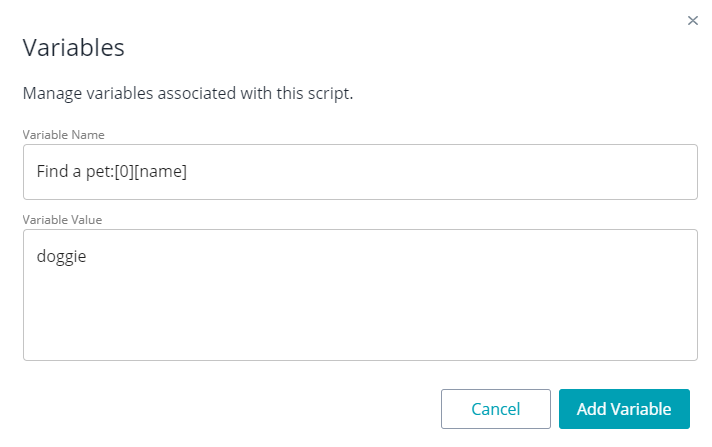
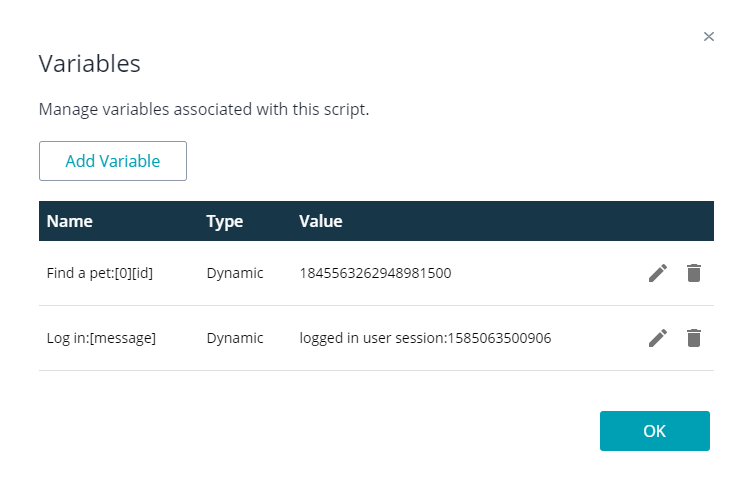
In the subsequent dialog, review properties of the variable:
-
The Variable Name text box includes the test step name and the XPath expression for data extraction.
-
The Variable Value box contains the extracted data.
-
-
Click Add Variable to create a variable with the specified parameters.
Note: When you create a variable this way, this variable becomes linked to the request. During the test run, LoadNinja will automatically extract data from the response to this variable. These variables are called dynamic.
Option 2 - Use the Variables dialog
-
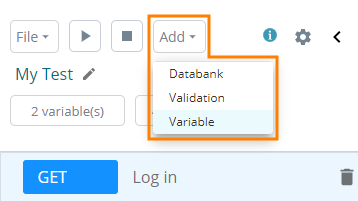
In the API test editor, create Add > Variable from the menu in the top left corner.
– or –
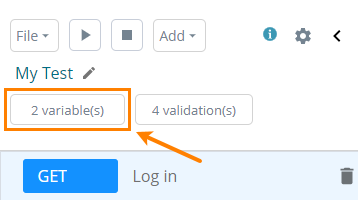
If you already have variables in your test, click # variable(s) it the top left corner of the editor:
-
This will invoke the Variables dialog:
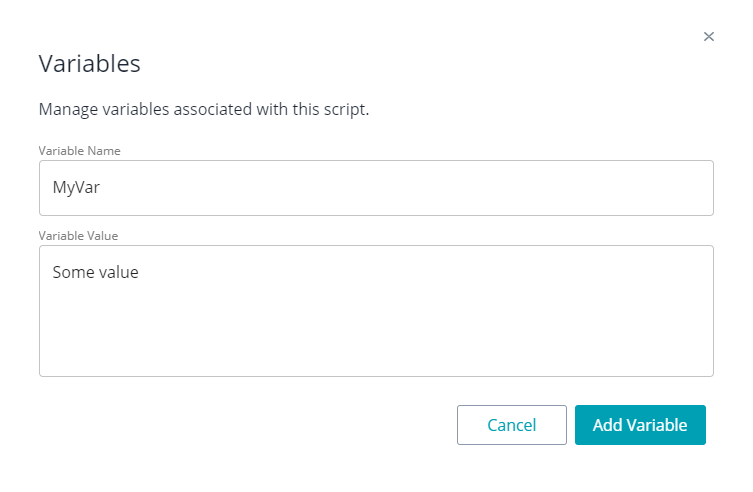
Click Add Variable.
-
In the subsequent dialog, specify the variable name and value. Click Add Variable to create a variable:
Note: The variables that you create this way are called constant. They are not linked to any request, and the test engine doesn’t update them during the test run.
Insert variables
-
In the API test editor, select the request into which you would like to insert a variable.
-
Click “+” in the text box to which you would like to insert a variable and select the desired variable from the context menu:

Click the image to enlarge it.
Alternatively, you can type the variable name enclosed in double curly brackets (
{{variable-name}}).
Notes:
-
To change the variable position in a text box, simply copy and paste the variable reference (
{{variable-name}}) to the needed place. -
You can concatenate variable values with each other or with arbitrary substrings. For example:

Click the image to enlarge it.
-
If you specify a non-existing variable, an error occurs.
View variables
To view the existing variables, simply click # variable(s) in the top left corner of the test editor:
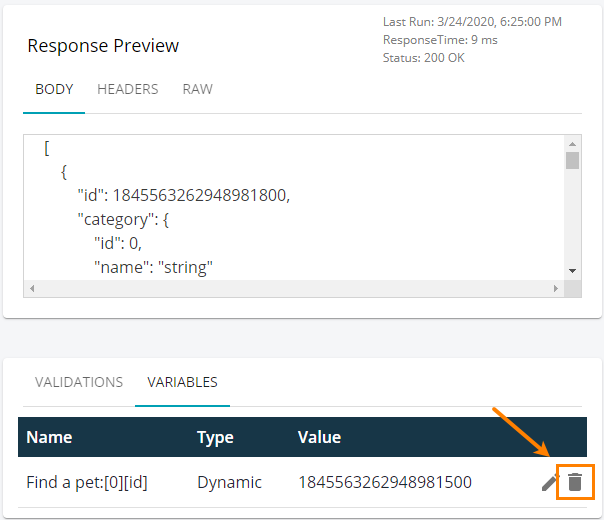
To view variables linked to a request, select this request in the editor and go to Response > Variables:

Click the image to enlarge it.
Edit a variable
If a variable is dynamic (that is, linked to a request), there is no need to modify its value. The test engine automatically saves data of the variable during the test run.
To modify a variable of the constant type:
-
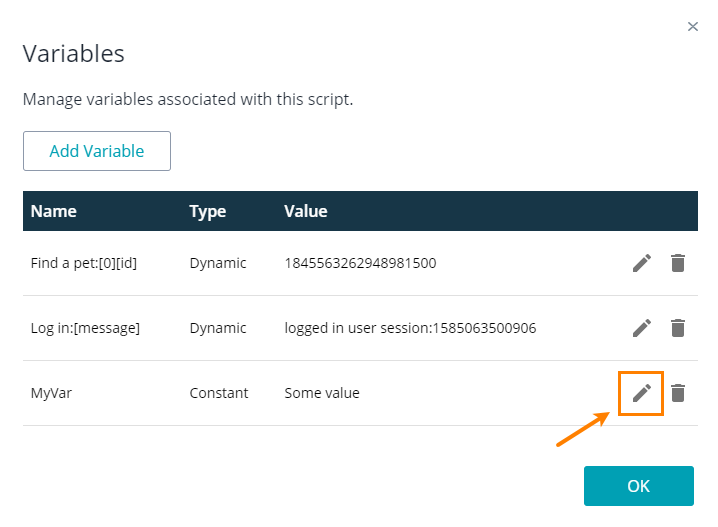
Click # variable(s) in the top left corner of the test editor:
-
In the subsequent dialog, find the desired variable and click next to it:
-
Change the variable name and value in the subsequent dialog.
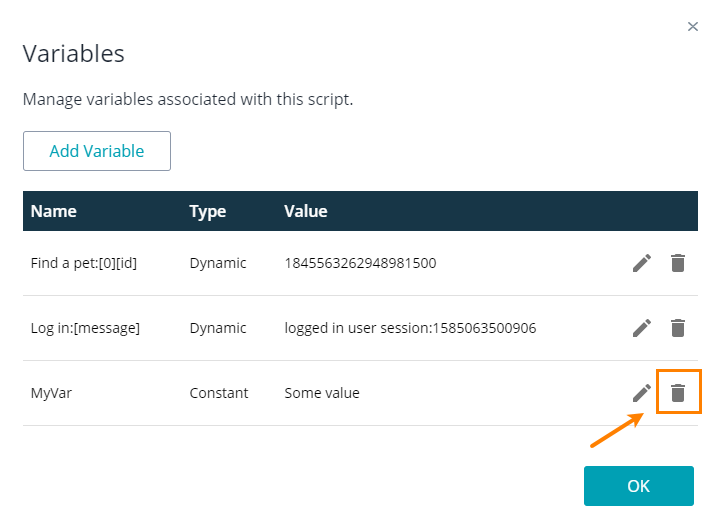
Delete a variable
-
Click # variable(s) in the top left corner of the test editor.
-
In the subsequent dialog, find the variable to delete and click next to it:
If a variable is linked to a request, you can also delete it from the Response > Variables tab: