You add validations to your API test to examine responses of the tested web service and to check if it works as expected.
Validations are also known as checkpoints or assertions. They are an essential part of load testing. The errors that a heavy load might cause don’t necessarily mean the tested service crashed or a connection to it is lost. The service can start responding slower than your clients expect, or it can return only part of the requested data or skip some requests, and so on. Validations help you evaluate server responses and detect malfunctions.
Add a validation
You create validations when you are creating a new API test or editing the existing one:
-
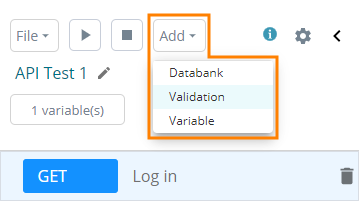
In the API test editor, select Add > Validations from the menu in the top left corner:
– or –
If you already have validations in your test, the editor displays the # validation(s) button in the top left corner. Click this button:
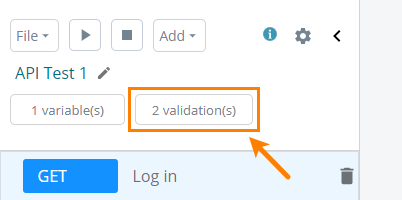
This will open the Validations dialog:
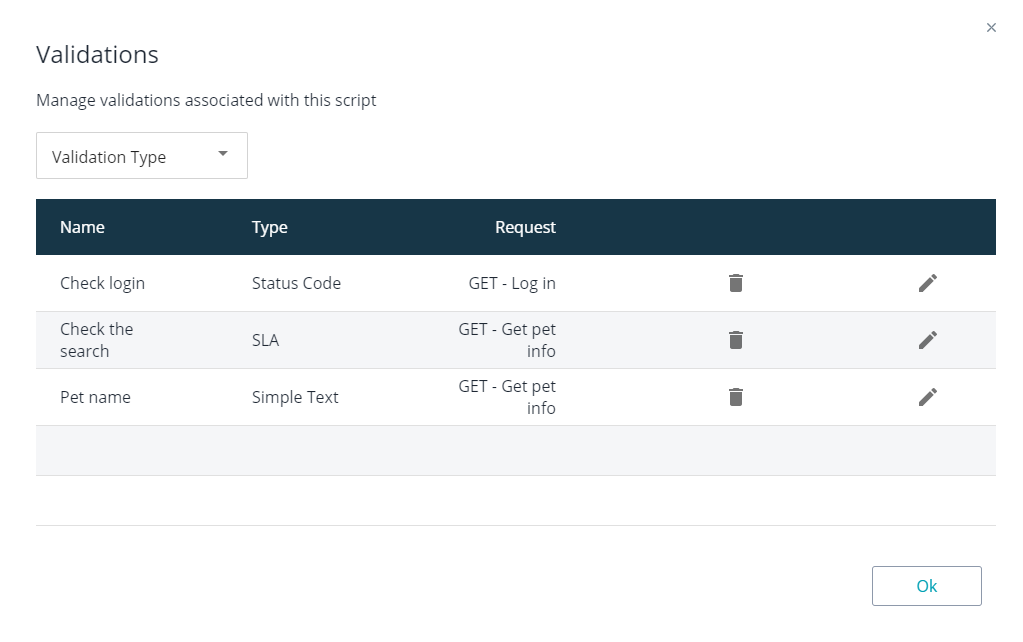
-
In the dialog, select the desired validation from the Validation Type drop-down list:
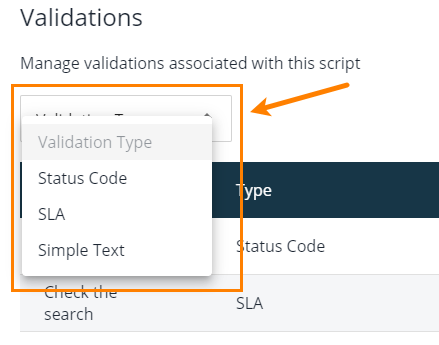
-
In the subsequent dialog:
-
Specify the validation name. It should be unique within the test.
-
Select the requests (or test steps) to which the validation will apply.
-
Specify the validation conditions. These depend on the validation type you selected. See below for details. Here is an example of the SLA validation settings:
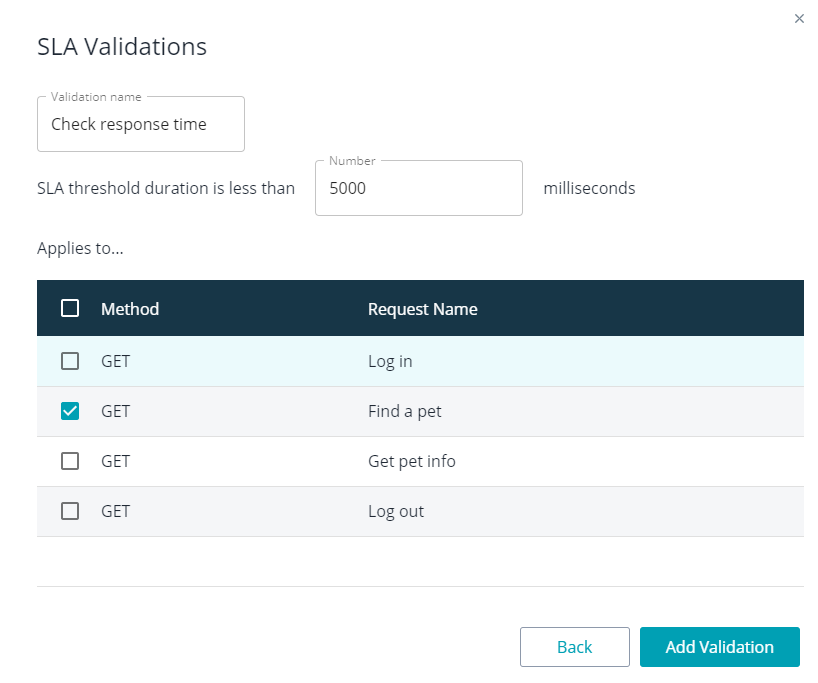
Click Add Validation when you are done.
-
Check if the validation works
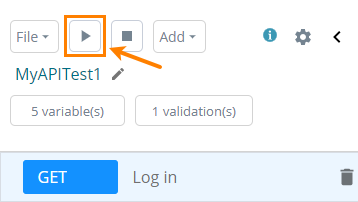
To check how the validation works, simply run the request or the entire test. LoadNinja will inform you if the validation fails:
What happens if the validation fails?
If the validation fails, LoadNinja stops running the API test (that is, it stops simulating the virtual user) and logs an error.
Validation description
| Validation | Description |
|---|---|
|
Checks if the response status code equals or doesn’t equal the specified code. If needed, you can check for multiple status codes. Use commands to separate them. |
|
|
SLA |
Checks if the response to the request arrives within the specified number of seconds. |
Simple Text |
Checks if the response contains or doesn’t contain the specified text string. |
Edit a validation
-
In the API test editor, click # validation(s) at the top left corner:

-
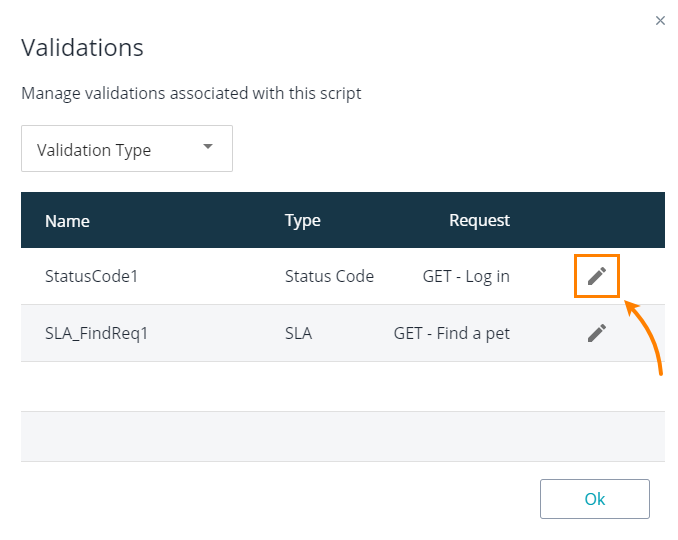
In the subsequent dialog, find the needed validation and click next to it:
-
Configure settings in the subsequent dialog.
Click Edit Validations to save the changes.
To discard the changes you have done, simply close the dialog or click Back.
Delete a validation
-
Click # validation(s) on the top left corner of the test editor.
-
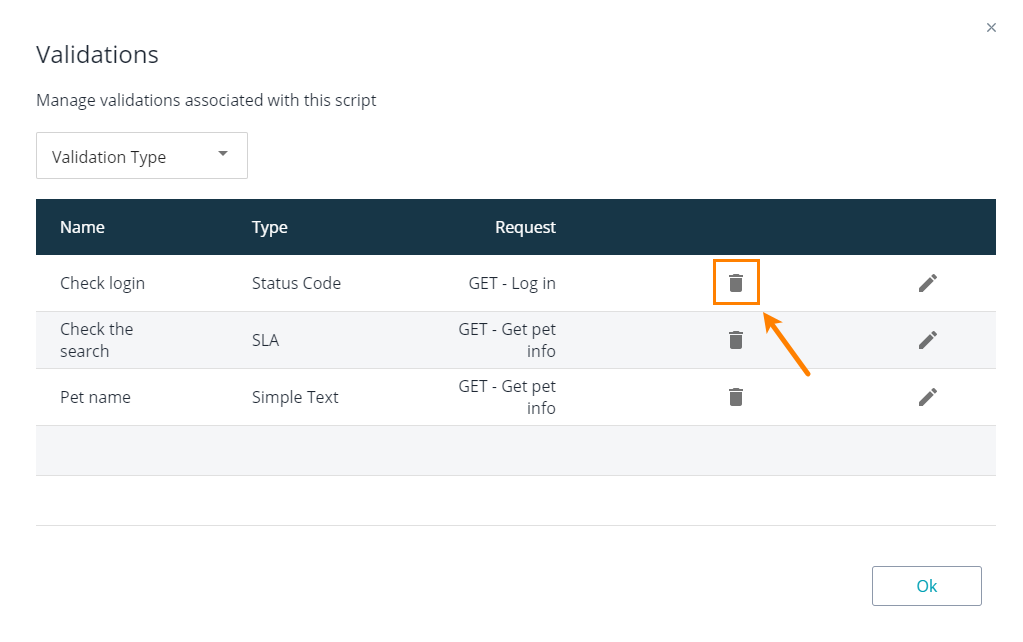
In the subsequent dialog, find the validation you want to delete and click next to it:
