Why Correlate Data
Web applications can include dynamic parameters into responses they send to clients. The clients then reuse those parameters by inserting them into requests to get relevant data from the server. A typical example of such dynamic parameters is a session ID or a user ID.
When you run a load test for a web application that uses dynamic parameters, actual parameters the application returns will differ from the recorded parameters the test contains. This can cause your load test to fail.
To run the test successfully, you need to configure the test to capture the actual parameters and to replace the recorded parameters with them, that is, you need to correlate dynamic parameters in the test.
In LoadComplete, you can use the Correlate Request and Response Parameters wizard to correlate data in a recorded scenario automatically. By default, LoadComplete shows the wizard after you have completed the scenario recording. You can also call the wizard manually for existing scenarios by clicking  on the Scenario editor’s toolbar.
Step-By-Step Tutorial
In this tutorial, we will show you how to use the Correlate Request and Response Parameters wizard to find and correlate dynamic parameters. First, we will record a short scenario. Then, we will find dynamic parameters in it and correlate them.
 1. Recording a New User Scenario
 2. Correlating Dynamic Parameters
 3. Viewing the Correlated Parameters
Sample Application
We will use the sample Web Orders application. The application is shipped with LoadComplete. It is installed automatically when you install the product.
For the application to be installed and work correctly, the following software must be installed on your computer:
-
Microsoft Internet Information Services (IIS) 7.0 or later.
You may also need to enable certain IIS features. See LoadComplete Basic Test Sample.
-
.NET Framework 3.5 or later.
-
Microsoft Data Access (if you need to work with the database files).
Prerequisites
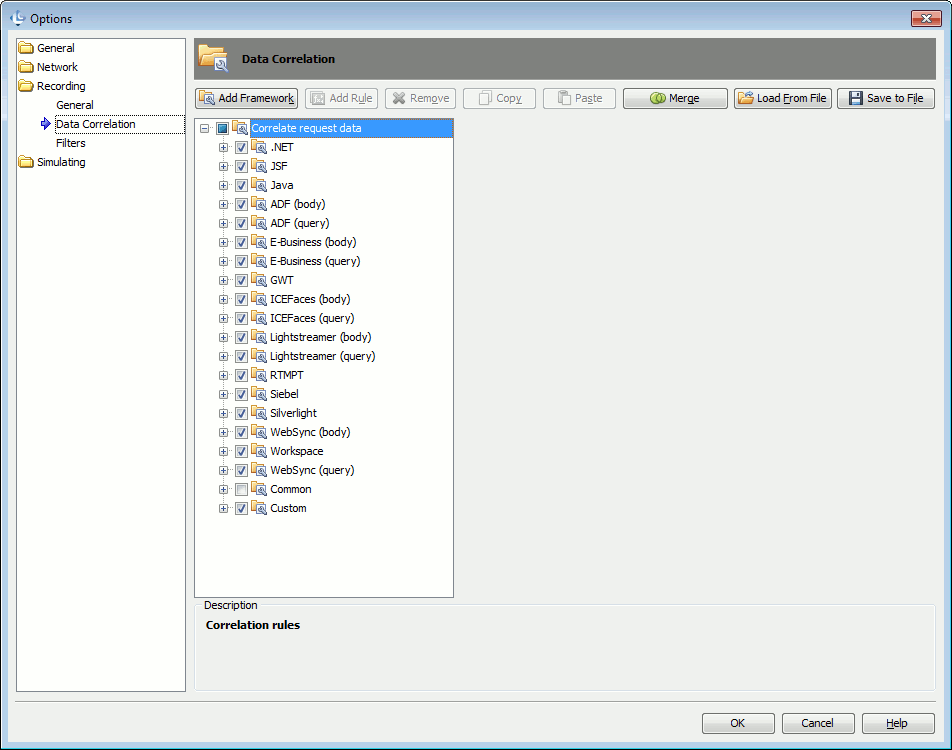
By default, LoadComplete includes a predefined set of correlation rules. You can view them in the Options > Recording > Data Correlation dialog.
If you have already recorded scenarios, correlated dynamic parameters in them, and modified the default correlation rules (for example, by creating new rules or disabling existing rules), what you will see on your screen during this tutorial may differ from our descriptions.
We recommend that you follow this tutorial before you make any modifications to the default correlation rules in LoadComplete.
1. Recording a New User Scenario
-
In LoadComplete, create a new test project or open an existing one.
-
Start the scenario recording. You can do it by clicking
 Record User Scenario on the Test Engine toolbar.
 -
LoadComplete will call the Record User Scenario dialog. We recommend that you leave all the default values in the dialog as they are.
Click Record.
-
LoadComplete will start the recording and show the Recording toolbar.
-
If you have selected a web browser for LoadComplete to launch, LoadComplete will launch it and navigate to the Recoding Scenario With LoadComplete web page. (This page resides on your computer and LoadComplete will not record navigating to it). On the page, click Sample App to navigate to the Web Orders application.
Otherwise, launch your web browser and navigate to the http://localhost/LoadComplete/login.aspx web page manually.
-
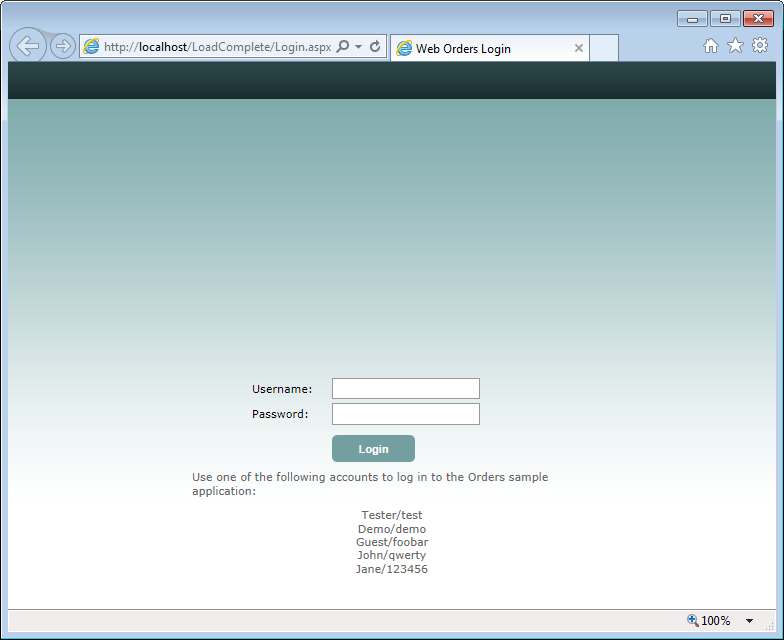
The Web Orders application will open its Login page. Enter the following login information:
Login: Tester
Password: test
Click Login.
-
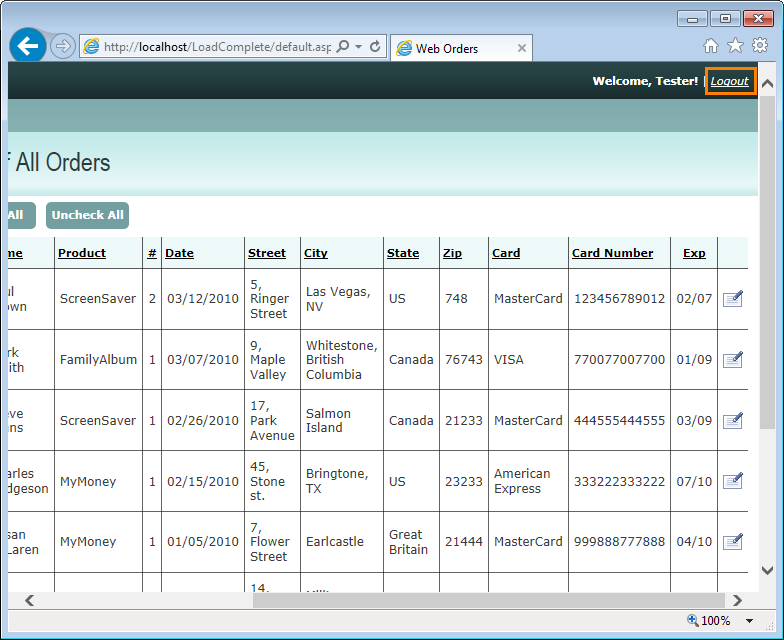
The application will navigate to the main page. Click the Logout link:
-
Click
 Stop on the Recording toolbar to stop the recording.
 -
LoadComplete will show the Correlate Request and Response Parameters wizard suggesting that you find and correlate dynamic parameters.
2. Correlating Dynamic Parameters
Follow the wizard instructions to find and correlate dynamic parameters:
-
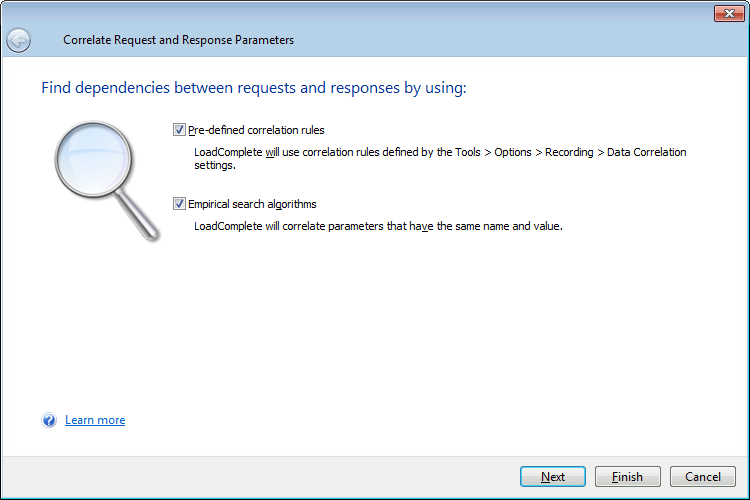
The first page of the wizard defines how the wizard will search for dynamic parameters:
-
By using pre-defined correlation rules - The wizard will use correlation rules defined in LoadComplete by default. (These are the rules you can view in the Data Correlation Options dialog).
-
By using empirical algorithms - The wizard will parse the requests and responses, and use empirical algorithms to find dynamic parameters in them.
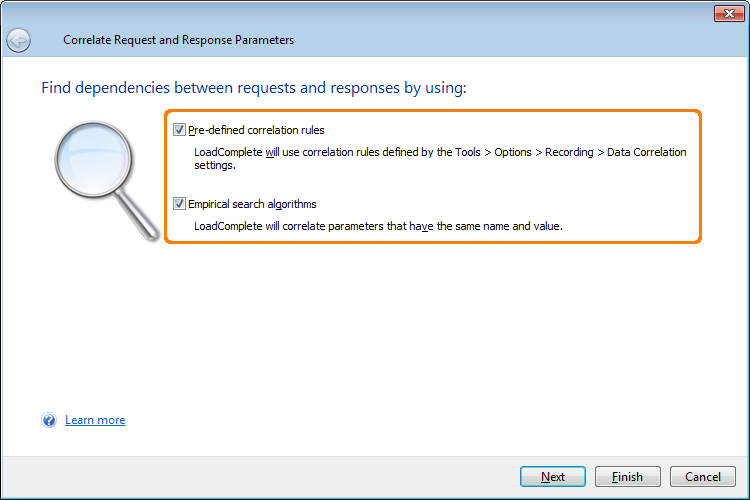
Select both the options and click Next:
-
-
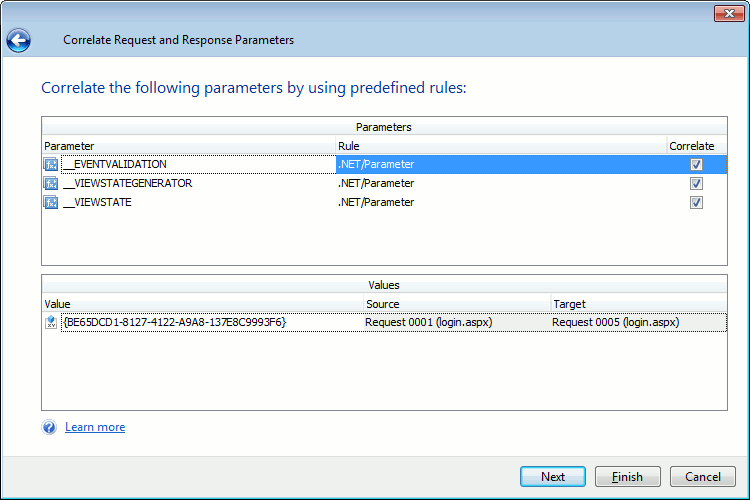
The wizard will analyze the recorded traffic and find dynamic parameters that match pre-defined correlation rules:
View the list of found parameters and the rules LoadComplete used to find them. For each parameter, the wizard shows the parameter value and the requests and responses that use the value.
The Correlate check box specifies whether the wizard will correlate the parameter in the scenario. Leave the check box selected for all found parameters and click Next.
-
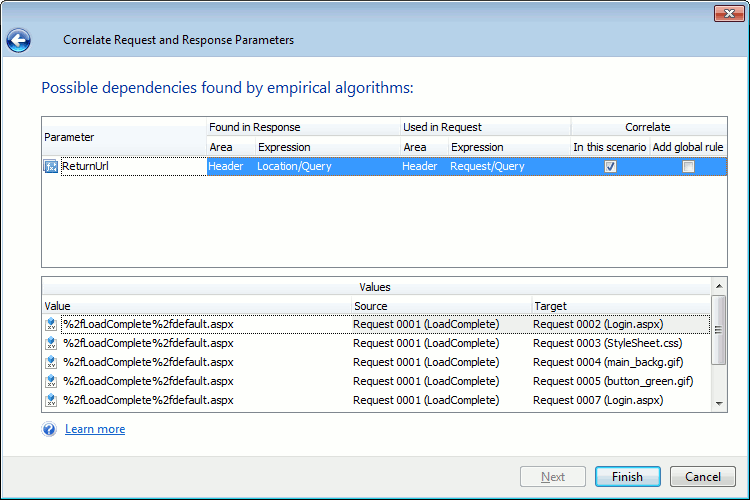
The wizard will analyze the recorded traffic by using empirical search algorithms and find all possible dependencies between requests and responses:
View the list of found dependencies and the places in requests and responses where the wizard found them. For each dependency, the wizard shows the dependency value and the requests and responses that use the value.
The Correlate | In this scenario check box specifies whether the wizard will correlate the parameter in the current scenario only. Leave the check box selected for all found parameters.
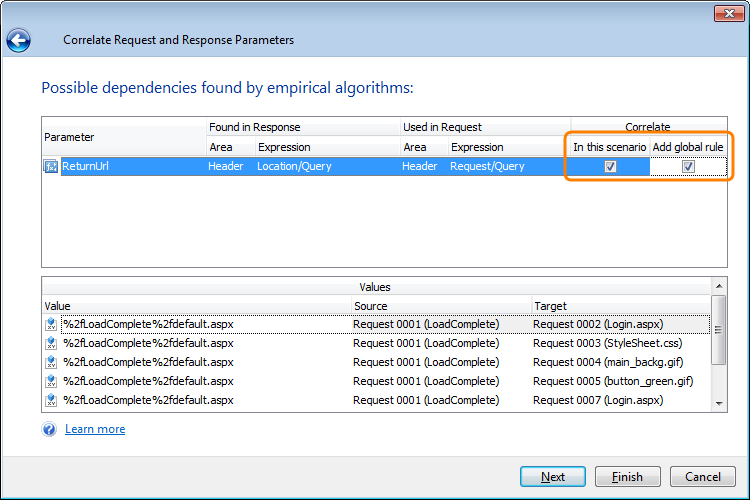
The Correlate | Add global rule check box specifies whether the wizard will add a correlation rule for the parameter. Let’s add a correlation rule for the ReturnUrl parameter. When you use the wizard to correlate dynamic parameters and configure the wizard to use pre-defined correlation rules next time, the wizard will use that rule to find and correlate ReturnUrl parameters.
To add a rule, select the check box for the needed parameter in the wizard:
Click Next.
-
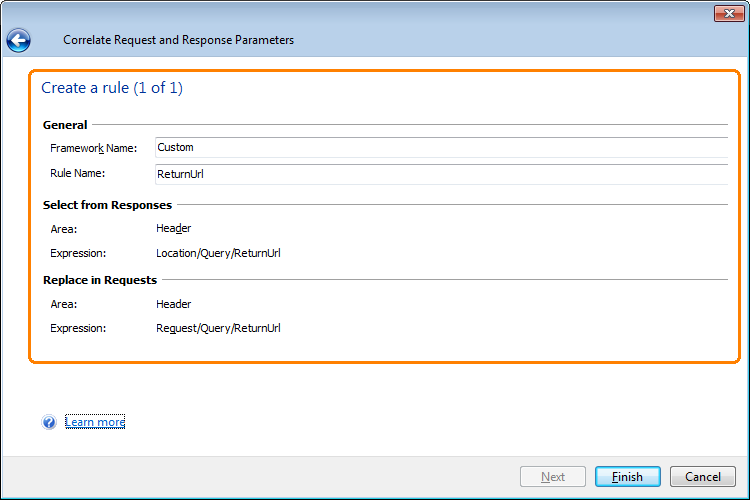
The wizard will prepare a correlation rule for the selected ReturnUrl parameter:
In the Select From Responses and Replace in Requests sections, view how the rule will search for the parameter in responses and requests.
You can also change the rule name, or change the framework, to which the wizard will add the rule. Leave the rule name and framework with their default values.
Click Finish.
The wizard will correlate all selected parameters and add the created correlation rule to the collection of LoadComplete’s pre-defined correlation rules.
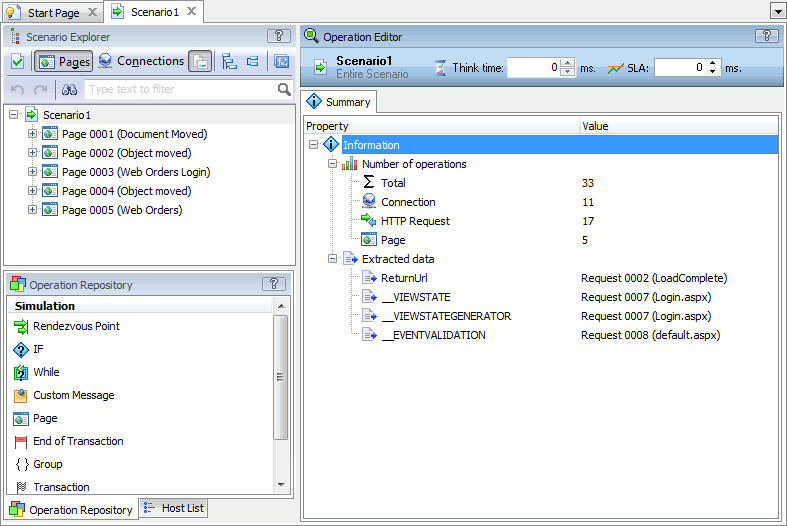
LoadComplete will open the modified scenario in the Scenario editor:
3. Viewing the Correlated Parameters
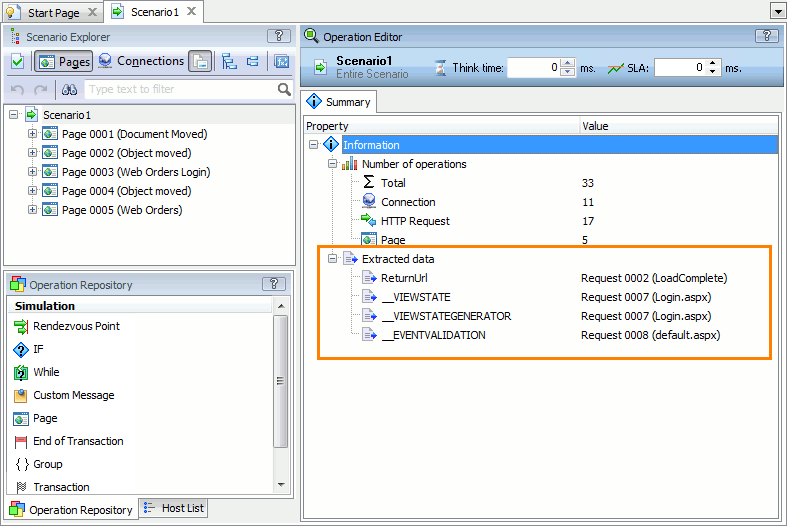
Let’s examine the resulting scenario and view how it extracts parameters from responses and reuses them in requests:
-
The
Extracted datalist of the top-level scenario node shows a list of variables the scenario uses to extract data from responses and pass it to subsequent requests.On the list, find the response, from which the scenario extracts the ReturnUrl parameter value. In this case, it is the response for Request 0002.
-
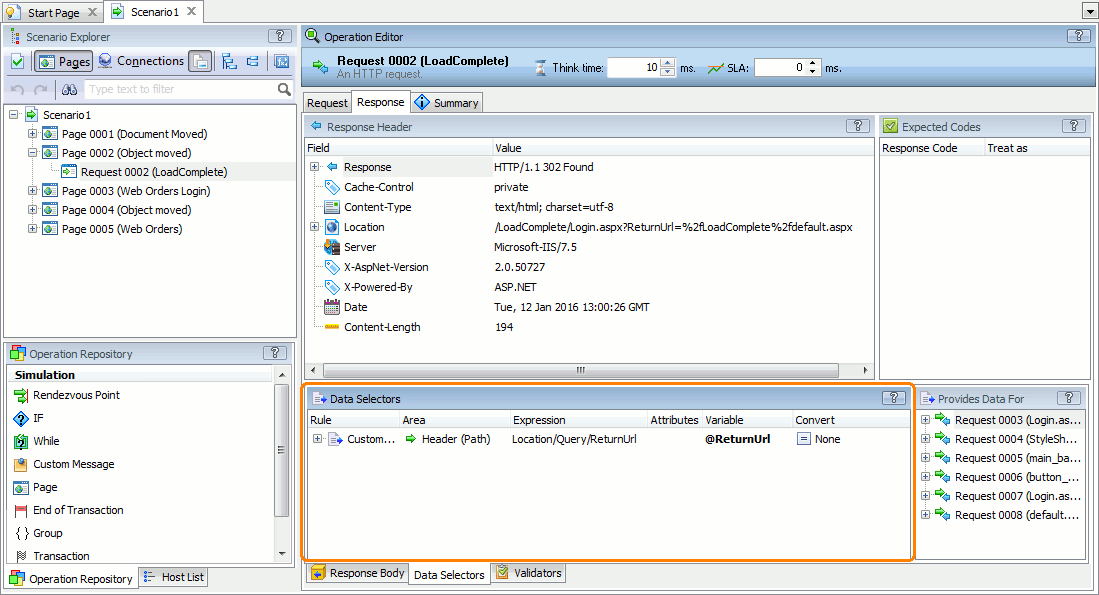
Select that response in the scenario and switch to its Response | Data Selectors page.
The page contains a data selector that the wizard has added for the ReturnUrl parameter:
-
The Provides Data For panel lists requests that use the data extracted from the response.
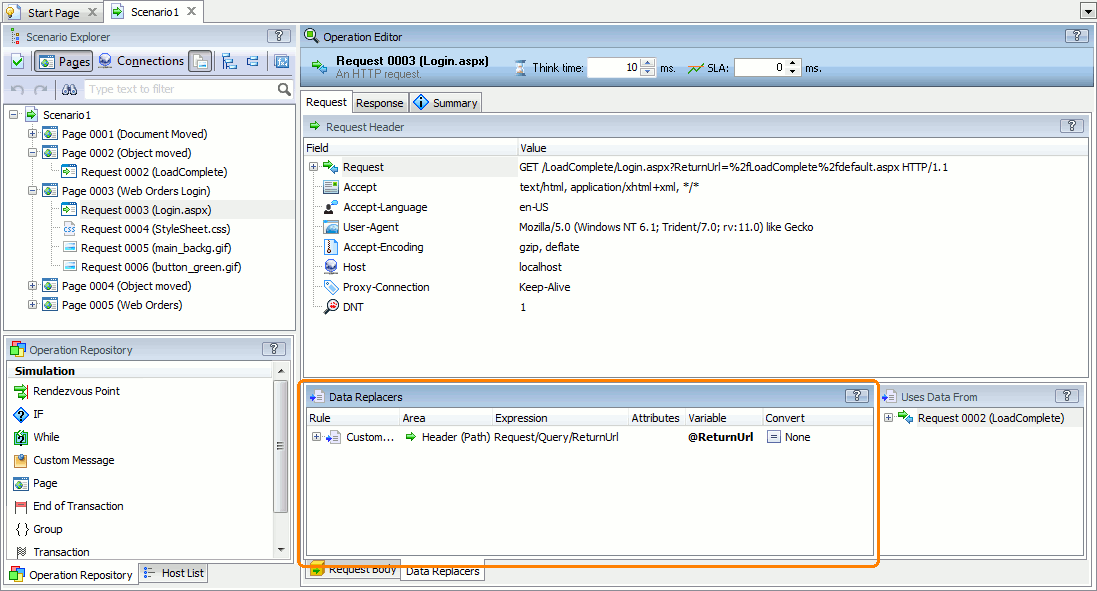
You can double-click a variable under a request to switch to a data replacer that inserts the extracted data to a request.
4. Viewing the Created Correlation Rule
Let’s view the correlation rule that the wizard has added for the ReturnUrl parameter:
-
Select Tools | Options from LoadComplete’s main menu.
-
In the Options dialog, select Recording | Data Correlation.
-
The dialog will show the list of data correlation rules defined in LoadComplete:
-
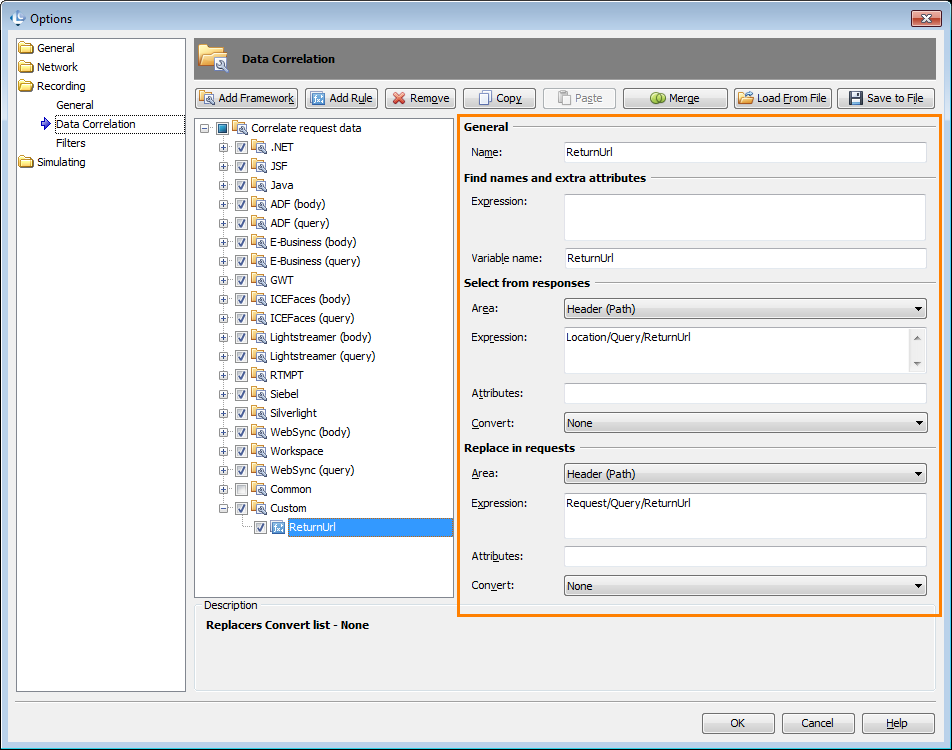
Expand the Custom framework and select the rule that the wizard has created for the ReturnUrl parameter.
The dialog shows how the rule selects the parameter from responses and replaces the parameter in the request:
Close the dialog.
5. Verifying the Scenario
Now, you can verify the scenario to make sure that the created data selectors and data replacers work correctly:
-
Click
 Verify Scenario on the Scenario editor’s toolbar.
 -
LoadComplete will simulate requests in the scenario for a single virtual user and get the server responses.
-
After the verification is complete, LoadComplete will show the verification results.
This concludes the tutorial.
To learn more about data correlation in LoadComplete, please refer to the topics below.
Related Topics of Interest
See Also
Data Correlation
Correlating Dynamic Parameters Automatically via the Correlate Requests and Response Parameters Wizard

