1. Creating a Test Project
-
If you have a project opened in LoadComplete, close it. To do this, choose File | Close from LoadComplete main menu.
-
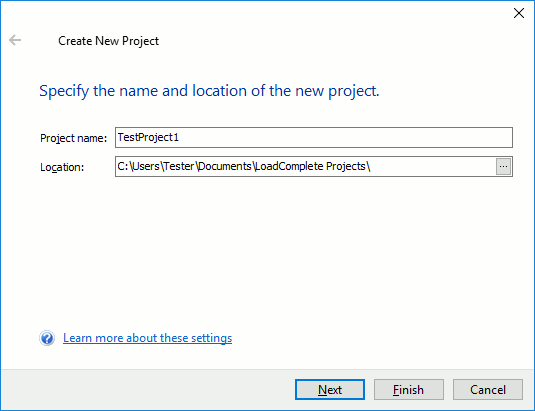
Select File | New | New Project from LoadComplete main menu. LoadComplete will open the Create New Project wizard.

-
In the dialog, enter the project name into the Project name edit box. LoadComplete will automatically generate the path for the project file and display it in the Location field. The project folder stores all information generated for or by the project: scenarios, tests, test log files and so on. You can change the project’s folder in the Location box.
-
On the next page of the wizard, you can enable the performance monitoring for your tested web server. This tutorial does not cover the performance monitoring, therefore, you can click Finish to complete the project creation.
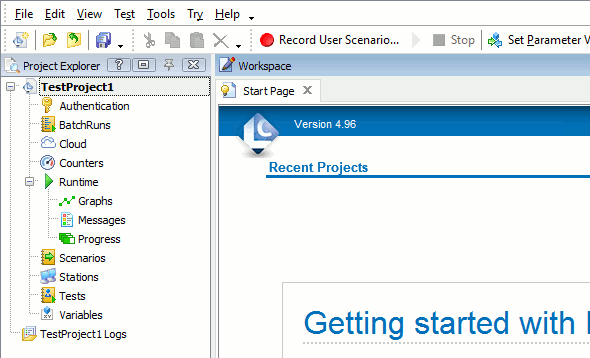
LoadComplete will create the project and display its contents in the Project Explorer panel:

See Also
Creating Your First Test
Getting Started Tutorial
About Test Projects and Project Items
Creating Test Projects

 Prev
Prev