You can create JIRA issues for your load tests directly from LoadComplete. You can also attach your test log to the created issues.
Requirements
-
Atlassian JIRA ver. 5.0-7.12 (self-hosted or Cloud).
-
Issues in JIRA that you will create from LoadComplete must have the following fields:
-
Summary
-
Description
-
Priority
-
Assignee
-
-
To attach your test log to issues in JIRA, they must allow attachments.
If your JIRA project does not have suitable issues configured as described above, ask your JIRA administrator to configure them as required.
1. Specify Your JIRA Server and a User Account
-
Select Tools > Options from the LoadComplete main menu.
-
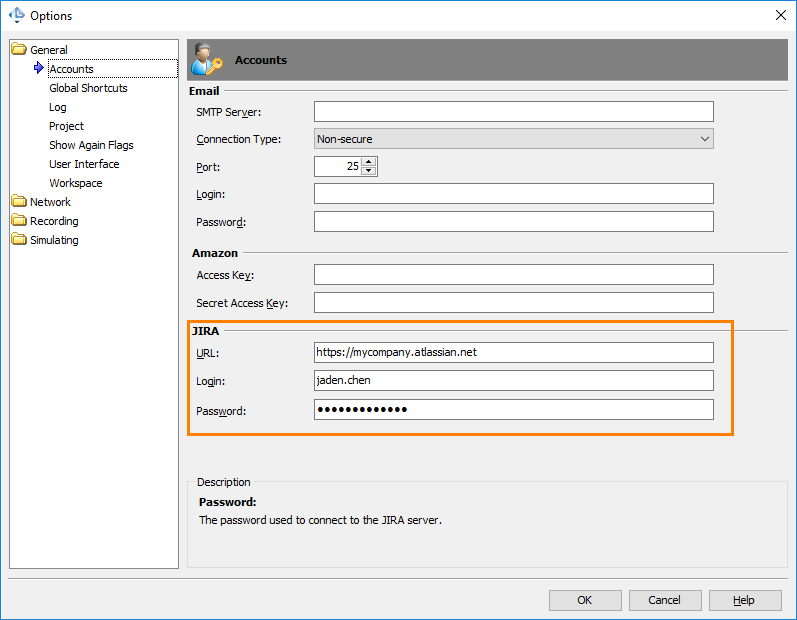
Select General > Accounts from the tree displayed on the left side of the resulting Options dialog.
-
In the JIRA group of Accounts options, specify the URL of the JIRA server and a JIRA account:
-
In URL, enter the JIRA Server URL.
-
In the Login and Password text boxes, enter the user name and password you use to connect to the JIRA server.
-
-
Click OK to close the Options dialog and save the changes.
2. Add an Issue to JIRA
-
Open the test log from which you want to post an issue to JIRA. It can be either the Report log or the Details log.
-
In the Report test log, click Post issue to JIRA on the toolbar.
– or –
In the Details test log, click
 Post issue to JIRA on the toolbar.
– or –
In the Details test log, right-click a message that you want to submit to JIRA, and then click
 Post issue to JIRA.
 -
LoadComplete will open the Create a JIRA issue wizard.
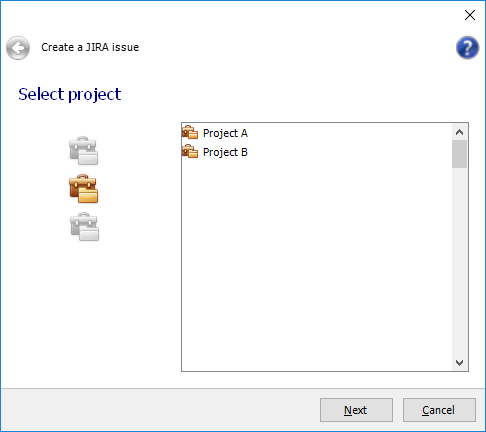
If the account information you have specified in the Tools > Options > General > Accounts dialog is correct, the wizard will connect to your JIRA server.
-
On the first page of the wizard, select the JIRA project where you want to create an issue and click Next.
-
On the second page of the wizard, specify the issue details:
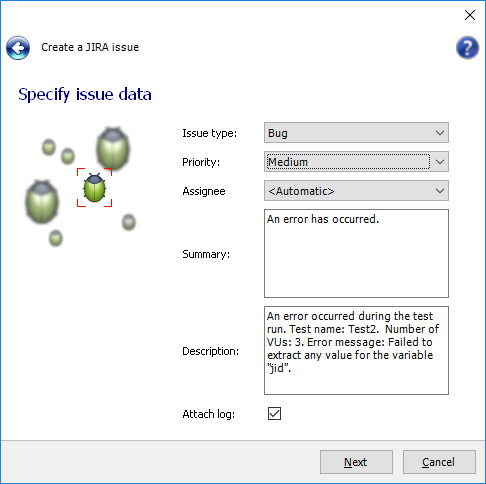
Fields Description Issue type The issue type. Priority The issue priority. Assign To The user to assign the issue to. Note: This option is disabled if you do not have the Assign Issues permission in the selected JIRA project. Contact your JIRA administrator to ask for additional permissions. Summary The issue summary (title). Description A detailed description of the issue. If you call the Create a JIRA issue wizard from the context menu for an operation message in the Details panel, the error text for it will be added to the issue description.
Attach Log Select this check box to attach the currently open test log to the issue. The log will be saved to the ZIP archive. Note: JIRA has a limit on the maximum size of attached files. If the ZIP log size exceeds the attachment size limit, the issue will not be submitted. Contact your JIRA administrator to learn the attachment size limit or increase it. -
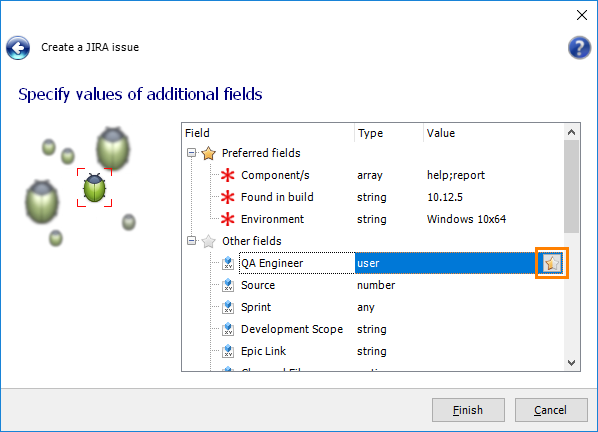
On the next page of the wizard, specify additional fields of your JIRA issue: required (
 ) and optional (
 ). Fields are grouped into two lists:
-
Preferred fields (frequently used). By default, it includes all fields marked as required in JIRA.
-
Other fields. By default, it includes all non-required fields.
To specify a field value, find the field in the list, click somewhere within the Value column, and type the needed value. To specify a value of the array type, separate the array items with a semicolon.
You can configure the list of Preferred fields and add non-required fields to it for a quicker access. Find the needed field in the Other fields list and click
 :
:
Similarly, to delete a non-required field from the Preferred list, select it in the list and click
 .
.Note: You cannot remove required fields from the Preferred fields list.
-
-
Click Finish.
-
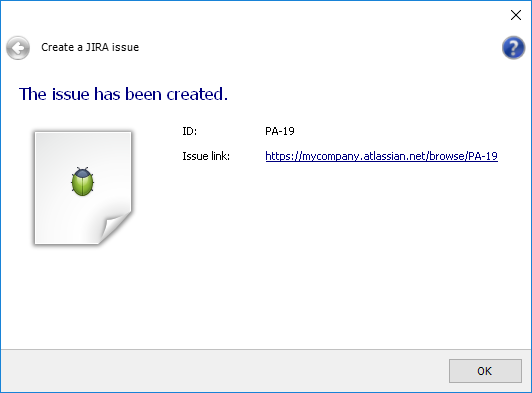
If the issue has been created successfully, LoadComplete will show the issue ID and the link for the created issue.

 Requirements