VirtServer uses a separate installation package from ReadyAPI. You can install it on Windows, Linux and macOS. The ways to install the product on these operating systems are very similar. There are differences in installing the product on Linux headless (GUIless) machines. This topic provides detailed information on installation steps for both cases.
Before installing
To run VirtServer, your computer must meet certain system requirements.
Also, you will need either a VirtServer trial license or a commercial VirtServer license. To get a license, contact your sales representative or write to sales@smartbear.com.
You install a license during the first VirtServer run.
Installing VirtServer With the Installation Wizard (Typical)
Follow these steps:
-
Download the VirtServer installer for your platform (Windows, Linux or macOS, 32- or 64-bit) from the SmartBear website.
Note: If you use Linux, check that the installer has correct permissions and is executable. -
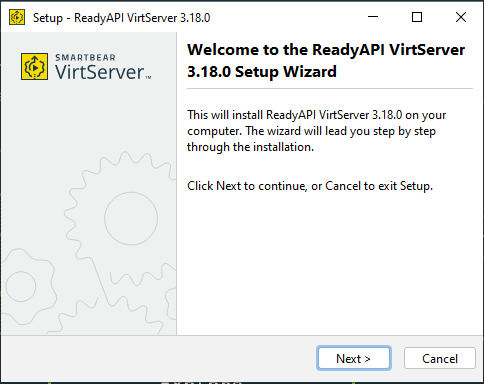
Run the downloaded installation package.
-
Follow the installation wizard instructions:
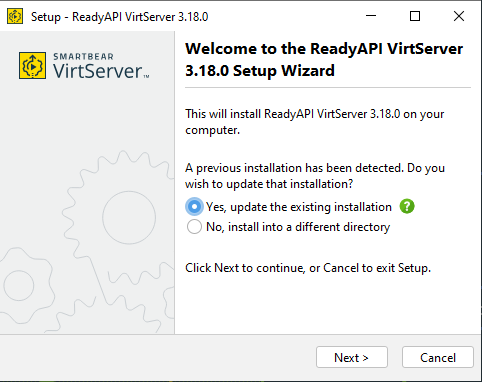
In case of updating existing installation
-
Specify the installation directory. If you are upgrading to 3.18.0, we recommend installing VirtServer into a new folder location and manually deleting the folder for the previous version. We do this to enable a cleaner installation and to avoid possible issues following our recent upgrades to Java 17.0.4.
-
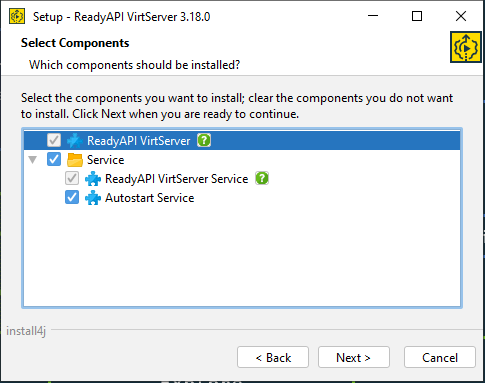
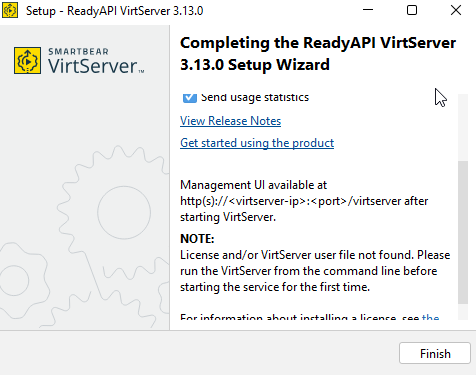
On one of the steps, the wizard will ask you to select additional components to be installed:
-
-
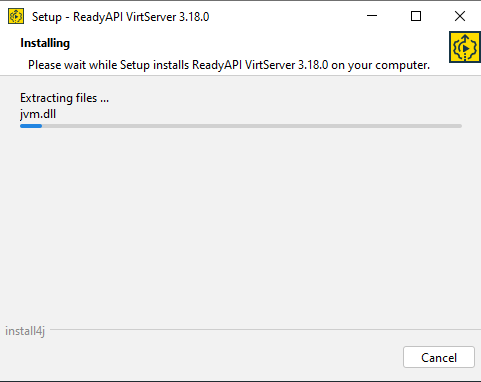
After selecting the desired components, click Finish to finish the installation.
-
If you prefer running the installer in unattended mode
-q, you can configure using system properties-Dservice.installand-Dservice.autostart. See examples:-
VirtServer-x64-3.14.0-SNAPSHOT.sh -q -Dservice.install=truewill install the service, requires that the user is root. -
VirtServer-x64-3.14.0-SNAPSHOT.sh -q -Dservice.autostart=truewill install the service and configure it to autostart when the operating system boots.
-
Known issues during installation
Brotli Library Error
Users upgrading to VirtServer 3.21.0 encountered a java.lang.UnsatisfiedLinkError: Failed to load Brotli native library error,
which prevents VirtServer from starting. This issue occurs because environments like RedHat Linux 9 do not have exec rights in the /tmp folder,
preventing the Brotli library from running. As a result, the Brotli library cannot be written to the temporary directory or executed.
To help users, an error message has been added to the logs and startup console. This message explains the issue and provides a solution:
use the java.io.tmpdir system property to specify a directory with the required read, write, and execute permissions.
For details on the workaround to this issue, visit: Troubleshooting Brotli Library Error.
Installing on Headless Machines
VirtServer can be downloaded and installed on a headless machine using command line options. Once downloaded the installer will unpack files and then will continue the installation in the command-line mode.
The installer will ask you to perform the same actions that you perform in the GUI installer: specify the installation folder, choose the components to be installed, and so on. Follow the instructions you will see on the screen.
-
For installing on Windows, please refer to Windows Installation
-
For installing on Linux, please refer to Linux Installation
Installing on Docker
For users deploying VirtServer in Docker, please refer to the following page for guidance.
Installing using unattended mode or response.var
-
If you prefer running the installer in unattended mode
-q, you can configure using system properties-Dservice.installand-Dservice.autostart.See Examples
VirtServer-x64-3.19.0 sh -q -Dservice.install=truewill install the service, requires that the user is root.VirtServer-x64-3.19.0.sh -q -Dservice.autostart=truewill install the service and configure it to autostart when the operating system boots.
-
It is also possible to start VirtServer without root access by modifying the
response.varfilefile and setting arguments to represent how you require VirtServer to start. You can read more on this here.response.varfileis found in \VirtServer-3.XX.0\.install4jThe arguments are:
-
install4j response file for ReadyAPI VirtServer326.0
- SendAnalytics$Boolean=true
- sys.adminRights$Boolean=true
- sys.component.132$Boolean=true
- sys.component.7667$Boolean=true
- sys.component.7811$Boolean=false
- sys.installationDir=C\:\\Program Files\\SmartBear\\VirtServer-3.19.0
- sys.languageId=en
- The corresponding components listed are:
- #ReadyAPI VirtServer: sys.component.132
- #ReadyAPI VirtServer Service: sys.component.7667
- #Autostart Service: sys.component.7811
- #Install JDBC drivers: sys.component.1154
- Change to false or true as required e.g., to run without root access
- sys.adminRights$Boolean=False
- sys.component.132$Boolean=true
- sys.component.7667$Boolean=false
- sys.component.7811$Boolean=false
- Use the command prompt to run the below. Check the path to the response file is correct before running. The installer runs in the background.
- Win
VirtServer-x64-3.19.0 exe -q -varfile <path to response.varfile> - Linux
Requires superuser
sudoto run.sudo sh ./VirtServer-x64-3.19.0 sh -q -varfile <path to response.varfile>
- Win
-
After Installation Is Over
After the installation is over, run VirtServer, create a user on it and activate the VirtServer license. These actions are rather simple. Just follow the instructions you will see on the screen.
| Note: | If you work in an offline environment and need to activate an offline license, please refer to instructions to this page. |
After installing VirtServer, you may want to replace the SSL certificates it uses or change the VirtServer port number.
 |
VirtServer stores all the information (added virtual services, users, and so on) in a database file. We recommend that you periodically back up that database file. |
How to schedule creating a backup
Windows
-
Create a .bat script file that copies the database file:
copy /Y %HOMEPATH%\.readyapi\virt-server\virt-server.h2.h2.db <Path to the backup folder>
-
Open Task Scheduler and click Create Basic Task from the right toolbar:
-
In the subsequent dialog, specify the name and description of the task. Click Next.
-
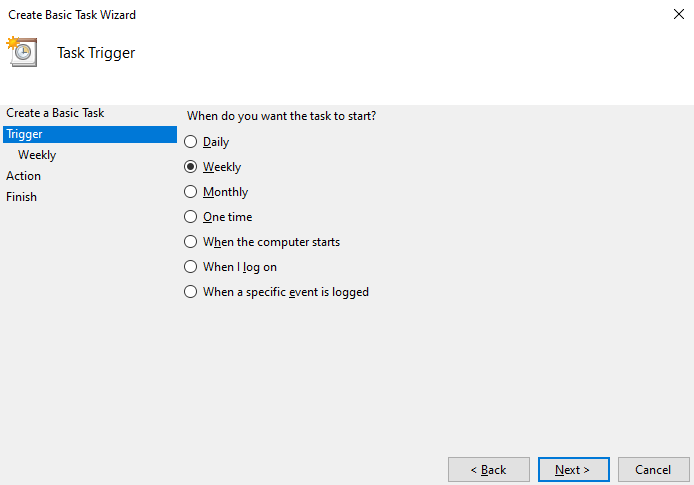
At the Trigger step, specify when you want to back up the database. For example, to back it up once a week, select Weekly and select a day on which you want to copy the file:
-
At the Action step, select Start a program and click Next.
-
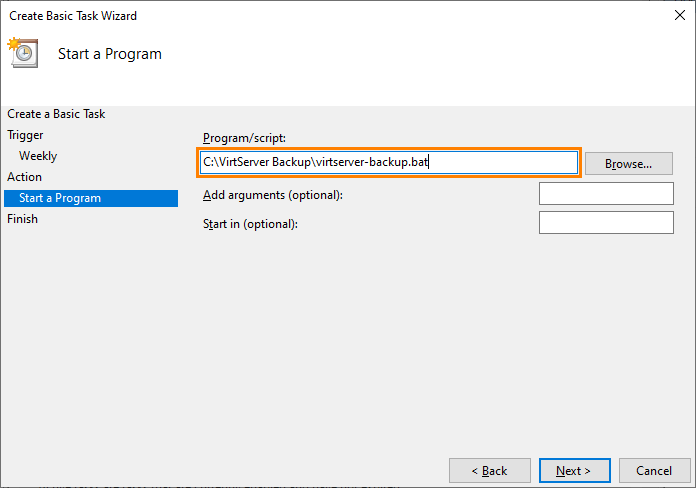
At the next step, in the Program/Script field, specify the path to the created script. Click Next:
Linux/macOS
-
Create an .sh script file that copies the database file:
cp ~/.readyapi/virt-server/virt-server.h2.h2.db <Path to the backup file> -
Open the terminal and enter the following command:
crontab -eIt opens the text editor where you can schedule a task.
-
At the end of the file, specify the line that commands cron to execute the created script. For example, to perform a backup each Friday, you could specify the following line:
0 0 * * 5 <Path to your script>To learn more about the cron syntax, you can see the Ubuntu documentation.
Upgrading VirtServer
When upgrading or reinstalling VirtServer, please follow the same steps as defined above for installation. We recommend you perform a backup of your database using the steps defined below before you upgrade. This is a precautionary step. If you are upgrading VirtServer on the same machine as the original installation and have a license activated, this should be picked up when you restart VirtServer.
Proxy in VirtServer Application and CLI
VirtServer application uses ReadyAPI’s proxy settings. If you require VirtServer to work with Proxy, please install ReadyAPI on the same machine and configure the proxy in ReadyAPI.
VirtServers CLI can also be configured for proxy and for this, it requires its own configuration. Please refer to the CLI page for work instructions on configuring Proxy in CLI.

