Introduction
As of October 2024, we have introduced load testing capabilities in TestComplete. Since July 2025, we have also added support for script tests.
Learn more about LoadNinja in our documentation.
Prerequisites
-
A LoadNinja account with APIKey or TestComplete Advanced Bundle package.
-
TestComplete 15.68 (or higher) for Keyword Tests support.
-
TestComplete 15.76 (or higher) for Script Tests support.
-
NameMapping configured.
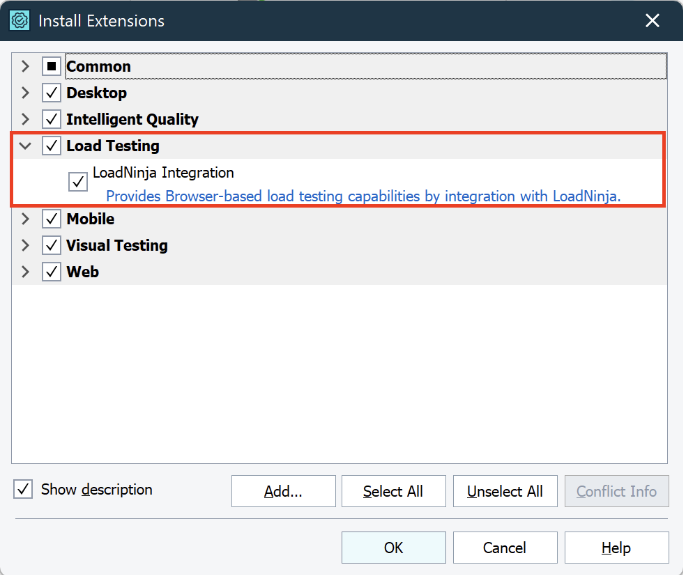
Note: Make sure the load testing extension is turned on in TestComplete in File -> Install Extensions -> Load Testing
About integration
Thanks to this integration, you can perform UI load tests based on functional tests. Load testing works for both keyword and script tests created on Chrome and Edge browsers. Tests created on Firefox are not currently supported.
Free trial
You can discover the capabilities of load testing with our 14-day free trial. Learn more here.
How to get the LoadNinja APIKey
-
Log in to your LoadNinja account.
-
Go to Settings in your profile.
-
Open the API Keys tab.
-
Copy the existing key or click Regenerate to get a new one.
How to get started
-
Go to File → Install Extensions → Load Testing. Enable the Load Testing option.
-
For Keyword Tests, open a new keyword test or an existing one and record steps. For Script Tests, open a new script test or an existing one and write steps.
-
(Script Tests only) You need to enable the script to be run as a load test:
-
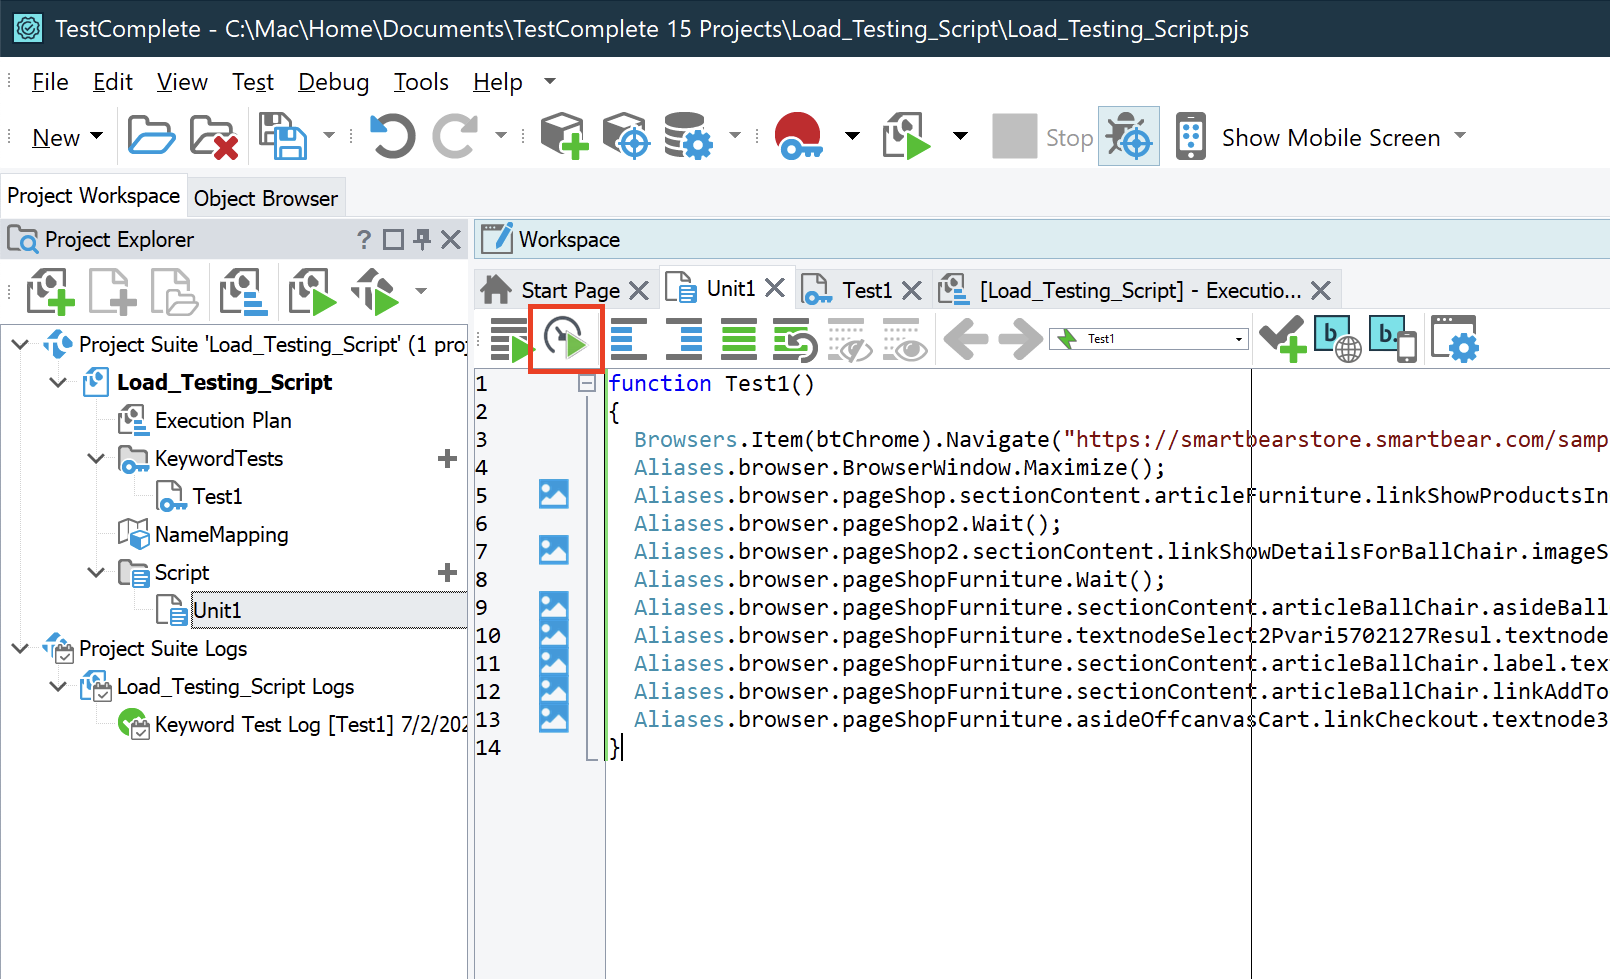
To do this, you must first record a script for load testing. This executes the TestComplete functional test and prepares it for load testing.
-
Click Record Script for Load Tests:
-
Wait until the load test preparation is finished. Then, move on to the next step.
-
-
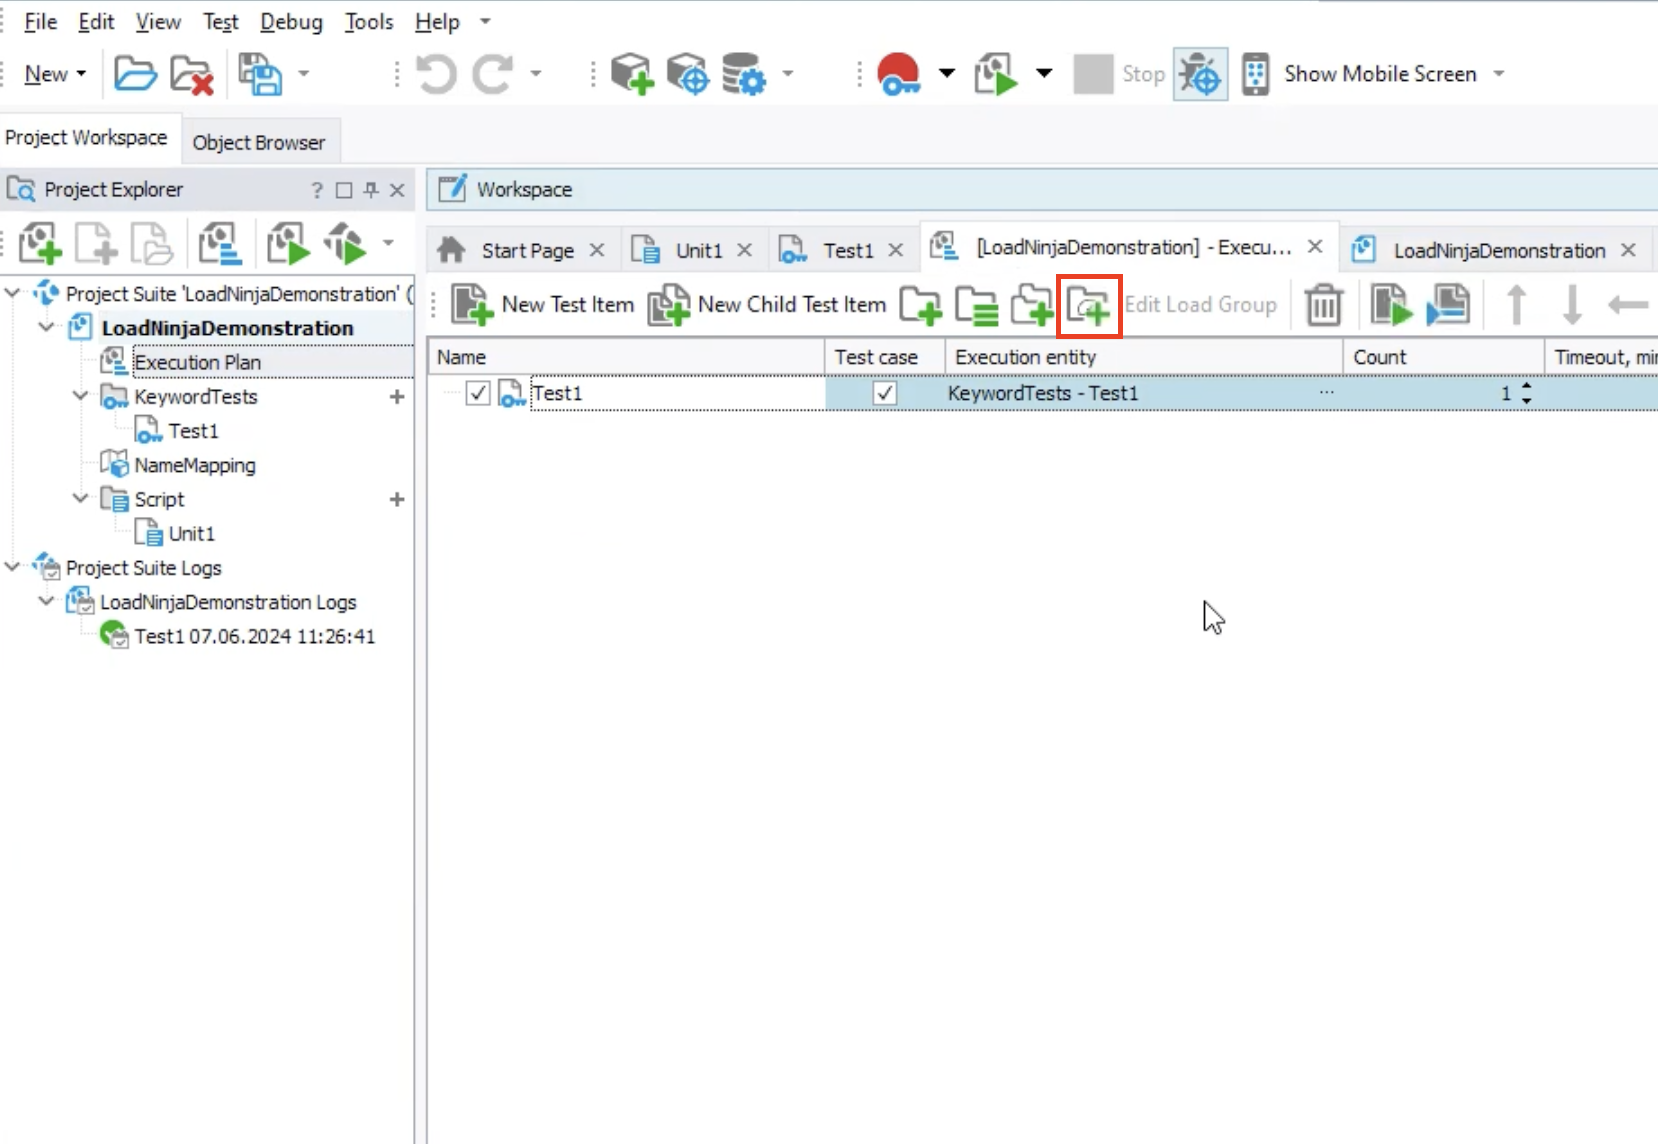
Go to Execution Plan in TestComplete and create a load group.
NameMapping must be configured and available for the LoadNinja integration to work properly. Make sure that all objects and elements involved in the integration are correctly mapped in the NameMapping file.
-
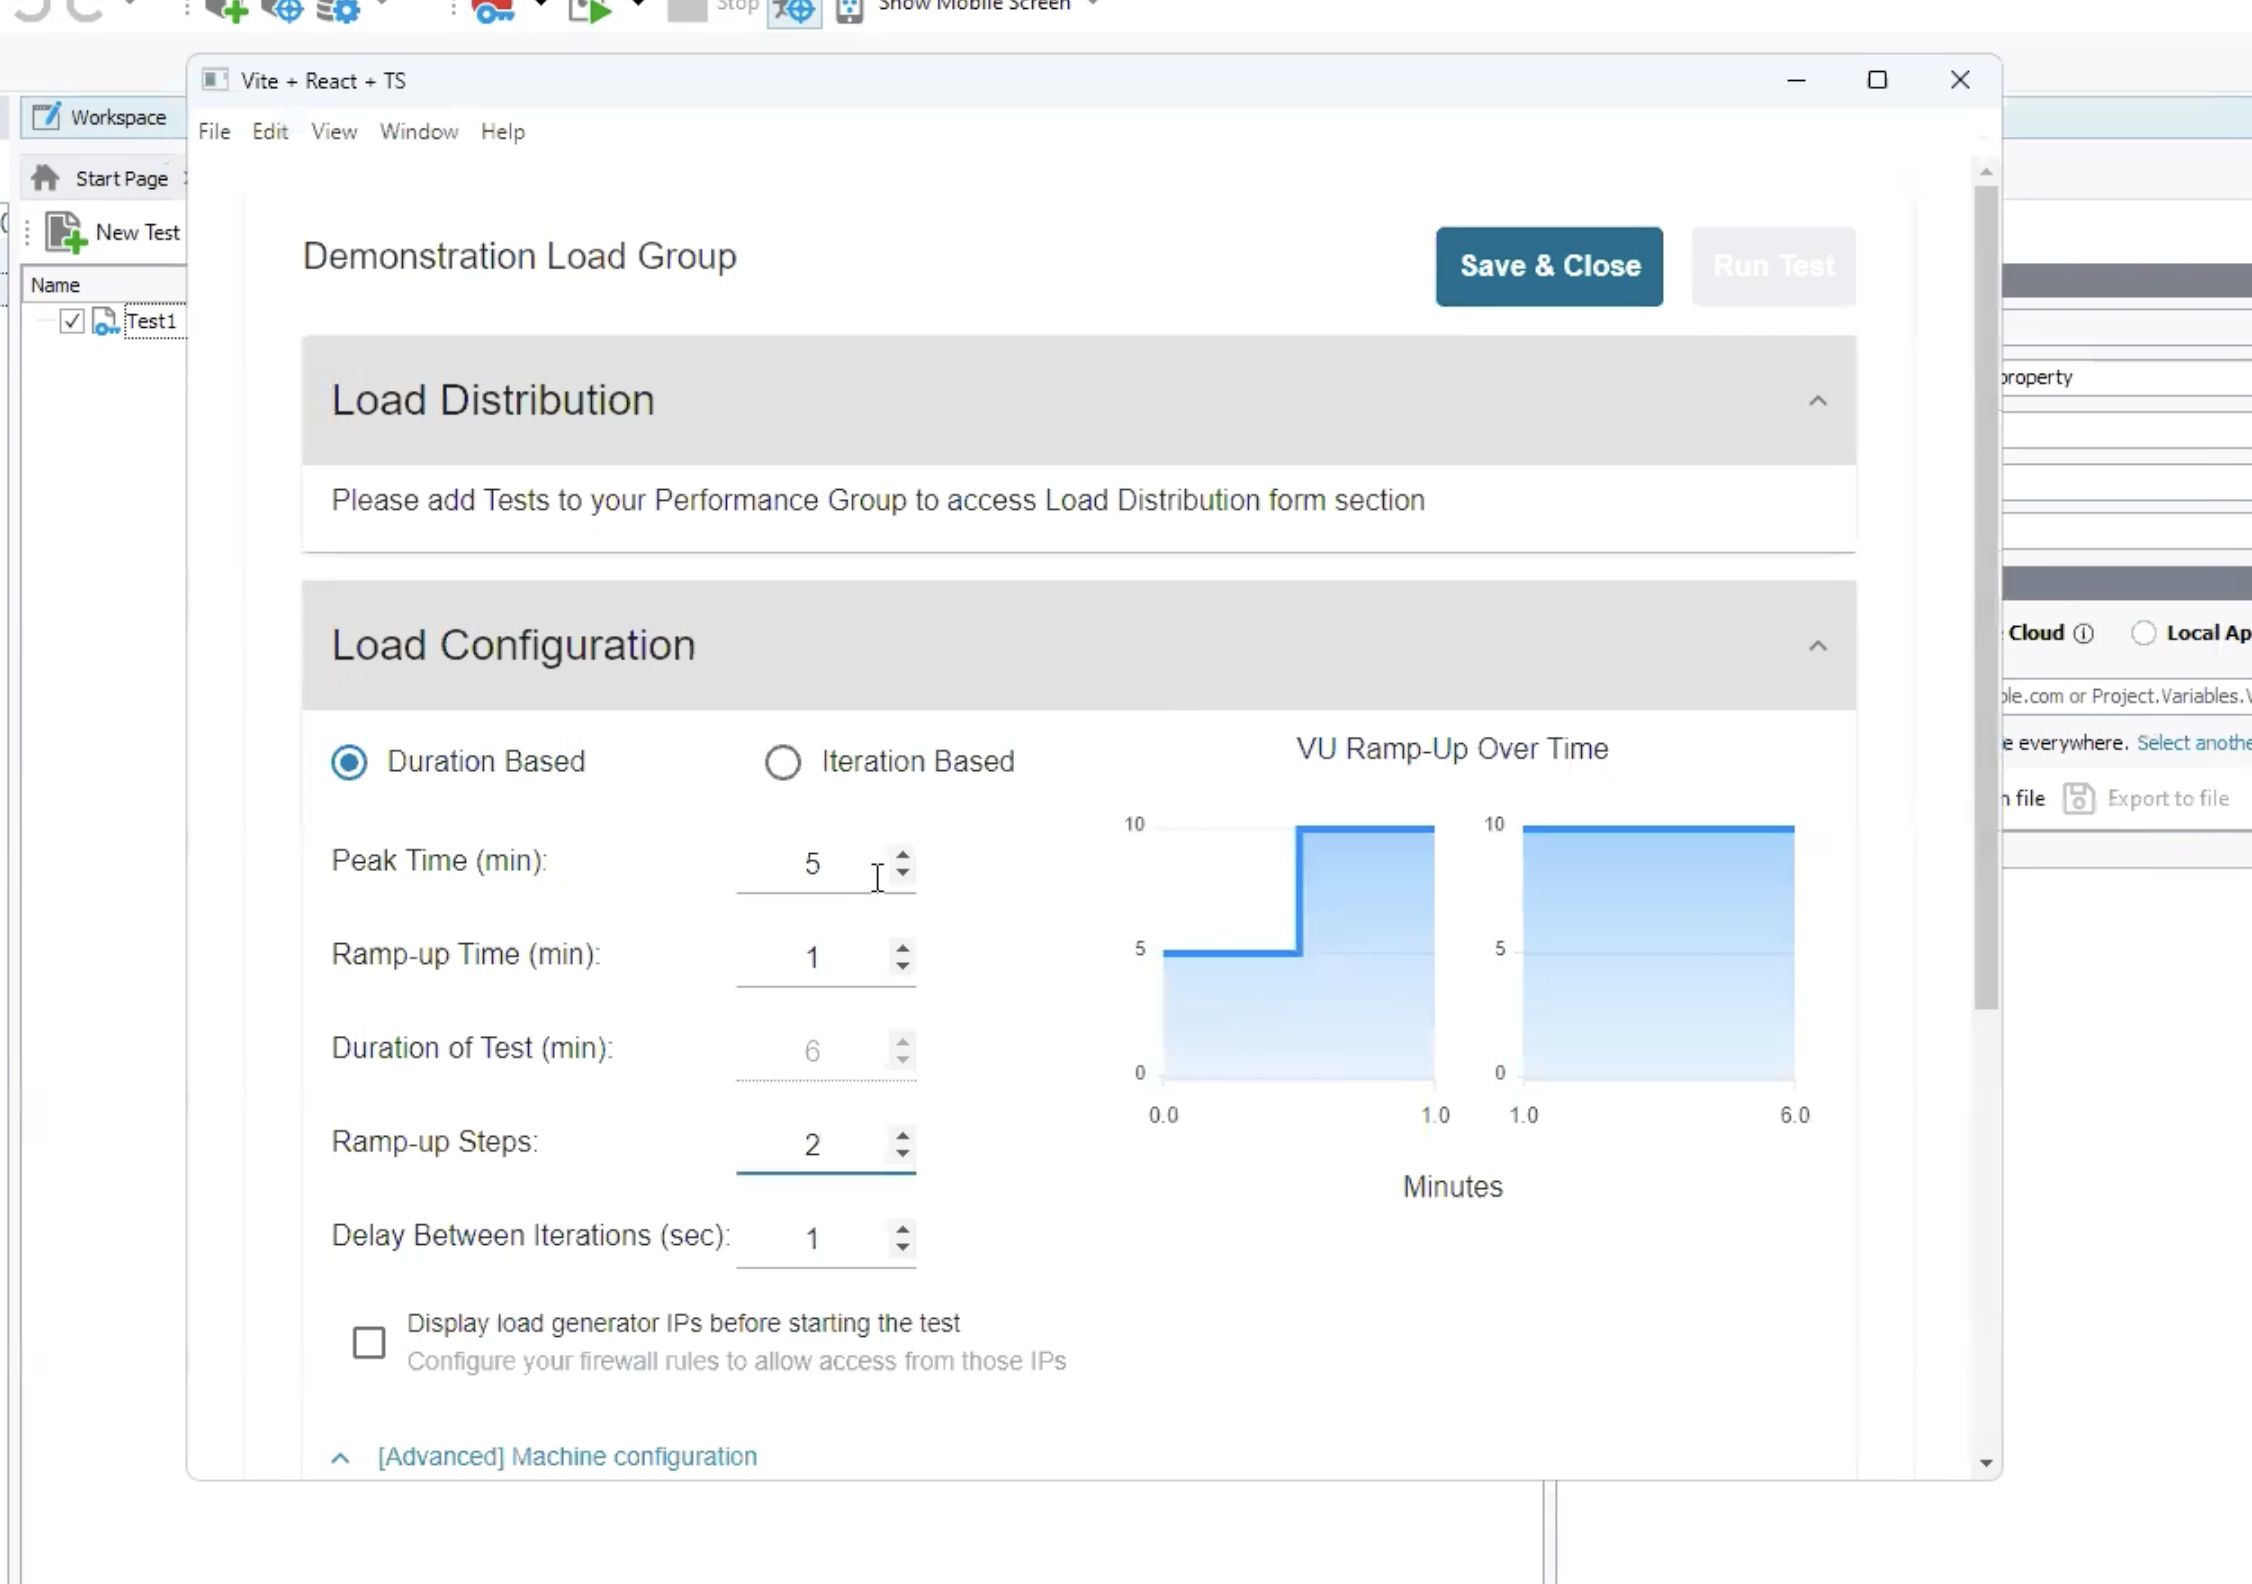
Adjust the load configuration settings in the load group.
-
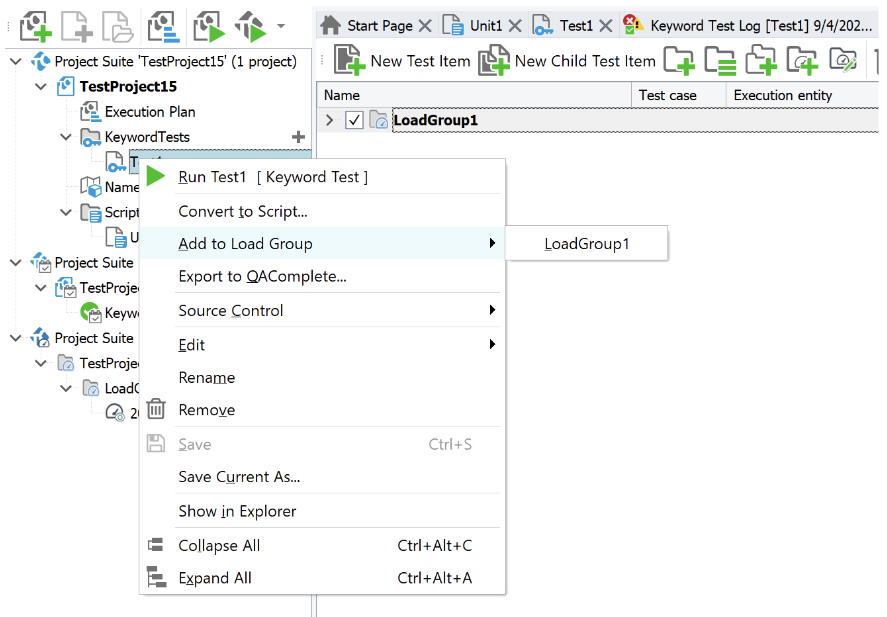
After you've created the load group, add the desired keyword or script tests (that you want to run as a load test) to this group. Right-click on the selected keyword or script test and select the "Add to Load Group" option. You can also drag the test onto the created load group.
-
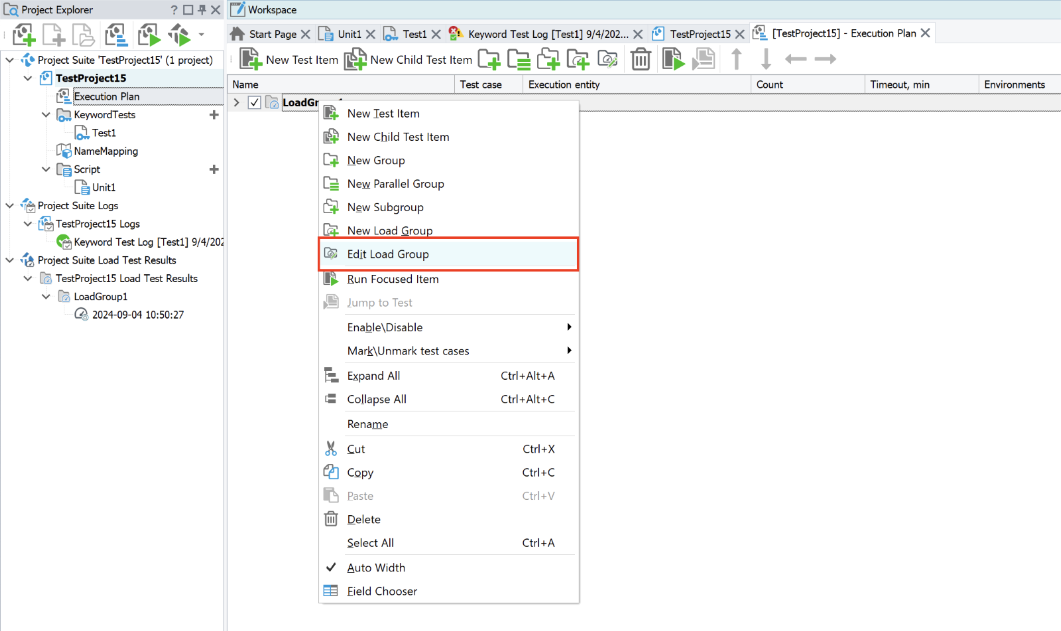
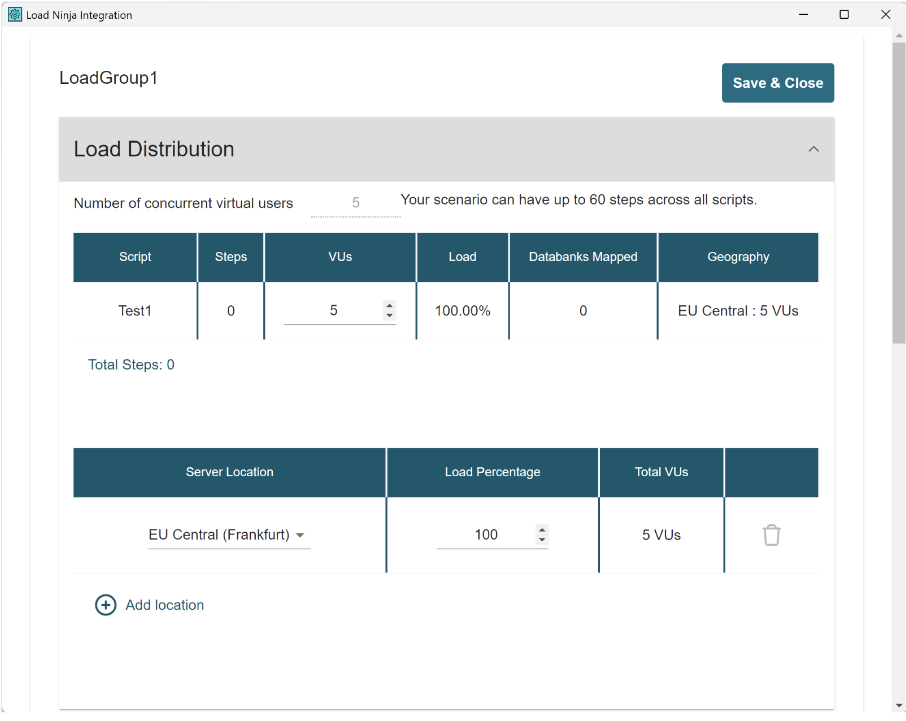
After adding tests to a load group, you can edit the load group to adjust the load distribution, such as the number of virtual users per test and the region from which the traffic should come.
-
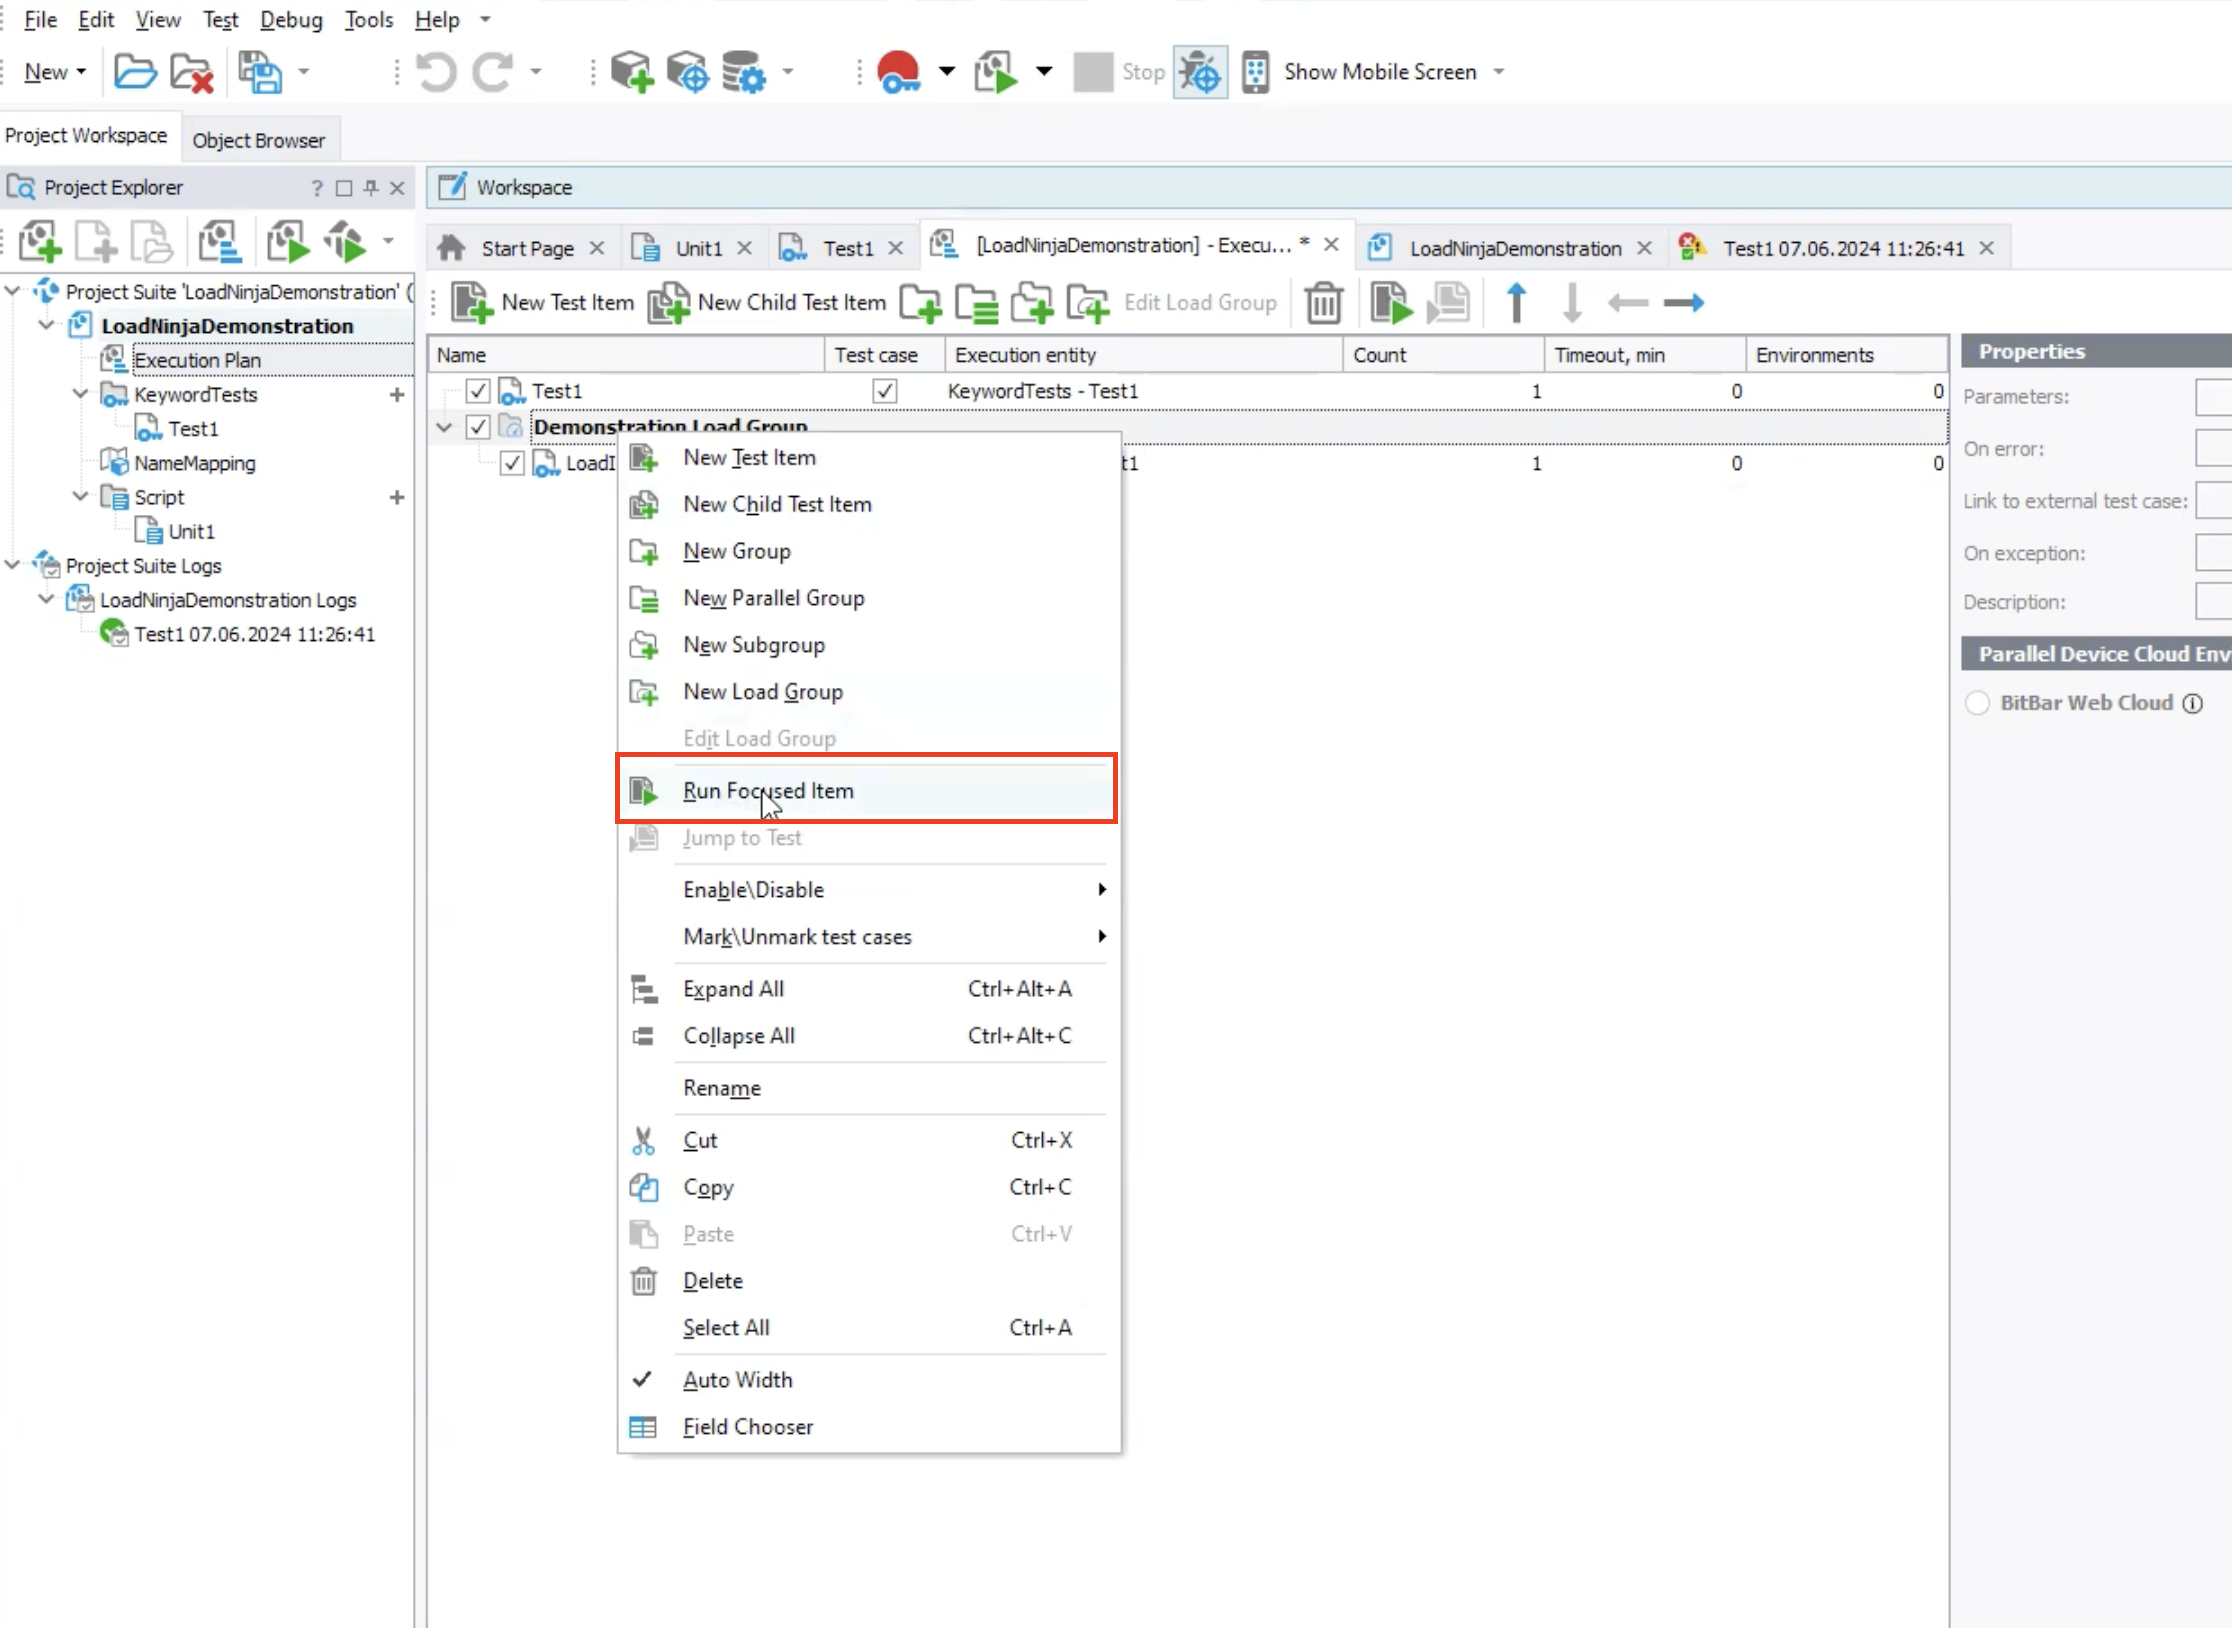
Run your test and wait for the execution.
-
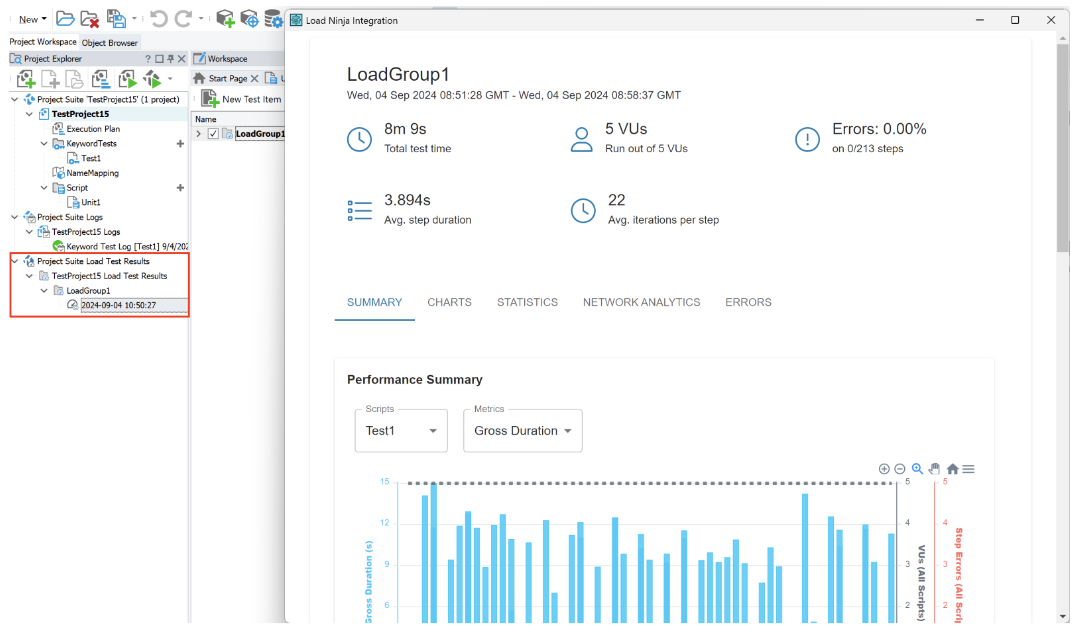
You will see the results of your test in TestComplete logs. Double click on a log to see the results from load test execution. Read more about how to analyze the results here.
Constraints
On Keyword Tests
Note that these operations won't work in Keyword Tests:
-
loops (for, while)
-
conditionals (if)
-
OCR
On Script Tests
TestComplete converts the scripted tests into a supported load group test. It records the interactions that occur during browser playback. This method ensures that all actions performed during playback are captured accurately. Then the app runs the playback within the load group to create a snapshot of the recording.
List of Supported TestComplete Actions or Methods in Load Tests
| Action | Keyword Tests support | Script Tests support |
|---|---|---|
Maximize |
Yes | Yes |
Resize |
No | Yes |
Position |
Yes | Yes |
Click |
Yes | Yes |
ClickChecked |
Yes | Yes |
ClickButton |
Yes | Yes |
SetText |
Yes | Yes |
FindElement |
Supported, but we are working to ensure the highest possible stability | Yes |
Keys |
Yes | Yes |
DblClick |
Yes | Yes |
ClickR |
Yes | Yes |
Drag |
Supported, but we are working to ensure the highest possible stability | Yes |
Wait |
Yes | Yes |
ClickItem |
Yes | Yes |
ToUrl |
Supported, but we are working to ensure the highest possible stability | Yes |
| Browser Dialogs (Alert/Confirm/Prompt) | Supported, but we are working to ensure the highest possible stability | Yes |

