To run your TestComplete tests as part of your team build, create a Visual Studio test project that will store your TestComplete tests.
 Why Preparing Projects Is Needed
 1. Add TestComplete Test to Visual Studio Test Project
 3. Configure TestComplete 14 Test Item Properties
Why Preparing Projects Is Needed
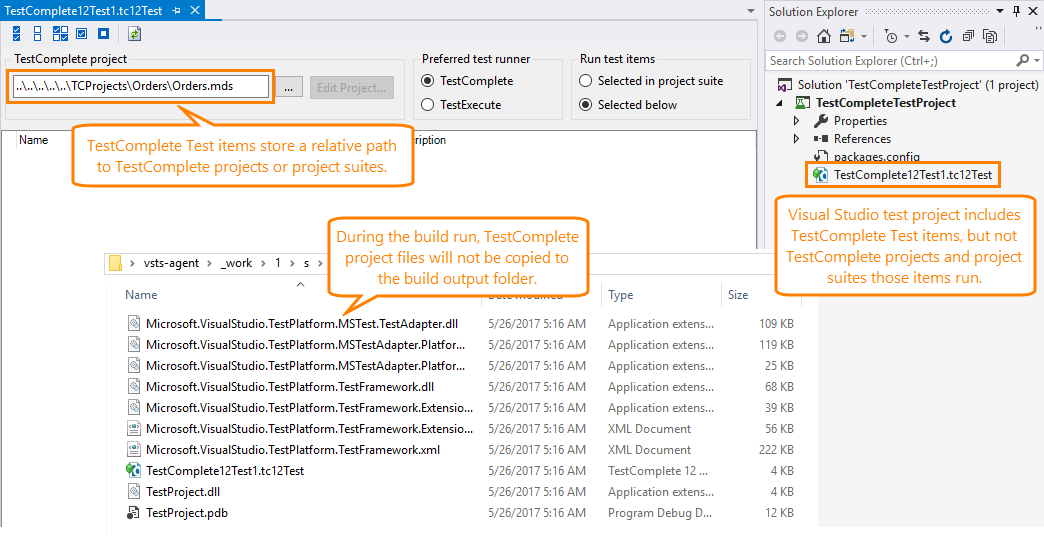
Visual Studio test projects store a relative path to TestComplete projects or project suites to be run.
When you build your project on a build computer, TestComplete 14 Test item files (.tc14test) will be copied to the build output folder. However, TestComplete project files (.pjs, .mds and etc.) will not be copied to the output folder because they do not belong to the Visual Studio test project:
The path to the TestComplete project that the TestComplete 14 Test item stores may become invalid. During the test run, your Visual Studio test project will not be able to find the needed TestComplete project or project suite and the tests will fail.
To avoid this issue, make sure that the path, which the Visual Studio test projects store, corresponds to the actual location of your TestComplete projects.
You can create custom build steps to copy your TestComplete project suite files to a proper folder and keep the path valid. In this topic, we will describe how to create such build steps.
Requirements
To create and configure a Visual Studio test project and include your TestComplete tests in it, you must have the following software installed:
-
One of the following Microsoft Visual Studio versions with Team Explorer component:
-
Microsoft Visual Studio 2015–2017 (Community, Enterprise or Professional edition).
-
Microsoft Visual Studio 2013 (Community, Ultimate, Premium, or Professional edition).
-
Microsoft Visual Studio 2010–2012 (Ultimate, Premium, or Professional edition).
-
-
TestComplete 14.
-
TestComplete 14 Visual Studio Integration Package.
The Integration Package installer is shipped along with TestComplete. You can find it in the TestComplete folder after installing the product:
<TestComplete 14>\VS Integration\VSIntegration.exe
Run this installer after installing TestComplete on the computer, where you create and configure your test project. In the installation wizard, select the Visual Studio Integration feature appropriate for your Visual Studio version.
1. Add TestComplete Test to Visual Studio Test Project
-
In Visual Studio, open your Visual Studio test project or create a new one:
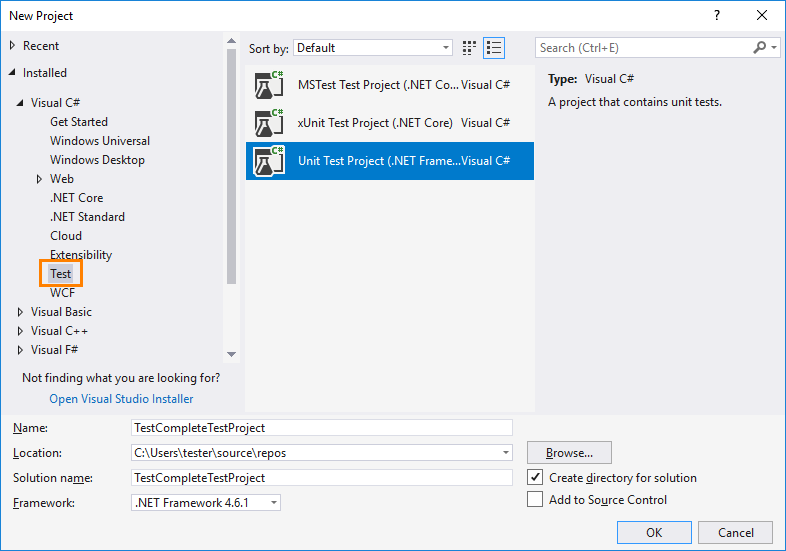
Note: You cannot add TestComplete tests to Visual C++ unmanaged (native) test projects. As a workaround, we suggest that you use a test project of any other type (for example, a Visual C++ Managed Test project).
-
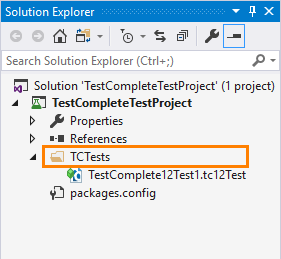
In Solution Explorer, add a new folder to your Visual Studio test project. This is the folder where your TestComplete 14 Test item will be stored:
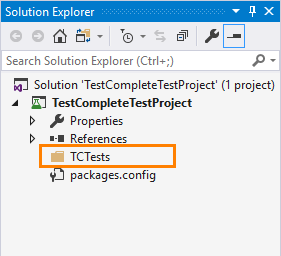
-
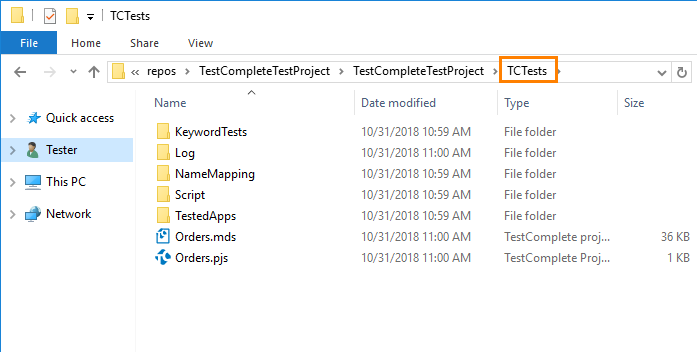
Right-click the created folder and select Open Folder in Windows Explorer from the context menu. This will open the created folder in Windows Explorer:
Place your TestComplete project suite with all its files in the folder:
-
In Visual Studio Solution Explorer, add a new TestComplete 14 Test item to the created folder:
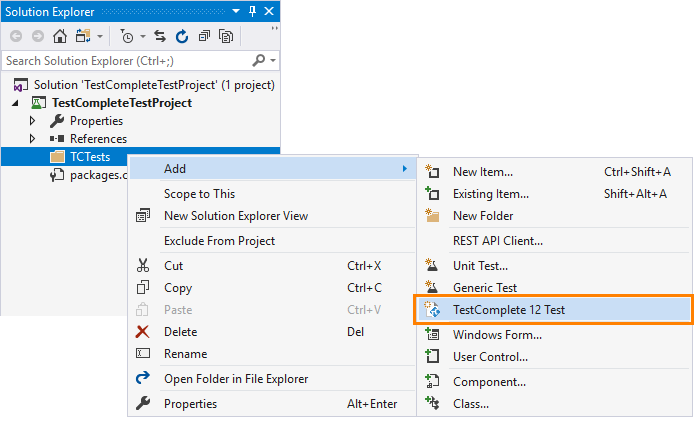
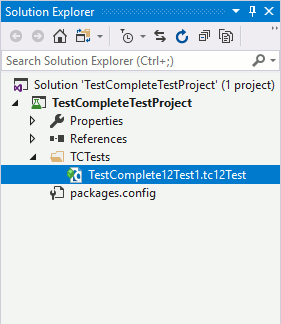
Visual Studio will create a new TestComplete test, add it to the test project and display the test in the project item tree of Solution Explorer:
-
Configure the added TestComplete 14 Test item to run the needed TestComplete tests:
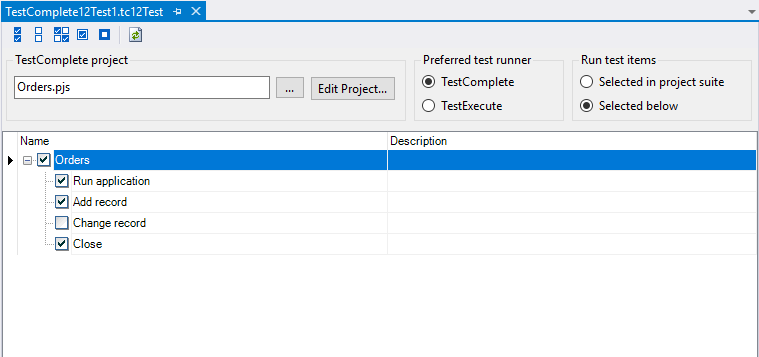
For detailed instructions on how to do it, see Add TestComplete Tests to Visual Studio Test Projects.
-
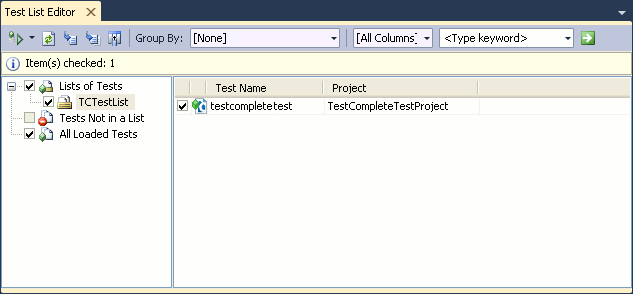
If you use Visual Studio 2010, add your TestComplete 14 Test item to a test list:
2. Create Custom Build Steps
-
In Visual Studio Solution Explorer, select your test project and choose Properties from the Project menu.
-
In the ensuing Project Designer panel, depending on your test project’s language:
Switch to the Compile tabbed page and click Build Events.
– or –
Switch to the Build Events tabbed page.
-
In Pre-build event command line, enter commands that will clear the TCSuiteFolderName folder in the project’s output folder:
rd /S /Q "$(TargetDir)TCSuiteFolderName"TCSuiteFolderName - The name of the folder in your Visual Studio test project that stores your TestComplete 14 Test item (.tc14test) and TestComplete test files. It is the folder you created earlier.
The TargetDir variable specifies the path to the project’s output folder.
-
In Post-build event command line, enter commands that will copy your TestComplete project suite files to the project’s output folder:
md "$(TargetDir)TCSuiteFolderName"
xcopy "$(ProjectDir)TCSuiteFolderName" "$(TargetDir)TCSuiteFolderName" /Y /EThe ProjectDir variable specifies the project’s source directory.
3. Configure TestComplete 14 Test Item Properties
-
In Visual Studio Solution Explorer, right-click the TestComplete 14 Test item and then click Properties.
-
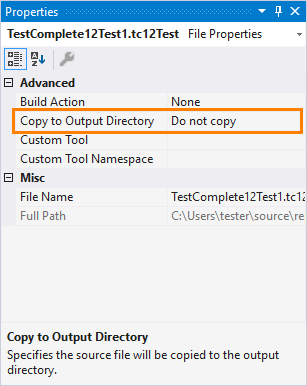
In the Properties panel, set the Copy to Output Directory property of the TestComplete 14 Test item to Do not copy:
4. Add Test Project to Source Control System
Azure DevOps Services and Team Foundation Server work only with files stored in source control. Connect to your team project and add your Visual Studio test project to your team repository:
Git (For Visual Studio 2013–2017)
-
In Team Explorer, connect to your team project.
-
Right-click your solution in Solution Explorer and select Add Solution to Source Control from the context menu.
-
In Team Explorer, click Commit to commit your solution files to the Git repository.
Team Foundation Version Control
-
In Team Explorer, connect to your team project.
-
If needed, configure your workspace and map it to the needed folder on your computer.
-
Make sure that your Visual Studio test project is in the workspace folder.
-
Right-click your solution in Solution Explorer and select Add Solution to Source Control from the context menu.
Visual Studio will add the project files to your team project repository.
-
Right-click the solution node in the Solution Explorer and choose Check In from the context menu or click Check In in the Team Explorer panel.
-
In the subsequent Check In dialog, click Check In. Visual Studio will check in the solution files to the repository.
5. Add TestComplete Project to Source Control System
Add your TestComplete project suite to the source control you use for your team project:
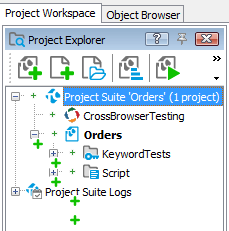
We recommend that you do this directly from within the TestComplete IDE (for more information, see Integration With Source Control Systems). This way, only necessary files will be added.
See Also
Run TestComplete Tests as Part of Build Pipeline (Team Builds)
Prepare TestComplete Project for Integration
Defining a Build Process

 Prev
Prev