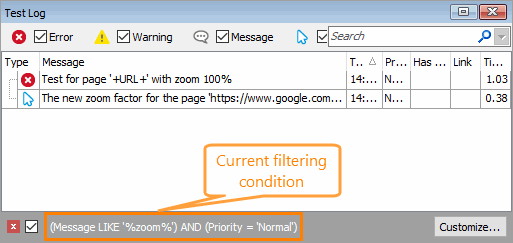
The easiest way to filter data in a panel is to press the dropdown button in the column header. Pressing the button opens a list that contains all values displayed in this column. Select the desired value from this list and the panel will only display those records which hold the selected value in the column (see the image below). This is also called auto-filtering. Note that some panels do not support this feature.

You can filter results on several columns: just select the filtering value for each of these columns. For example, on the picture above the filter is applied on the Type Description and Priority columns. The current filter conditions are displayed at the bottom of the panel. To disable the filter, simply uncheck it there. To remove the filter, press the  button. To modify the filter conditions for the chosen column, select (Custom...) from the dropdown list and use the ensuing Custom Filter or Filter dialog. You can also modify the entire filter (for all columns) by pressing the Customize button and using the subsequent Filter dialog.
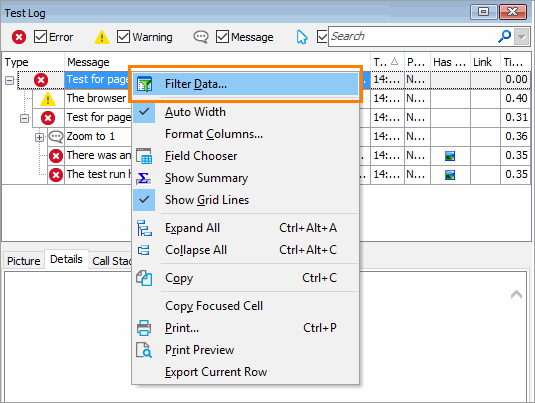
Another way of filtering data in a panel is to right-click somewhere within the panel and select  Filter Data from the context menu:

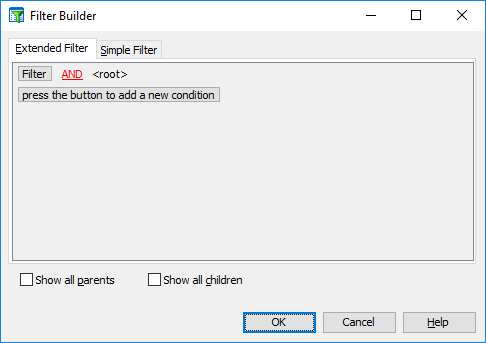
This will call the Filter dialog that lets you create custom filter conditions. You can use wildcards in conditions (the _ and % symbols) to search for the desired values in string columns (see Filter Dialog).

Once you have created the desired filter in the dialog, press OK to save and apply the filter. You can also save the current filter to or load it from a file.
