After you define your release, iteration, or build, you can tag requirements, tests, test sets, and defects as belonging to a specific release. You can link these items to a release on the corresponding listing screen (that is, Requirements, Defects, and Test Management Screens) or right away from the Releases screen.
On the Releases page, you can link items using the traceability feature.
Release roll-up
As you link items to your release or iteration, the release rolls up the total number of linked items by the item type. To view these numbers, add the corresponding columns to the Releases screen in Tools > Choose Fields, or ask your system administrator to configure the Add and Edit forms in > Setup > Screen Layouts.
QAComplete rolls up the following numbers:
- Linked requirements
- Tests linked to the linked requirements
- Tests linked directly to the release
- Test sets
- Defects
- Agile tasks
If you enter estimated hours for requirements, agile tasks, or defects, these values will also be rolled up to the release. As your team posts work hours, QAComplete calculates the release variance between your original estimates and actual hours using the following formulae:
Variance in hours = (Total estimated hours) - ((Estimated hours remaining) + (Actual hours posted))

					Variance percent = ((Variance in hours) / (Total estimated hours)) * 100
Custom link types
Each screen of QAComplete can have a set of user-defined release link types. Use these to explain the relationship between releases and other items.
For example, to link defects to a release, you can use the following release link types:
-
Blocked by – This link type associates releases with blocking defects.
-
Fixed in – This link type associates releases with fixed defects.
To set up release link types for defects:
-
Go to Defects > Show Defects.
-
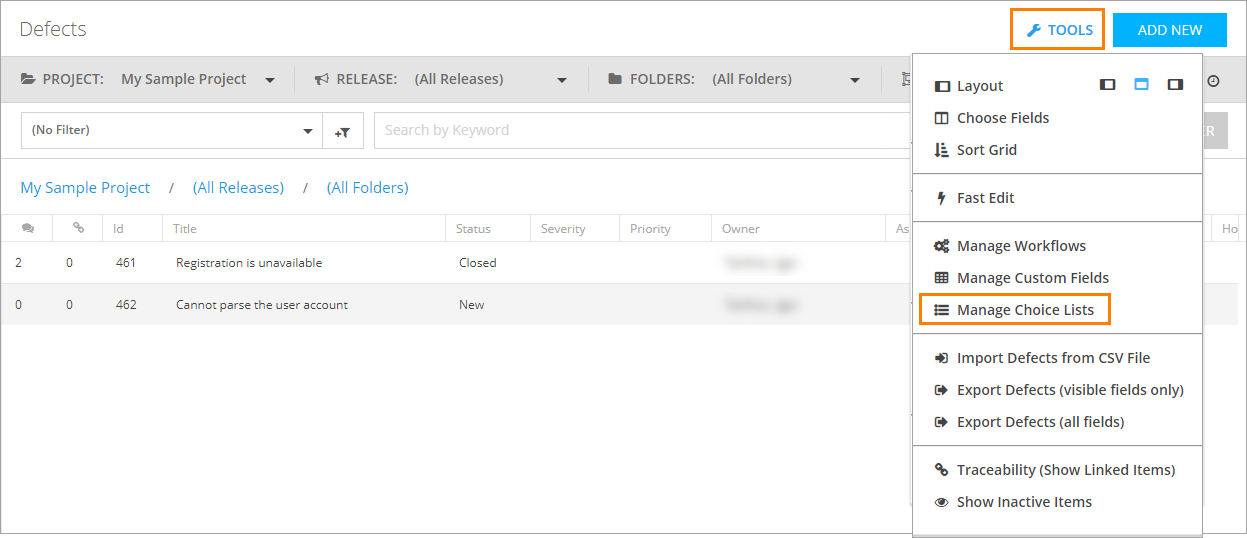
Click Tools and select Manage Choice Lists.
-
Type the names for your custom link types in the Release Link Types field. In our case, these will be the Blocked by and Fixed in link types.
Click Submit changes to save the changes you have applied.
Now, you can link defects to any available release. To do that, go to Releases.
-
To open the Edit Release field, click the title of the release or the Edit this record button to the left of the needed release.
-
Click Link on the Linked Items panel.
-
In the Select Item Type drop-down list, select Defects. Use the Select Folder and Select Item Title lists to navigate to the needed defect.
-
In the Link As drop-down list, select a type of the release link.
| Note: | You can filter your items by a release link type on the left navigation panel. For example, you can check, which defects are blocking the selected release, or were fixed in the selected release. |


