Requirements
To do live testing, the tested web app should be accessible to the CrossBrowserTesting servers.
Also, your computer and network should allow WebSocket connections. Typically, these connections are allowed on most systems. If you are not sure, you can easily check this. See What are the requirements for live testing? for details.
Video tutorial
Step 1. Start testing and enter a URL
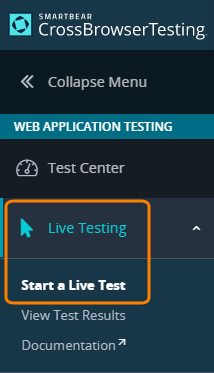
To start live testing, go to Live Testing > Start a Live Test:
Enter the URL of the page to be tested:
| Tip: | If the page is behind a firewall or on a local server, enable Local Connection. |
Step 2. Select an operating system and browser
In CrossBrowserTesting, you can test your websites on desktop browsers and mobile devices, so you can select the needed operating system, browser version, and display resolution size.
Desktop
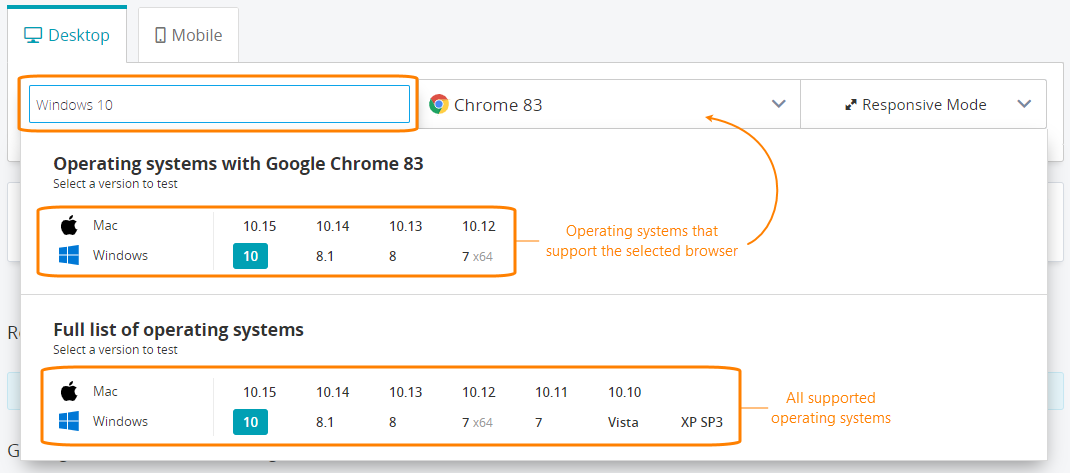
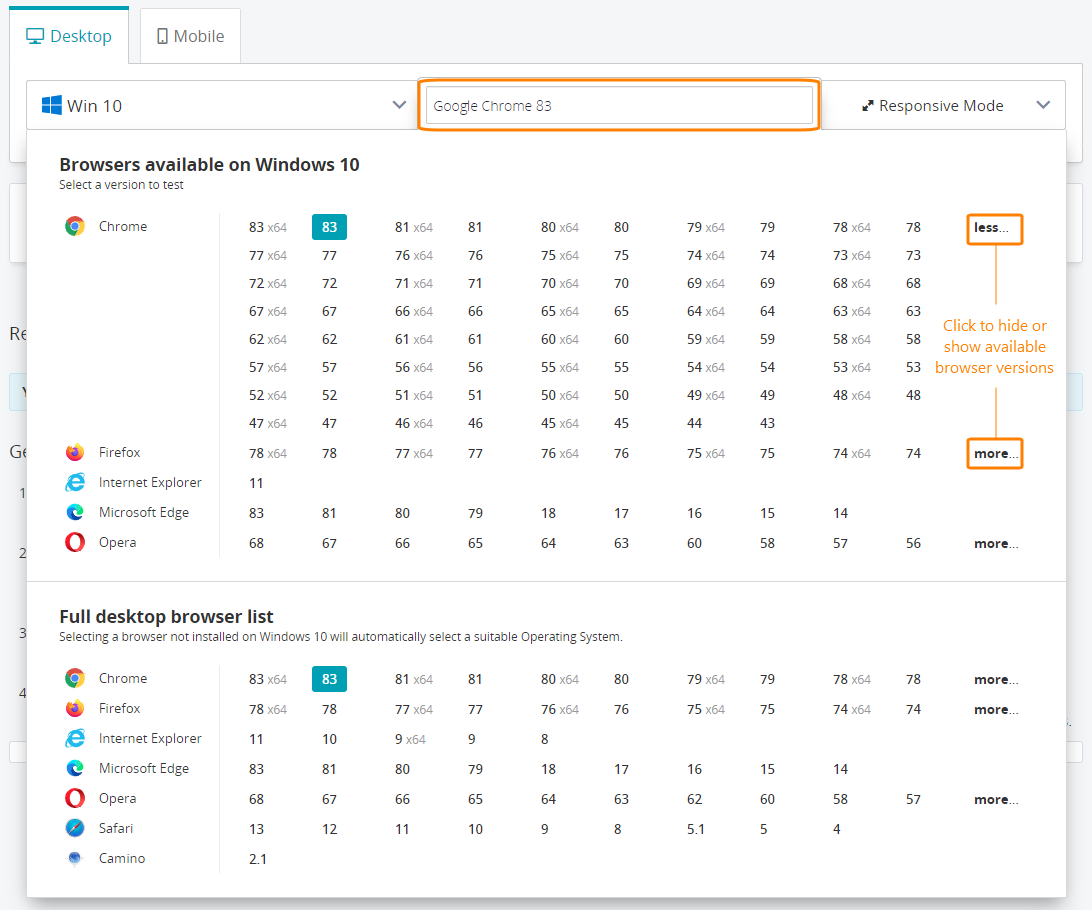
On the Desktop tab:
-
Select an operating system.
-
Select a browser.
-
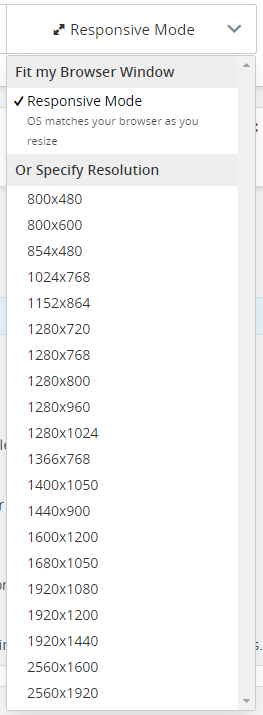
Select a display resolution size. To make the selected browser automatically resized, select the Responsive Mode option.
Mobile
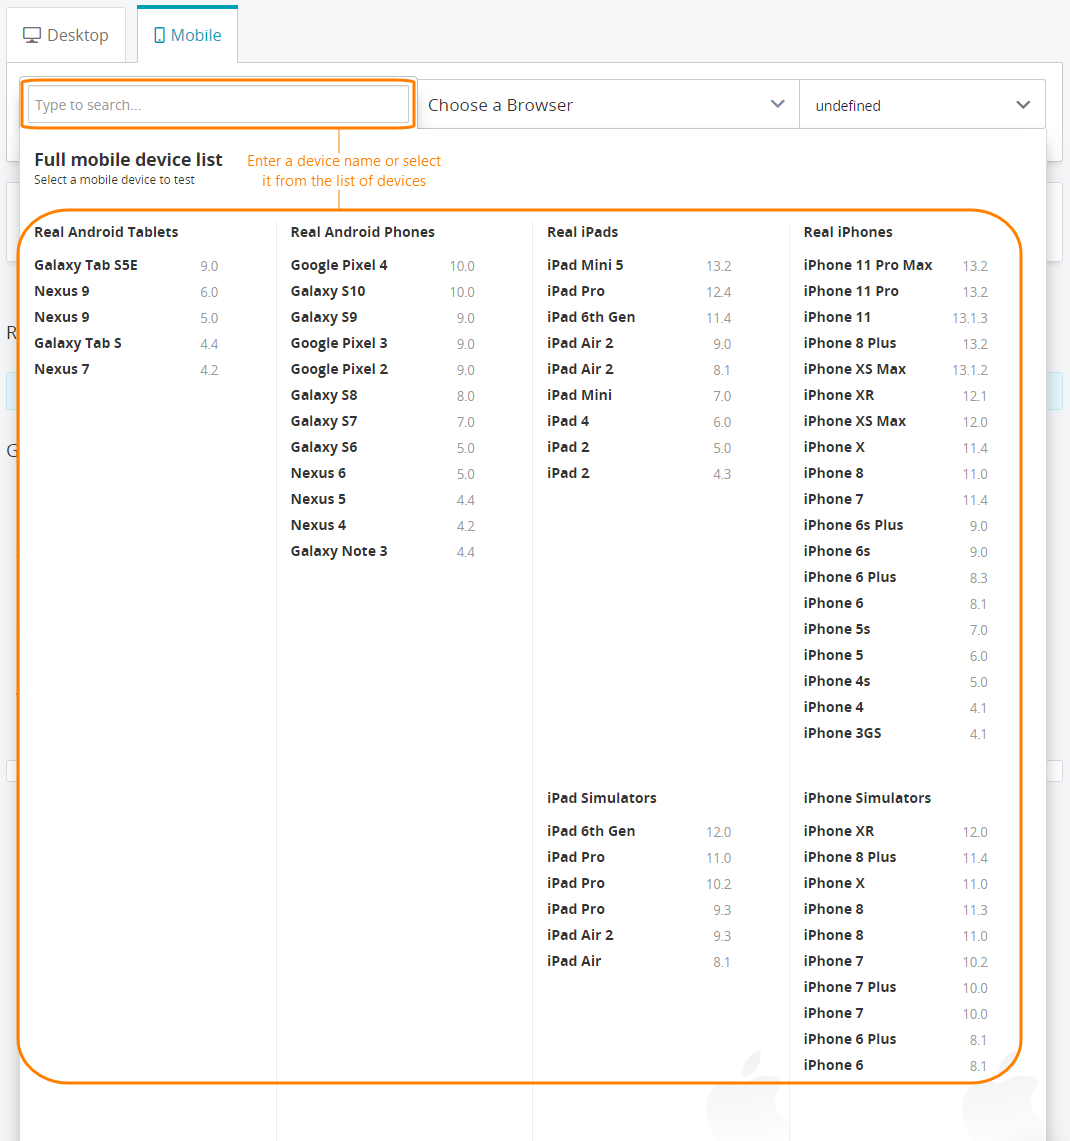
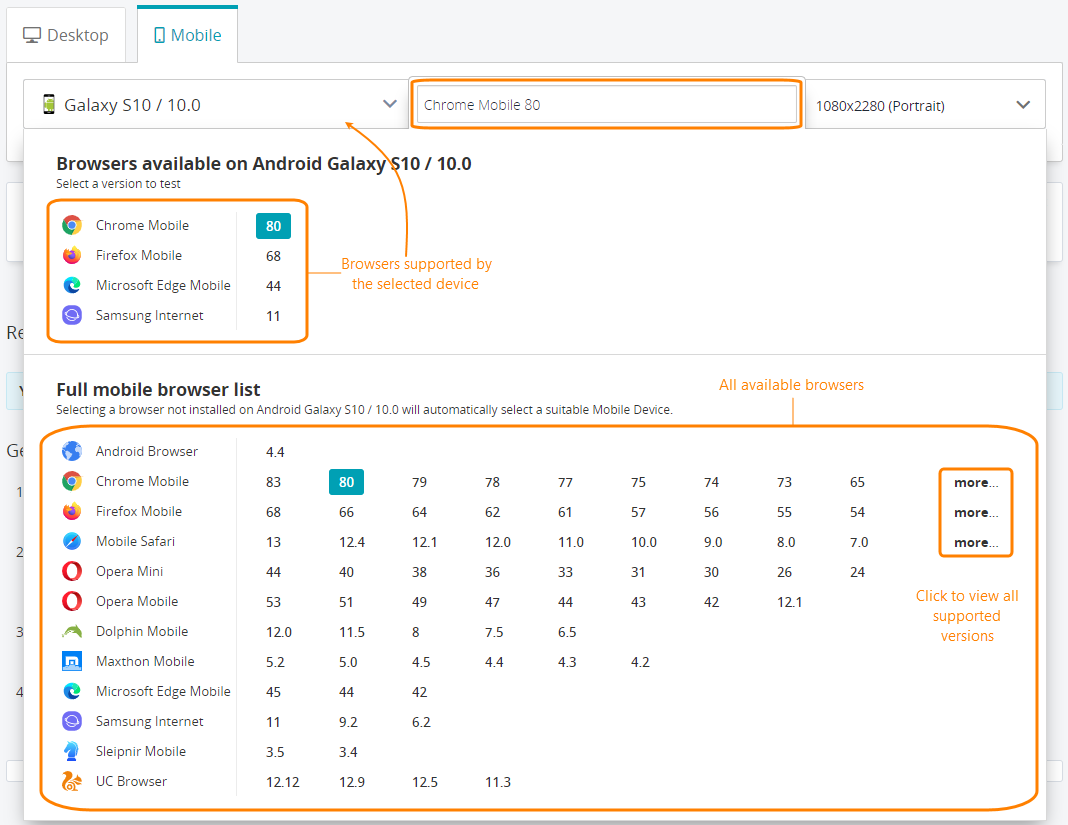
On the Mobile tab:
-
Select a mobile device. CrossBrowserTesting provides live testing on real Android and iOS devices.
-
Select a mobile device browser.
-
Switch the device screen to the portrait or landscape mode.
Step 3. (Optional) Configure live test settings
Record the live test session
To record a video for the live test session:
-
Click Advanced Options.
-
Enable the Record Video option.

The maximum video duration is 10 minutes.
Record network traffic
To record network traffic for the entire live test session:
-
Click Advanced Options.
-
Enable the Record Network option.

The maximum video duration is 10 minutes.
Specify a tunnel name
| Note: | Use this option to test local sites or sites behind a firewall. See Local Connection for details. |
You can specify the name of the tunnel to be used in the test. By default, the most recent active tunnel is used regardless of the setting. Select a name, if you have multiple.
-
Click Advanced Options.
-
Enable the Specify Named Tunnel option and select the tunnel name.
VNC client settings
When you request a Live Test for a specific operating system and browser to test your web page, a new instance is created on our servers which can be viewed and interacted with via a remote client. Since we use a VNC (Virtual Network Communication) server to deliver this service, a VNC client is required to access the session. We offer two different in-browser VNC clients. They are convenient to use since you can just request a test session and interact with it without leaving the page. These are the current offerings:
-
WebRTC client – Uses the Web Real-Time Communication framework.
-
HTML5 Client – Uses the canvas element with WebSockets. See Performance tips.
Use the Live Test Settings drop-down menu to configure the following settings:
Client
How the live test should be delivered. We recommend that you use HTML5.
Timeout
How many minutes of inactivity of the mouse or keyboard before the session times out.
Feedback Pop-Up
Enable or disable a feedback pop-up that is shown after the live test session.
High-Speed Network
Recommended. If enabled, CrossBrowserTesting will use its subdomain for faster performance but will not use a consistent IP address. Disable the setting, if you have special firewall rules.
Performance
Available, if the HTML5 client is selected. Allows adjusting the visual quality versus the VNS session speed.
-
Auto – Recommended. Selects the optimum performance setting based on your network speed.
-
Manual – Allows you to customize the setting by dragging the point in the Speed-Quality scale.

Step 4. Run the test
To start testing, click Run Test. CrossBrowserTesting will check if the connection is secure, launch the selected browser, and start the live test.
Step 5. Interact with the website
Interact with the website with the mouse and keyboard.
You can also use the following buttons while performing the live test:
-
 – Click to take a screenshot on the ongoing live test session.
Tip: You can also use the Alt + P keyboard shortcut. -
 – Click to record a video of the live test session.
Tip: If you find a bug while testing, you can record a video with the steps that reproduce the bug and then share it with the team. -
 – Click to record network packets.
 -
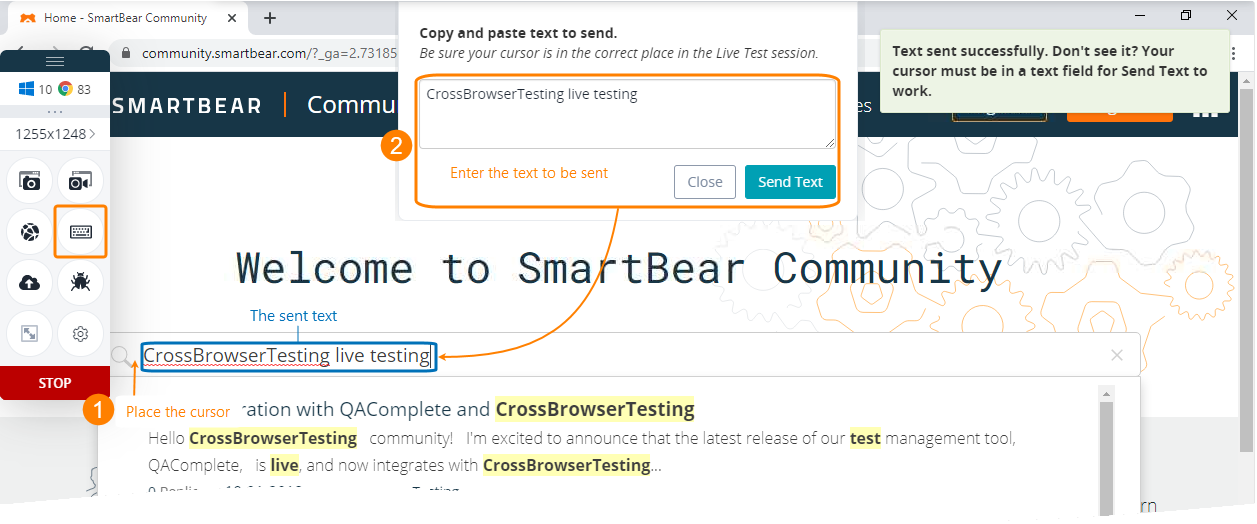
 – Click to enter text to send to a certain place in your test. After clicking the button:
-
Place the cursor in the needed place in the live test session.
-
Enter the text to be sent in the appeared pop-up window and click Send Text.
The entered text will be sent to the specified place in the live test session.
-
-
– Click to upload files to the live test session.
-
 – Click to open the browser's Dev Tools panel.
 -
 – Click to scale the tested web page to fit the browser window size automatically.
 -
 – Click to open live test settings.
Once ready, click Stop to finish the test.


 Show image