What are the requirements for live testing?
In order for you to be able to do live testing, the tested web application should be accessible to the CrossBrowserTesting servers. That is, the app should be publicly available to the Web, or a special secure tunnel should be up and running.
Also, live testing needs a persistent, secure WebSocket connection (WSS) to prodvnc.crossbrowsertesting.com:443 to transmit data from your browser to the tested application.
If you are using the HTML5 VNC client, then the WebSocket connection is also used to transmit the live video from the tested application to your browser.
Troubleshooting connection errors
A WebSocket connection is set up in the following way:
-
The browser creates a TCP connection to the server.
-
The browser sends an
HTTP 1.1 Upgraderequest to the server. -
The server responds with
101 Switching Protocolscode.
The “Client is unable to connect to the remote session” error message indicates that the WebSocket connection is being blocked or forcibly closed:
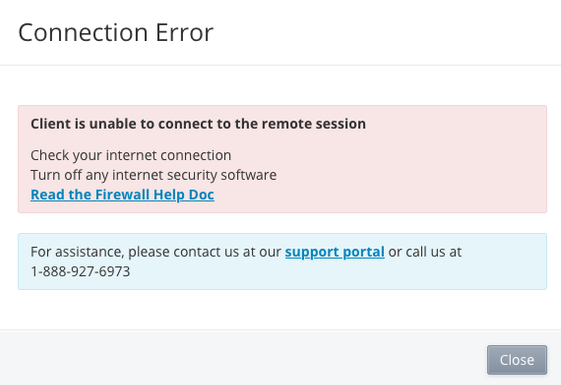
This could happen for one of the following reasons:
-
A browser setting or extension prevents using WebSockets.
-
A proxy server or firewall running in your network doesn’t support or is configured to block WebSockets or long-running connections.
-
Some security software prevents WebSocket connections.
How to check if WebSockets are supported?
To test if your browser and network environment allow WebSocket connections, open this web page in a browser on your computer:
The page will report if WebSockets are supported or not:
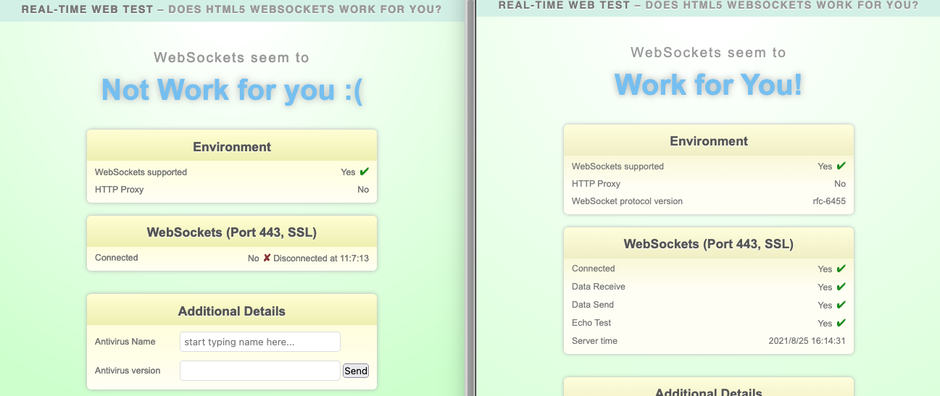
If the page reports that “WebSockets seem to Not Work for you”, check if any application running on your computer is blocking the connection. If nothing on your machine prevents the connection, ask your network administrator to enable WebSockets in your proxy or firewall.
What is the “Administrator” password?
On our Ubuntu and Mac configurations, you have full administrative access to the system. On all of these platforms, the administrator ID is “you” and the password is “password” (without the quotes).
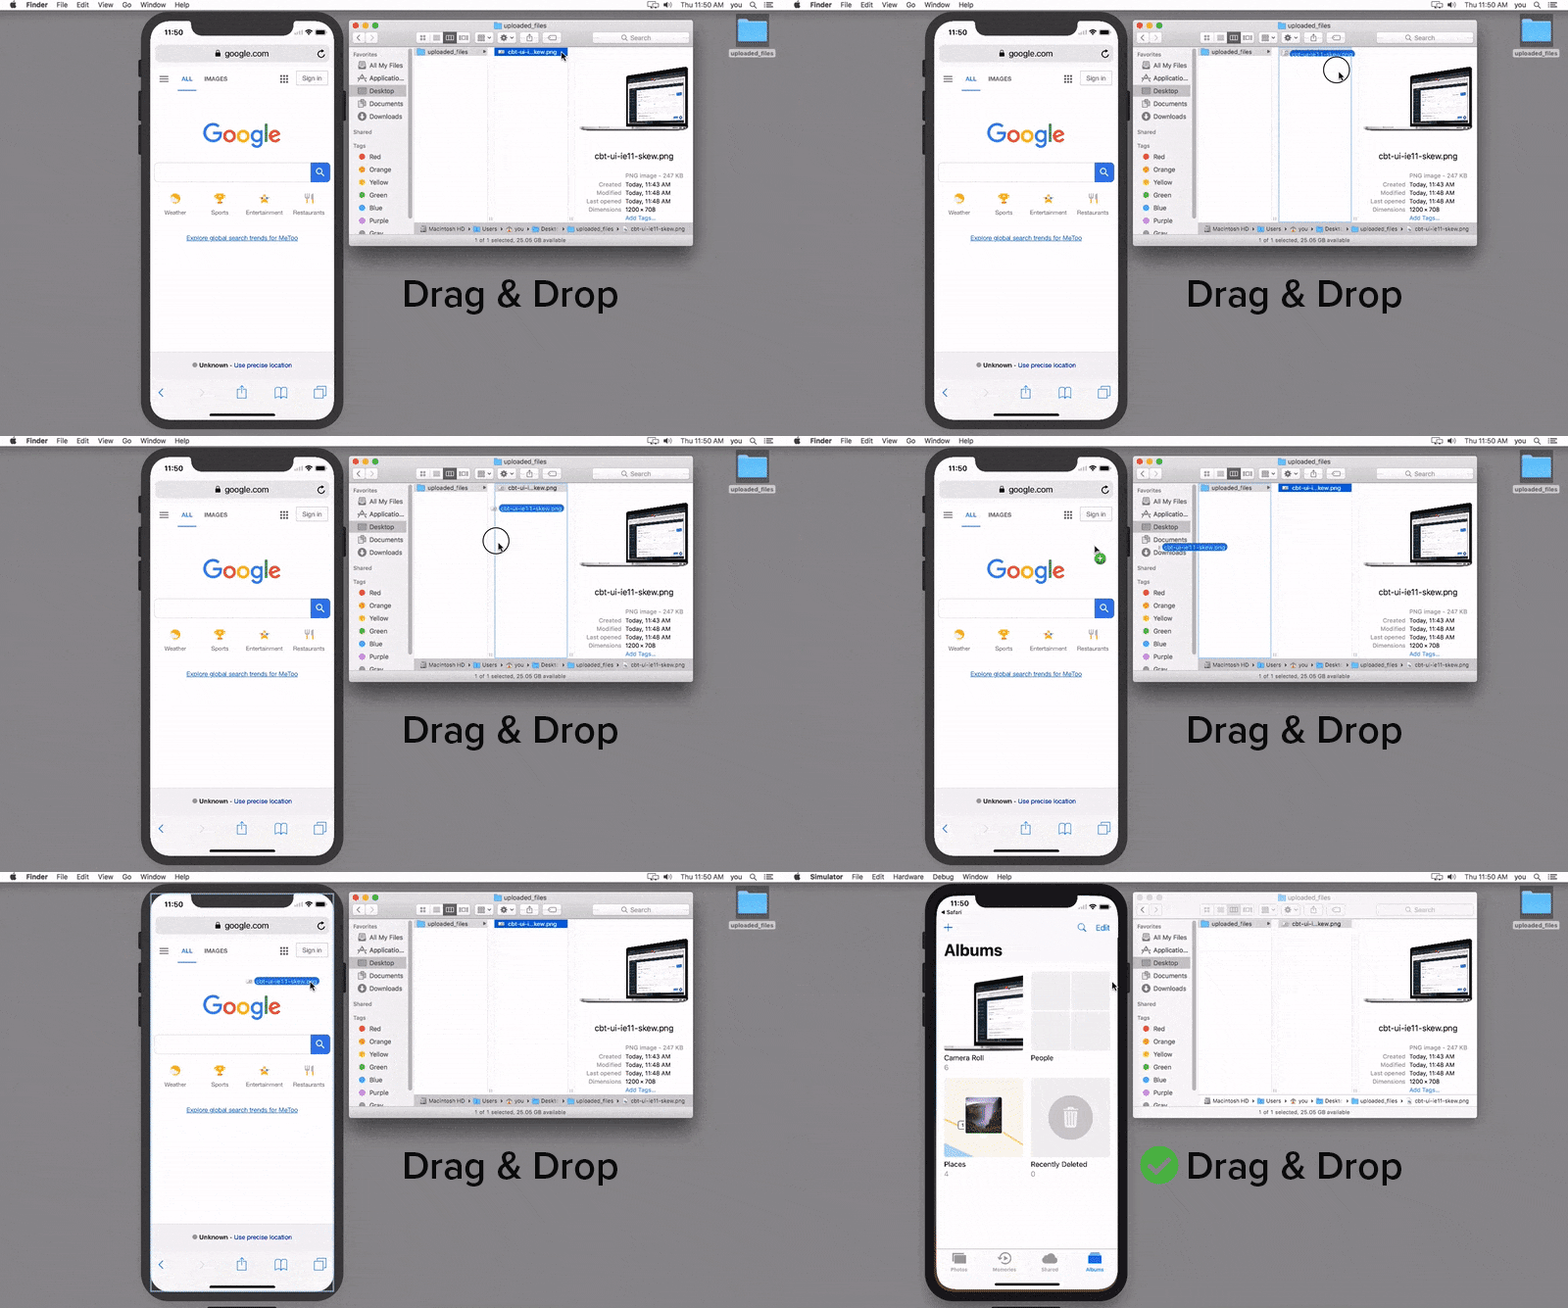
How to upload a file to an iOS simulator?
Click Upload File and drag the file to the iOS simulator.
How to record network traffic?
CrossBrowserTesting gives you the ability to record network traffic from our Windows, OSX, and physical mobile devices. You can start a recording in one of three ways, depending on the type of test you’re running.
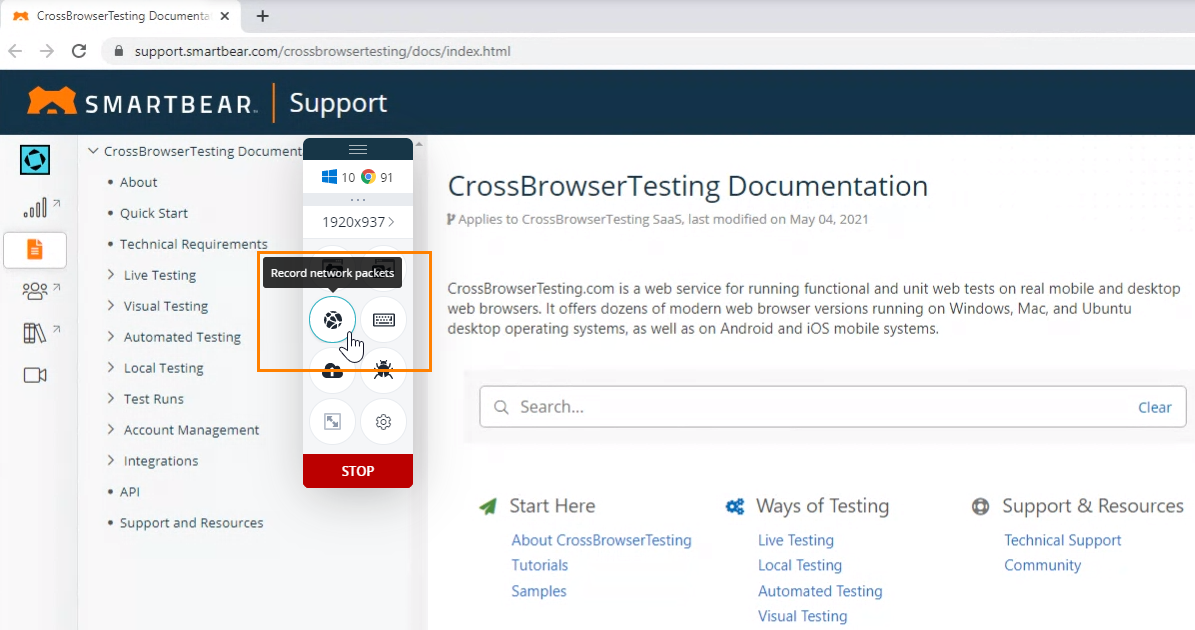
If you’re running a live test and would like to capture a network recording, simply click the globe icon from within our live-test toolbar:
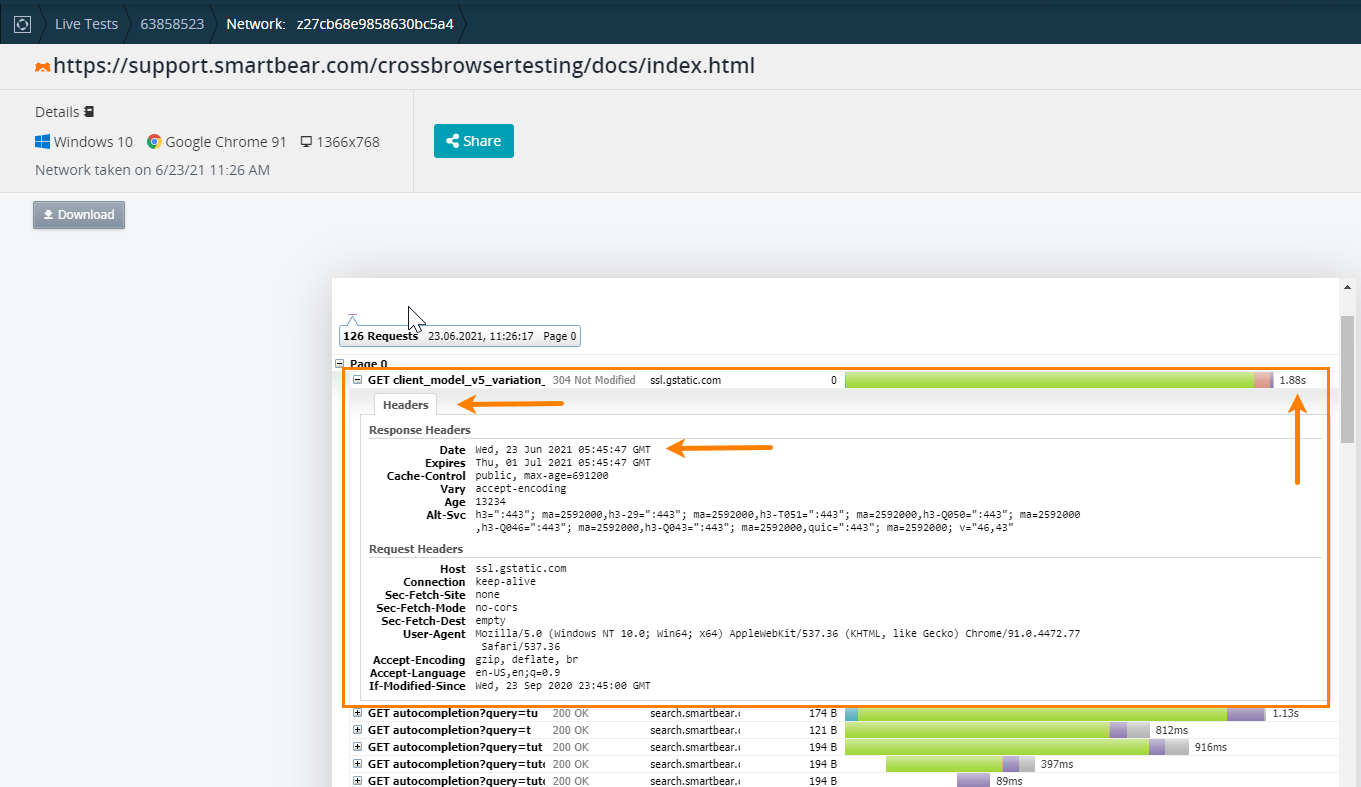
Then, click the same icon to stop your recording and collect your results. You will be able to see all the request/response headers’ content together with the time and duration of the events.
If you’re running an automated test via Selenium, you can do the same thing via our API or by setting a capability in your test. If you’d like to use the capability method, it’s as easy as sending “recordNetwork” with a value of true when requesting your session. This will capture network traffic for the duration of your session. While easy to use, this might not provide the best results as the HAR capture can become quite large, and it can be more difficult to parse out the results you really need.
A more suitable option is to start your capture via our API. You can do this by sending a POST request to an endpoint, as documented in our API reference. The response should contain a hash value which can be used as an ID to stop the recording when you’re done. Stopping the capture is also shown in our API reference. This allows you to start the capture, perform any navigation or interaction you’d like via Selenium, then stop the capture and grab the results you want – all automated.
Note that in the situation where a network recording is on, we are actively resigning your network traffic using our own internal certificate for one hop before the traffic goes out to either the open Internet or your local connection. This is how we can successfully capture SSL traffic even though it is encrypted. We try to deliver the results to you as fast as we can, however, this resigning process takes additional time and can result in longer test times due to the additional overhead. This is why we recommend turning the network recording on and off via our API for shorter periods of time. You can always start multiple network recordings in case you need to capture more results, and there is no limitation to the number of recordings you can capture in one session. This way, you can capture the network events you’d like to see while keeping the rest of your test as fast as possible. Let us know if you have any questions!


