-
In your Java IDE, open a project to which you want to add TestLeft tests or create a new one.
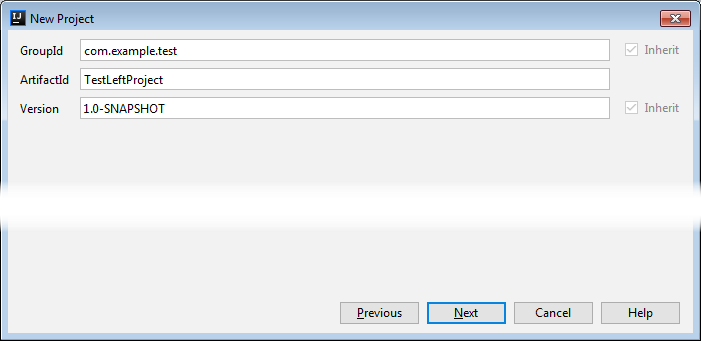
In this tutorial, we will use a Maven project to show how to create and run TestLeft tests. We will create a Maven project:
Note: If you use Java 9, you may need to explicitly configure your project to be compiled to version 1.6 or later: Java
…
<build>
<plugins>
<plugin>
<groupId>org.apache.maven.plugins</groupId>
<artifactId>maven-compiler-plugin</artifactId>
<version>3.7.0</version>
<configuration>
<source>1.6</source>
<target>1.6</target>
</configuration>
</plugin>
</plugins>
</build>
…Otherwise, the project will be compiled to version 1.5 that Java 9 does not support, and an error may occur.
-
To create TestLeft tests, you must have a reference to the TestLeft-15.40.jar library added to your project. The library is shipped with TestLeft and resides in the <TestLeft>\API\Java folder.
Add a reference to the library to your project. The way you do it depends on the type of your project. As we use a Maven project, we will add the following dependency to our pom.xml file:
pom.xml
…
<dependencies>
…
<dependency>
<groupId>com.smartbear.testleft</groupId>
<artifactId>testleft</artifactId>
<version>15.40</version>
<scope>system</scope>
<systemPath>C:/Program Files (x86)/SmartBear/TestLeft 15/API/Java/testleft-15.40.jar</systemPath>
</dependency>
…
</dependencies>
…The library declares classes that provide basic testing support and support for testing various applications.
-
To work correctly, the TestLeft library requires the following libraries:
Add references to these libraries to your project:
pom.xml
…
<dependencies>
…
<dependency>
<groupId>com.google.code.gson</groupId>
<artifactId>gson</artifactId>
<version>2.8.2</version>
</dependency>
<dependency>
<groupId>org.apache.commons</groupId>
<artifactId>commons-compress</artifactId>
<version>1.15</version>
</dependency>
<dependency>
<groupId>org.apache.httpcomponents</groupId>
<artifactId>httpclient</artifactId>
<version>4.3.4</version>
</dependency>
…
</dependencies>
… -
To run tests, we will use the JUnit framework. Add a reference to the JUnit library to your project:
pom.xml
…
<dependencies>
…
<dependency>
<groupId>junit</groupId>
<artifactId>junit</artifactId>
<version>4.12</version>
</dependency>
…
</dependencies>
…

 Prev
Prev