To use TestEngine, you need to install it, activate the license and configure the TestEngine installation.
1. Install TestEngine
To install TestEngine, you need to run its installer and follow the instructions on screen. See the complete steps in the TestEngine Installation topic.
Note: After you install TestEngine, you may need to configure it (for example, you may need to change the default port). To learn how to do that, see Configure TestEngine.
2. Start TestEngine
To start TestEngine, simply run the following file:
-
On Windows:
<TestEngine directory>/bin/readyapi-testengine.exe -
On Linux or macOS:
<TestEngine directory>/bin/readyapi-testengine.sh
3. Open the web interface
After TestEngine starts, you can open its web interface. In your web browser, enter the following URL:
where —
-
testengine-host - the address of the machine where TestEngine is installed;
-
testengine-port - the port where TestEngine started (by default, 8080).
For example, if you installed TestEngine on your local machine, you can open the web interface by using the following link:
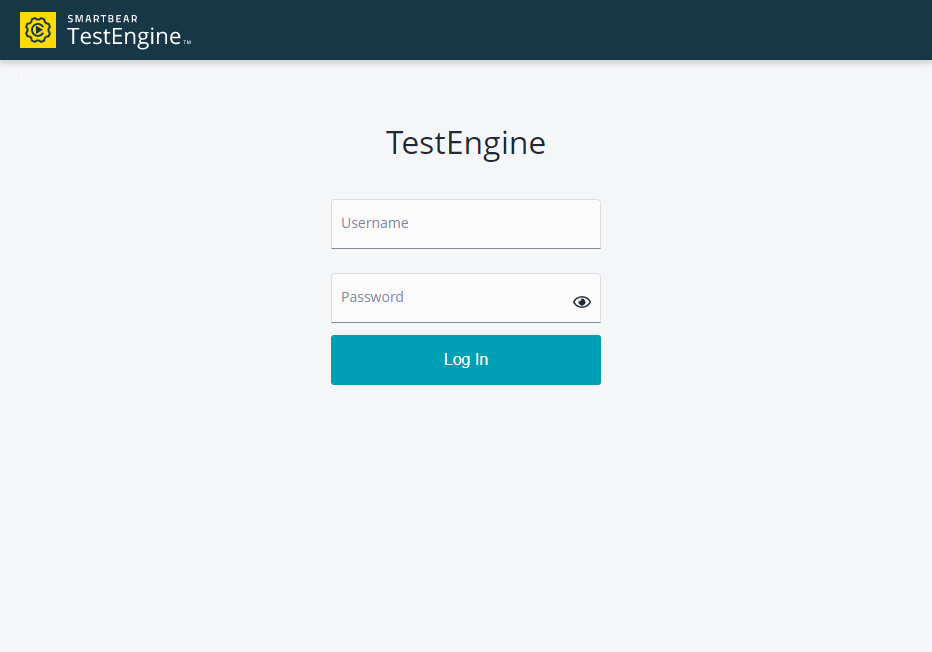
If you run TestEngine for the first time, enter the admin username and a password that TestEngine posts to its log:
You need to activate a license to unlock TestEngine.
4. Install a license
-
In the TestEngine interface, go to the Server panel. It will open the License tab.
-
Click Add License.
-
In the subsequent dialog, click Browse and specify the TestEngine license file (ID-based, a .zip or a .key file).
-
Fill in the form fields and click Install.
5. Change the default password
When you run TestEngine for the first time, you use the default login and a generated password. We recommend that you change the password to avoid security issues. If you do not use the default account, you may skip this step.
To change the password:
-
Open the user menu in the top right corner and select Change Password:
-
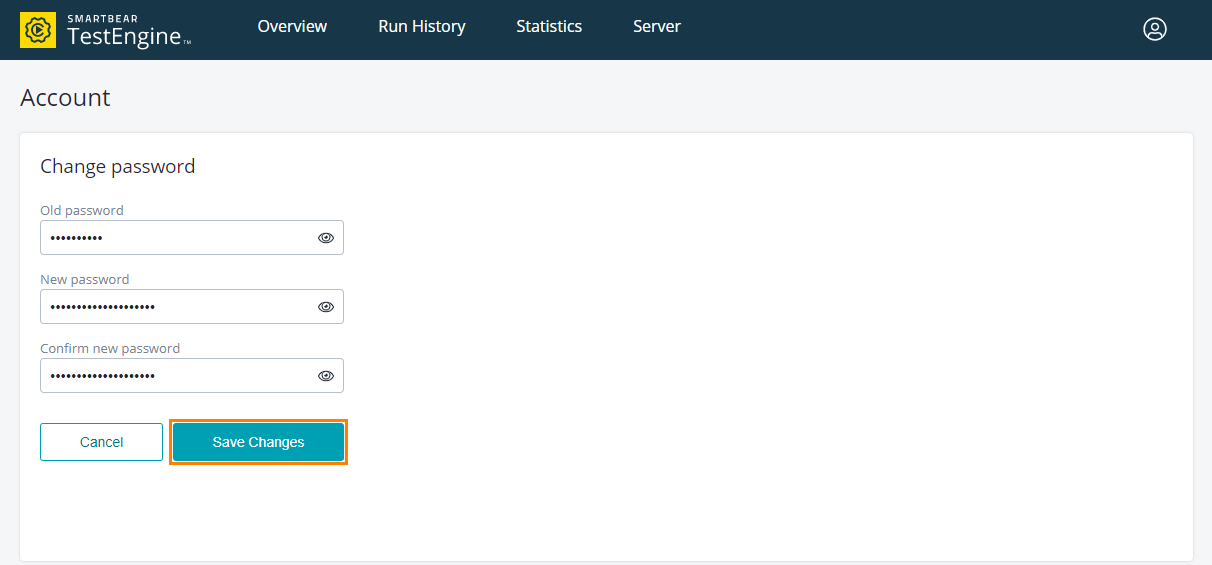
On the Account settings page, enter the current and new passwords, confirm the new password, and click Save Changes:


